Jun 7, 2013
mustardwithmutton

2 comments

Shredded Red Cabbage,Raisin & Gorgonzola Salad with Balsamic Dressing

Shredded Red Cabbage, Raisin & Gorgonzola Salad with Balsamic Dressing
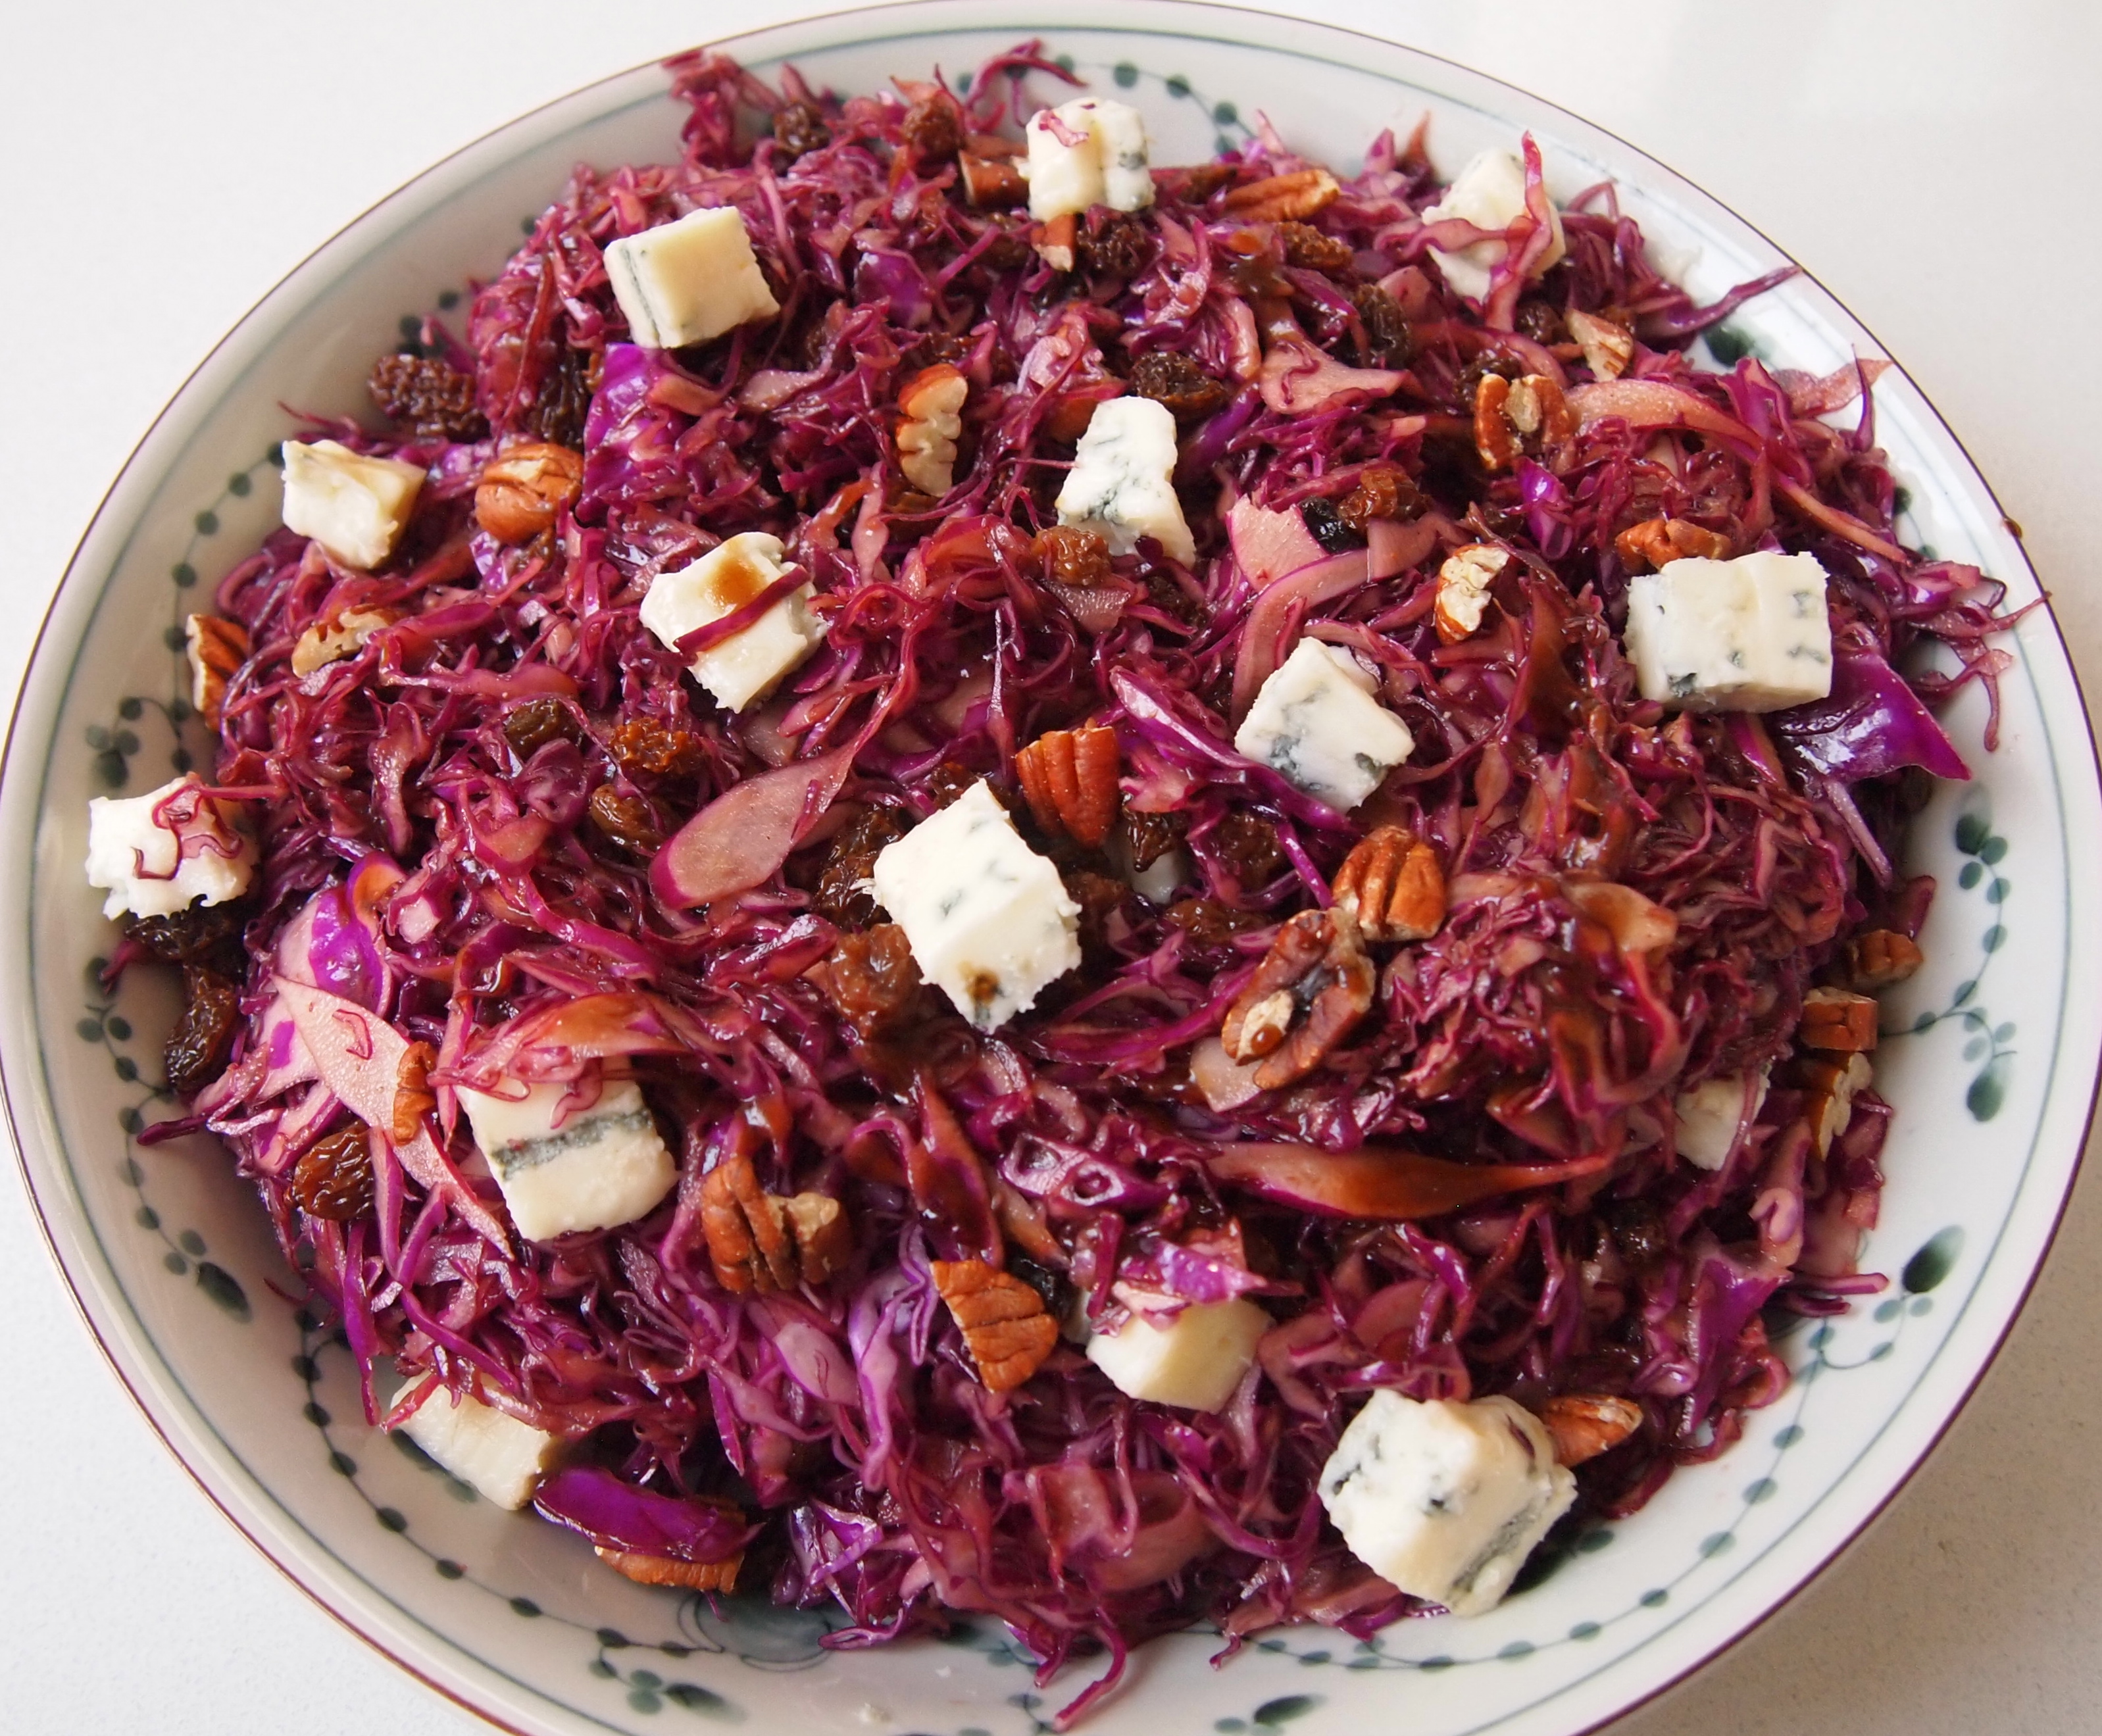
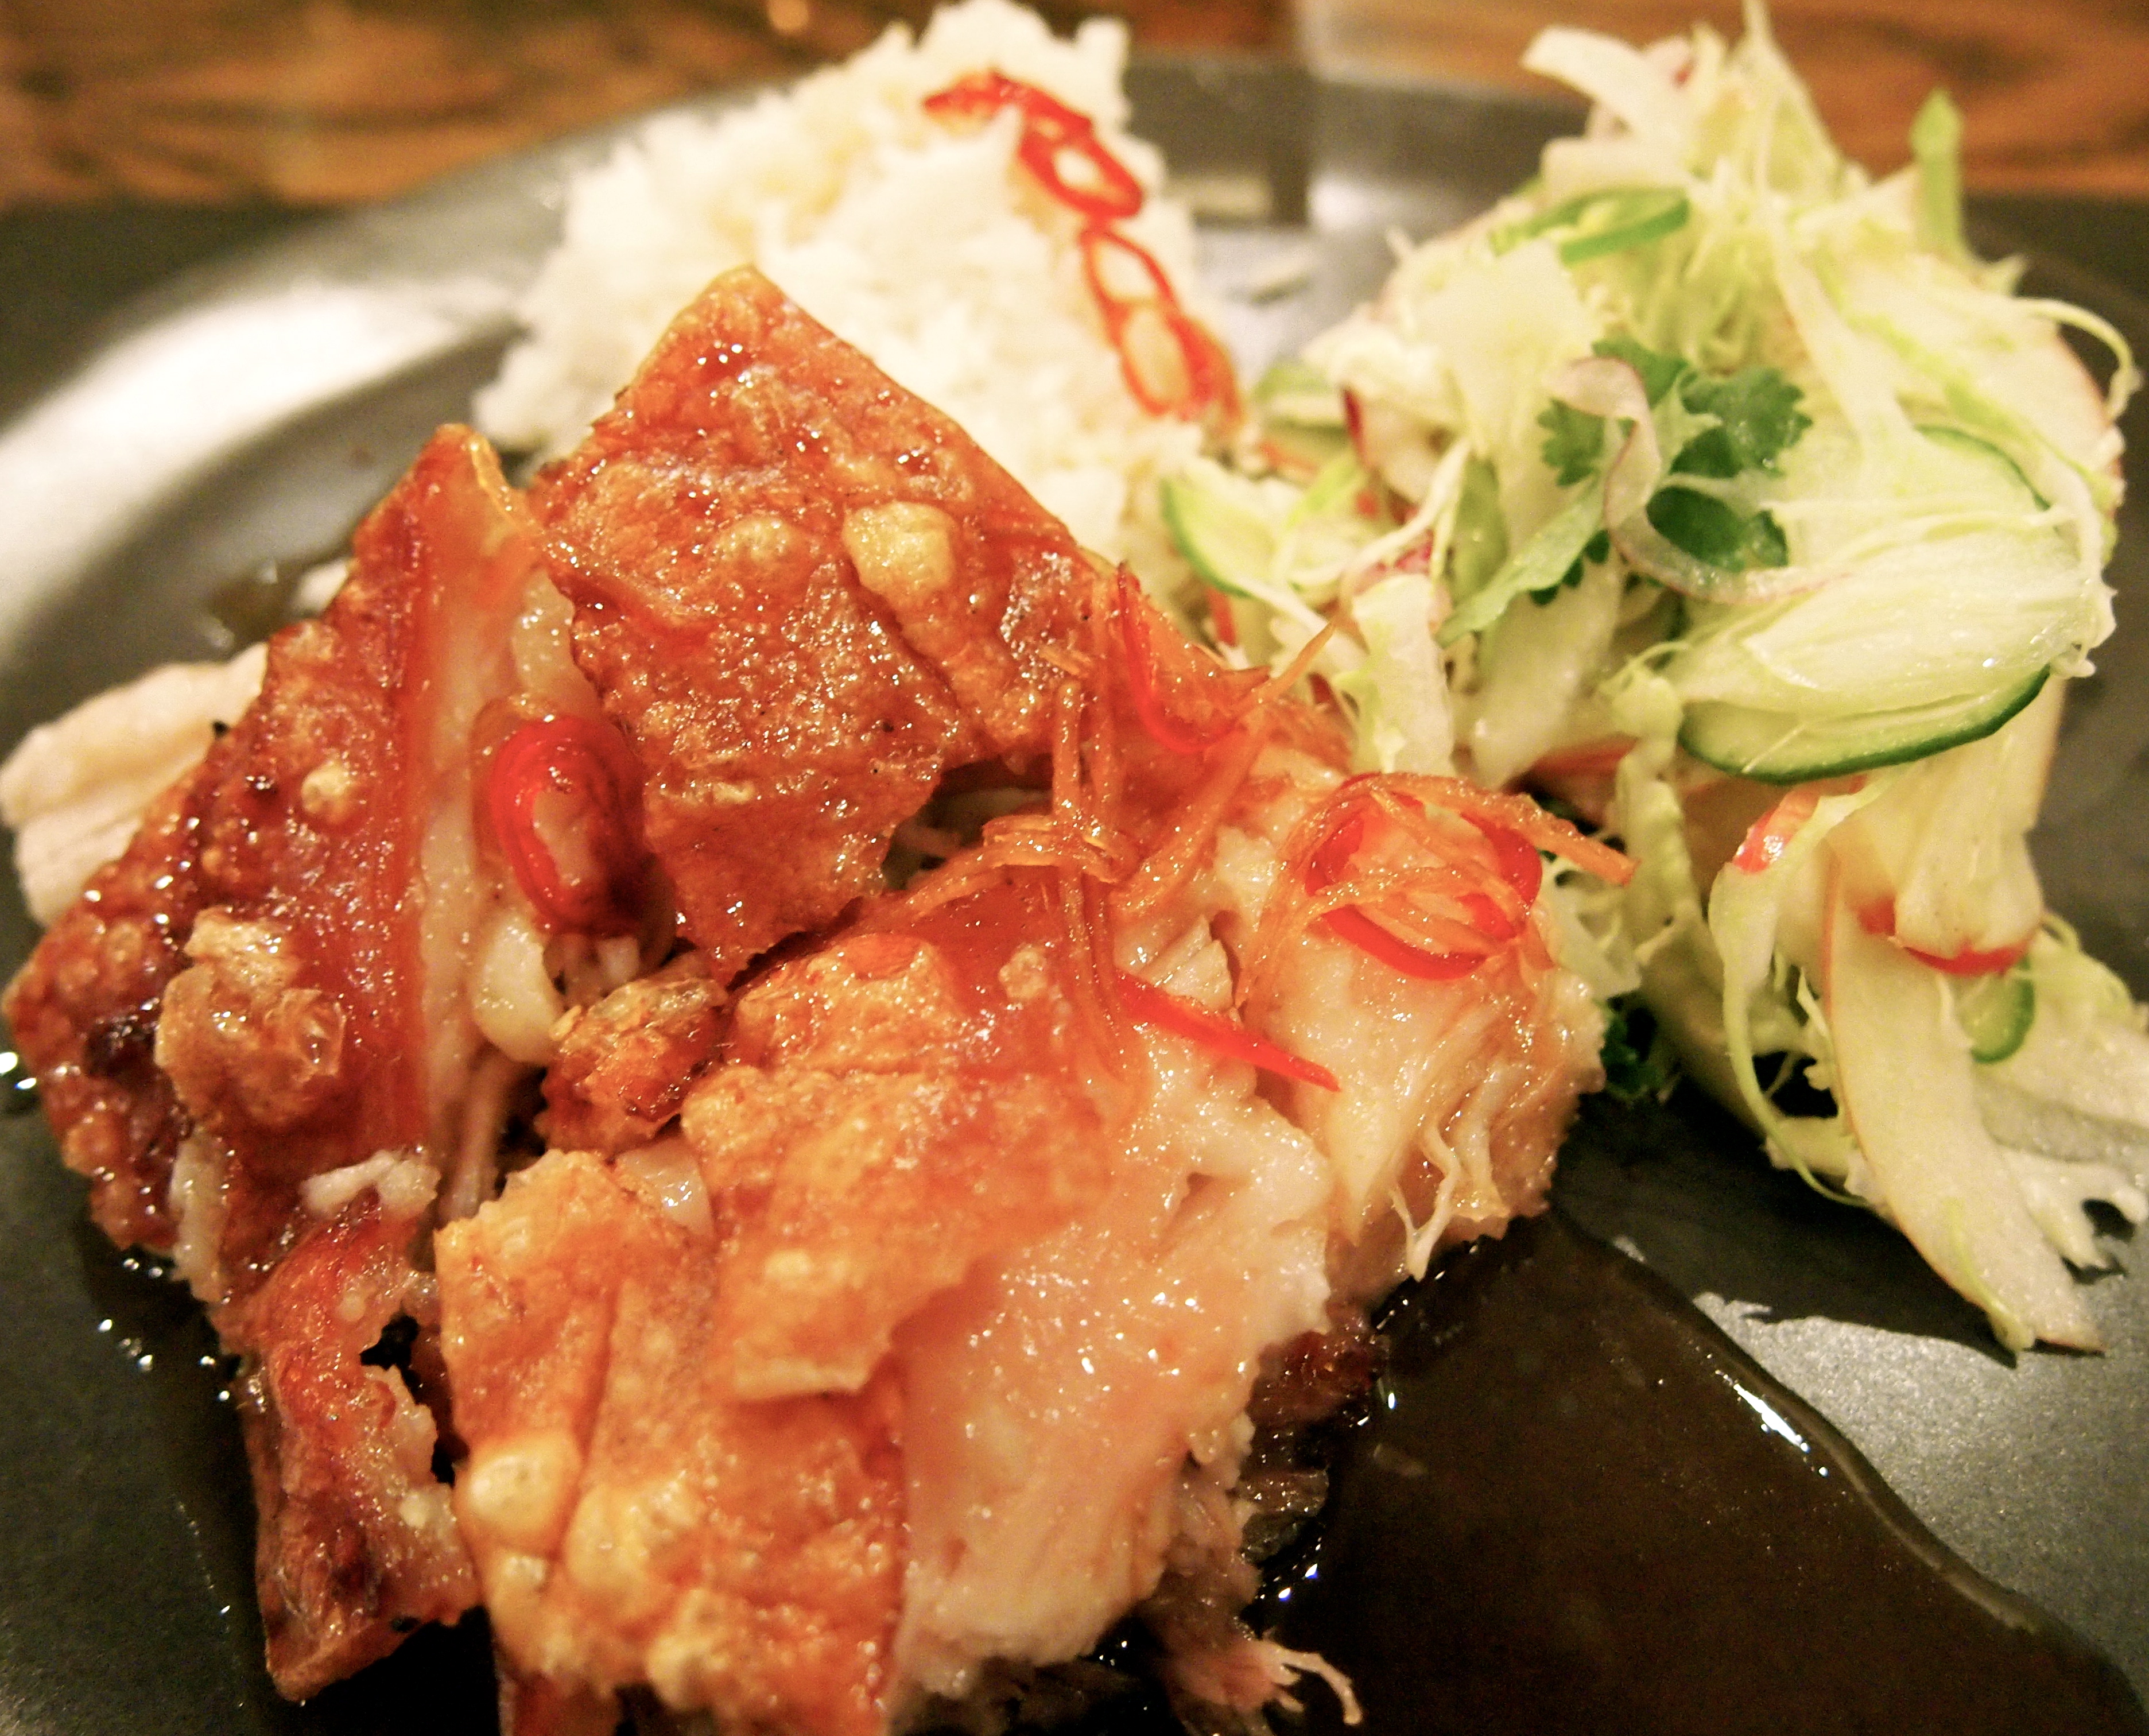
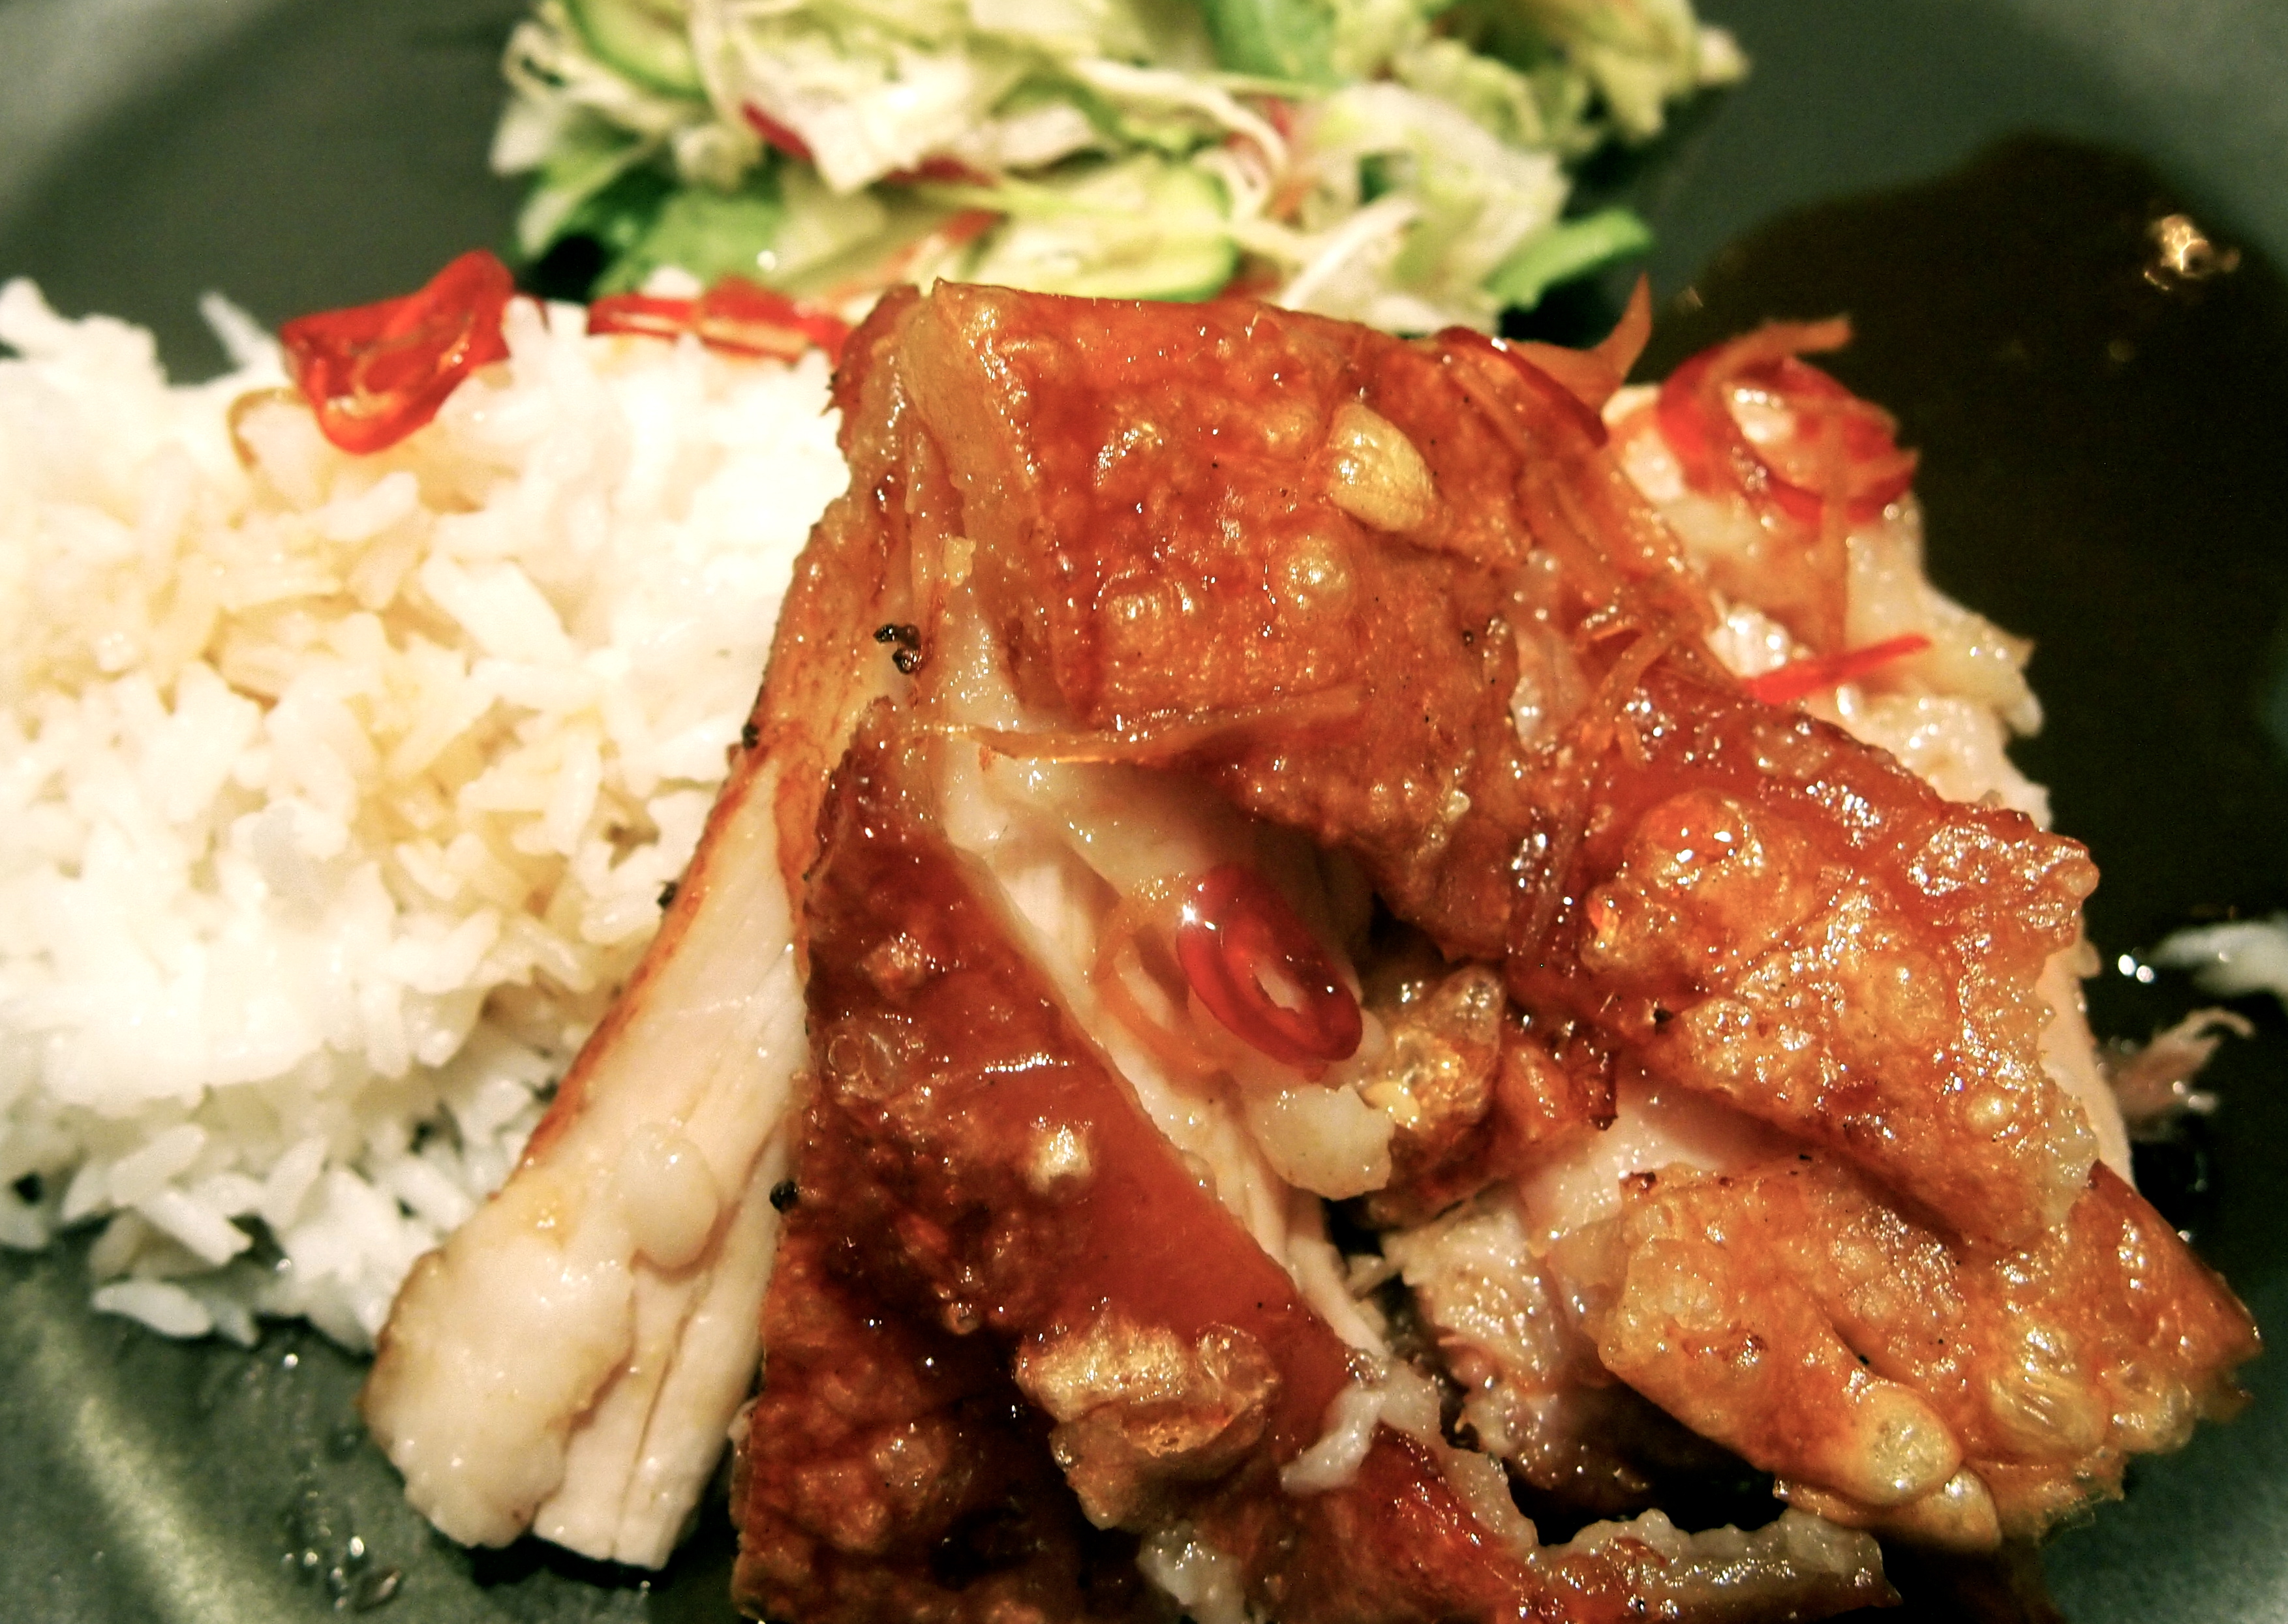
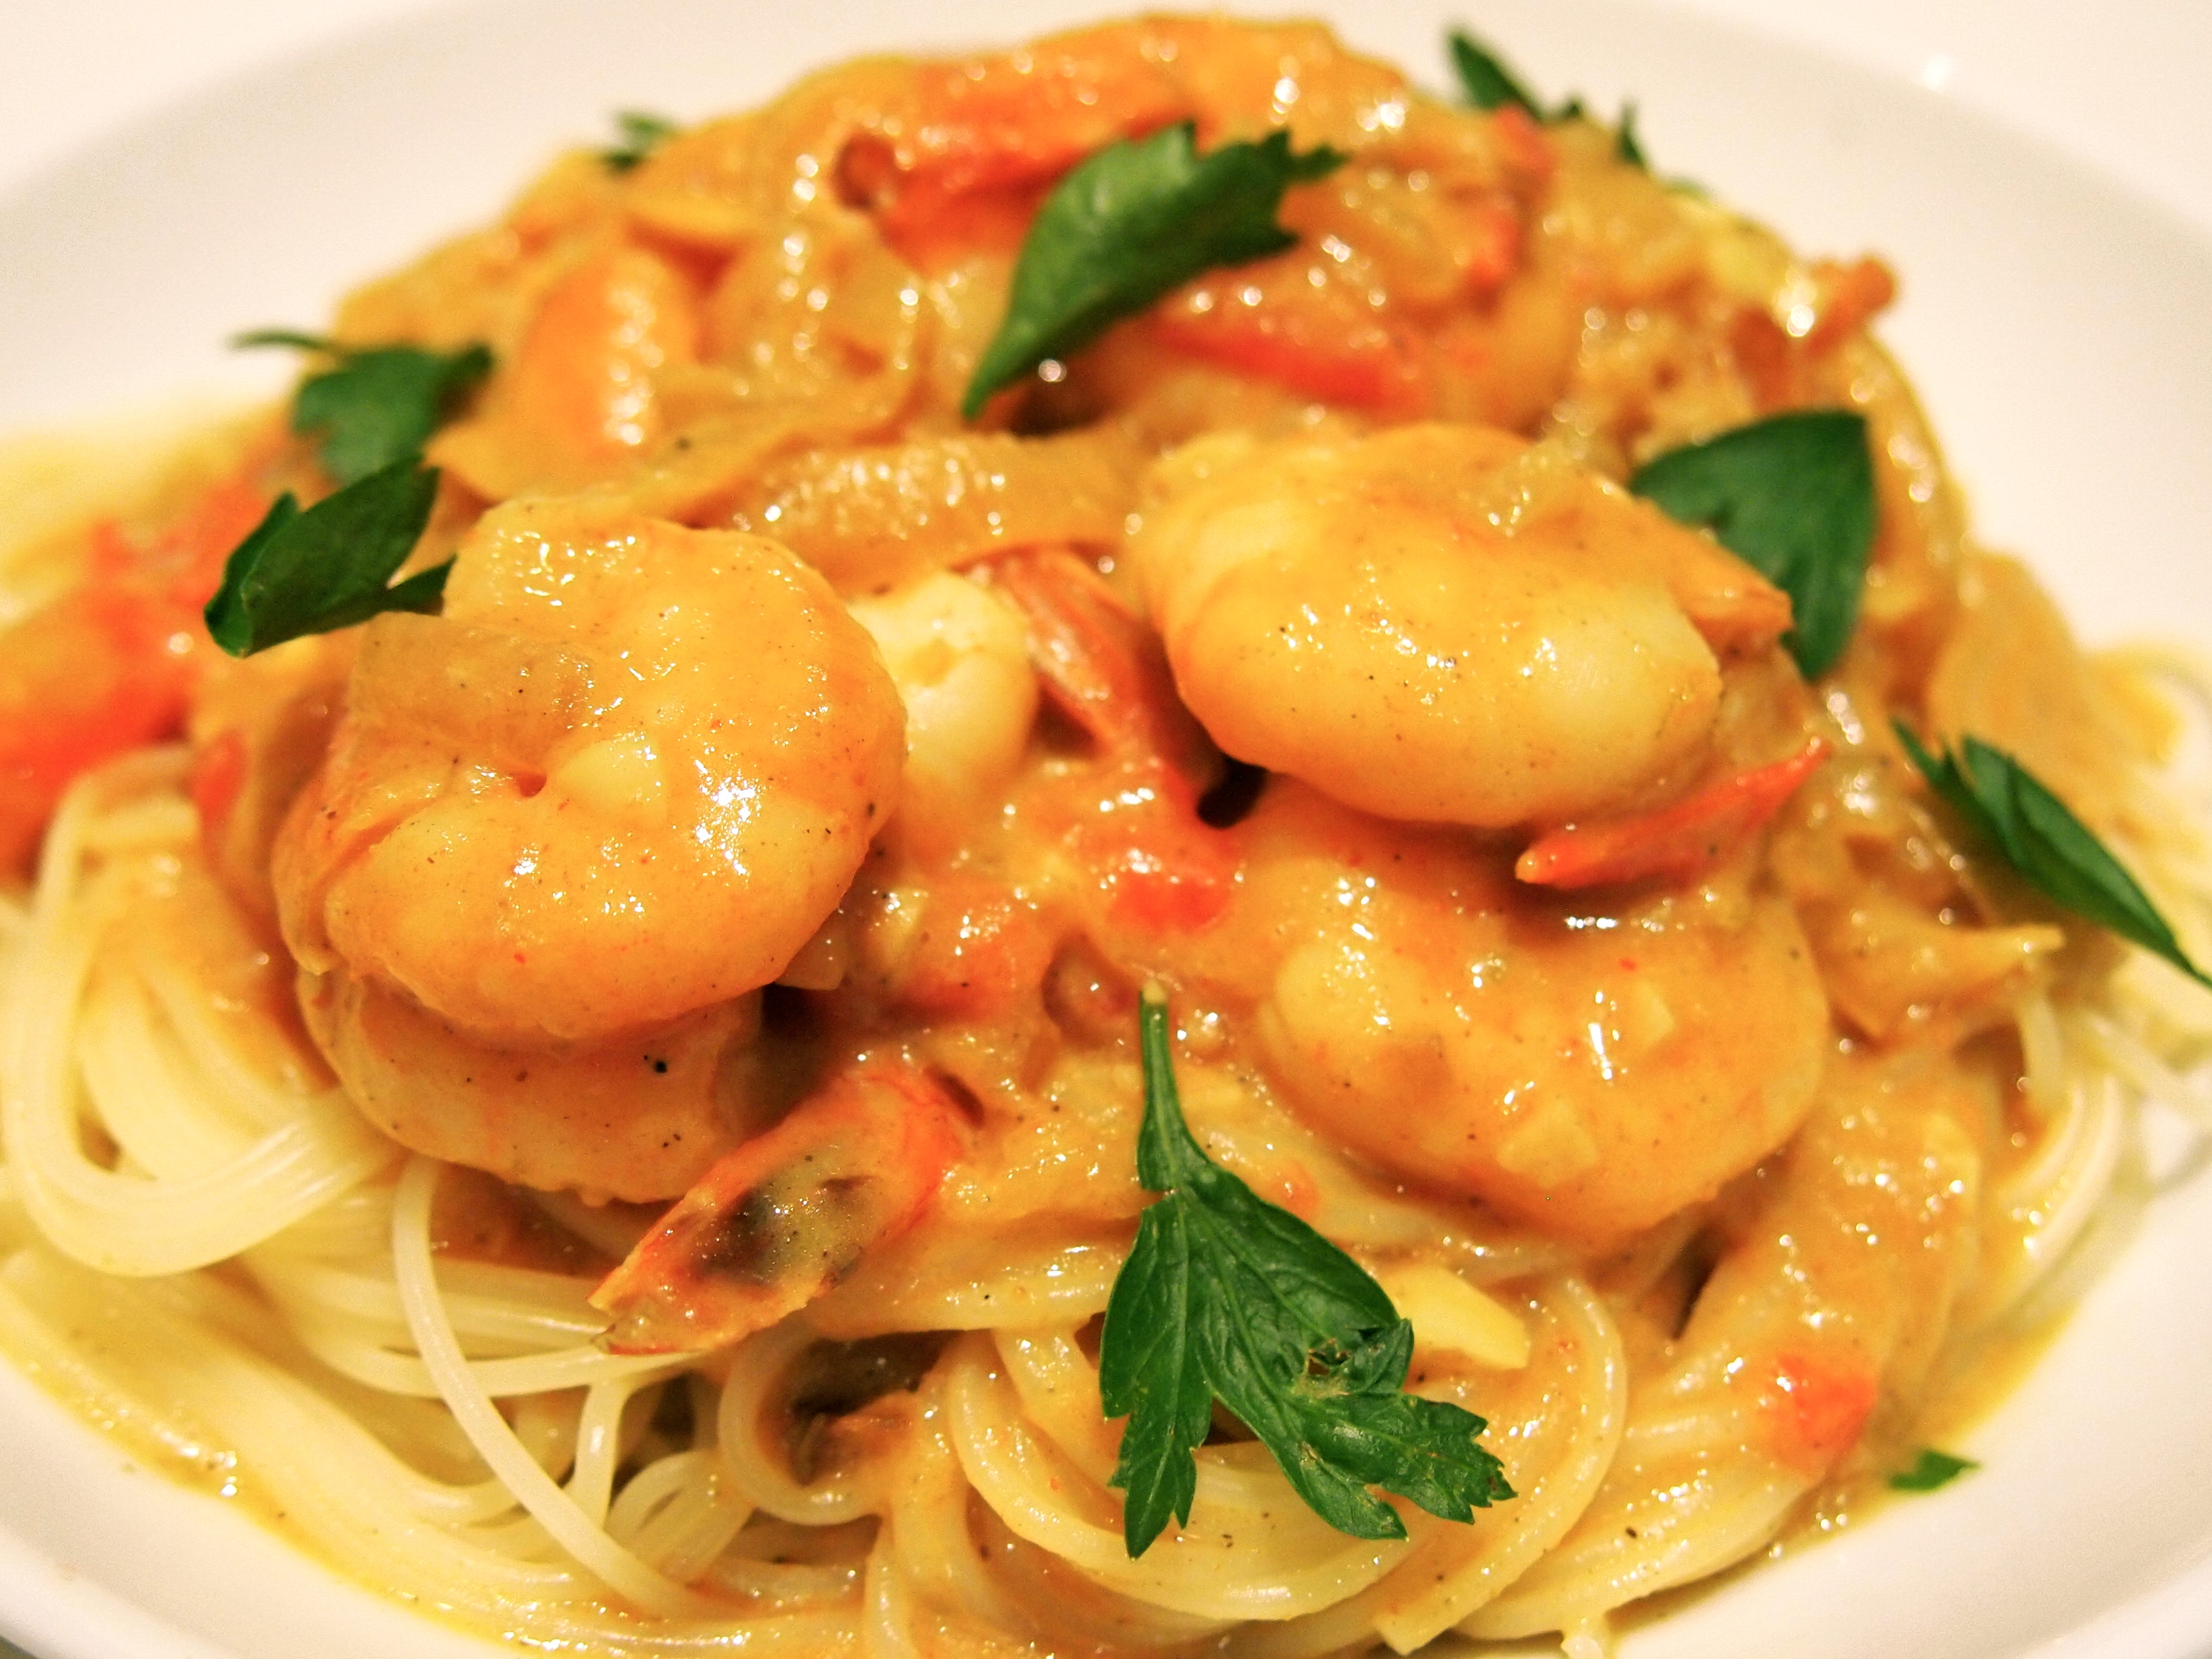
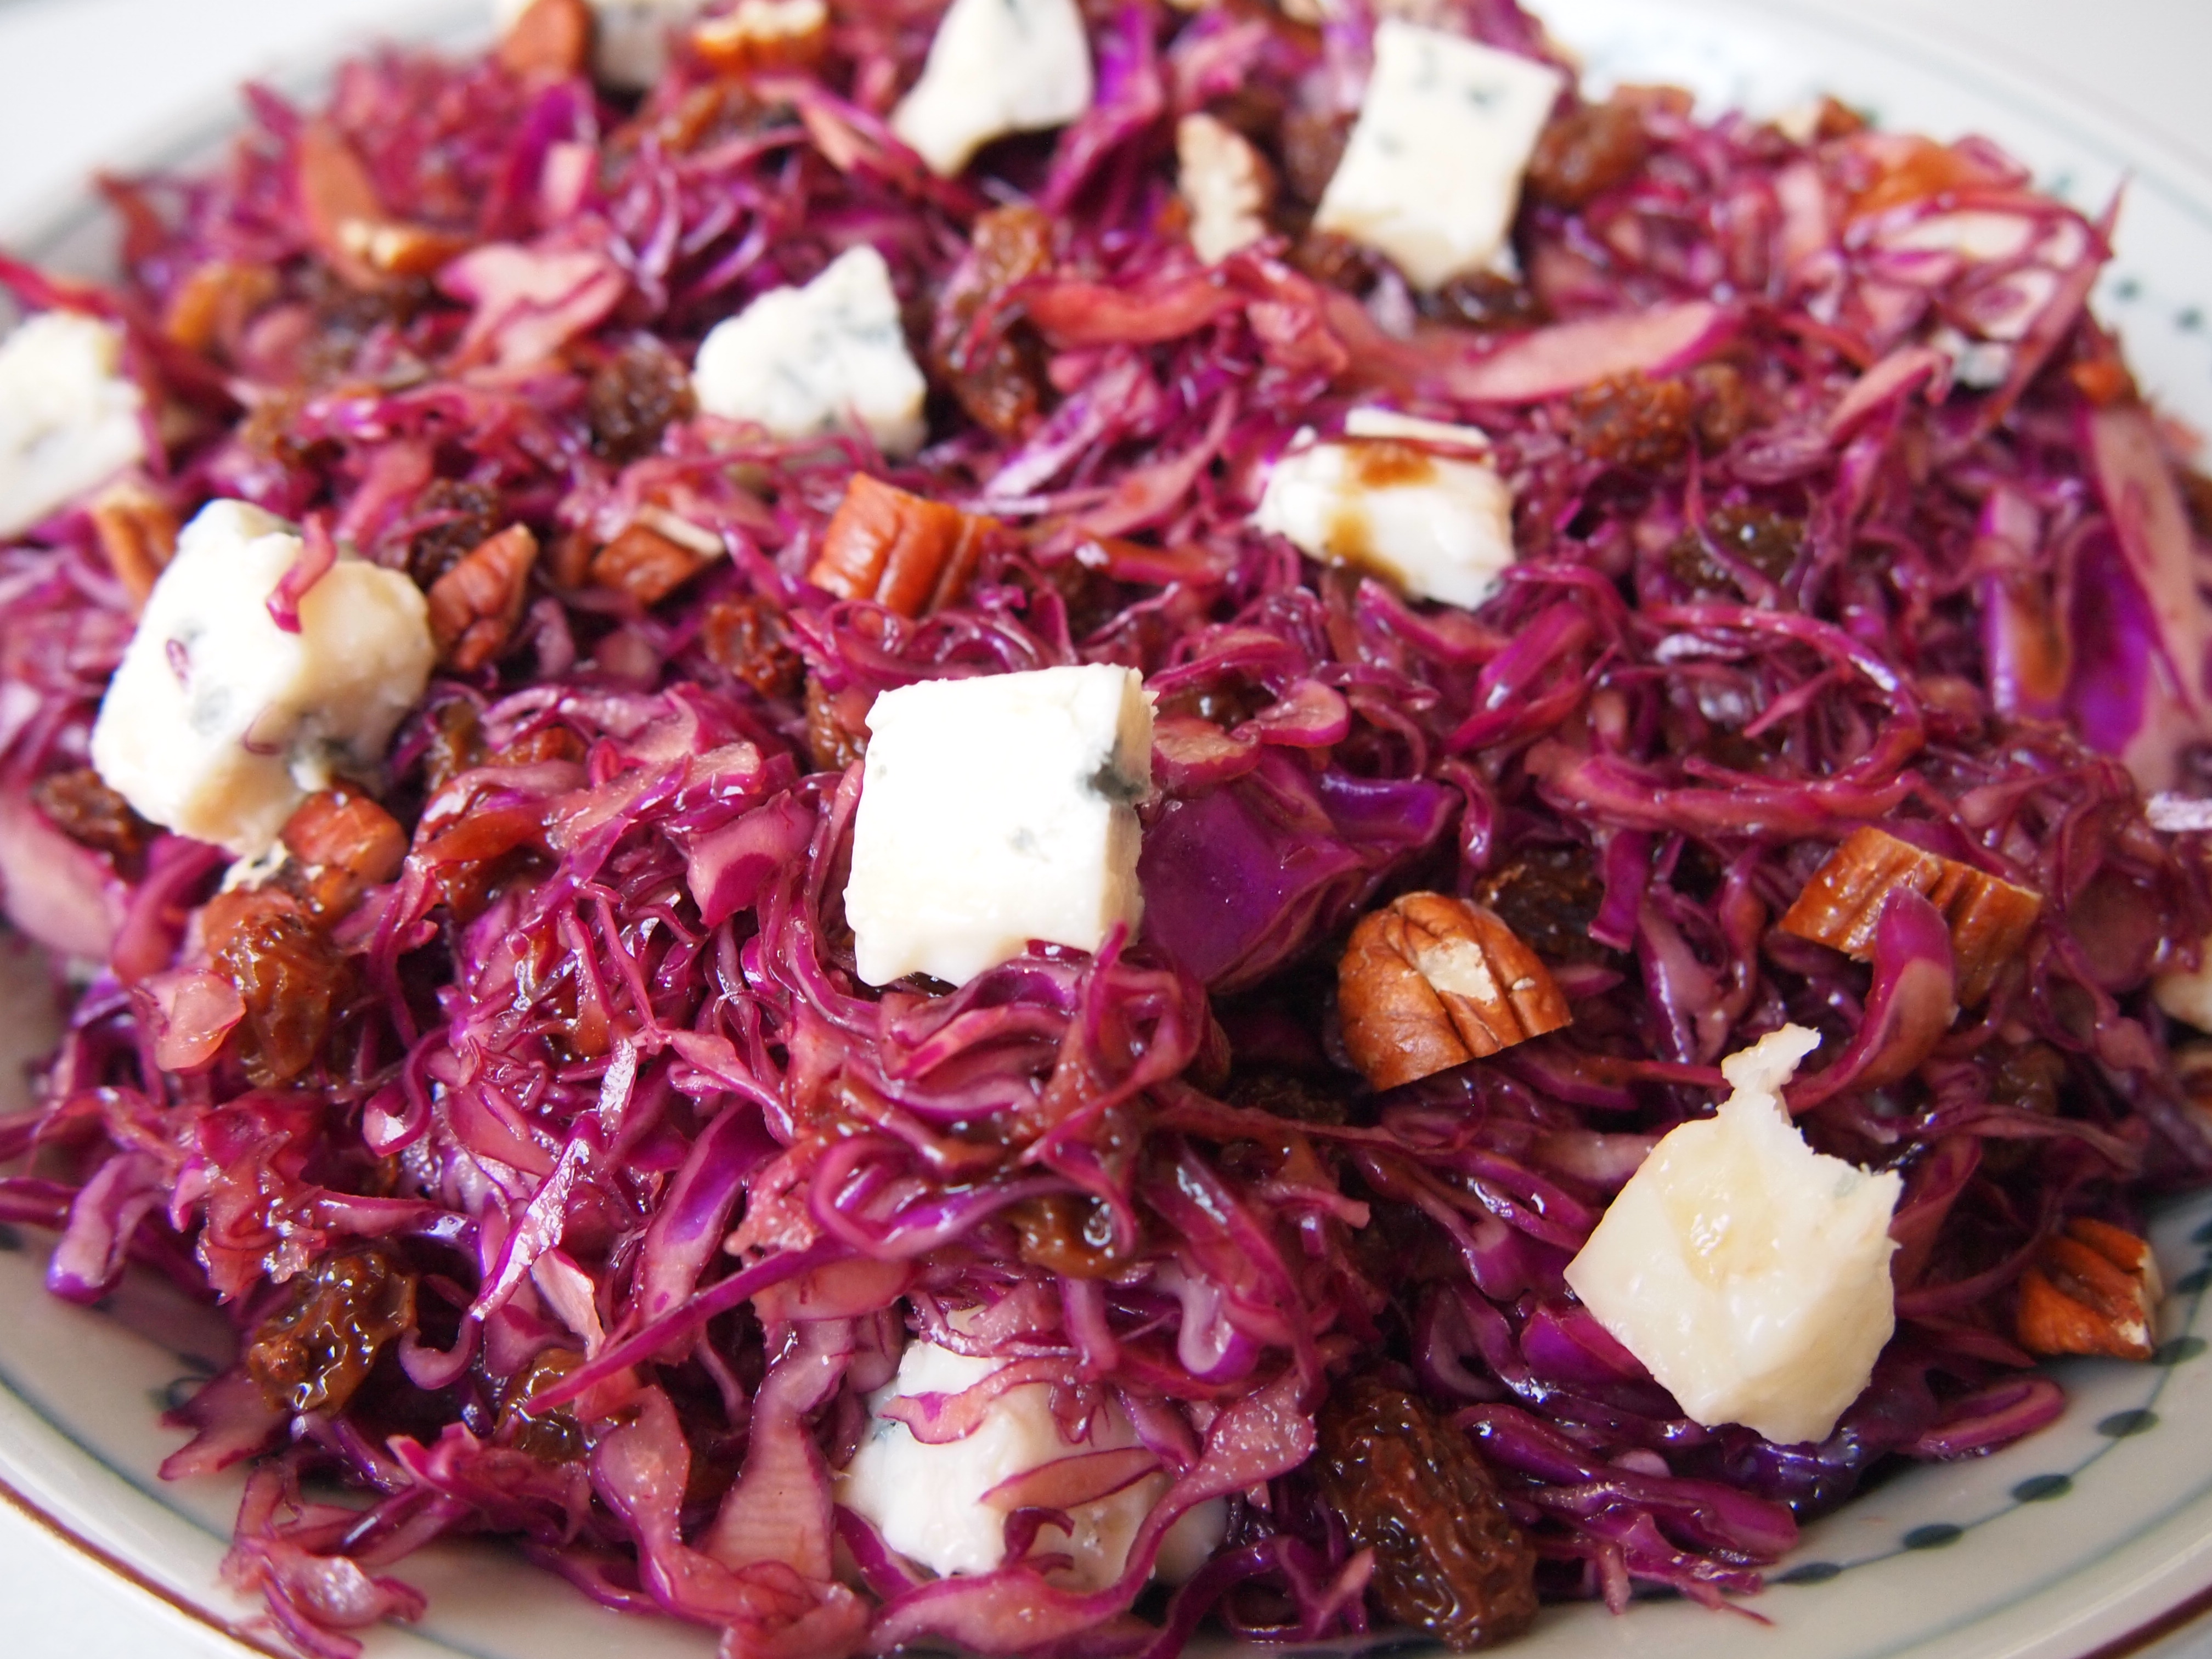
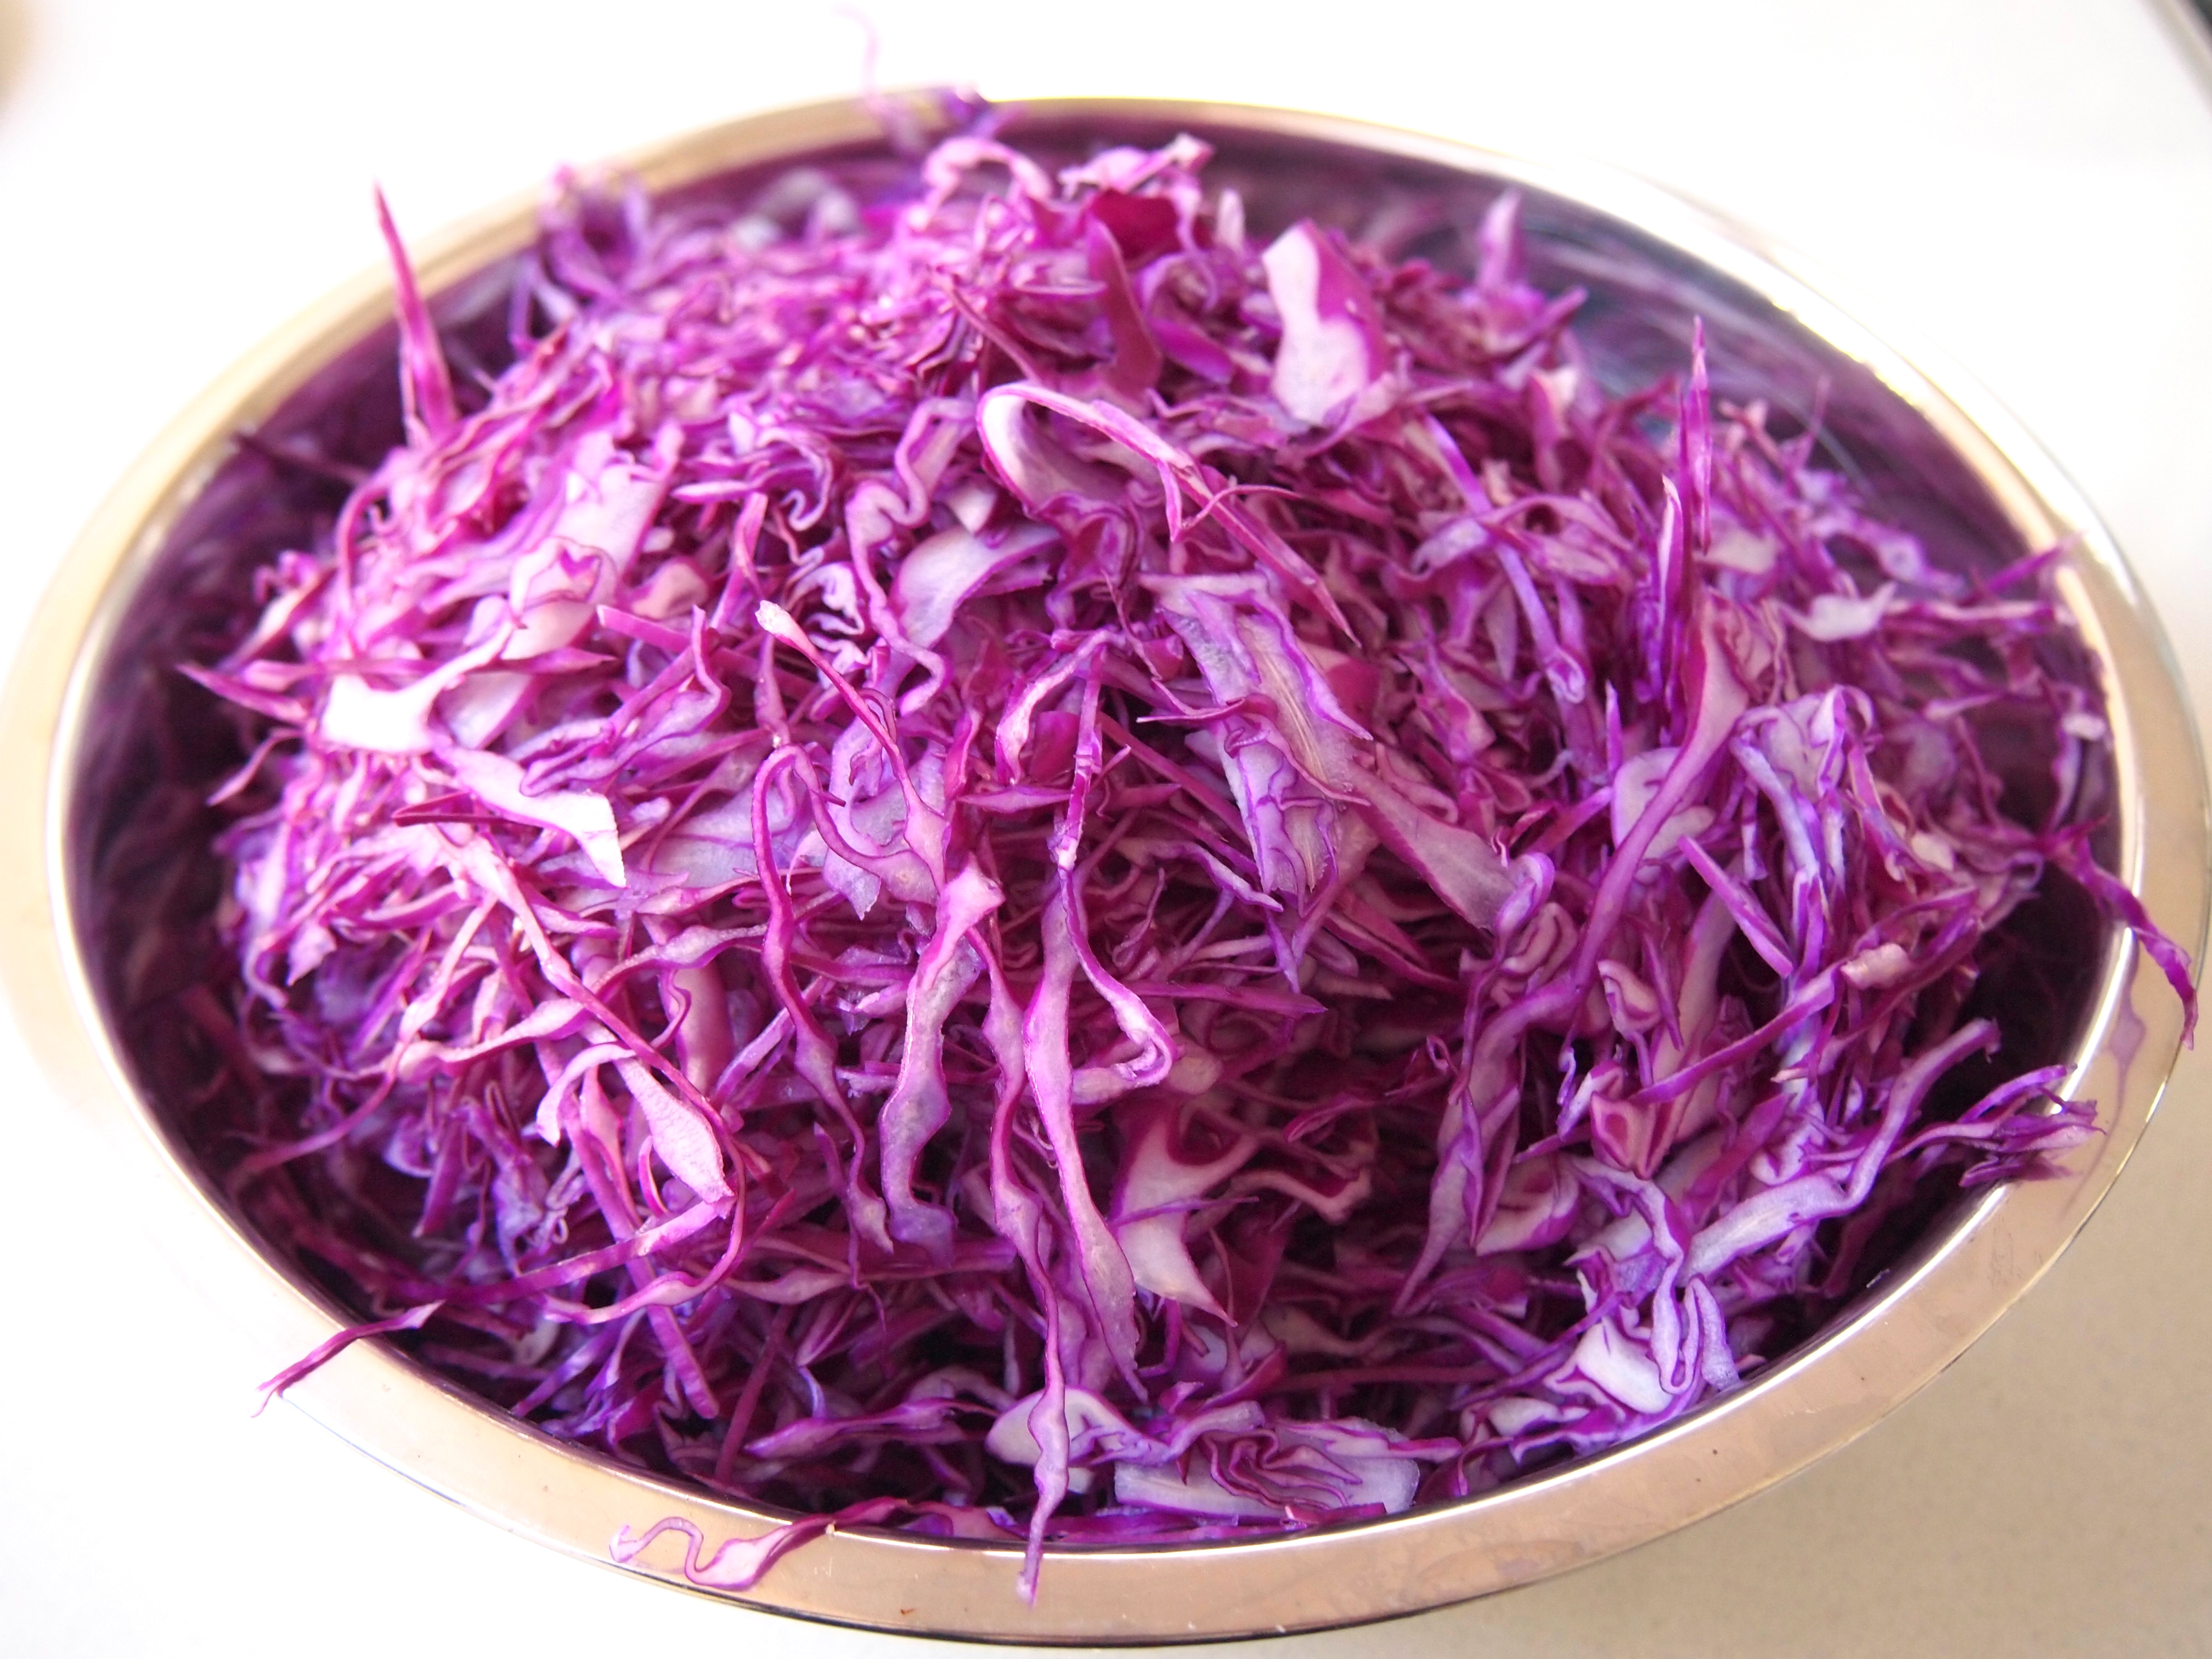
One of the local Italian restaurants we frequent has this amazing salad on their menu and I can never resist ordering it. I’ve been wanting to recreate this salad for a while now and after a bit of experimentation this version is pretty close to the original. The combination of sweet raisins, the sharpness of the cheese and the sweet and sour tang of the dressing is wonderfully addictive. This salad pairs so well with grilled meats and I especially like it with roast pork or duck but we also have it as a side to pastas and braises. The key to this salad is to make sure the cabbage is extremely finely shredded and a mandolin is perfect for this or the finest slicing blade on your food processor. If you don’t have either then take your time and shred as finely as you can with a sharp knife. It’s also a good idea to dress the cabbage and raisins with the balsamic vinaigrette in advance so the cabbage has a chance to wilt a little and soak up the dressing – the remaining ingredients of walnuts (although in the picture above I used pecans as I had some on hand) and blue cheese can be added just prior to serving.

Ingredients – Serves 4

½ head of red cabbage, tough outer leaves removed and cored
½ cup raisins
120g gorgonzola dolce
½ cup walnuts, cut in half
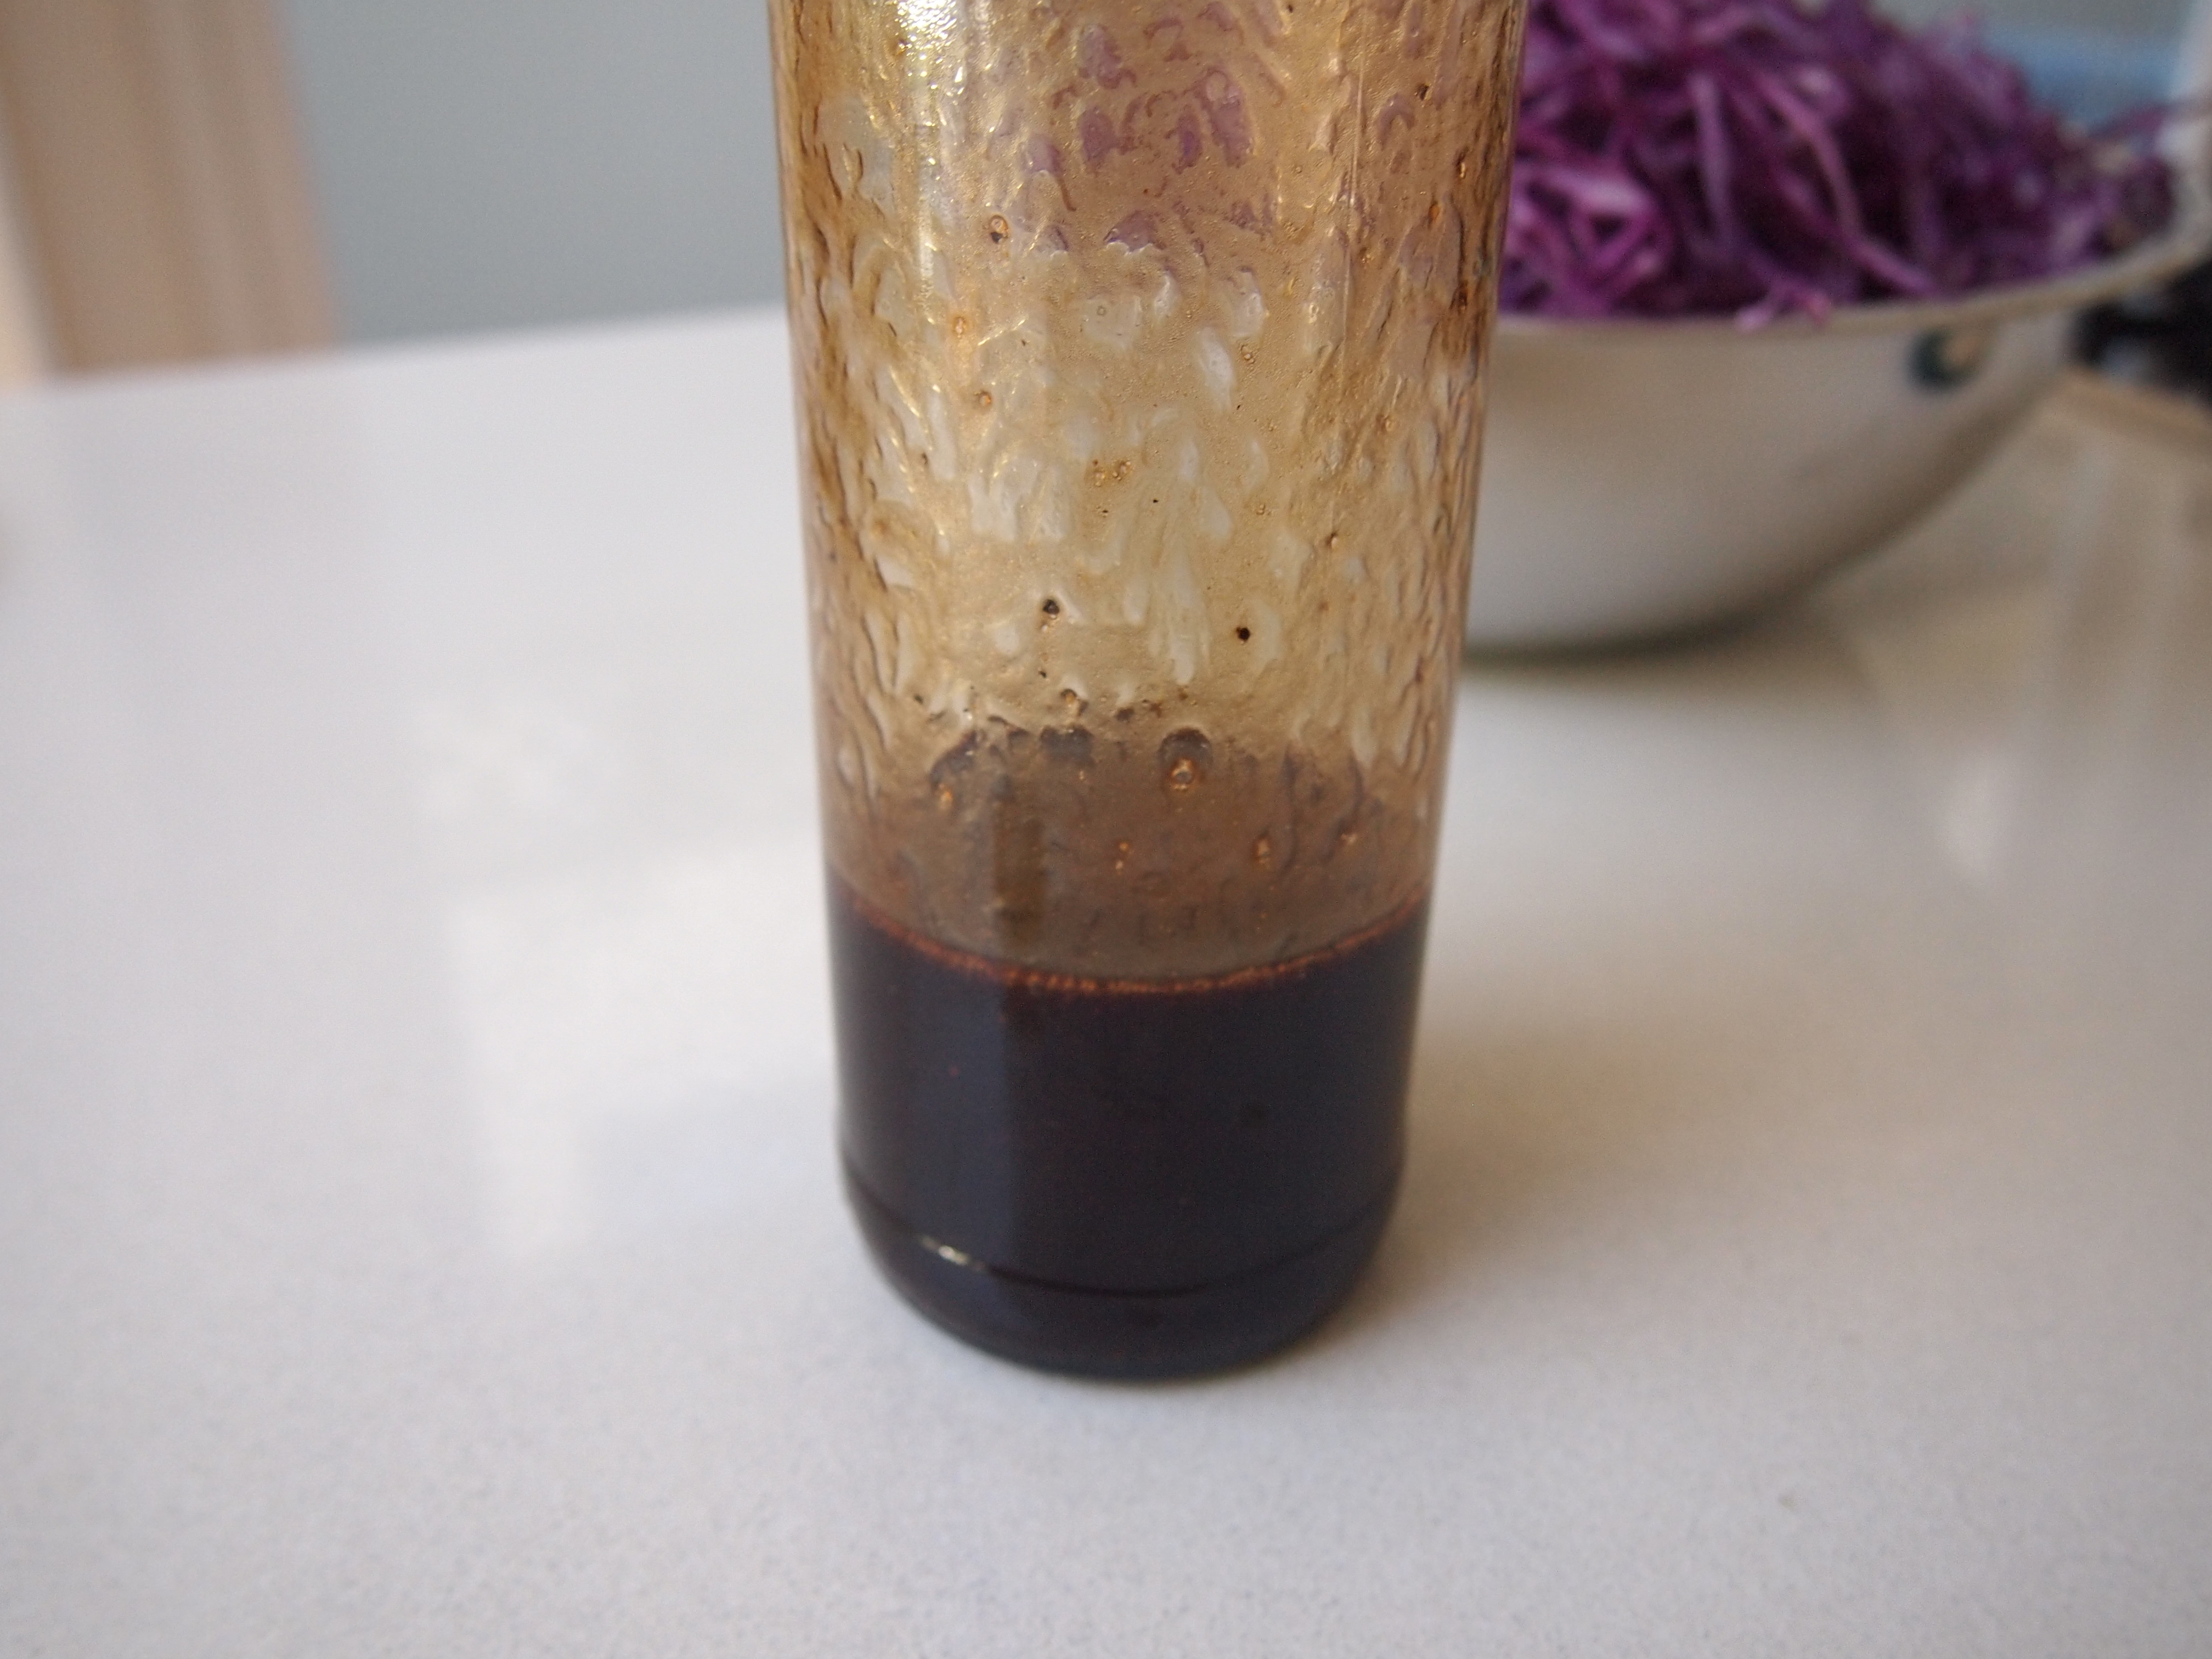
Balsamic Dressing
13 cup balsamic vinegar
1 tablespoon red wine vinegar
½ teaspoon salt
¼ teaspoon freshly ground black pepper
½ cup extra virgin olive oil

Method

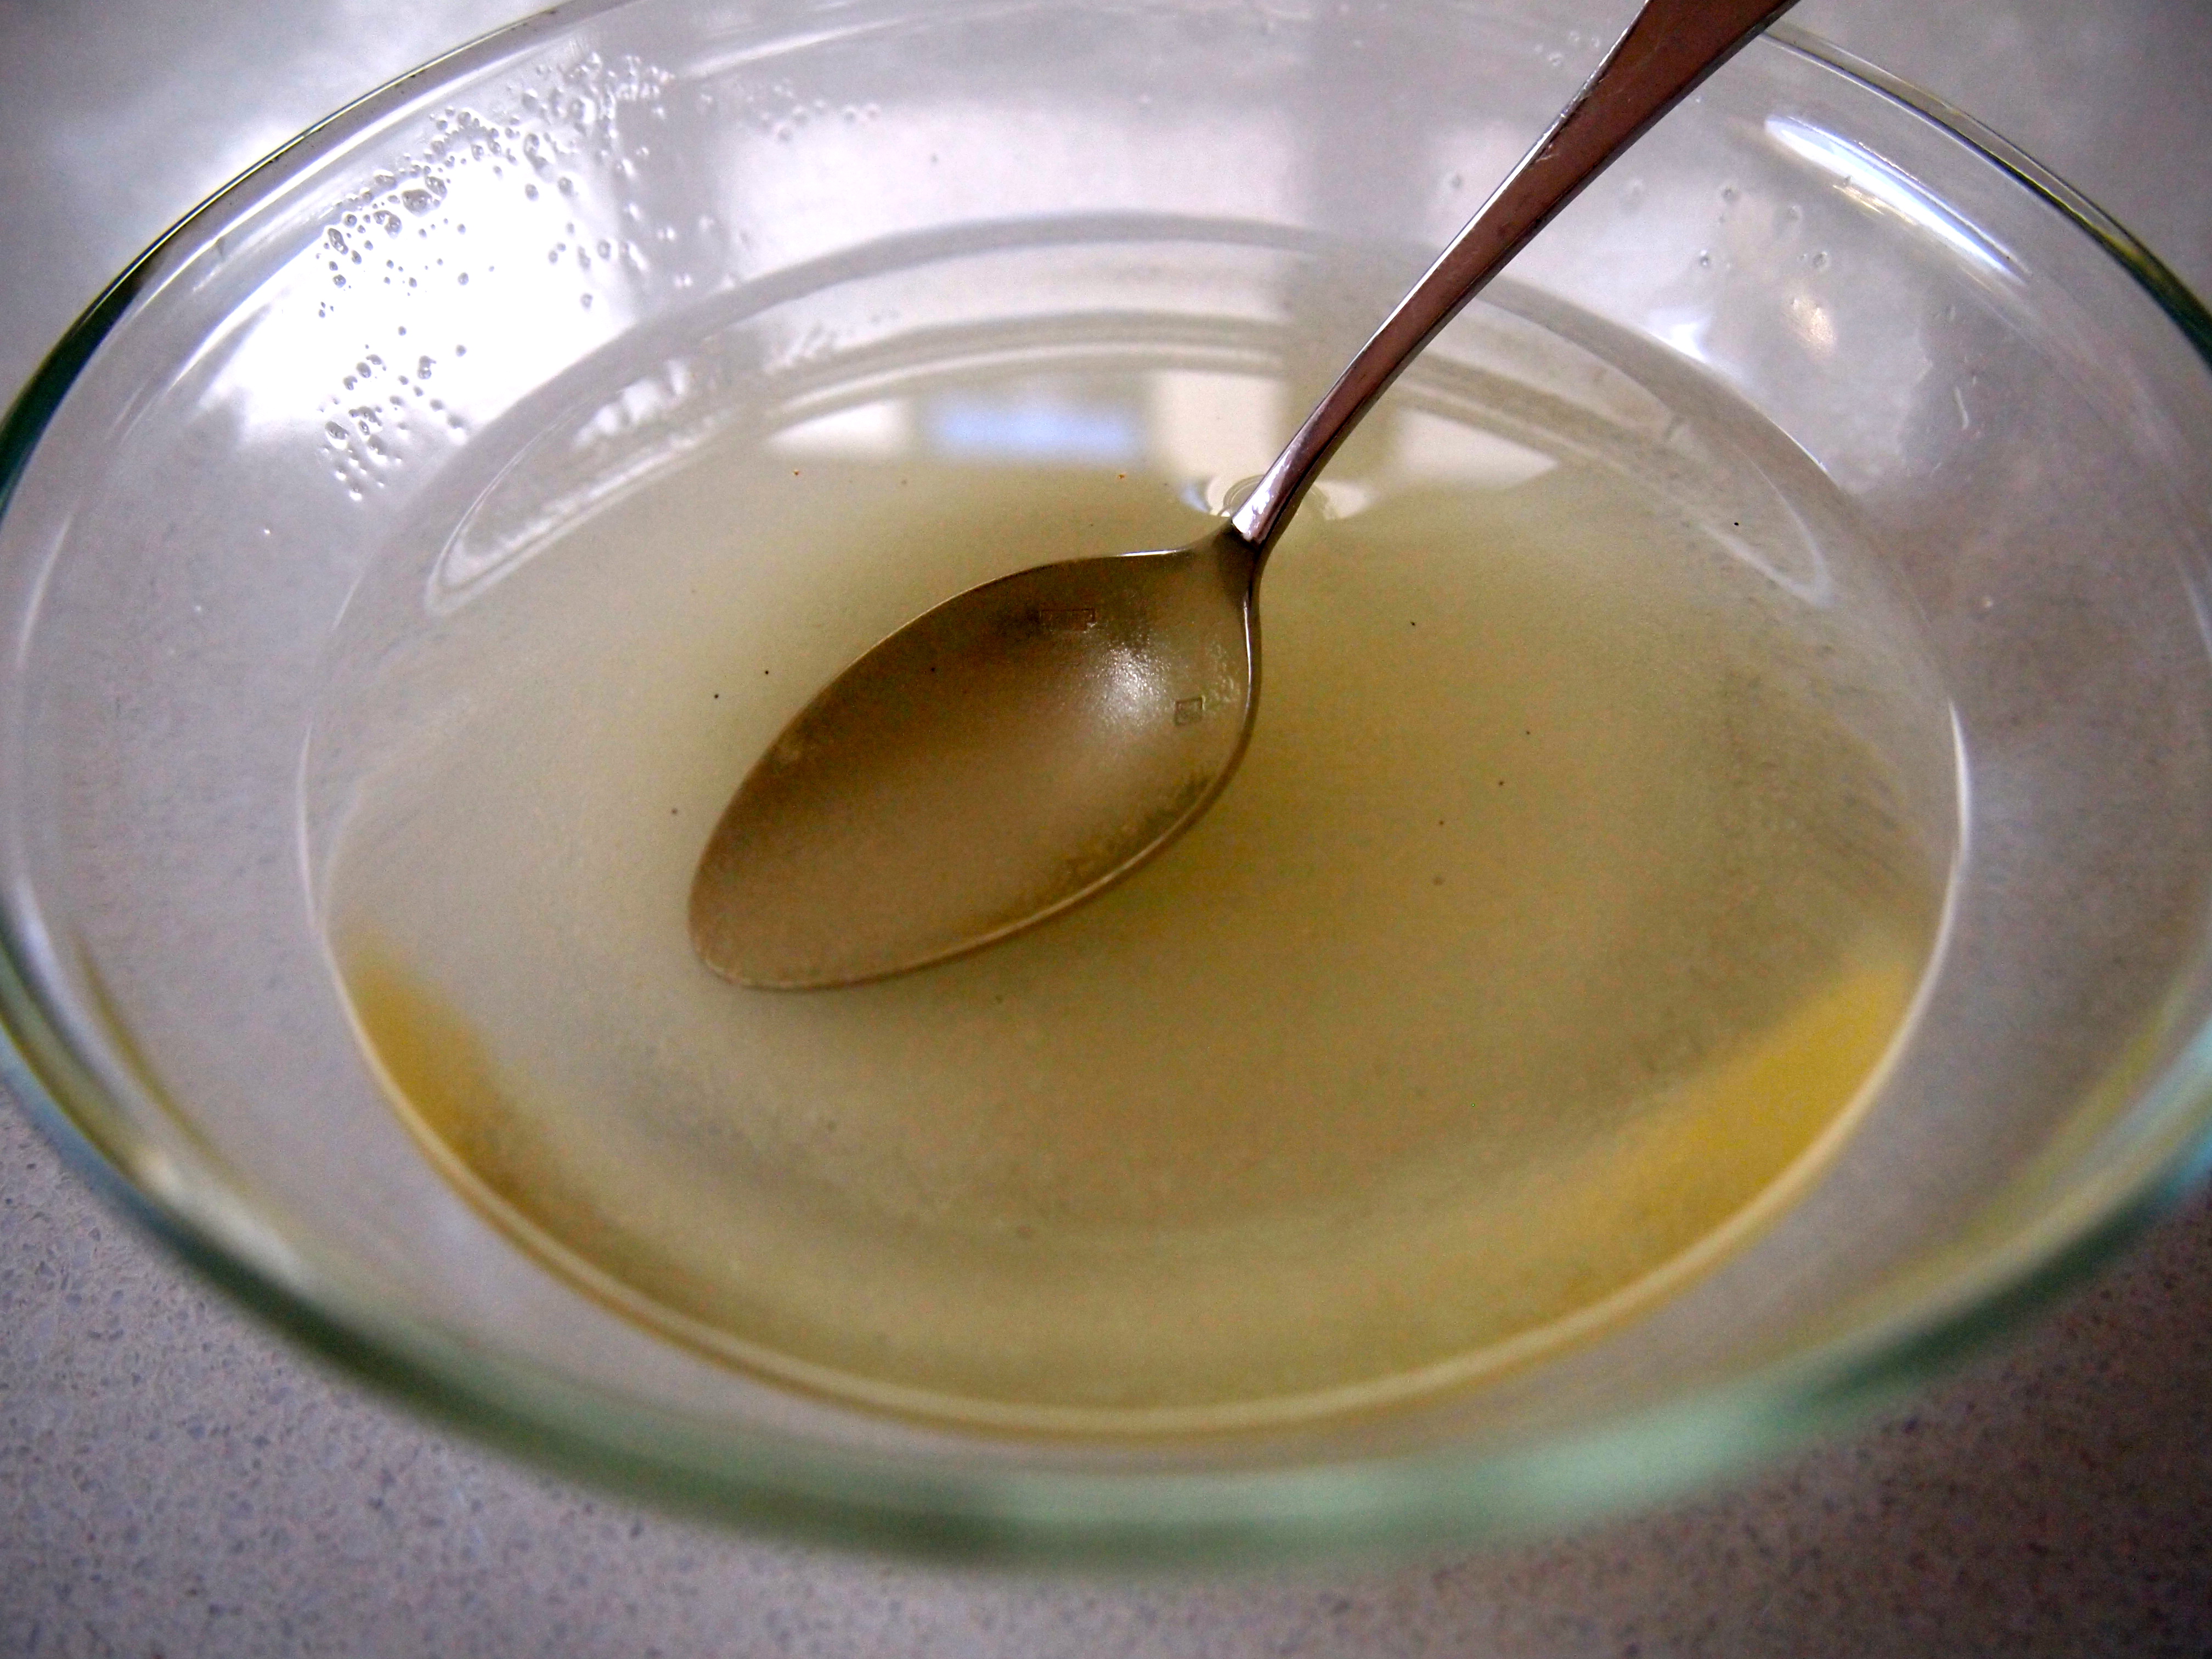
To make the dressing place all the ingredients in a screw top jar and shake well to incorporate. Taste and adjust seasoning if required. Some balsamic vinegars are sweeter than others so you may want to add a little more red wine vinegar or salt. Set aside

Place the raisins in a small bowl and cover with boiling water. Leave to stand for one minute then drain and set aside. Shred the cabbage as finely as possible using a mandolin or the finest slicing blade on a food processor. Place the cabbage in a large bowl – it will look like a lot of cabbage but it wilts down once it has been dressed. Add the raisins and 34 of the dressing to the cabbage and using clean hands stir to combine, making sure all the cabbage is coated with the dressing.

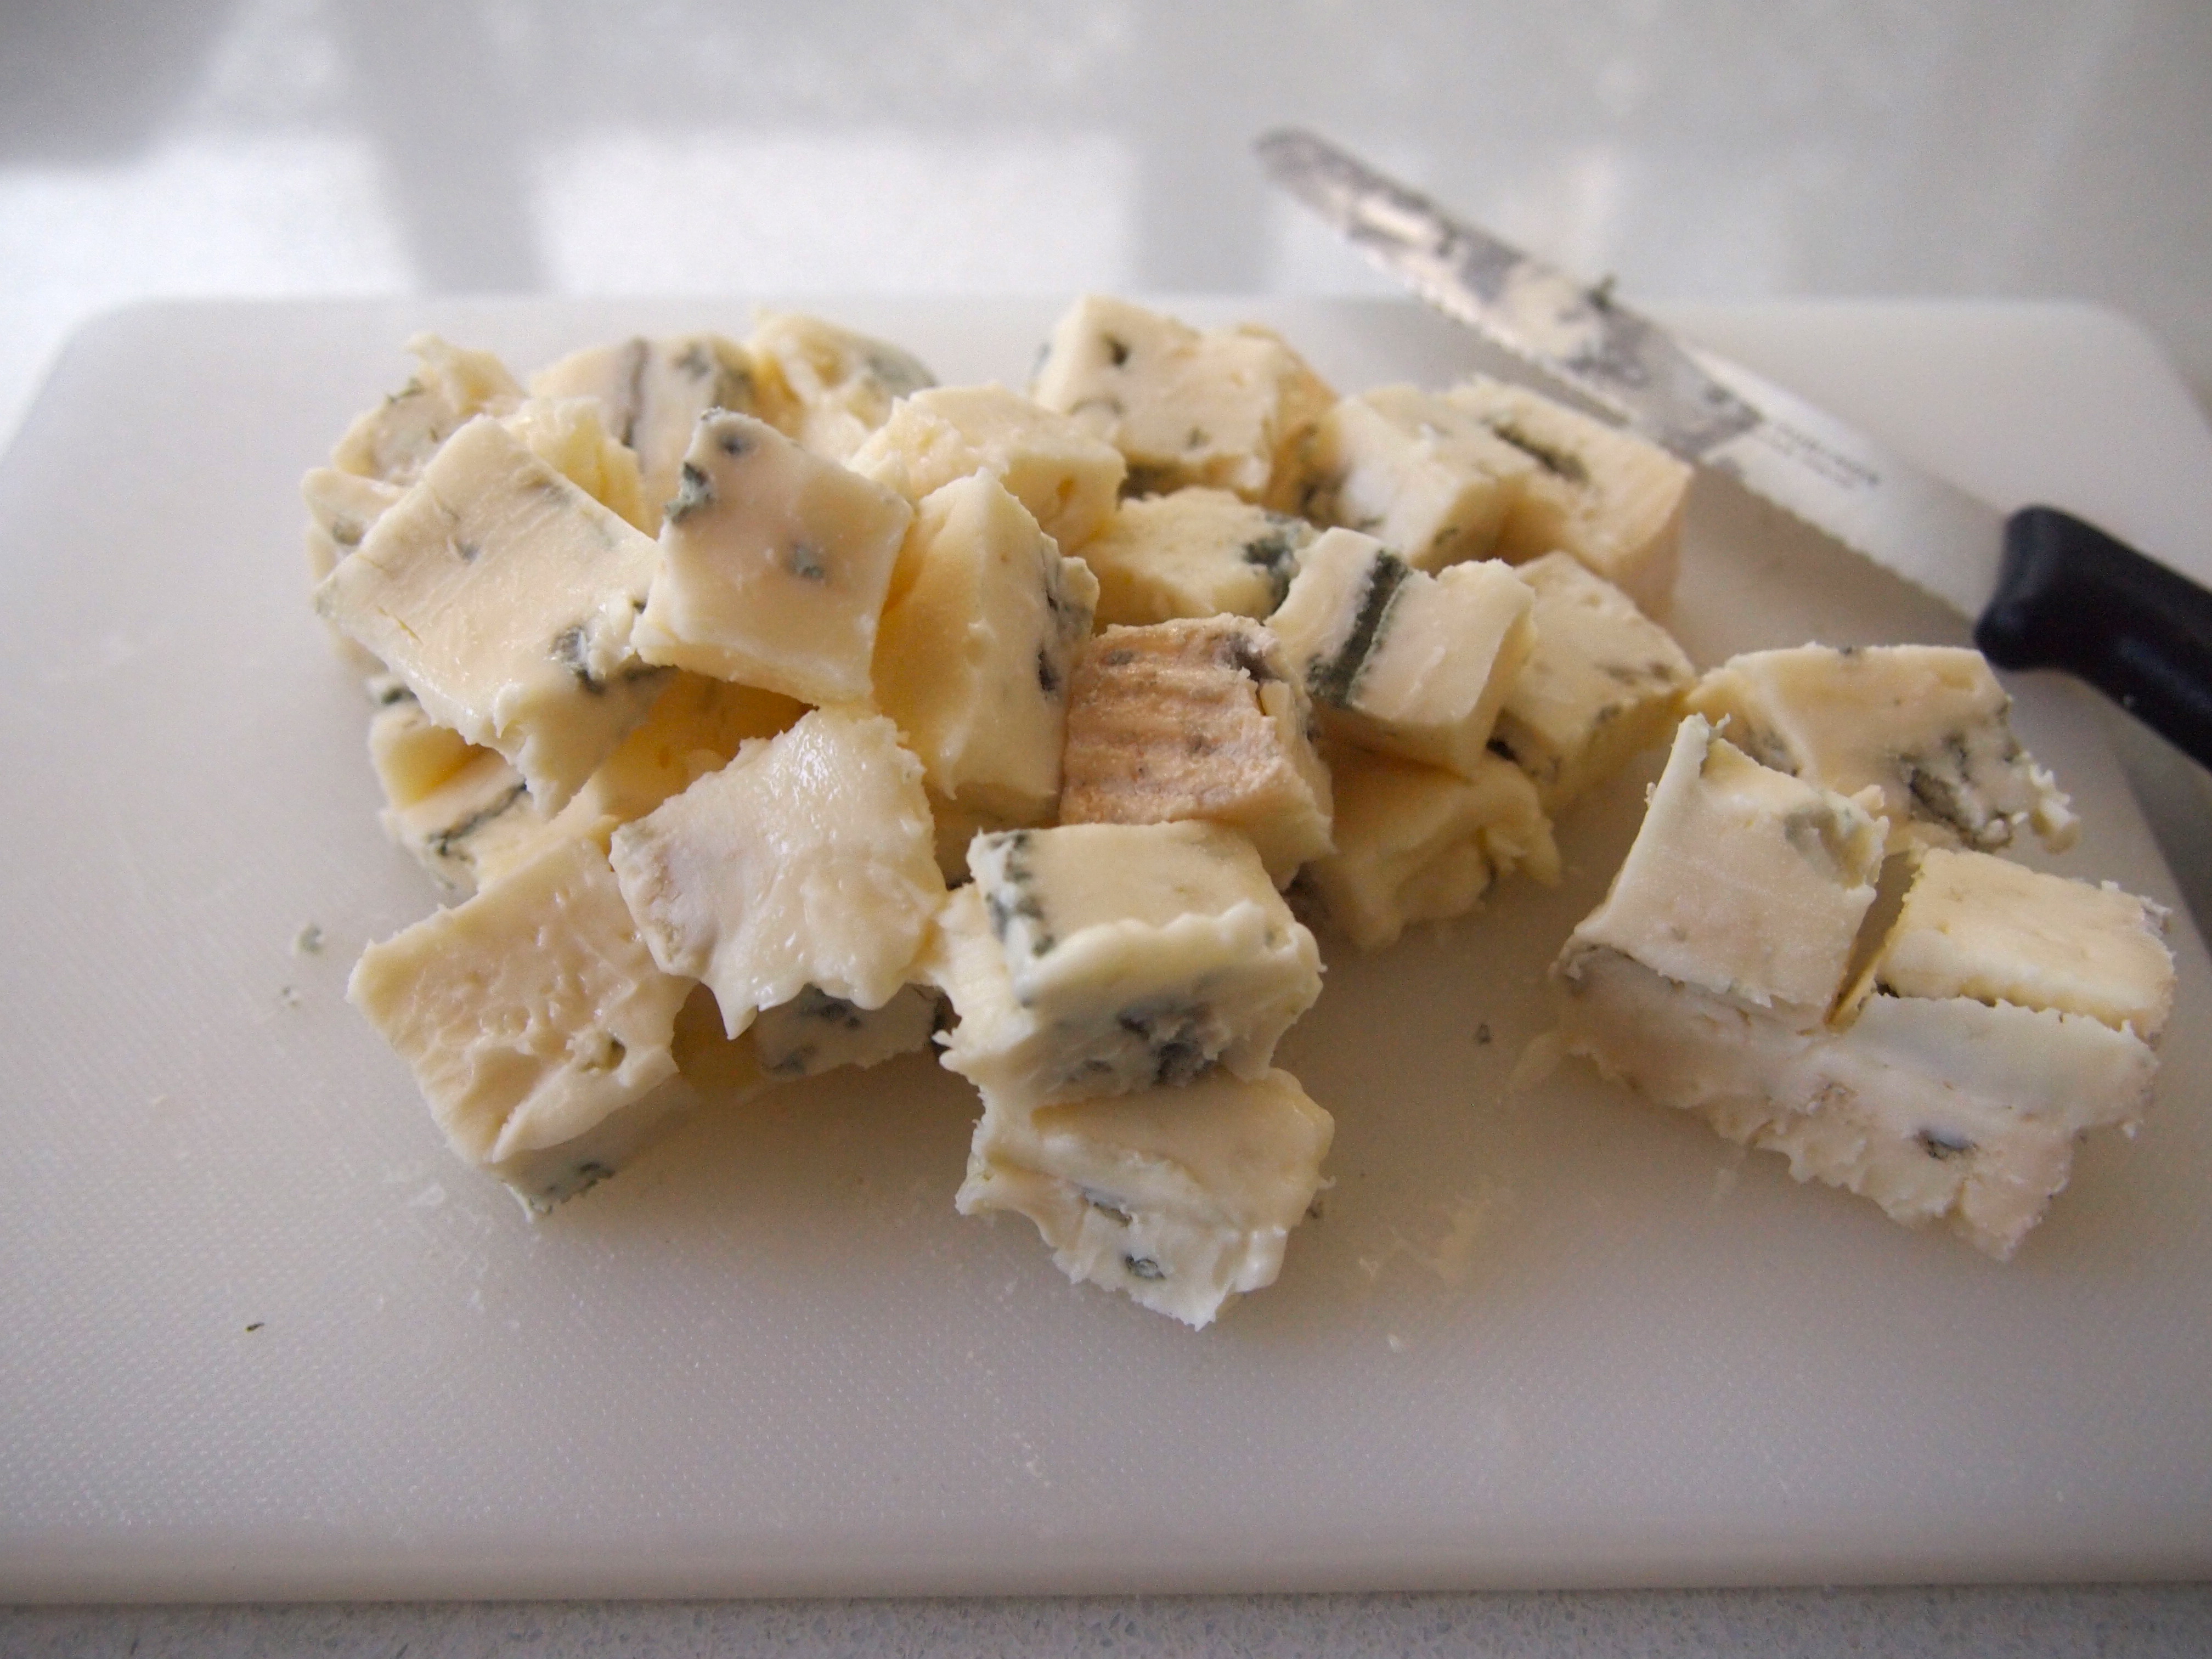
Cover and refrigerate for about an hour, but it can sit longer without coming to any harm. Bring the salad back to room temperature when you’re ready to serve. Cut the blue cheese (again the cheese should be at room temperature) into small chunks and add most of them to the salad along with the walnuts. Gently toss the salad making sure you don’t crumble the cheese too much, it’s best to use your hands rather than salad servers or tongs. Place into a large shallow serving bowl, scatter the remaining blue cheese on top and drizzle with the remaining balsamic dressing.

Shredded Red Cabbage,Raisin & Gorgonzola Salad with Balsamic Dressing

Jun 3, 2013
mustardwithmutton

no comments

Coconut Cake

Ina Garten's Coconut CakeA couple of weeks ago it was my niece’s birthday and she requested either a coconut cake or a coconut cream pie as her birthday cake – too many episodes of Gilligan’s Island I think! I dismissed the idea of a coconut cream pie although that does sound rather delish and opted for the coconut cake because I knew the doyenne of all things baked, Ina Garten, has a wonderful coconut cake recipe which she adapted from her famous and very popular coconut cupcakes. The amount of butter, eggs and sugar in the recipe is a little daunting but a cake of this size will feed at least 12, that’s how I’m justifying it anyway! I must say though that for once I found the quantities in Ina’s recipe a little off. The recipe yields 2 x 9 inch cakes and yet only 1 teaspoon of baking powder is used. I got very little rise in the cakes and will definitely double the amount of baking powder the next time. I also found that the icing recipe yielded far too much icing for the cake and I ended up having to throw a lot of it out. Granted I could perhaps have been a little more generous with the amount I applied (according to my niece anyway) but even so there would’ve been a lot left over. Despite the heft of the ingredients this cake is actually not too sweet or heavy and with the white on white topping of icing and coconut shreds makes for a stunning celebration cake.

Ingredients – Serves 12   Adapted from Ina Garten

340g unsalted butter, at room temperature, plus more for greasing the pans
2 cups sugar
5 extra-large eggs, at room temperature
1½ teaspoons pure vanilla extract
1½ teaspoons pure almond extract
3 cups all-purpose flour, plus more for dusting the pans
1 teaspoon baking powder  – I would double this amount next time as my cakes didn’t rise enough
½ teaspoon baking soda
½ teaspoon salt
1 cup full fat milk
120g shredded coconut – not desiccated coconut

Icing
500g cream cheese, at room temperature
250g unsalted butter, at room temperature
¾ teaspoon pure vanilla extract
¼ teaspoon pure almond extract
500g icing sugar, sifted
180g shredded coconut – not desiccated coconut

Method

Preheat the oven to 180C. Grease 2 (9-inch) round cake pans, then line the bottom with parchment paper and dust the sides lightly with flour. In the bowl of an electric mixer fitted with a paddle attachment, cream the butter and sugar on medium-high speed for 3 to 5 minutes, until light yellow and fluffy. Crack the eggs into a small bowl. With the mixer on medium speed, add the eggs 1 at a time, scraping down the bowl once during mixing. Add the vanilla and almond extracts and mix well. The mixture might look curdled; don’t be concerned. In a separate bowl, sift together the flour, baking powder, baking soda and salt. With the mixer on low speed, alternately add the dry ingredients and the milk to the batter in 3 parts, beginning and ending with dry ingredients. Mix until just combined. Fold in the coconut with a rubber spatula. Pour the batter evenly into the 2 pans and smooth the top with a knife. Bake in the center of the oven for 40 to 45 minutes, until the tops are browned and a cake tester comes out clean. Cool on a baking rack for 30 minutes, then turn the cakes out onto a baking rack to finish cooling. The cakes can be made a few days ahead of time – just keep them well wrapped until ready to frost.

For the frosting, in the bowl of an electric mixer fitted with a paddle attachment, combine the cream cheese, butter, vanilla and almond extract on low speed. Add the icing sugar and mix until just smooth (don’t whip!). To assemble, place 1 layer on a flat serving plate, top side down, and spread with frosting. Place the second layer on top, top side up, and frost the top and sides. To decorate the cake, sprinkle the top with coconut and lightly press more coconut onto the sides. In order for the serving plate to remain clean during the decorating process I find it helps to place strips of baking paper just under the cake, going all the way around and then pulling these out once the cake has finished being decorated. Serve at room temperature.

May 28, 2013
mustardwithmutton

15 comments

Jamie Oliver’s Lamb Shoulder Tikka Masala

Jamie Oliver Lamb Shoulder Tikka MasalaIf you’re a regular reader of this blog you’ll know that I have a thing for slow cooked lamb such as this soy and garlic braised lamb shoulder or this slow cooked lamb pasta but this recipe by Jamie Oliver is the daddy of them all. Talk about a lot of bang for your buck! First you have the advantage of  using a relatively inexpensive cut of meat then add to that the very little amount of effort it takes to transform it into a stellar meal and you have the formula for a great recipe that has oodles of wow factor. Anyway enough of the superlatives and onto the recipe. I say a little amount of effort but that doesn’t necessarily translate to a fast meal. In fact the lamb shoulder needs to be marinated overnight and then cooked for a good few hours. So it’s certainly not one of Jamie’s 15 minute meals but the time involved is mostly inactive cooking and the only real effort, if you can call it that, is to trim the lamb, make a spice paste and  slice a few onions. I doubled the recipe below as I was cooking for ten people and I can highly recommend this meal if you’re feeding a crowd but it’s just as wonderful for a family dinner. I’ve made a few changes to the recipe, mainly increasing the amount of sliced onions in the bottom of the pan. They soak up all the spices and cooking juices from the lamb and create a wonderful sauce that you can’t have too much of. I paired the lamb with a chickpea curry, basmati rice and some raita. This is a warm and comforting meal for the colder months but I could just as easily eat this on a hot and steamy day with a cold beer and some naan bread. As Jamie would say, lovely jubbly!

Ingredients – serves 4 generously   Adapted from Jamie Oliver

1 large whole shoulder of lamb – about 1.8 – 2kg
4 heaped tablespoons tikka paste (recipe below)
1 long red chilli sliced – you can take out the seeds or leave it out entirely
4 garlic cloves, sliced
2-3 sprigs of mint, leaves picked
4 large onions, thinly sliced
1 heaped tablespoon sugar
Salt

Tikka Paste – makes more than you need but the leftovers can be stored in the fridge for another day
1 teaspoon ground cumin
1 teaspoon ground coriander
2 garlic cloves
A thumb size piece of ginger, peeled
1 teaspoon cayenne pepper – or replace with 1 teaspoon mild sweet paprika if you don’t want it spicy
1 tablespoon smoked paprika
2 teaspoons garam masala
1 heaped teaspoon best quality mild curry powder
¼ cup vegetable oil
2 tablespoons tomato paste
2 red chillies – you can cut this down to 1 chilli and take put the seeds if you want it be less spicy
Small bunch coriander
2 tablespoons desiccated coconut
2 tablespoons almond meal
½ teaspoon salt

Method

For the paste, place all the ingredients in a food processor and whiz until smooth. Trim the lamb shoulder of any large deposits of excess fat but don’t go overboard – you need some fat to help keep the meat moist over the long cooking time. Score the fat side of the lamb with a sharp knife and then stab it a few times to make little holes. Stuff the holes with the pieces of chilli and garlic and spread the tikka paste all over the lamb, making sure it gets into every nook and cranny. Cover and marinade in the fridge overnight, or even a couple of days.

Homemade Tikka Paste Lamb with Tikka Paste

When ready to cook, take the lamb out of the fridge to come to room temperature. Preheat the oven to 170C (or 160C fan force). In a deep roasting pan just large enough to hold the lamb (if the pan is too big the onions will burn) arrange the onions slices on the bottom and drizzle with the oil. Season with a little salt and add a heaped tablespoon or two of the left over tikka paste. Stir to coat the onions with the oil and seasonings and place the lamb on top, fat side up. Loosely cover with a piece of wet greaseproof paper and cook, basting occasionally for around 4 hours or until the coating is dark and gnarly and the meat very tender. When the lamb is about an hour away from being ready, add the sugar to the onions and stir around a little, this will help them caramelise a bit more and add a nice touch of sweetness to the sauce. I also tend to remove the baking paper at around the same time so as the meat has a chance to get a nice crust. Lamb shoulder is a pretty forgiving cut so if you want to cook it for longer just turn the heat down a bit. I always put it in about 5 – 5.5 hours before I need to serve it just to make sure I really get it to the falling off the bone stage.

Jamie Oliver Lamb Shoulder Tikka Masala

Carefully remove the lamb from the pan onto a serving platter and leave to rest for 5 minutes. Place the onions and accumulated juices over and around the lamb. Sprinkle the torn mint leaves over the top and use 2 forks to pull apart the meat to serve. Accompany with rice, naan bread and raita.

Jamie Oliver Lamb Shoulder Tikka Masala

May 21, 2013
mustardwithmutton

4 comments

Classic Beef Stroganoff

Beef StroganoffBeef Stroganoff has been around a long time, and by long, I mean since the 1890’s. The dish originated in Russia but quickly became popular in the West, especially in the 1970’s when it was a dinner party standard. It seems to have gone out of fashion since then which is a shame because it’s a delicious and fast meal to prepare. I grew up eating a lot of Stroganoff as my mother is part Russian. My mother uses lamb fillets instead of beef as it was more readily available in Iran where she spent much of her life – she still uses lamb fillets (and an astonishing amount of cream!) and serves the Stroganoff in the very traditional and classic way which is with thinly cut French fries. This combination isn’t actually as strange as you’d think; the tender beef in the creamy sauce being a great contrast to the crispy potatoes. Over the years the recipe for beef Stroganoff has been really messed about, with everything from red peppers to wine being added into the mix. But the original recipe is perfect in it’s simplicity; onions, beef, paprika, mushrooms and sour cream – that’s it, nothing more and nothing less is required. I serve my Stroganoff with buttered fettucini which strictly speaking isn’t authentic but after the addition of the sour cream it feels far too decadent to pair it with French fries. Whatever you decide to serve your Stroganoff with, be it rice, pasta or French fries, it’ll be delicious and a dish worthy of bringing back into fashion.

Ingredients – Serves 4

40g butter, divided
1 tablespoon olive oil
400g fillet steak
1 large onion, or 2 small onions, finely sliced
1 ½ teaspoons sweet Hungarian paprika
400g mushrooms, thinly sliced – I like to use 300g button mushrooms and 100g shitake mushrooms
23 cup light sour cream
Salt & freshly ground black pepper
2 tablespoons finely chopped parsley

Method

Heat a third of the butter in a medium size skillet or frypan and when melted add the onions and a pinch of salt. Cook on medium low heat for about 10 minutes until the onions are soft, being careful to not get any colour on them. I find it helps to add a couple of tablespoons of water to the onions as the steam aids in getting them soft and wilted without having to add more oil. Just keep stirring and cooking until the water has evaporated and the onions are cooking only in the oil again. Add the paprika and stir to combine and cook for a couple of minutes more. Remove the onions to a bowl and set aside.

To the same pan add half the remaining butter and the mushrooms. Cook stirring occasionally until the mushrooms have softened and just starting to brown. Season with salt and pepper and remove from the pan and set aside with the onions.

Classic Beef Stroganoff

Heat the remaining butter in the frypan along with the olive oil. Turn the heat up and add the beef slices. Cook over high heat stirring the meat around every now and then until the meat has seared and changed colour. Be careful to not overcook the meat at this stage, you just want a slight bit of colour but not to have the beef cooked all the way through. Season the beef with salt and a generous amount of black pepper. Return the onions and mushrooms to the pan and stir to combine. Add the sour cream and bring to a simmer. Cover the pan and cook on low heat for 5 minutes. By this stage the meat will be just cooked through and very tender. If the sauce has thickened too much and you want it to be slightly runnier add a small splash of boiling water and mix well. Sprinkle the stroganoff with the chopped parsley and serve with pasta, rice or French fries.

Classic Beef Stroganoff

May 14, 2013
mustardwithmutton

6 comments

Crispy Asian Pork Belly with Chilli Caramel Vinegar and Apple, Fennel Slaw

Crispy Asian Pork Belly with Chilli Caramel Vinegar and Apple, Fennel SlawThis is a show stopper of a dinner. If you love tender luscious pork that’s spiked with Asian flavours and topped with the crispiest of cracklings then this is a dish you’re going to want to make. The pork element is based on Chinese style siu yuk pork which isn’t traditionally served with any sauce but I do love me some sauce so I thought a South-East Asian chilli caramel vinegar would compliment the pork – as we know pork loves to be paired with anything sweet and the chilli vinegar helps cut through the richness of the pork beautifully. You could always serve this with some vegetables, steamed Asian greens would work well but I wanted to have something a little fresher and crunchier. The salad I chose is a combination of finely shredded cabbage, fennel, red onion and apples. These vegetables don’t necessarily scream Asian but when some coriander and green chilli is tossed through at the last minute and the dressing is made of rice wine vinegar and sugar it suddenly takes on a very modern Asian flavour profile and pairs with the pork perfectly. This is perhaps a little time consuming for a mid week dinner (plus you need to marinade the pork for 24 hours) but if you want to serve a special meal over the weekend or have pork loving friends coming over this is what you should put on the menu.

Ingredients – Serves 4

For the Pork Belly
1 x 1.5-2 kg pork belly
1 tablespoon sichuan peppercorns
1 teaspoon black peppercorns (I used Kampot peppercorns)
2 tablespoons flaky sea salt, plus a little extra
2 teaspoons five spice powder
2 teaspoons sugar

For the Chilli Caramel Vinegar
125g soft brown sugar
3 tablespoons soy sauce
1 long red chilli, finely sliced
Thumb size piece of ginger, cut into fine julienne
3 tablespoons fish sauce
Juice of 1 lime
¼ cup red wine vinegar

For the Apple Fennel Slaw
½ cup rice wine vinegar
1 teaspoon salt
3 tablespoons sugar
1 red onion
1 baby fennel, or half a large fennel
¼ savoy cabbage
1 Lebanese cucumber
2 red apples
1 long green chilli
1 cup coriander leaves

Method

For the pork: Roast the peppercorns in a small dry pan until they are fragrant and then grind them in a mortar and pestle. Mix with the sea salt, five spice powder and sugar. Score the pork skin with a very sharp knife or alternatively prick it all over with a sharp skewer. Pour a kettle of hot water over the skin and let it drain, then dry thoroughly. Rub the meat side of the pork belly with the spice mixture and rub a little flaky sea salt over the skin. Leave it in the fridge overnight. Bring the pork to room temperature and dry the skin thoroughly – I like to use a kitchen blow torch to make sure it’s very dry. Preheat the oven to 220C. Put the pork skin side up on a roasting rack, on top of a baking tray full of water. Roast it for 30 minutes, then lower the temperature to 180C and cook for another 1½ hours, topping up with water as needed. Increase the temperature once more to 230C and roast for a final 20-30 minutes. Rest the meat for 10 minutes, uncovered, before slicing.

Asian Crispy Pork Belly

For the chilli caramel vinegar: Put the sugar in a small pan with 5 tablespoons of water and the soy sauce and boil until the sugar has melted and become caramel like. Add the chillies and ginger. Stir well. Add the fish sauce, lime juice and vinegar. Simmer for about 5 minutes or until the sauce becomes slightly thick and syrupy.

OLYMPUS DIGITAL CAMERA

For the apple fennel slaw: Place vinegar, salt and sugar in a small bowl and mix to combine. Slice all the vegetables finely with a mandolin or use the fine slicing blade on a food processor. Place into a large bowl and mix with your hands to evenly combine all the ingredients. Add the coriander leaves and dressing and mix once more to thoroughly coat all the vegetables with the dressing.

Apple & Fennel Coleslaw

To serve place a slice of the pork belly on each plate and spoon some of the caramel chilli over and around the pork. The salad can be plated individually or placed on the table. I like to also serve some plain white rice on the side.

Crispy Asian Pork Belly with Chilli Caramel Vinegar and Apple, Fennel Slaw

May 10, 2013
mustardwithmutton

no comments

Spicy Prawns with Angel Hair Pasta

Spicy Prawns with Angel Hair PastaThis recipe is a bit of a mish-mash of cuisines; it’s part South-East Asian, part Indian and with the pasta element, part Italian. A little confused I admit but it’s quite addictive. You could limit it’s culinary passport somewhat and replace the angel hair pasta with noodles or rice but Italian pastas have a different, softer texture and I prefer them here to the denseness of Asian noodles. This is real comfort food and made all the better for how quickly it can be put together. If I can’t decide what I’m in the mood for but want something tasty, satisfying and quick this is what I make and it tick’s all the boxes. You can make this as spicy or as mild as you like and if you’re making it for the family you can leave the chilli element out entirely without any ill effect. In fact I think this would be a sure fire hit with the kids –  that slight sweetness from the peanut butter and palm sugar is very alluring for both children and adults alike. So next time you’re torn between Italian or Asian for dinner, why not have both?

Ingredients – Serves 4

3 tablespoons vegetable oil
500g green prawns, peeled and deveined
1 large onion, sliced
5 cloves of garlic, chopped
¼-½ teaspoon chilli powder – depending on how hot you like it, but it can be left out entirely
1 teaspoon garam masala
½ teaspoon tumeric
1 heaped teaspoon good quality mild curry powder
2 large tomatoes, diced
1 teaspoon salt
Juice and zest of 1 lime
1 cup light coconut cream
2 tablespoons smooth peanut butter
1 tablespoon palm sugar
500g angel ha1r pasta
Leaves from a few sprigs of fresh coriander or parsley to garnish

Method

Heat the oil in a medium size fry pan and when hot add the onions and cook until soft; you don’t want to get too much colour on them so stir them frequently and adjust your heat if they start to scorch. Add the garlic and cook for a few more minutes. Add the chilli powder, garam masala, turmeric and curry powder and sauté for a few minutes to cook out the spices. Add the tomatoes, salt, lime juice and zest and cook until the tomatoes have started to wilt. Add the coconut milk, peanut butter and palm sugar. Bring to the boil then reduce the heat and simmer for 15-20 minutes; then add the prawns and simmer again for a further 5-8 minutes until the prawns are cooked through. If your sauce is reducing too much add a touch of chicken stock or cover the pan.

Bring a large pot of salted water to the boil and cook the pasta until just done. Drain and return to the pan it was cooked in and add a little bit of the curry sauce to stop the pasta sticking. To serve place some pasta on each plate and top with a generous helping of prawns and sauce. Garnish with a few leaves of parsley or coriander and serve straight away.

Spicy Prawns with Angel Hair Pasta

May 7, 2013
mustardwithmutton

no comments

Plum Cake Tatin

Plum Cake Tatin - Ina GartenThis recipe is a little spin on the traditional tarte tatin and comes courtesy of the Barefoot Contessa, Ina Garten.  Instead of shortcrust pastry  being used to cover the caramelised fruit, in this case plums, a small amount of cake batter is made – literally just enough to spread over the top of the fruit and then baked and inverted in the same way as a traditional tarte tatin. At first I thought it would be similar to an upside down cake but it really isn’t as there is more fruit than cake so it has the appearance and shallow depth of a tart but using cake batter instead of pastry – very clever really. The result is a wonderful cake that has all the wow factor of a tarte tatin but is simpler to make and very delicious; the caramelised juices from the fruit soaking into the dense batter make this cake very moreish. I served this for dessert with cinnamon ice cream and the leftovers were just as good eaten cold from the fridge the next day.

Ingredients   Adapted from Ina Garten

90g unsalted butter, at room temperature, plus extra for greasing the dish
6 to 8 plums, cut in half and pitted
1 ¾ cups caster sugar, divided
2 extra-large eggs, at room temperature
⅓ cup sour cream
½ teaspoon grated lemon zest
½ teaspoon pure vanilla extract
1 cup plus 2 tablespoons all-purpose flour
½ teaspoon baking powder
¼ teaspoon salt

Method

Preheat the oven to 180C. Generously butter a 9-inch glass pie dish ( I used my Le Creuset cast iron tart tatin dish) and arrange the plums in the dish, cut side down. Combine 1 cup of the sugar and ⅓ cup water in a small saucepan and cook over high heat until it turns a warm amber colour. Swirl the pan but don’t stir. Pour evenly over the plums.

Meanwhile, cream the butter and the remaining ¾ cup of sugar in the bowl of an electric mixer fitted with the paddle attachment, until light and fluffy. Lower the speed and beat in the eggs one at a time. Add the sour cream, lemon zest, and vanilla and mix until combined. Sift together the flour, baking powder, and salt and, with the mixer on low speed, add it to the butter mixture. Mix only until combined. Pour the cake batter evenly over the plums and bake for 30 to 40 minutes, until a skewer comes out clean.

Cool for 15 minutes, then invert the cake onto a flat plate. If a plum sticks, ease it out and replace it in the design on top of the cake. Serve warm or at room temperature. Excellent accompanied by a scoop of ice cream or a dollop of creme fraiche.

Barefoot Contessa Plum Cake Tatin

May 3, 2013
mustardwithmutton

no comments

Zuni Cafe’s Roast Chicken

Zuni Cafe's Roast Chicken A while ago I published a post titled Thomas Keller’s Perfect Roast Chicken. I love it for it’s ease and simplicity and it’s been my go to roast chicken recipe ever since. But I decided I needed to do some further testing to see how Thomas Keller’s roast stood up to other hot contenders for this title. One of the most popular and much blogged about roast chicken recipes is from iconic American chef Judy Rodgers from the Zuni Cafe in San Francisco. I’ve been wanting to try this roast chicken recipe for a while but the almost four page long instructions in her Cafe Zuni cook book put me off. On further examination it turned out that most of the instructions related to the accompanying bread salad. It was a cold evening and I was going to serve my roast chicken with bread sauce so the recipe was quickly whittled down to a very manageable few paragraphs. The basis of the roast is very similar to Chef Keller’s in that no fat is added to the chicken, the chicken is roasted at a very high temperature and the bird is in the oven for roughly the same amount of time (50 minutes or so). The major differences are the pre salting of the bird for a good 24 hours prior to roasting, not trussing the chicken and turning the chicken a couple of times whilst it’s in the oven. The pre-salting is done to enhance the moistness of the flesh – a little like a dry brine of sorts and it’s this step that really elevates this chicken. With the high roasting temperature in both recipes it can be easy for the bird to be just a little on the dry side but the pre-salting ensures moist flesh without compromising the crispy skin. The Zuni Cafe chicken is also stuffed with a few tender herbs between the breast and skin which not only looks great but adds wonderful flavour. So this roast is a little more labour intensive and if you’re strict about the salting times, not something you can whip up at a whim but the flavour produced is absolutely worth it and in my opinion results in much more succulent flesh than Thomas Keller’s version. So I now have two fabulous roast chicken recipes – one for when I decide I want a roast chicken quick smart and one for when I’m a little more organised, which ever you decide to cook you won’t be disappointed!

Ingredients   Adapted from Zuni Cafe Cook Book by Judy Rodgers

1 small chicken – 1.6-1.8 kg being ideal, anything bigger and the roasting times will vary
4 sprigs of tender herbs, thyme, rosemary or tarragon – I used thyme
Salt & freshly ground black pepper

Method

Seasoning the bird – you need to do this at least 24 hours prior but 2 days would be even better. Remove and discard the lump of fat inside the chicken. Rinse the chicken and pat very dry inside and out. Be thorough — a wet chicken will spend too much time steaming before it begins to turn golden brown. Approaching from the edge of the cavity, slide a finger under the skin of each of the breasts, making 2 little pockets. Now use the tip of your finger to gently loosen a pocket of skin on the outside of the thickest section of each thigh. Using your finger, shove a herb sprig into each of the 4 pockets. Season the chicken liberally all over with salt and pepper (you need to use a good ¾ of a teaspoon of salt per 500g of chicken). Season the thick sections a little more heavily than the skinny ankles and wings. Sprinkle a little of the salt just inside the cavity, on the backbone, but don’t otherwise worry about seasoning the inside. Twist and tuck the wing tips behind the shoulders. Cover loosely and refrigerate.

Roasting the chicken. Take the chicken out of the fridge and and leave it uncovered for a good hour before you’re ready to roast it so the chicken can come to room temperature. Preheat the oven to 230C – it’s a good idea to invest in an oven thermometer to make sure your oven is actually heated to 230C.. Choose a shallow flameproof roasting pan or dish barely larger than the chicken, or use a 10-inch skillet with an all-metal handle. Preheat the pan in the warming oven until it gets nice and hot. Wipe the chicken dry (really dry) and set it breast side up in the pan. It should sizzle. Place the pan in the center of the oven and listen and watch for it to start browning within 20 minutes. If it doesn’t, raise the temperature progressively until it does. The skin should blister, but if the chicken begins to char, or the fat is smoking, reduce temperature by 25 degrees. After about 25-30 minutes, turn the bird over — drying the bird and preheating the pan should keep the skin from sticking. Roast for another 10-15 minutes, depending on size, then flip back over to recrisp the breast skin, another 10-15 minutes. The chicken will be in the oven between 45 minutes to one hour, depending on the size. For my 1.8kg chicken I roasted it breast side up for 25 minutes then turned it over and roasted it for 15 minutes and then a final 15 minutes on the breast side again, all at 230C in a fan forced oven.

Remove the chicken from the oven and turn off the heat. Lift the chicken from the roasting pan and set on a plate. Carefully pour the clear fat from the roasting pan, leaving the lean drippings behind. Add about a tablespoon of water to the hot pan and swirl it. Slash the stretched skin between the thighs and breasts of the chicken, then tilt the bird and plate over the roasting pan to drain the juice into the drippings. Leave the chicken to rest in a warm place; the meat will become more tender and uniformly succulent as it cools. Cut the chicken into pieces and serve with the pan drippings poured over.

Zuni Cafe's Perfect Roast Chicken

Apr 30, 2013
mustardwithmutton

no comments

Cinnamon Ice Cream

Cinnamon Ice CreamAs much as I love ice cream I prefer to have it as an accompaniment rather than as a dessert on it’s own. Having said that I like nothing more than a scoop of gelato or a cone of ice cream if I am out and about. But for dessert at home I like to pair the ice cream with something and this cinnamon ice cream is one of those flavours that can accompany a whole host of desserts, from pies and tarts to cakes. I’ve served it with tarte tatin, apple pie and more recently with a plum cake. It’s easy to make but you do need to have an ice cream maker. I ummed and ahhed for a while about purchasing one – lack of space in my small kitchen and doubts about how much I would use it being my main concerns. I finally decided on a compromise and bought the ice cream attachment for my Kitchenaid. It doesn’t take up much space, just one small bowl really, and it does a great job. My fear that I wouldn’t use it enough to justify the purchase were instantly put to rest. Believe me, once you have an ice cream maker you will definitely make good use of it. I know there are a lot of great pre-made ice creams out there but they can cost a pretty penny, especially the better quality ones, and for a fraction of the cost you can whip up your own in no time and have the added benefit of knowing exactly what has gone into it, not to mention all the flavour combinations you can create. If you’re new to ice cream making or have recently purchased a machine and want a solid flavour and easy ice cream to start you on your way then this cinnamon ice cream is a fabulous one to try.

Ingredients – Makes 1 litre 

1 teaspoon ground cinnamon
1 stick cinnamon
1 cup full fat milk
½ cup sugar
¼ teaspoon salt
2 cups cream
6 egg yolks

Method

Warm the milk, sugar, salt, cinnamon, cinnamon stick and 1 cup of the cream in a saucepan over medium heat whisking to incorporate the cinnamon. Whisk together the egg yolks in a bowl and slowly pour the warm milk mixture into the egg yolks, whisking constantly to avoid the eggs scrambling. Pour the mixture back into the saucepan. Stir the mixture constantly over medium heat with a wooden spoon or spatula, scraping the bottom as you stir. Cook until the custard becomes thick and the mixture can coat the spoon. A good way to check is by running your finger across the coating on the spoon and for it to not run.

Cinnamon Ice Cream

Pour the custard through a strainer into a clean bowl and add the remaining cup of cream. Stir to incorporate and leave the mixture to cool then chill the mixture thoroughly in the fridge. Once the mixture is completely chilled place in your ice cream maker and churn according to the manufacturer’s instructions.

Cinnamon Ice Cream

Apr 26, 2013
mustardwithmutton

no comments

Foolproof Blender Hollandaise

 Foolproof Blender HollandaiseButter based sauces such as Bernaise and Hollandaise are great recipes to be able to perfect but they can be tricky to get right. For years I battled with split sauces where the butter and yolks separated and even worse, when due to excessive heat the eggs curdled and scrambled. A lot of effort and butter can go down the drain in a matter of minutes and whilst there are some techniques that you can use to bring your sauce back together once it has split or separated, I’ve never had much success with them. So I was determined to find a Hollandaise sauce that was foolproof and this blender method, by none other than Julia Child, is just that. I actually used an immersion blender which I think is just as good but I don’t think a food processor would be ideal. The times I’ve tried this in a food processor the sauce hasn’t come out quite as thick and is slightly runnier. I also can’t bring myself to use quite the amount of butter that is normally called for which can be as much as 250g for 2-3 yolks; I only use half that amount of butter and my sauce has never suffered for it. This technique is so simple and easy that I can’t actually imagine anyone running into any problems. The only tips I have are pretty straightforward ones. Namely to make sure you process the yolks for a good 5 seconds before adding the melted butter; make sure you add the butter in slowly and lastly that your egg yolks are at room temperature.

Ingredients – makes about ¾’s of a cup of Hollandaise  Adapted from Julia Child

3 best quality egg yolks, organic if possible – at room temperature
125g butter
1 tablespoon lemon juice plus a little extra
1/4 teaspoon salt
Pinch of cayenne pepper – optional

Method

Place the butter in a small saucepan and heat until fully melted, hot and foamy. Place the egg yolks in a blender or in a container suitable for an immersion blender. Add the lemon juice, salt and cayenne pepper if you’re using; blend at high speed for about 5 seconds. Then with the blender still going add in the hot butter as slowly as you can. It helps if you can place the butter into a jug to facilitate pouring. As you get towards the end of the butter the sauce will have thickened nicely. At this point you can taste the sauce and add more lemon juice or salt if required. It’s best if the sauce can be used immediately but it can keep for a short amount of time if put into a container of luke warm water.

Easy Blender Hollandaise with Asparagus