Mar 19, 2013
mustardwithmutton

1 comment

Chicken Teriyaki

 Chicken Teriyaki
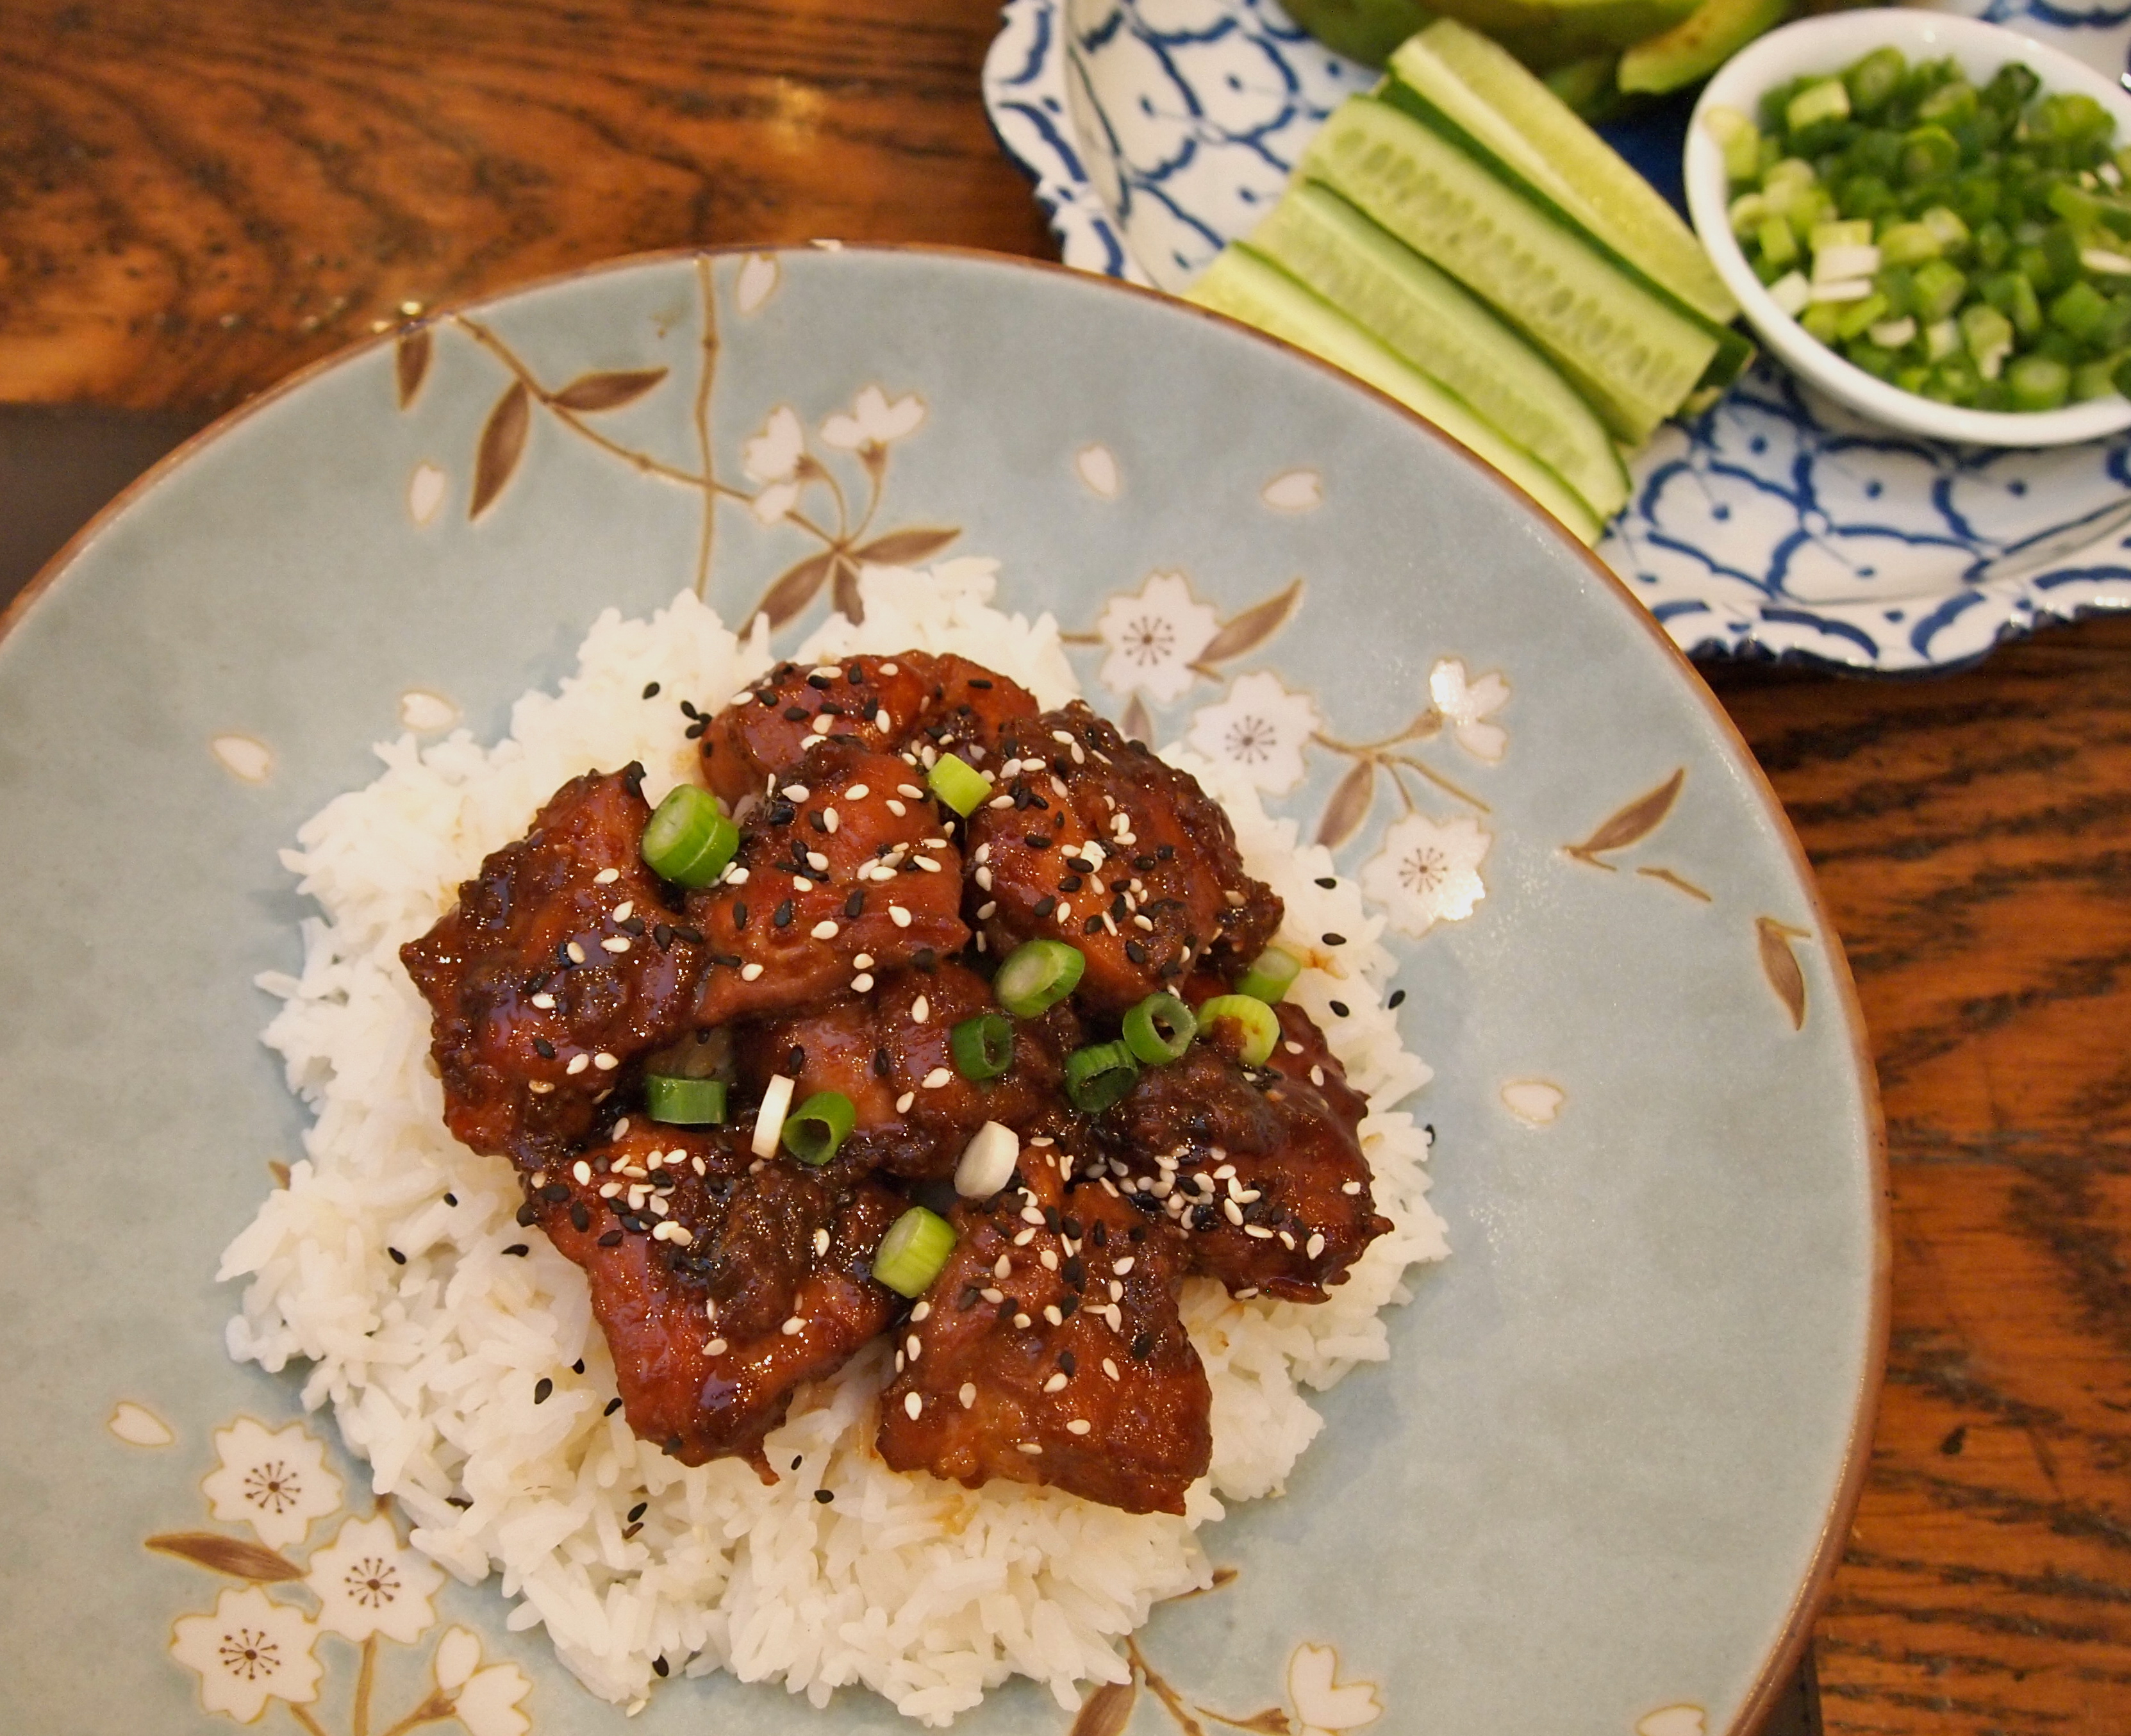
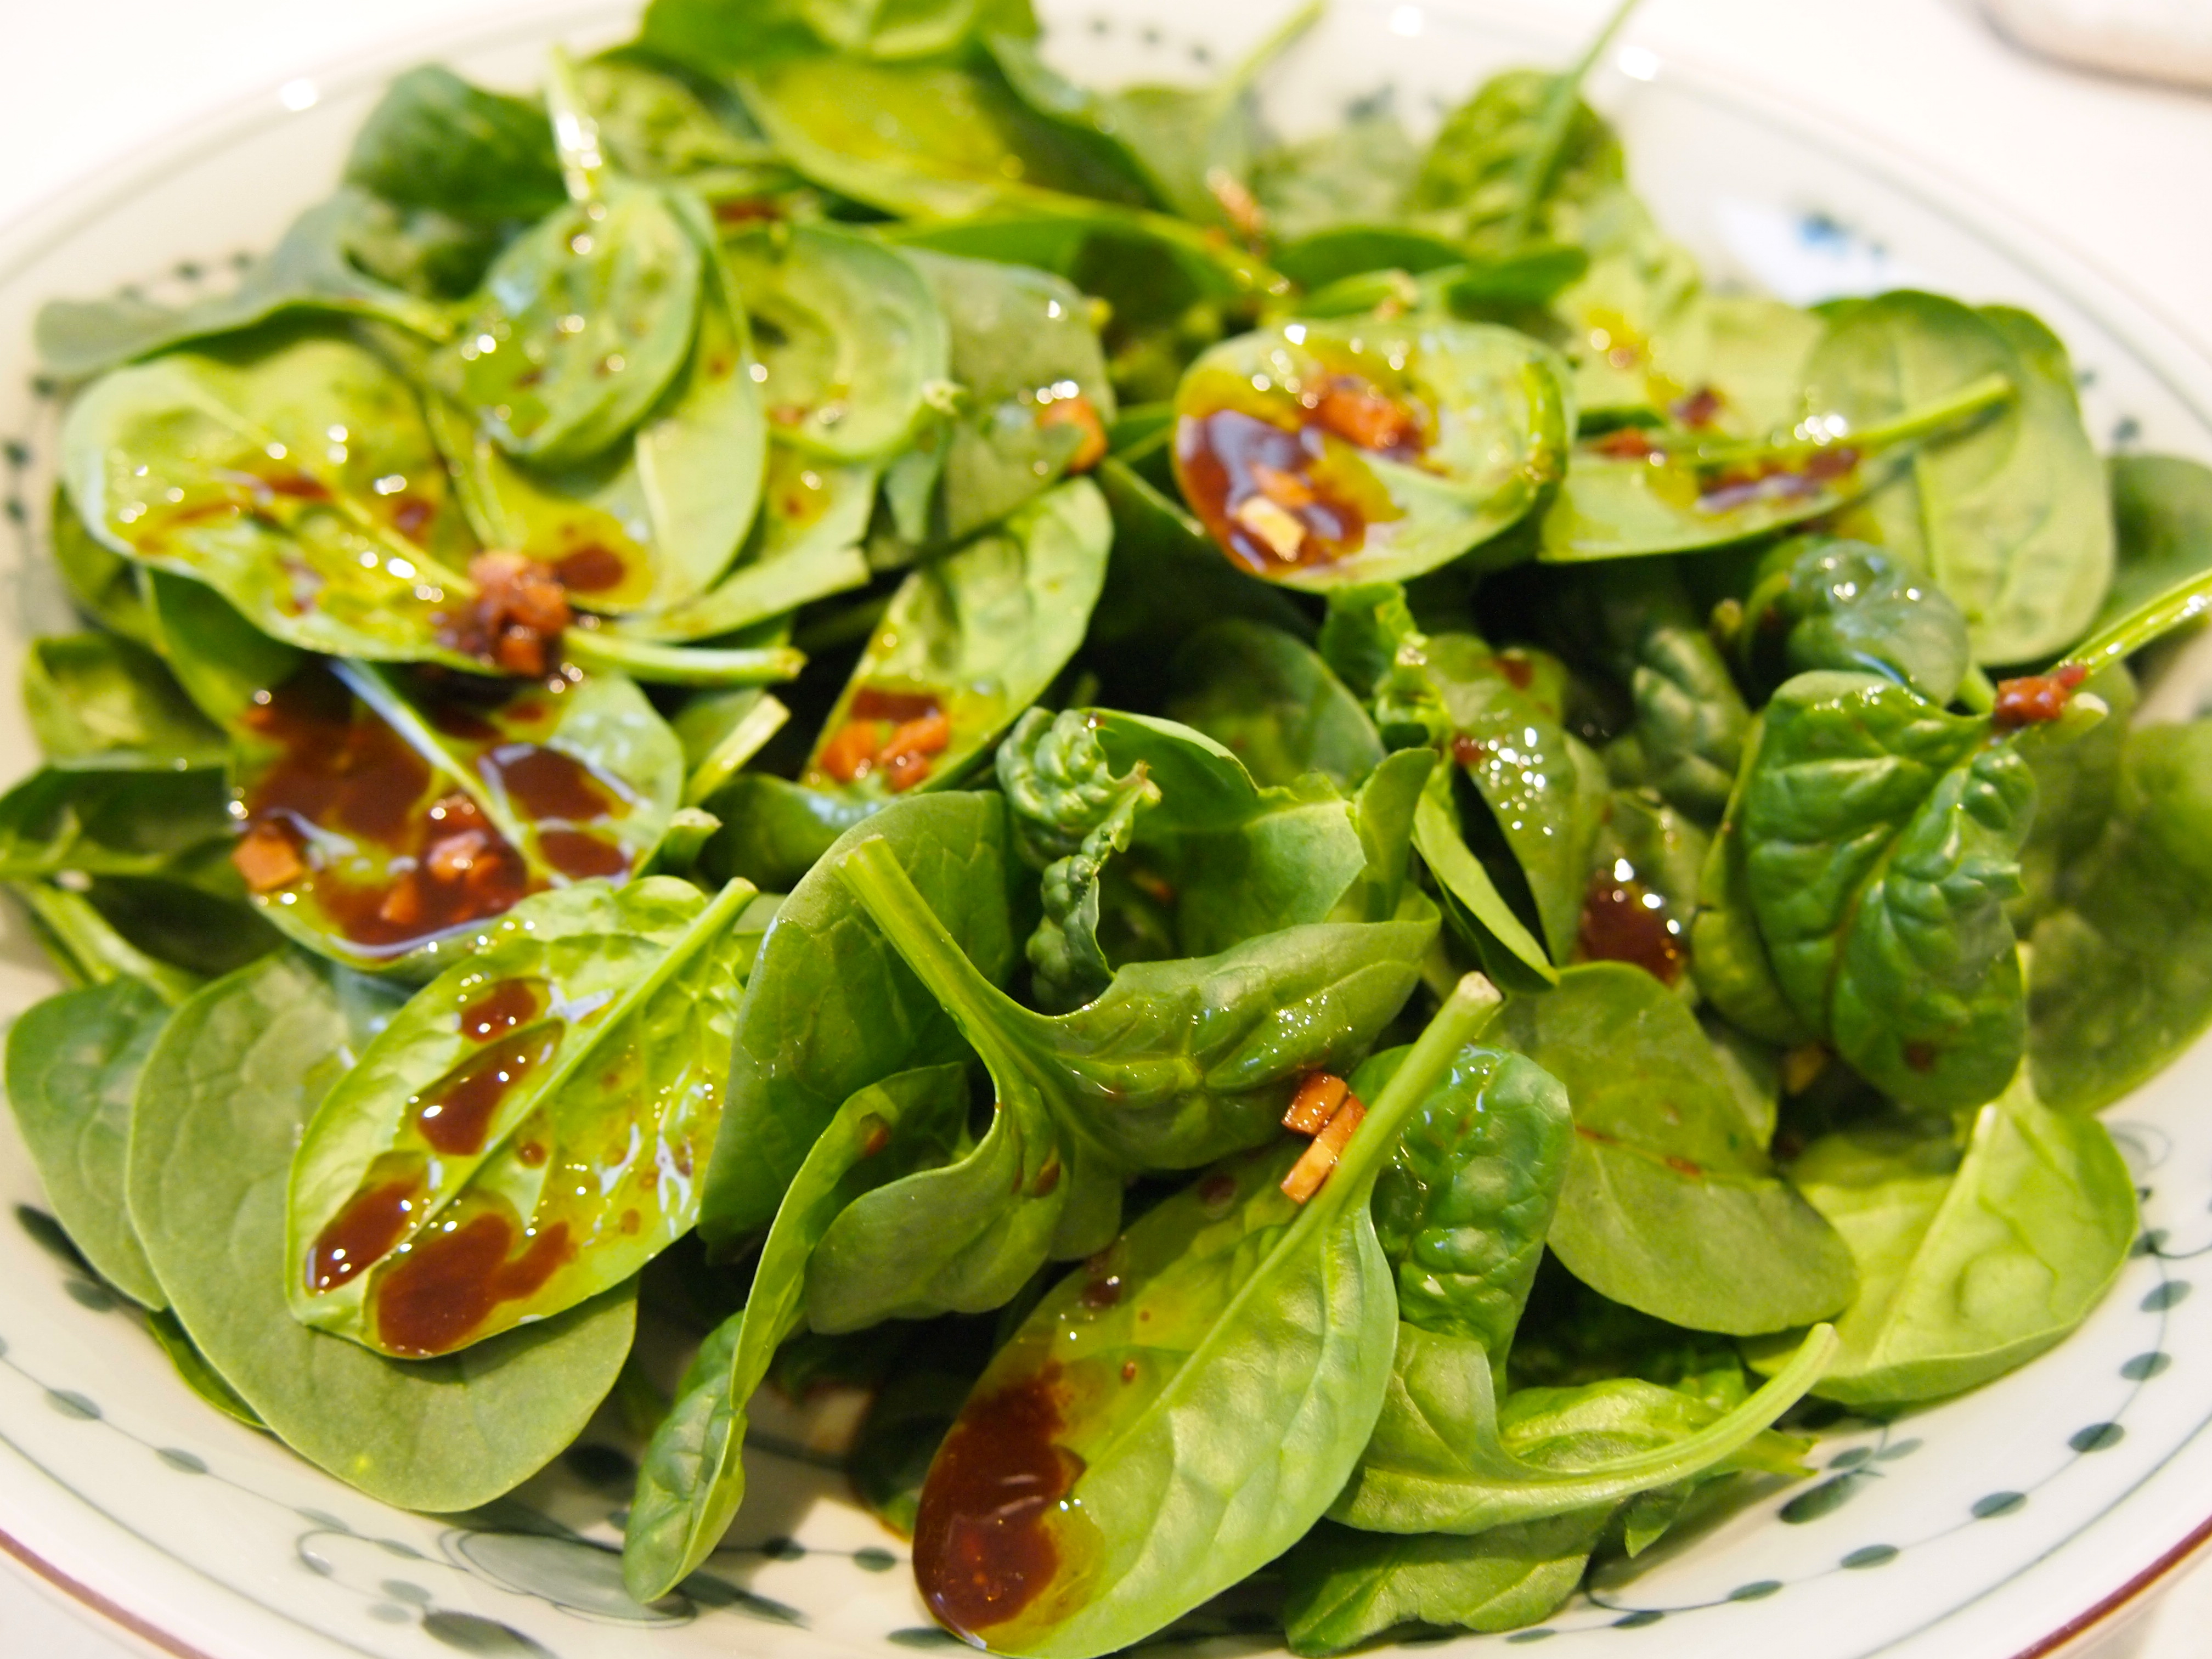
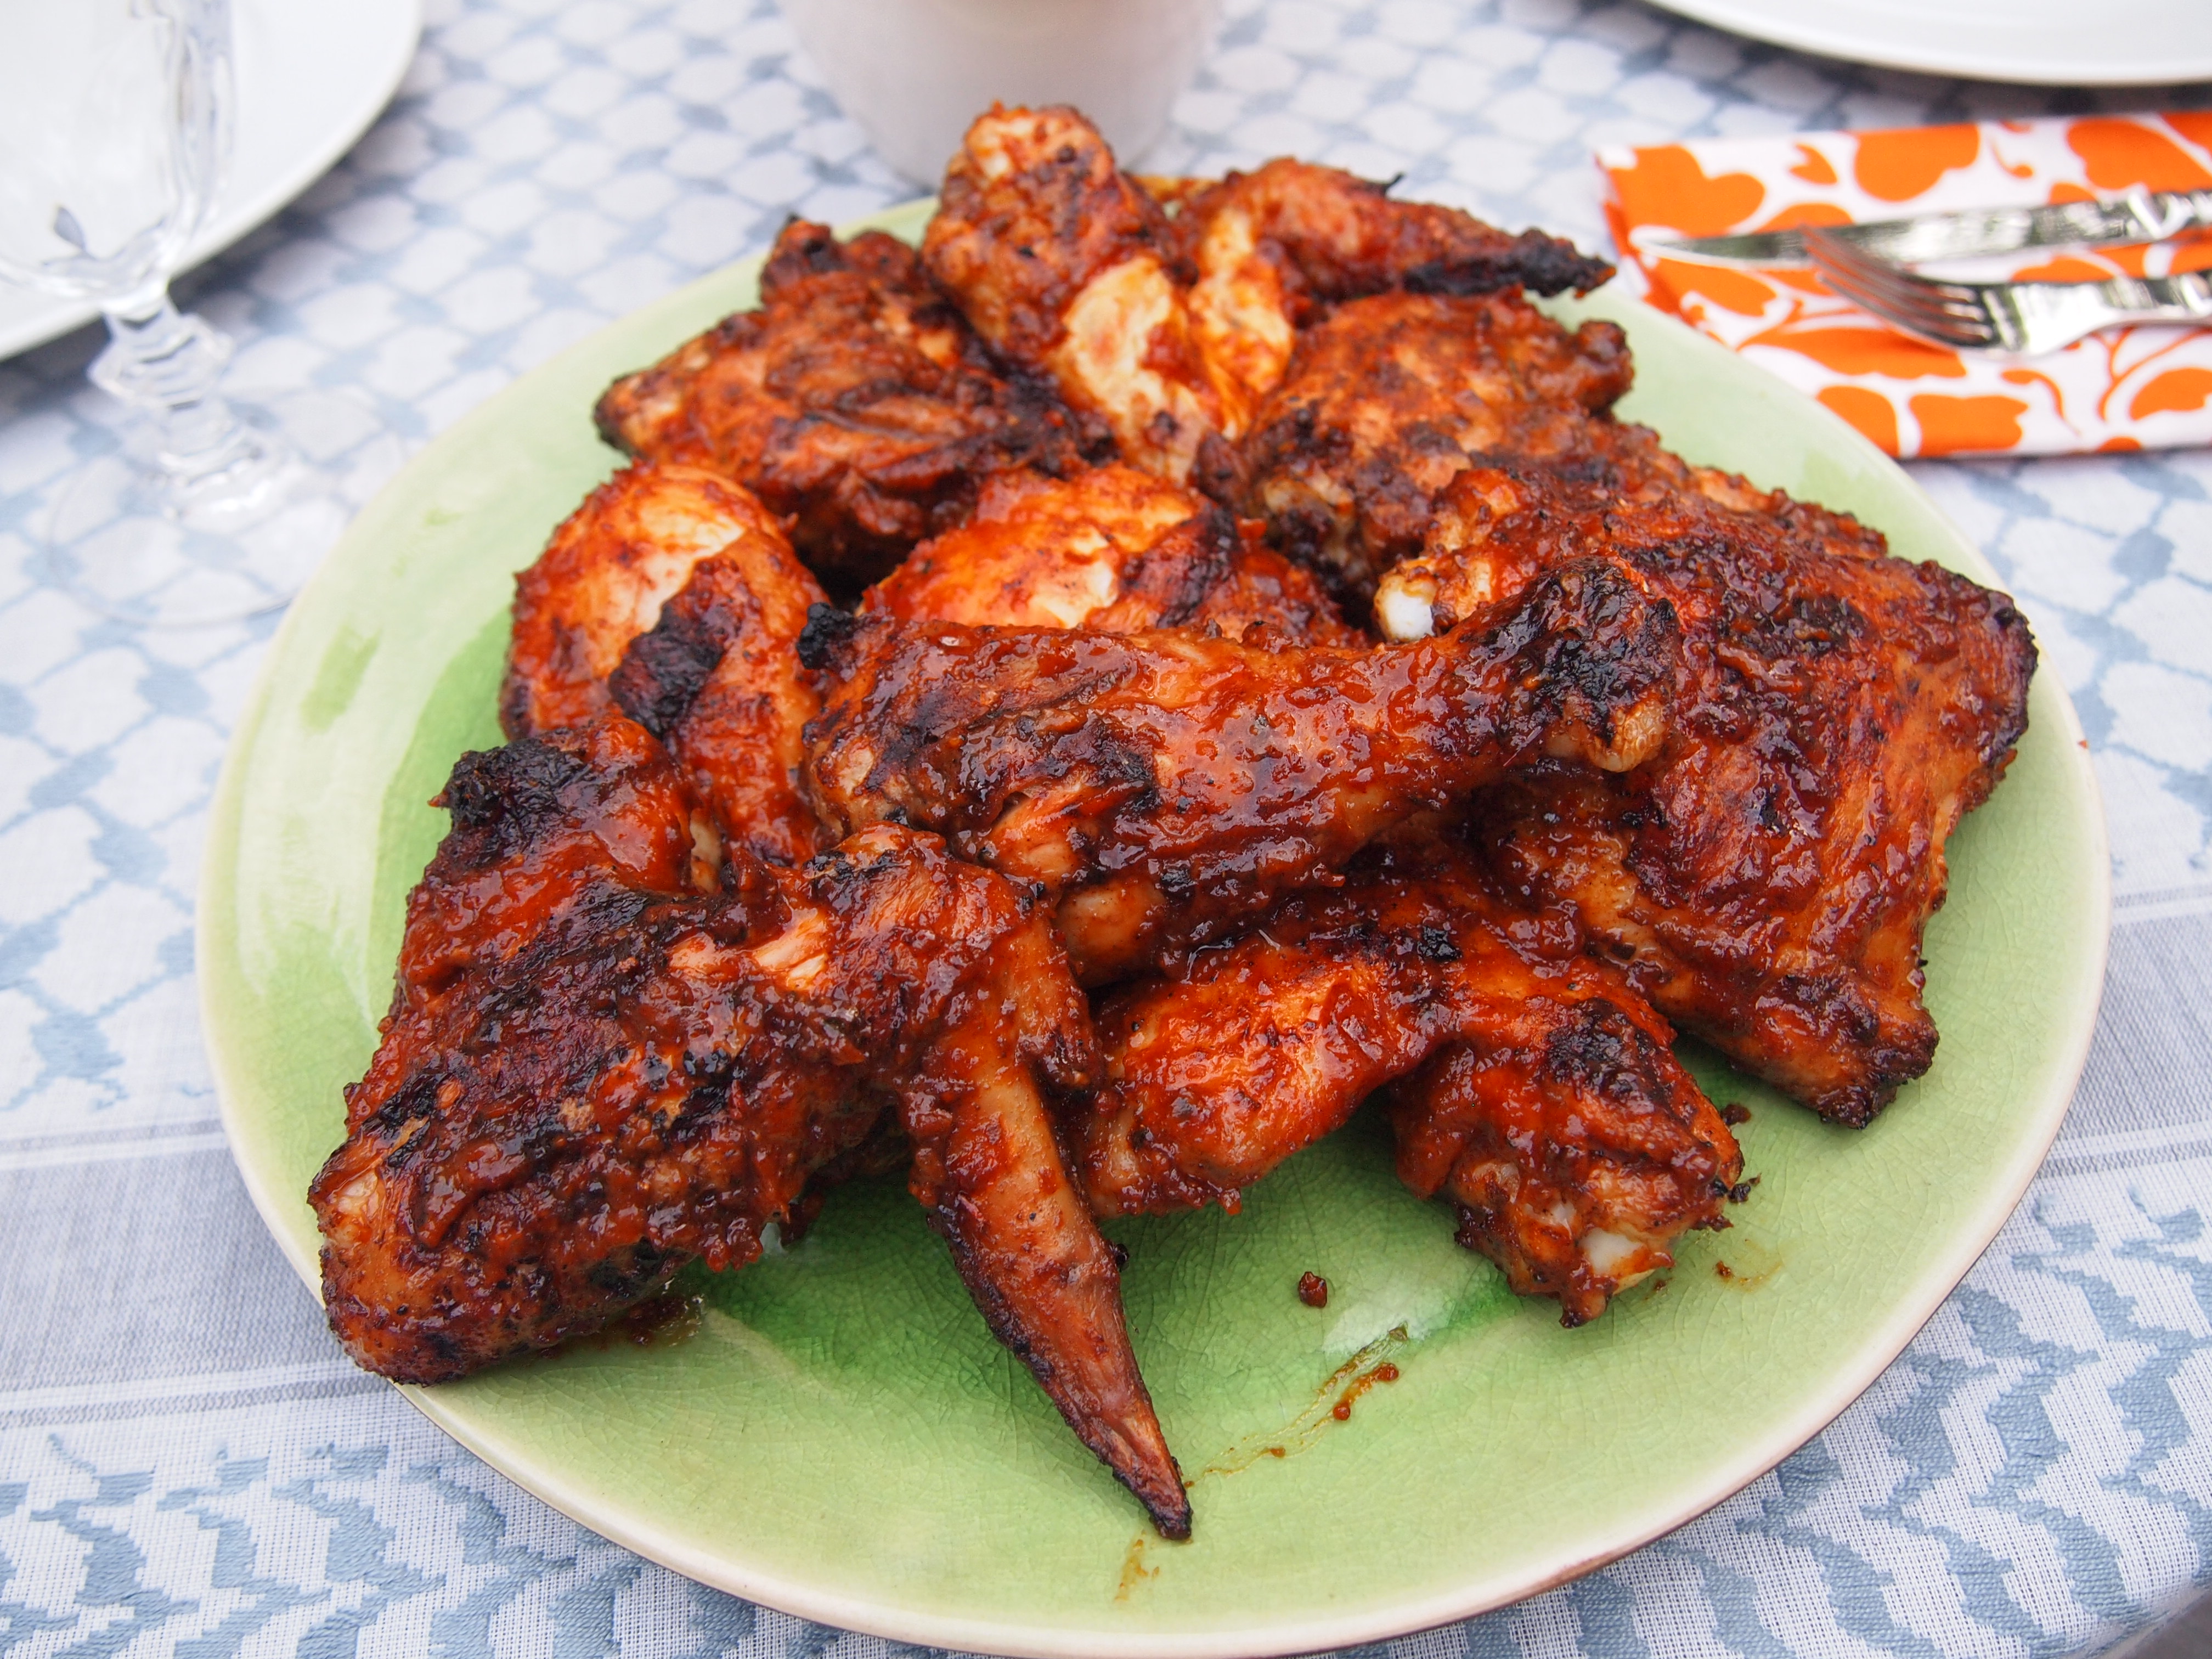
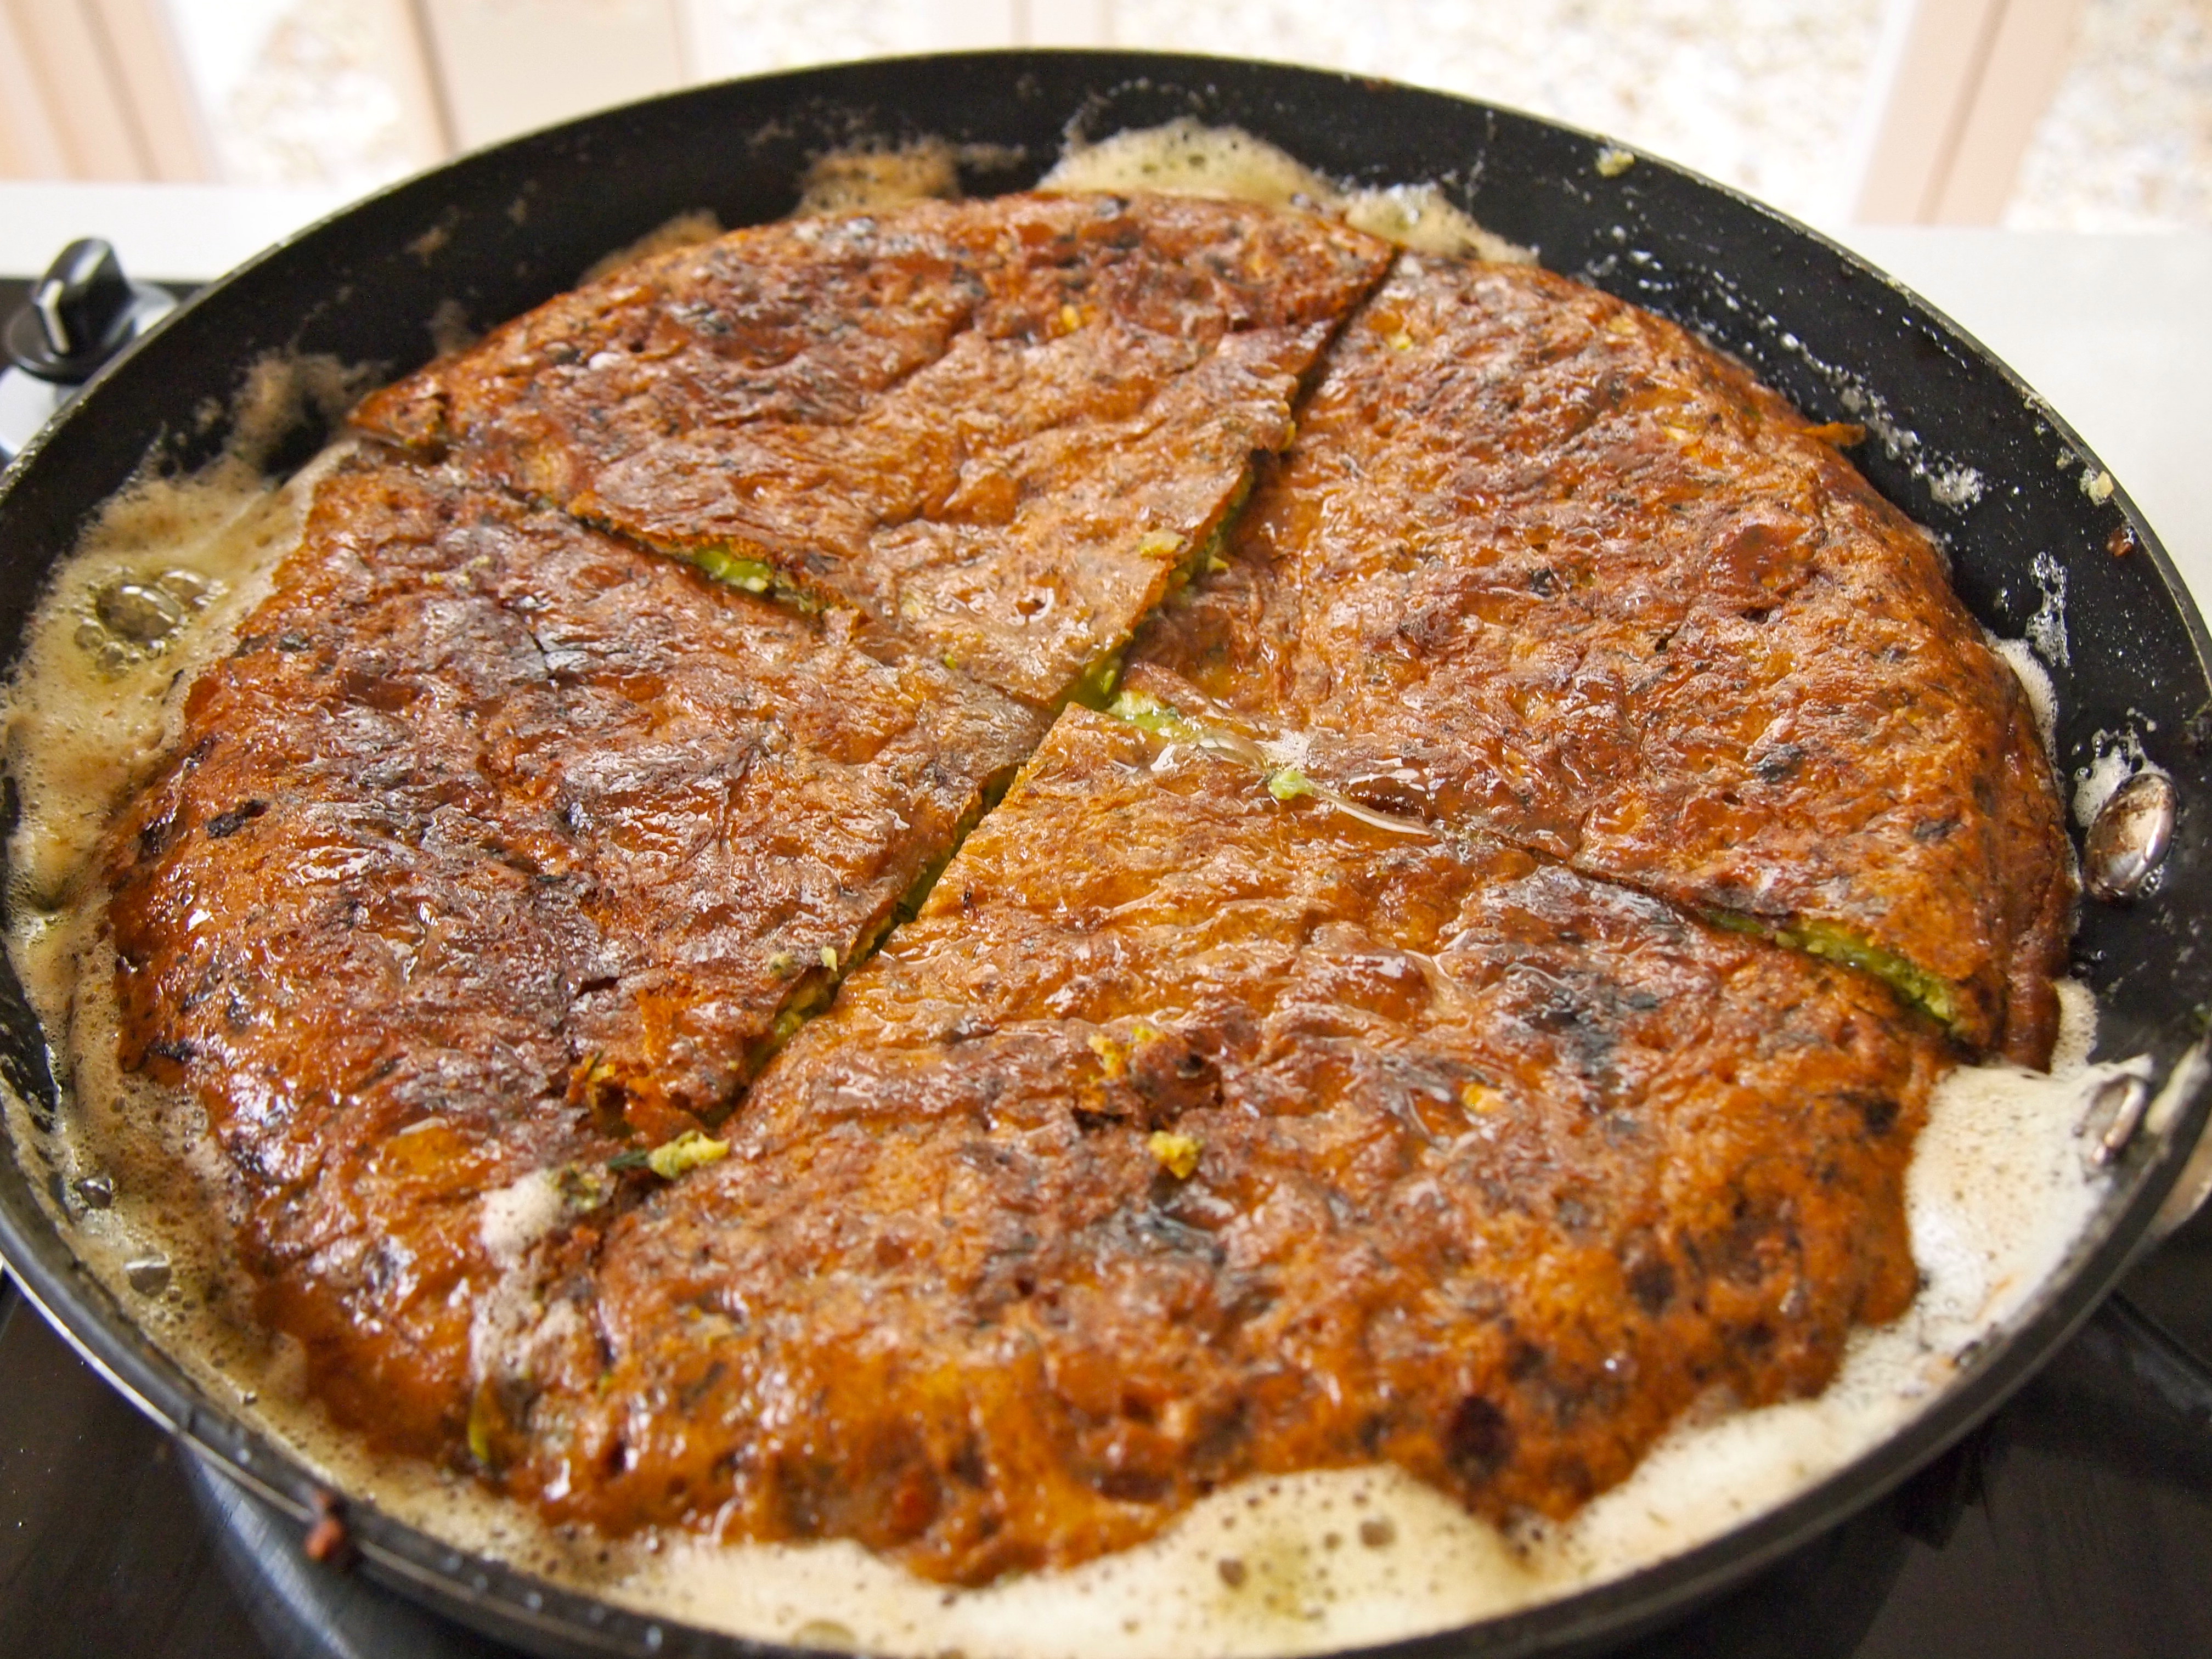
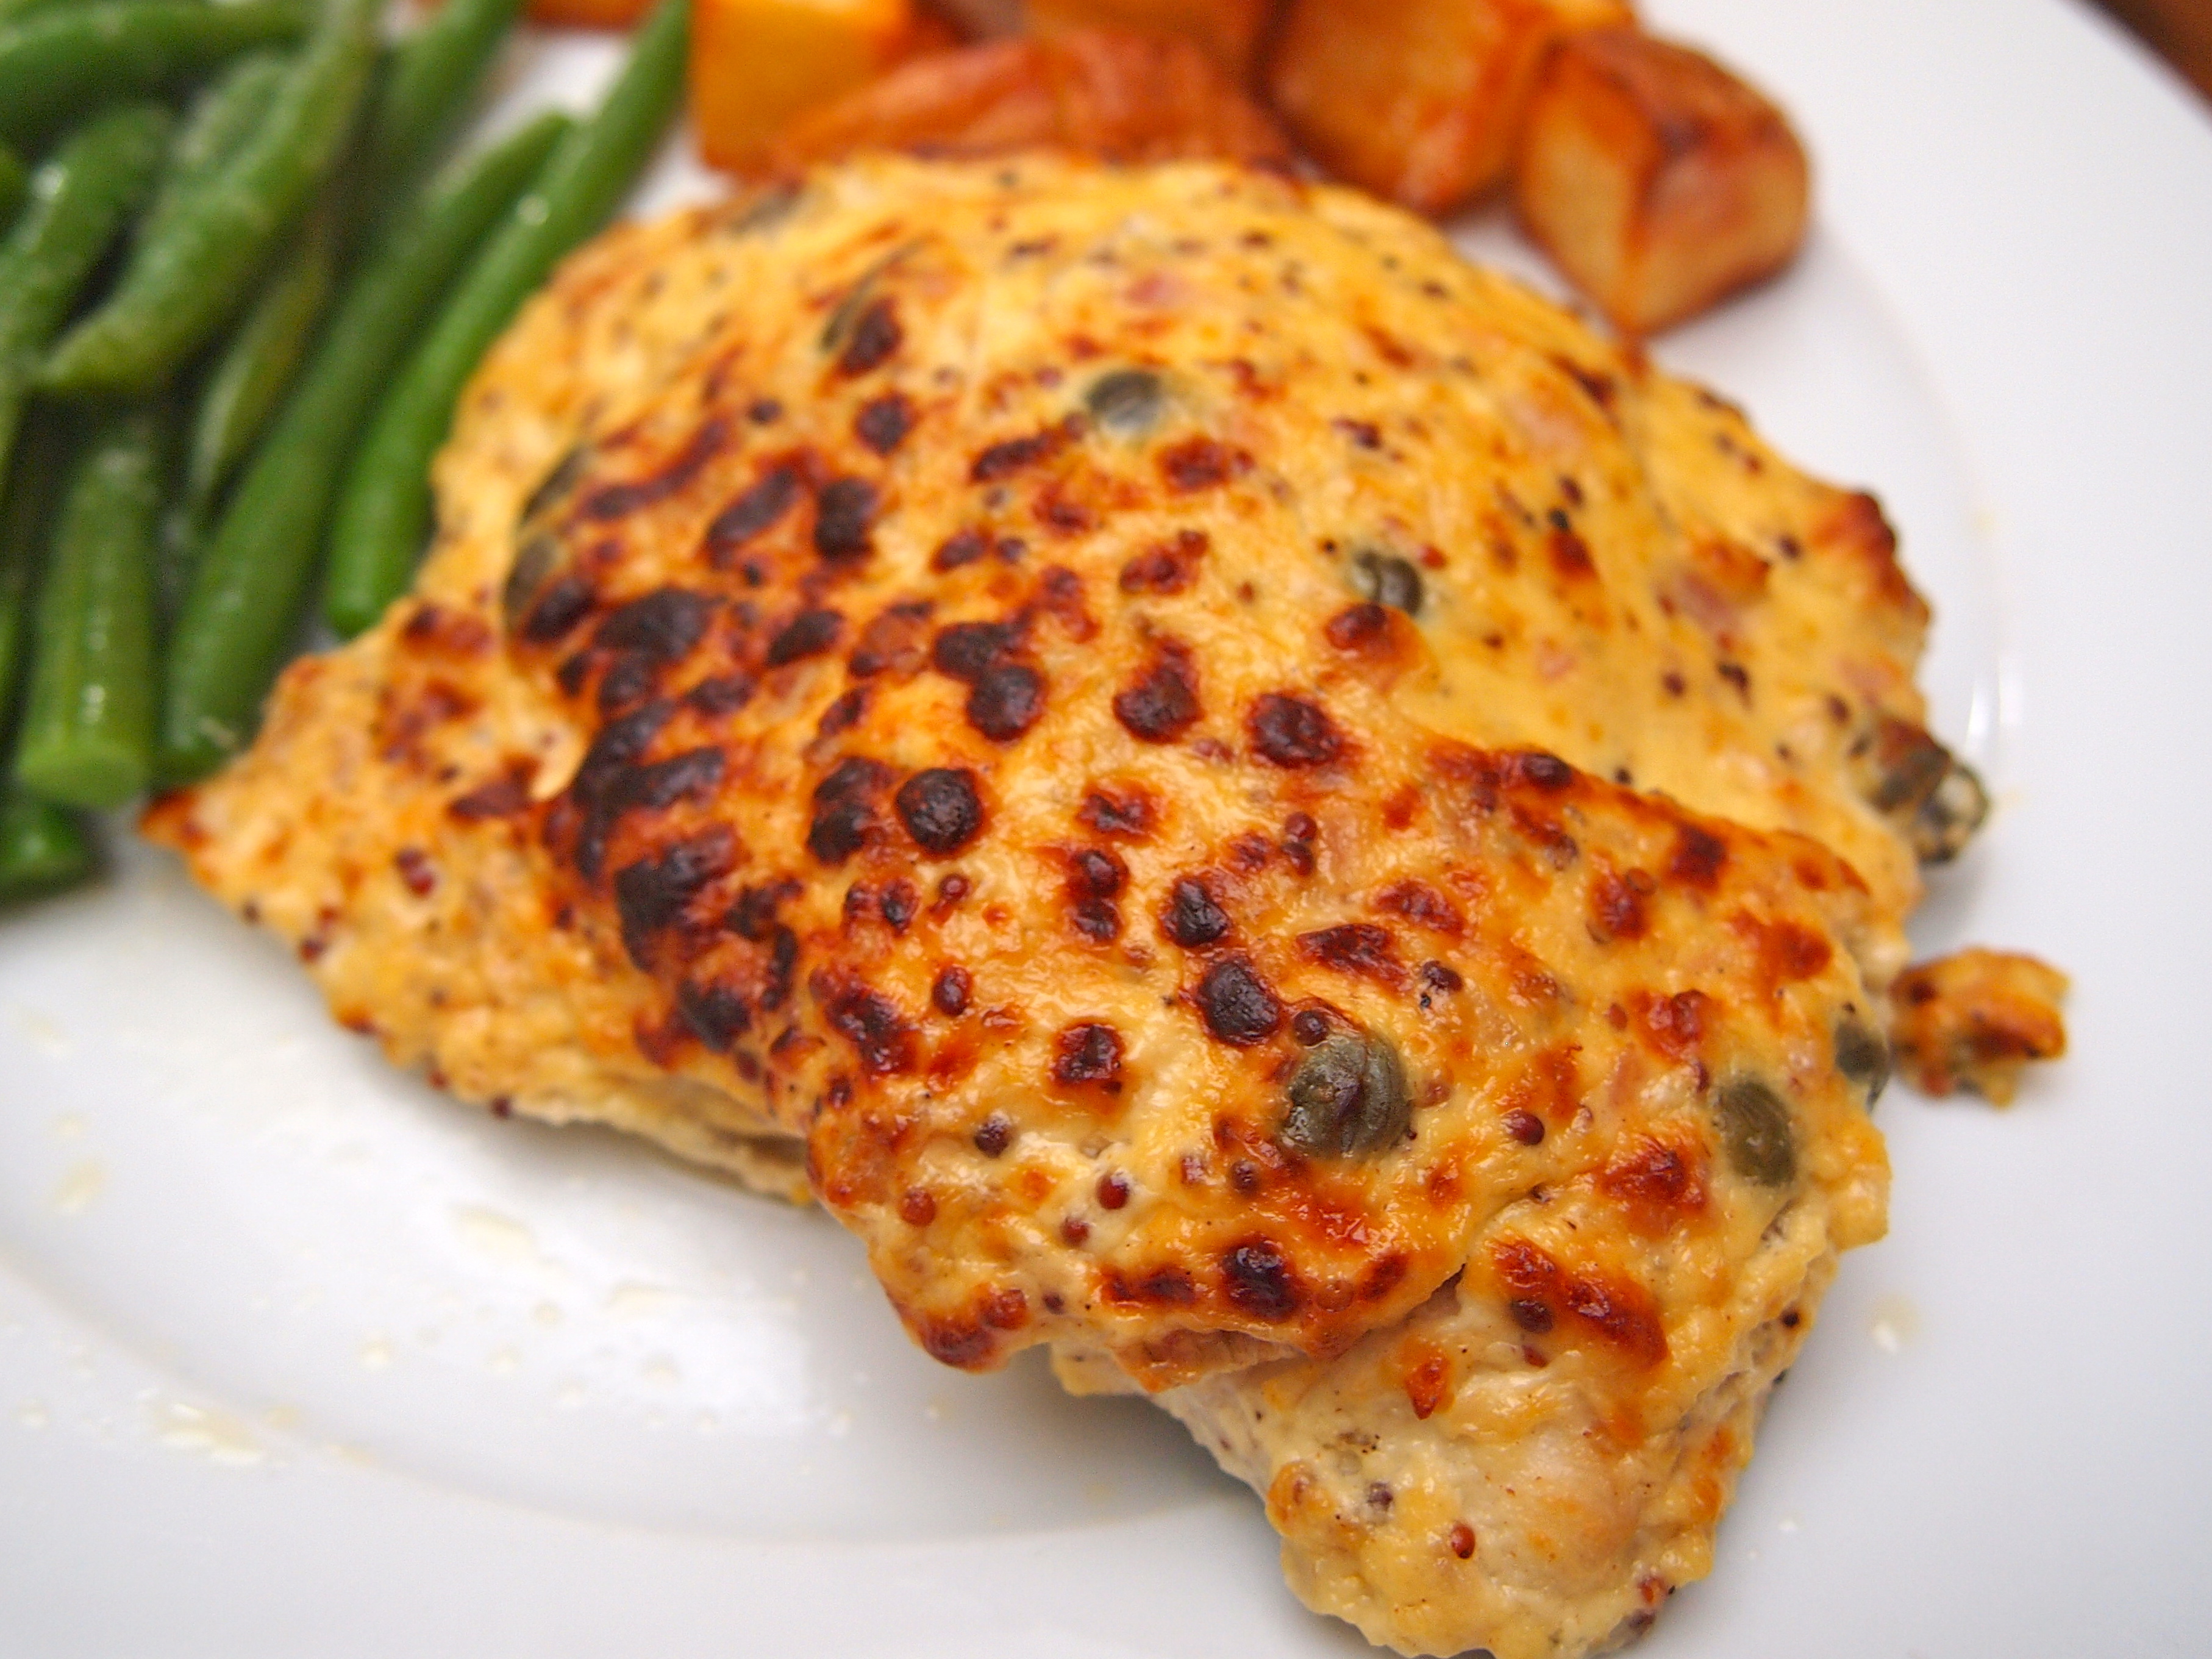
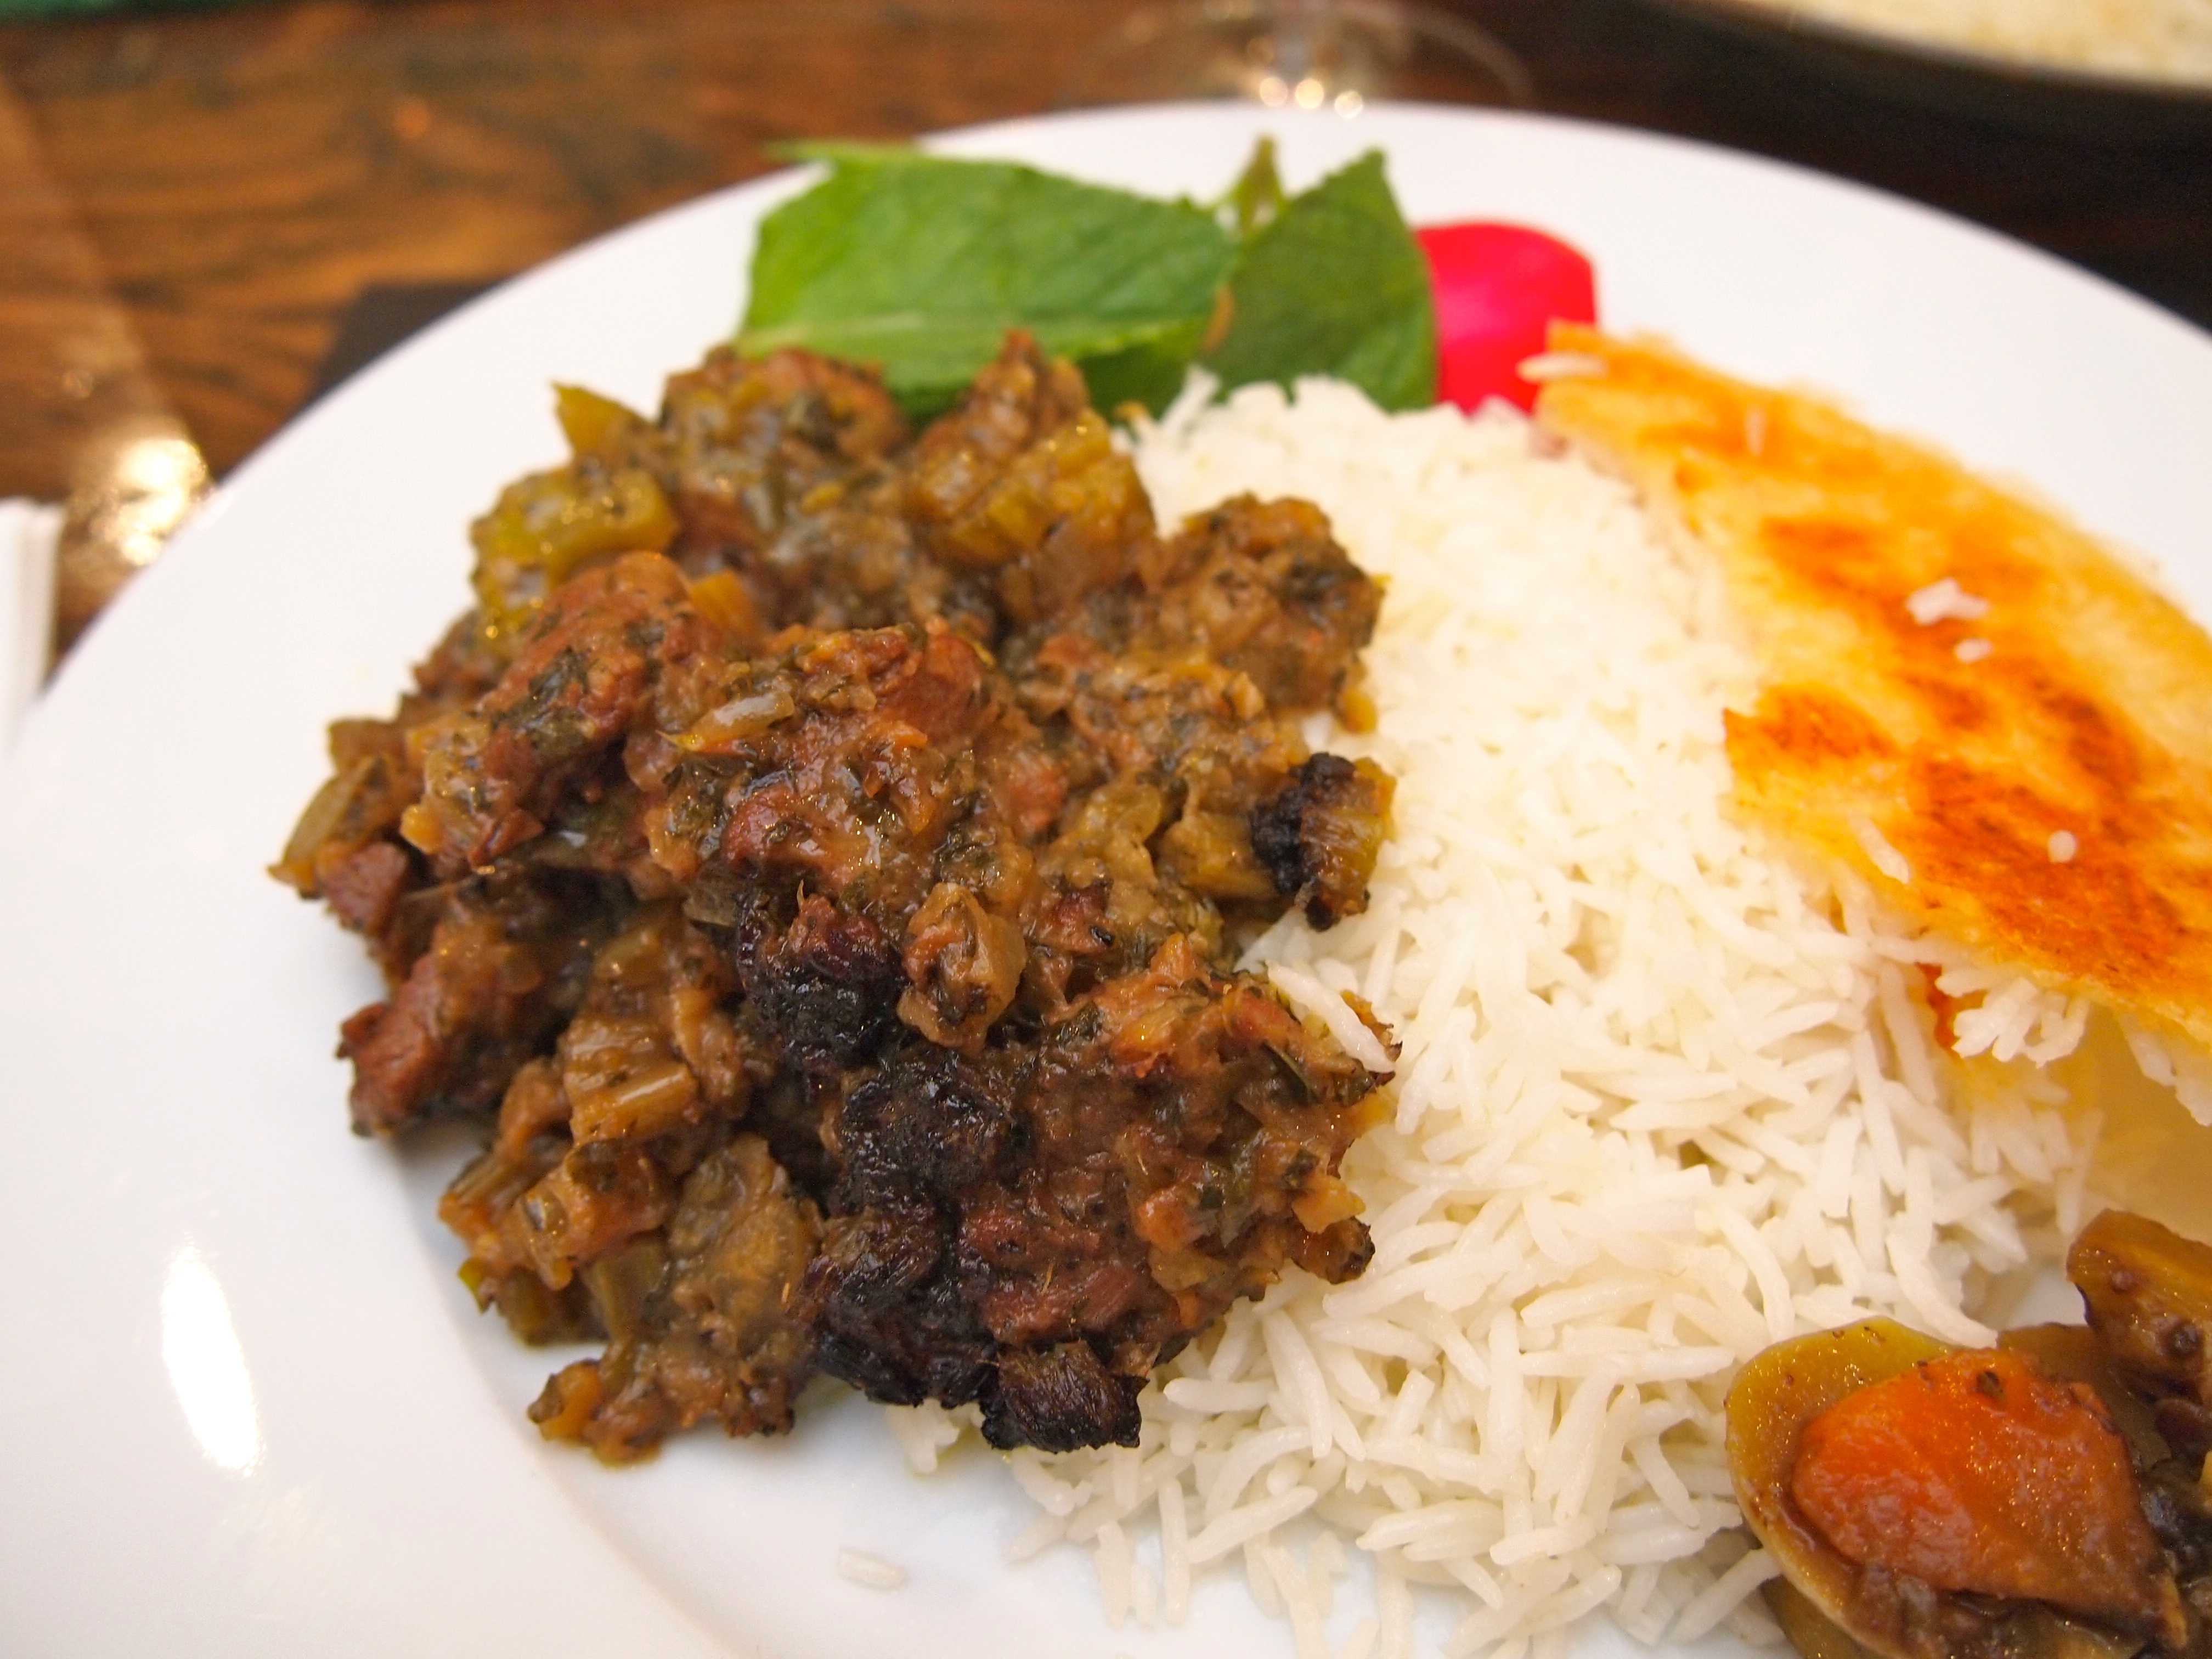
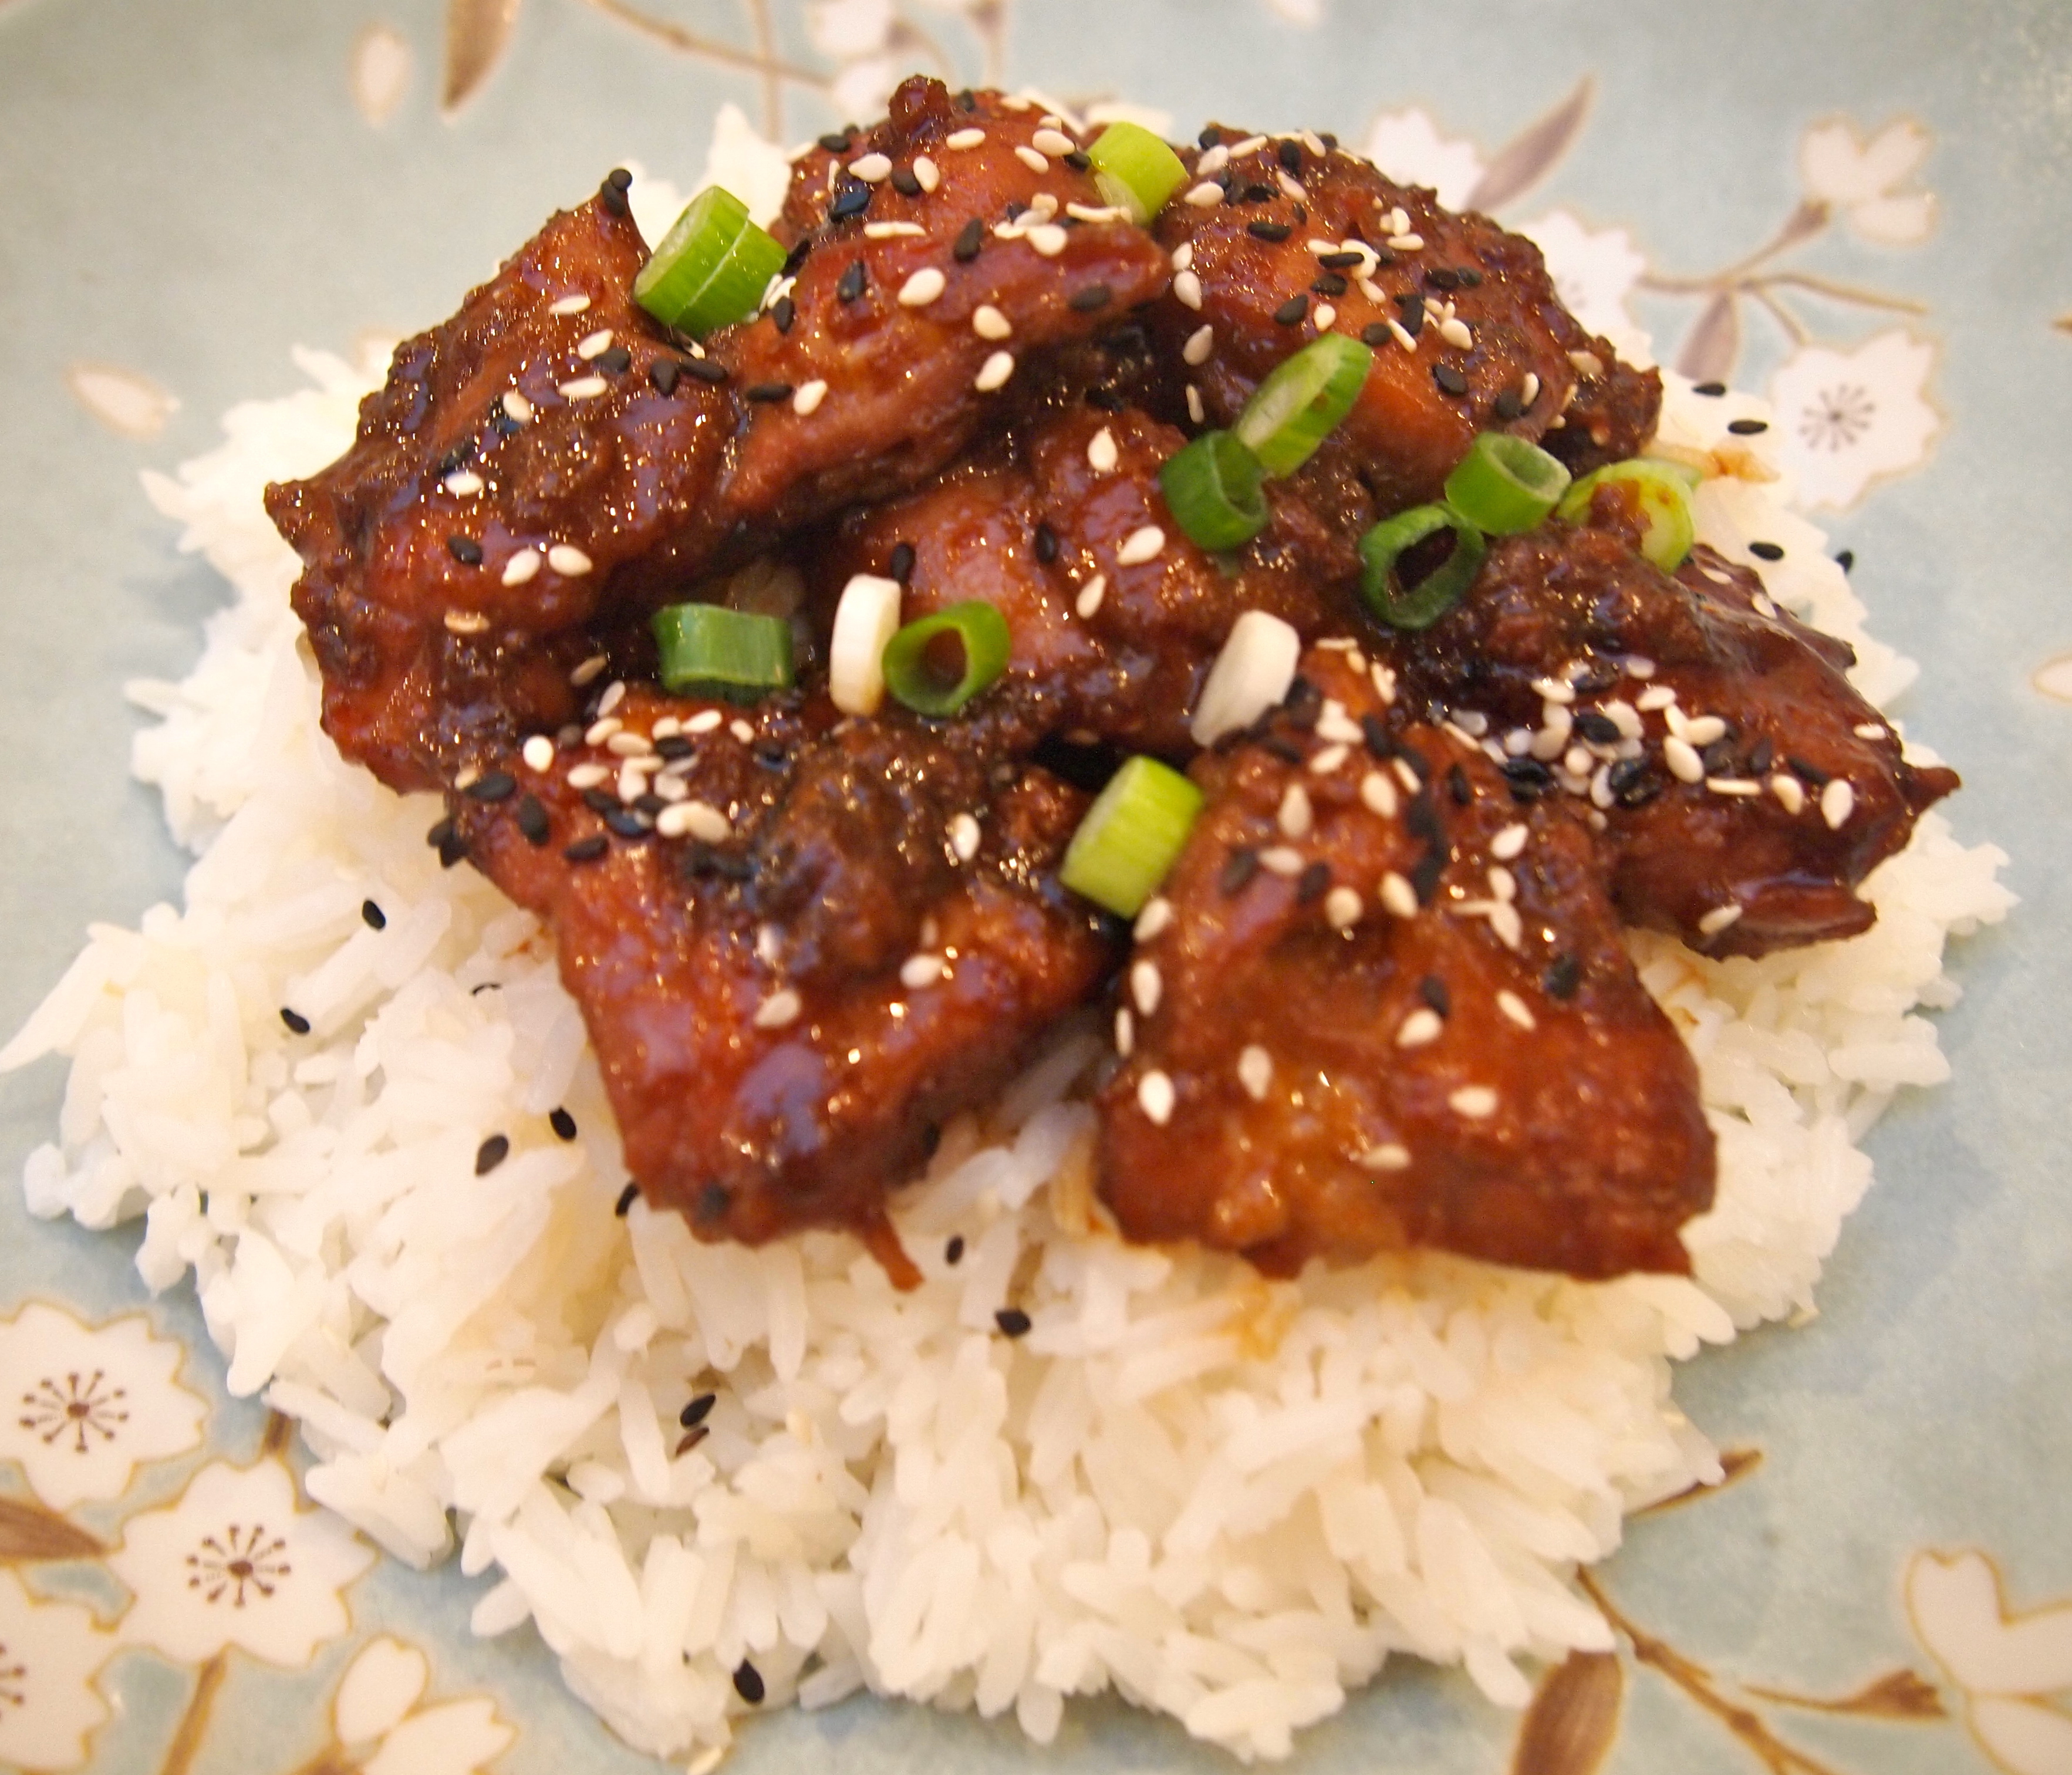
The term teriyaki actually refers to a method of Japanese cooking where food is first marinated and then grilled whilst being basted with the marinade which usually consists of soy, sake, mirin and sugar – “Teri” meaning lustre or shine and “Yaki” meaning to grill. There’s good reason for it’s enormous popularity, especially for people new to Japanese cuisine who need time to get their head around sashimi and sushi. The slightly sweet glaze and burnished pieces of meat or fish are extremely appetising and of course the sweet element also makes it a winner with children. I don’t however recommend overdoing the sweet element in the marinade as it can quickly become cloying and over take the other flavours. The version that I cook isn’t exactly traditional as the chicken is pan fried rather than grilled but the result is still delicious. This is such a great midweek dinner – quick to make, satisfying and full of flavour. Again, it’s not traditional but I like to serve it with sides of quartered cucumbers, sliced avocado, and finely chopped spring onions, along of course with steamed rice.

Ingredients – Serves 2

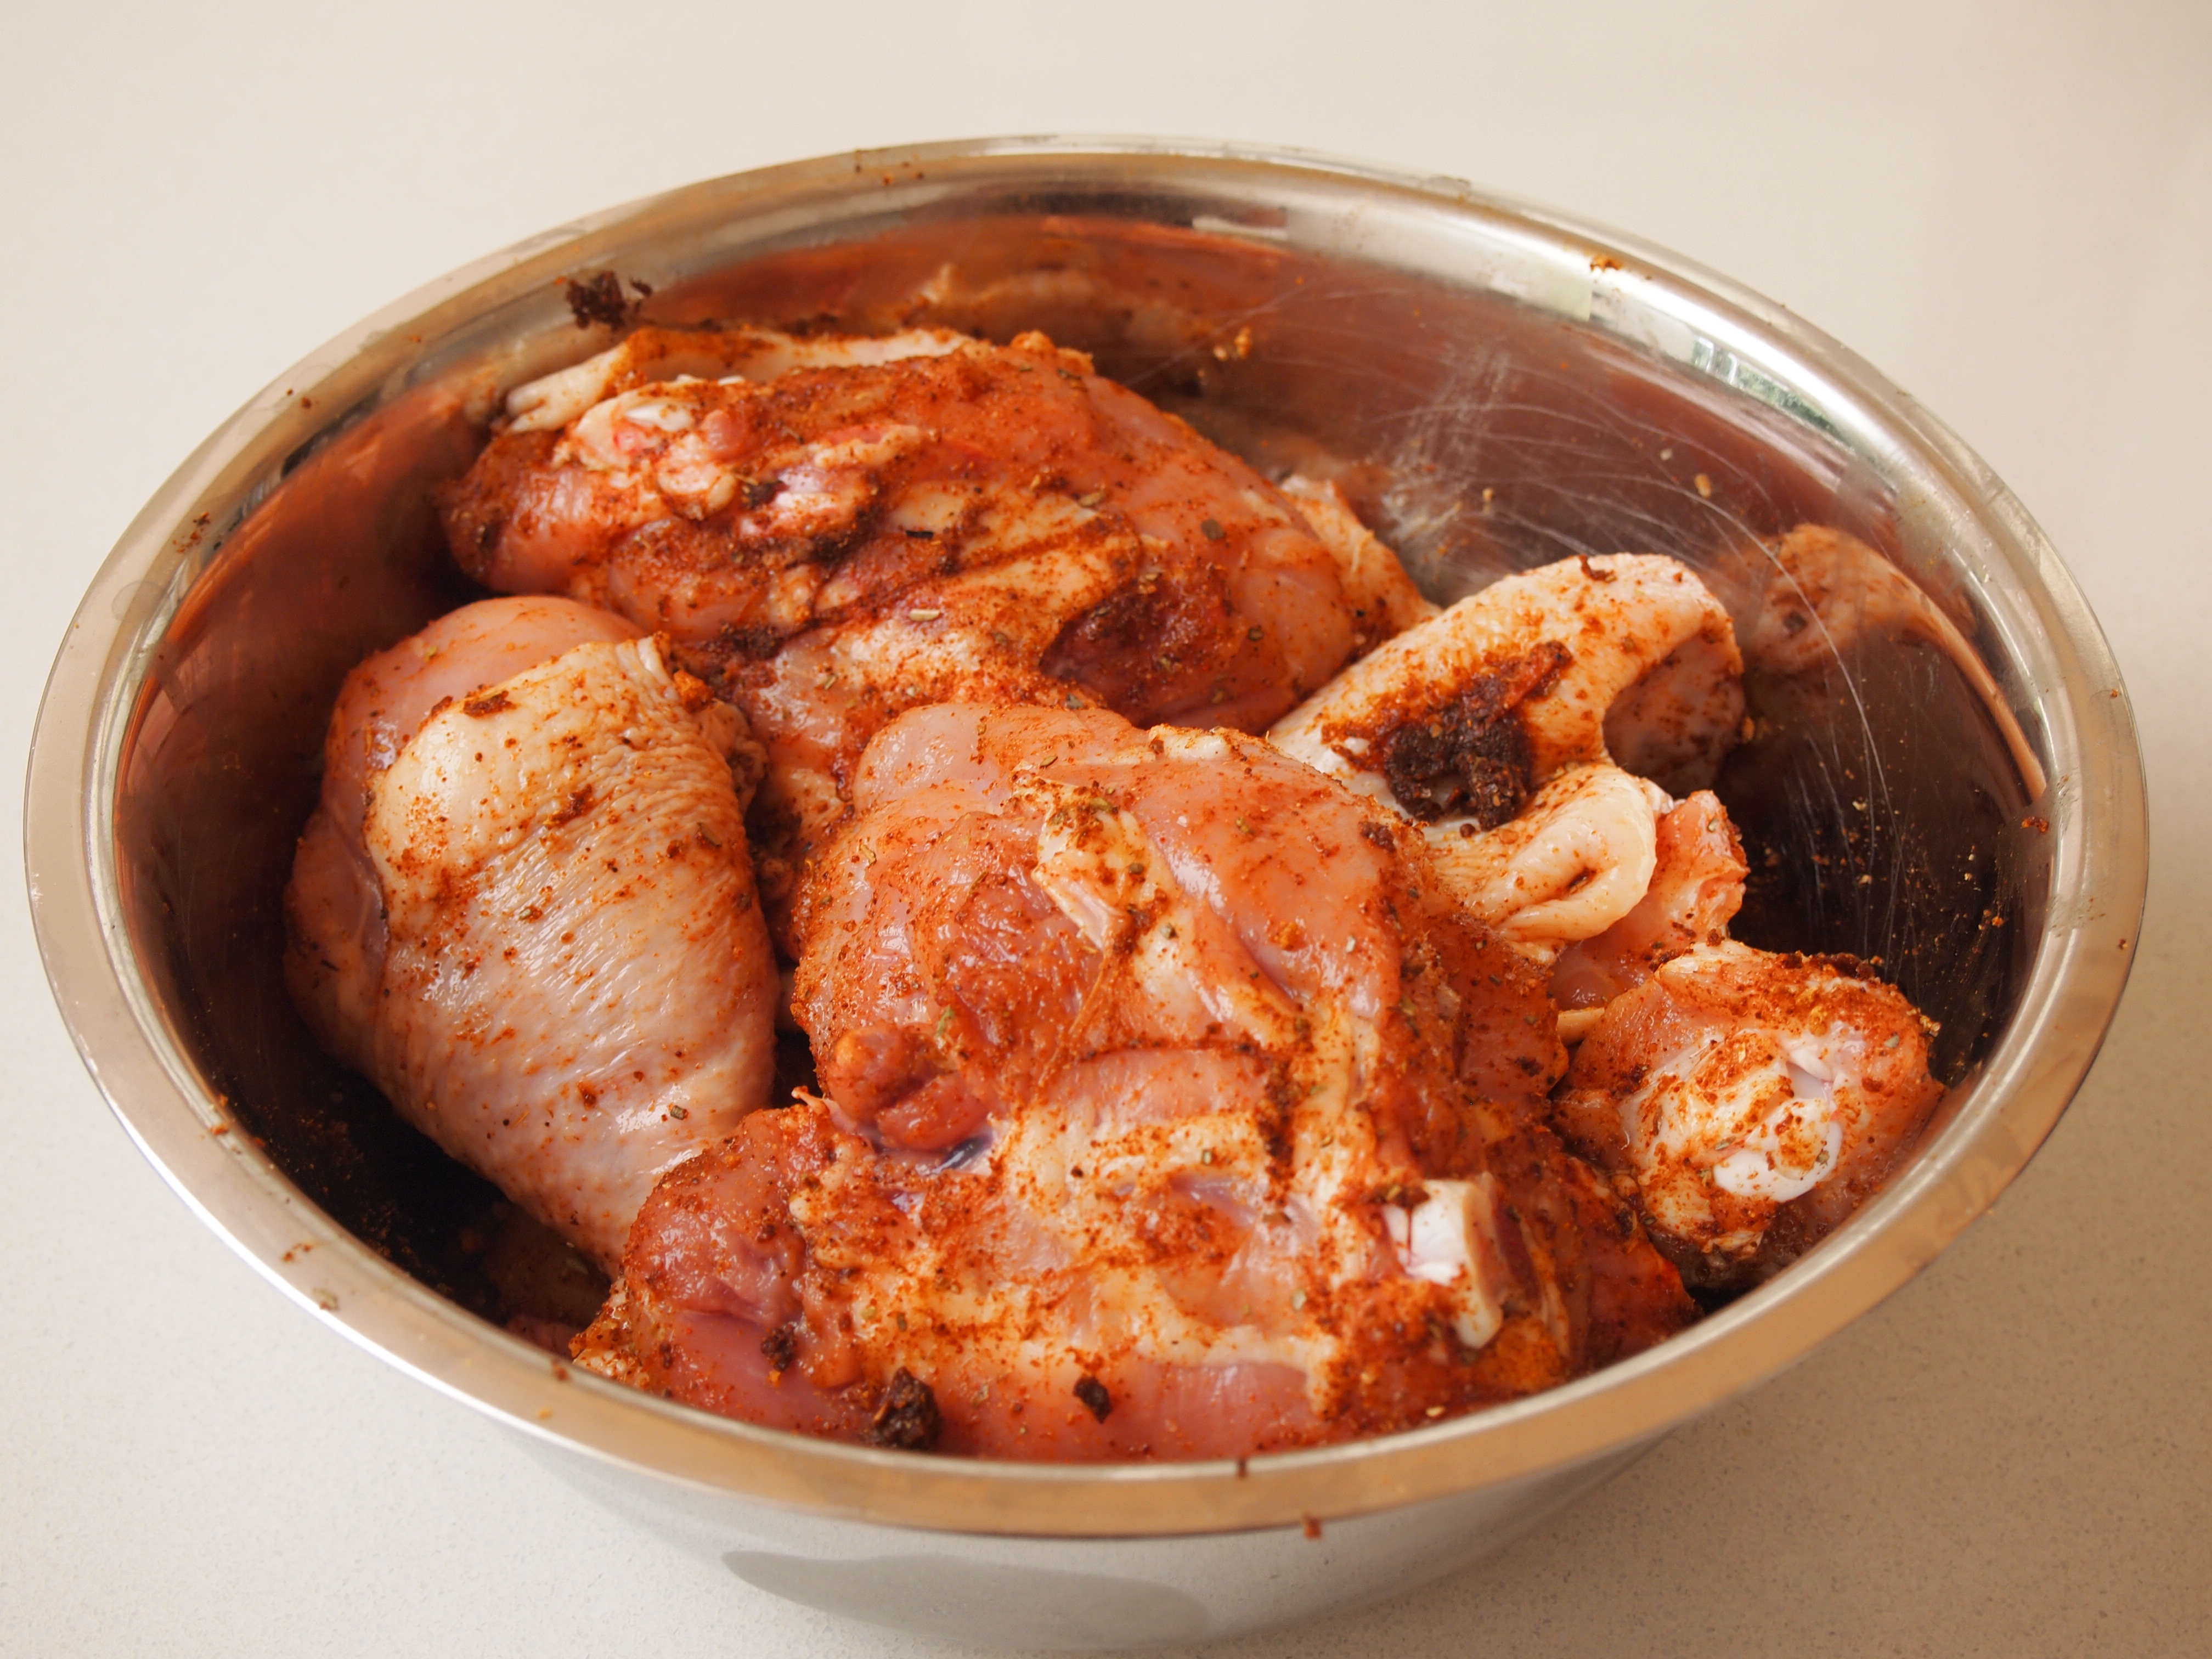
4-6 boneless chicken thigh fillets (depending on how big they are) – you can leave the skin on if you wish.
2 tablespoons sake
Vegetable oil – about 3 tablespoons
1 teaspoon mixed black and white sesame seeds
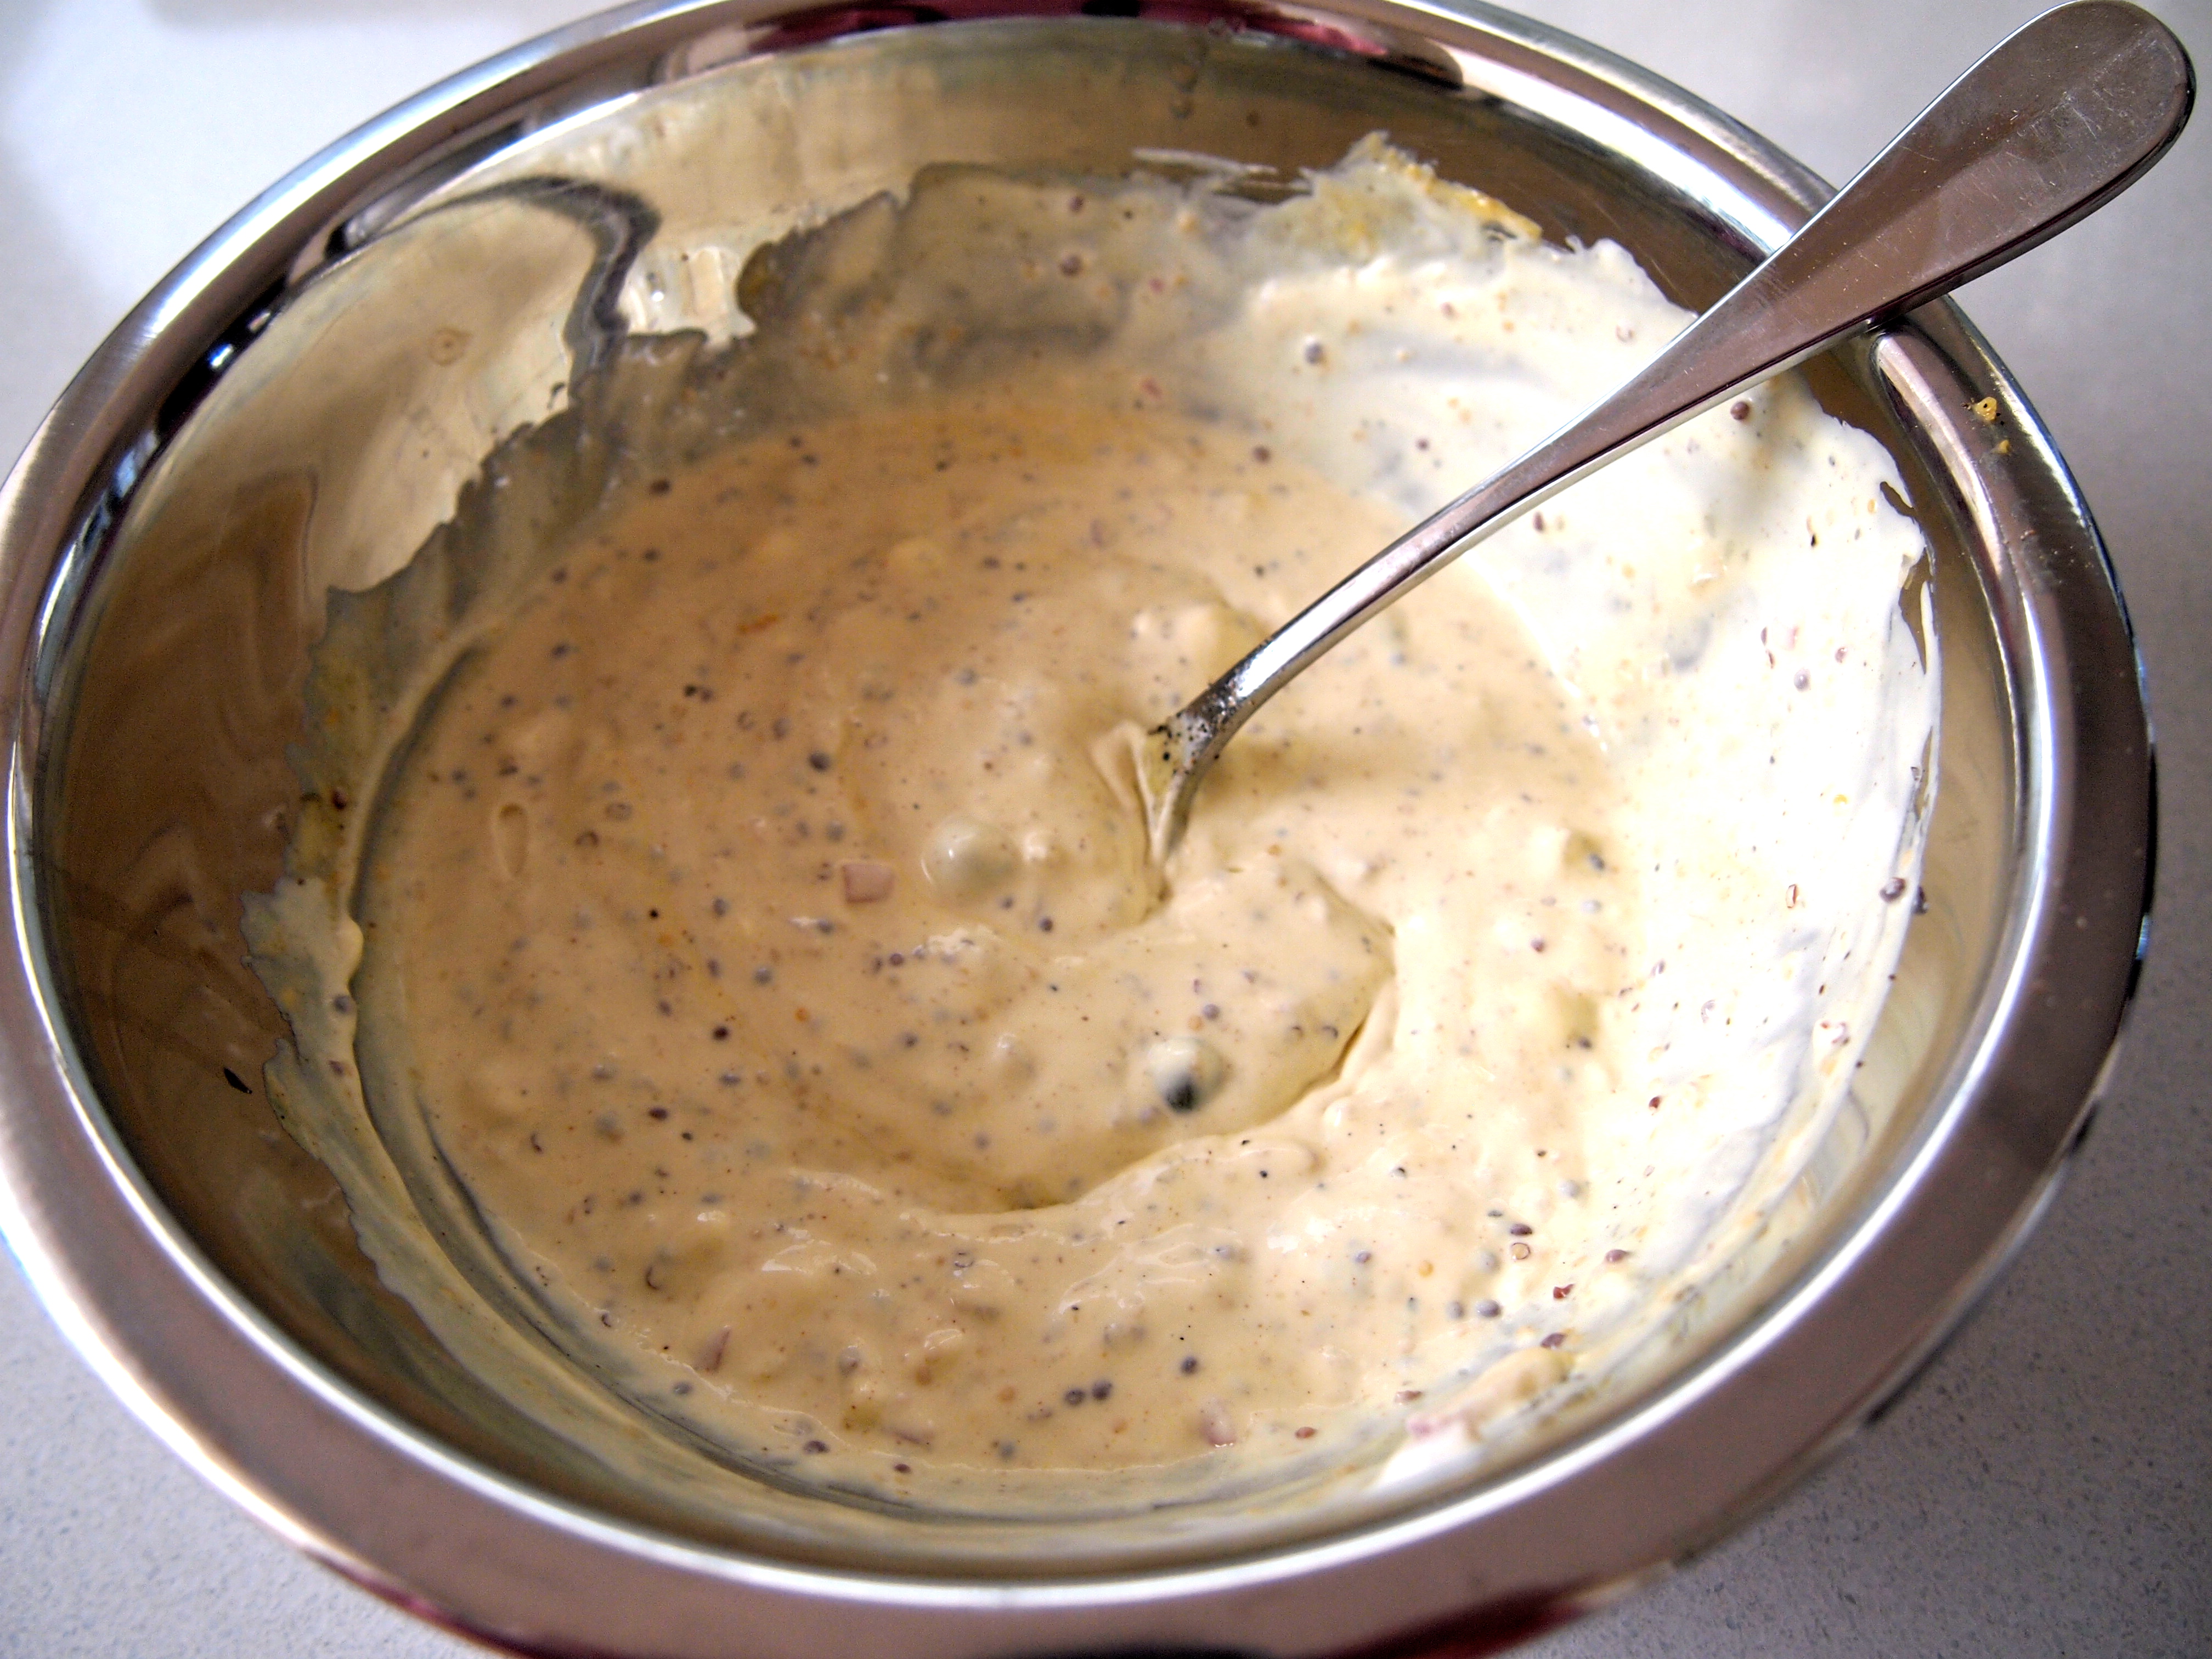
Marinade
2 tablespoons soy sauce
2 tablespoons water
2 tablespoons sake
2 tablespoon mirin
1 tablespoon sugar
½ a small onion, grated, including juice
Thumb size piece of ginger, grated

Method
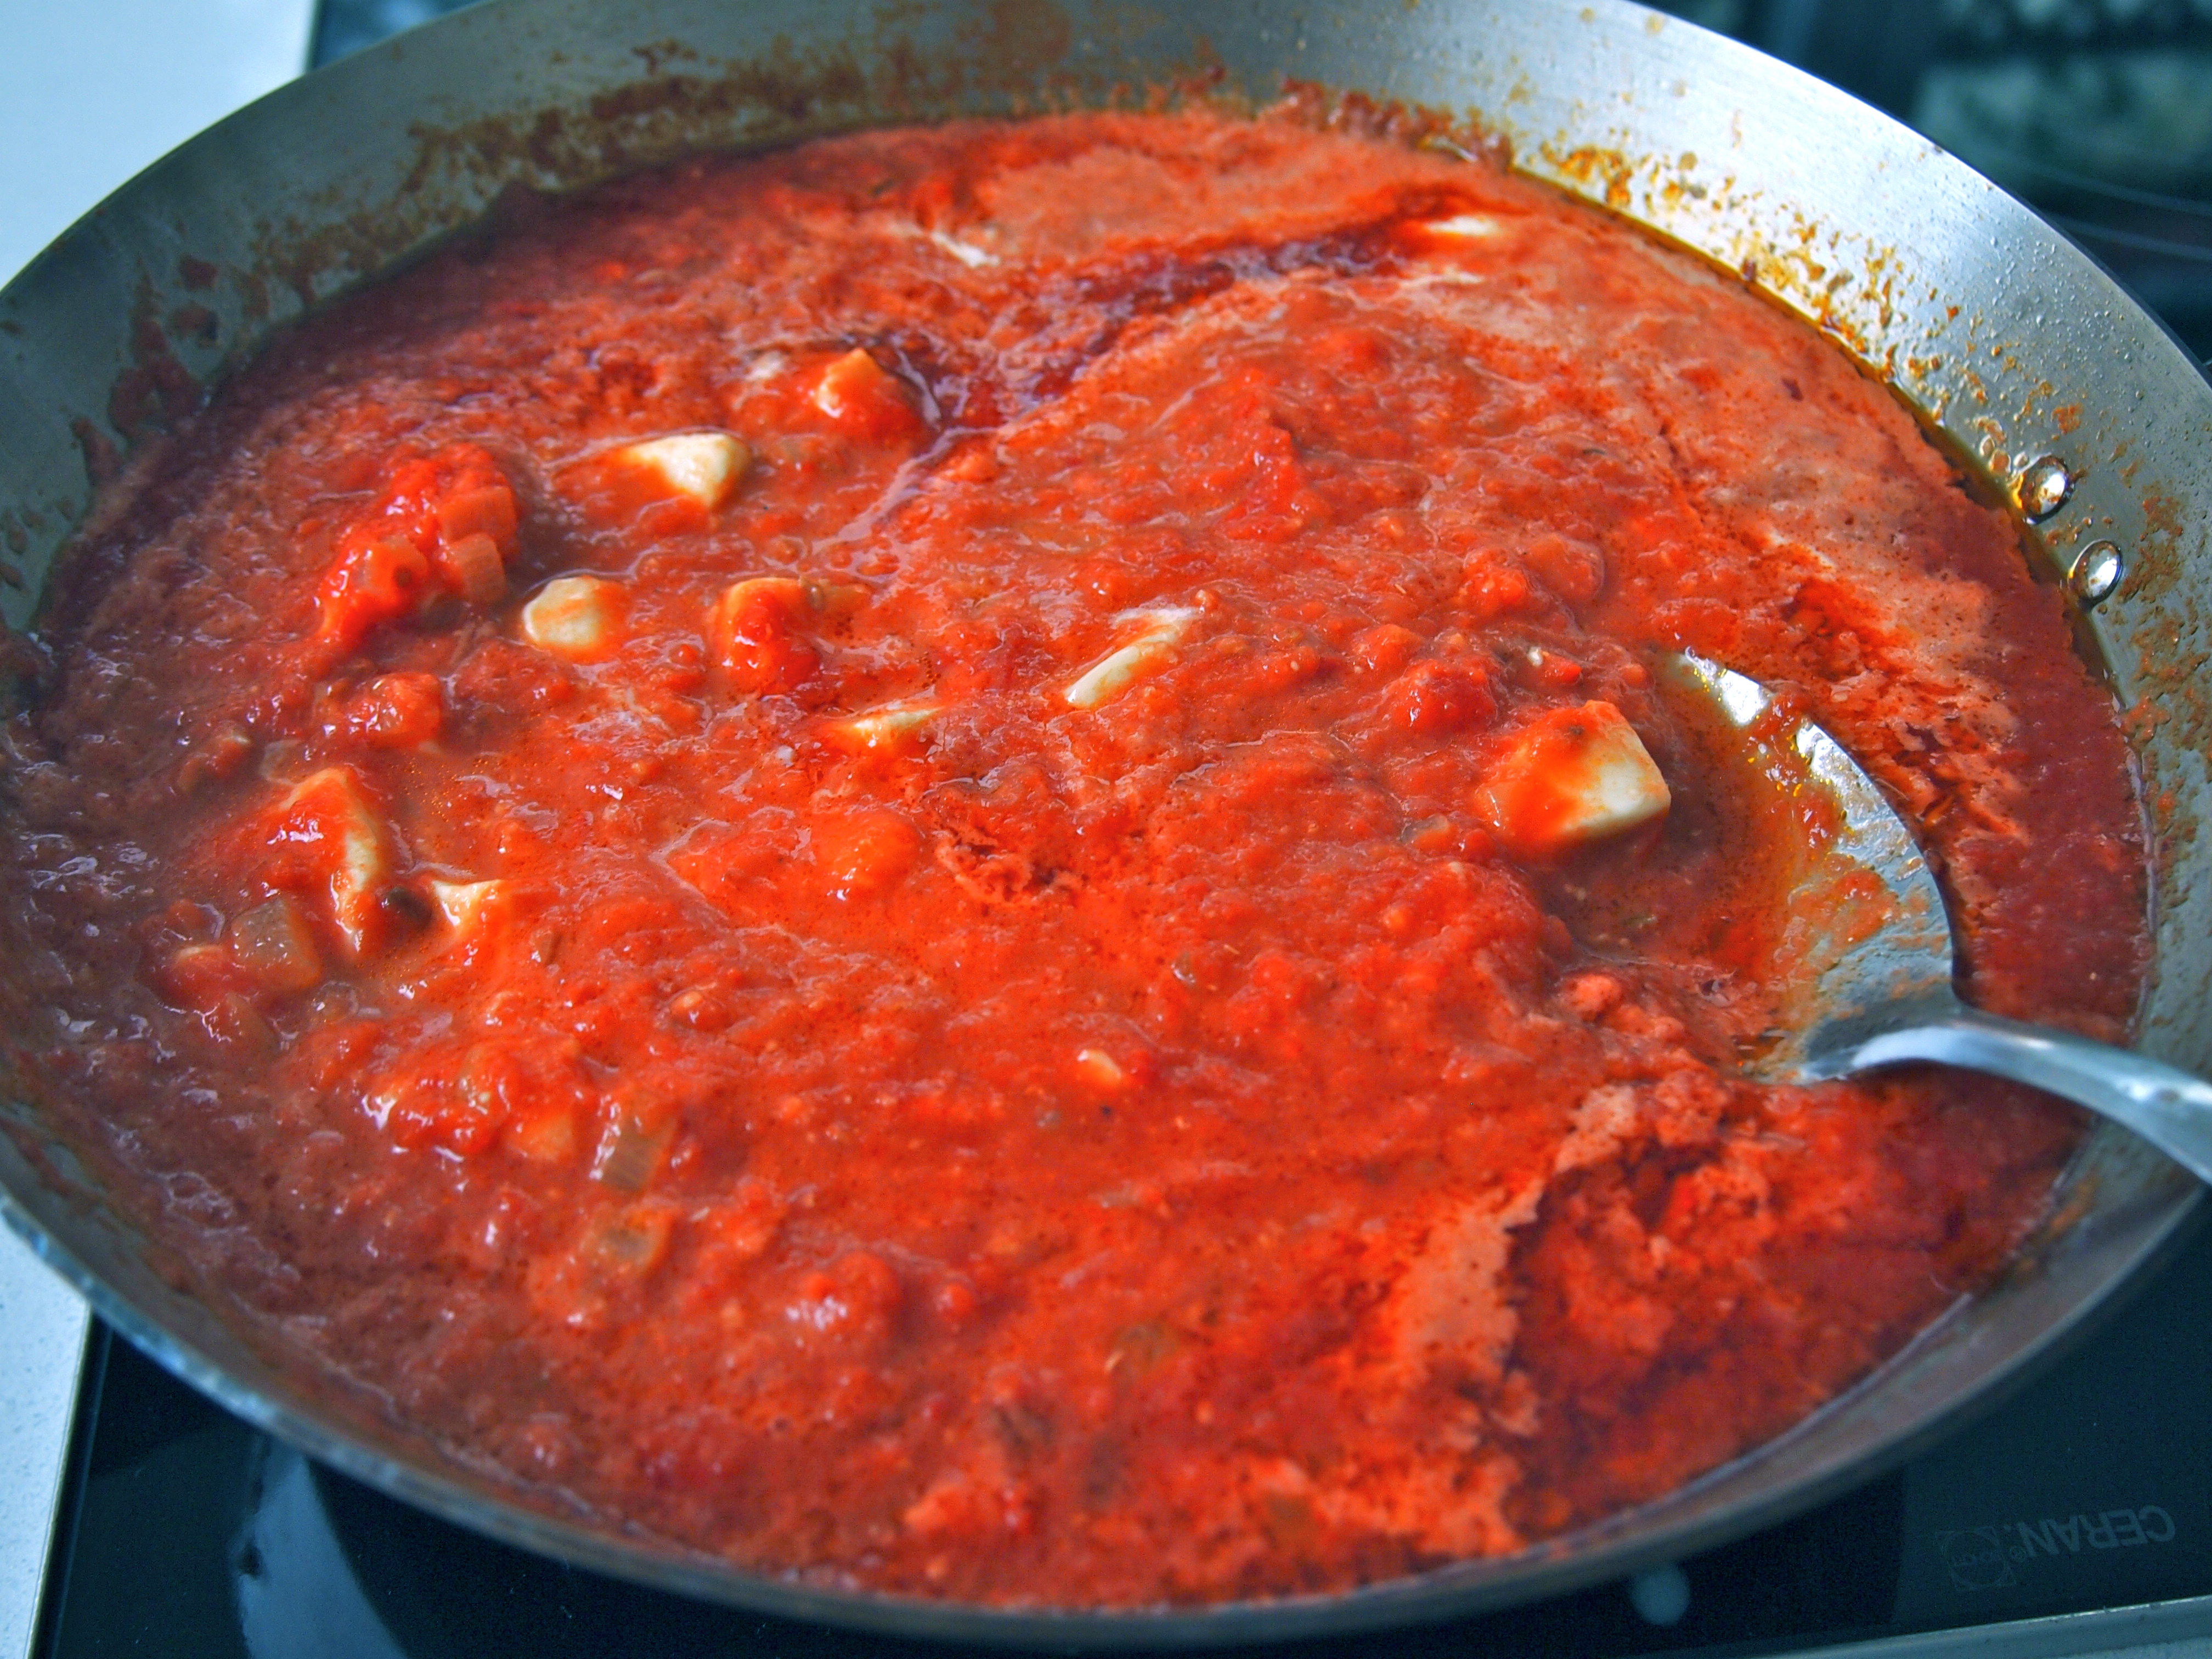
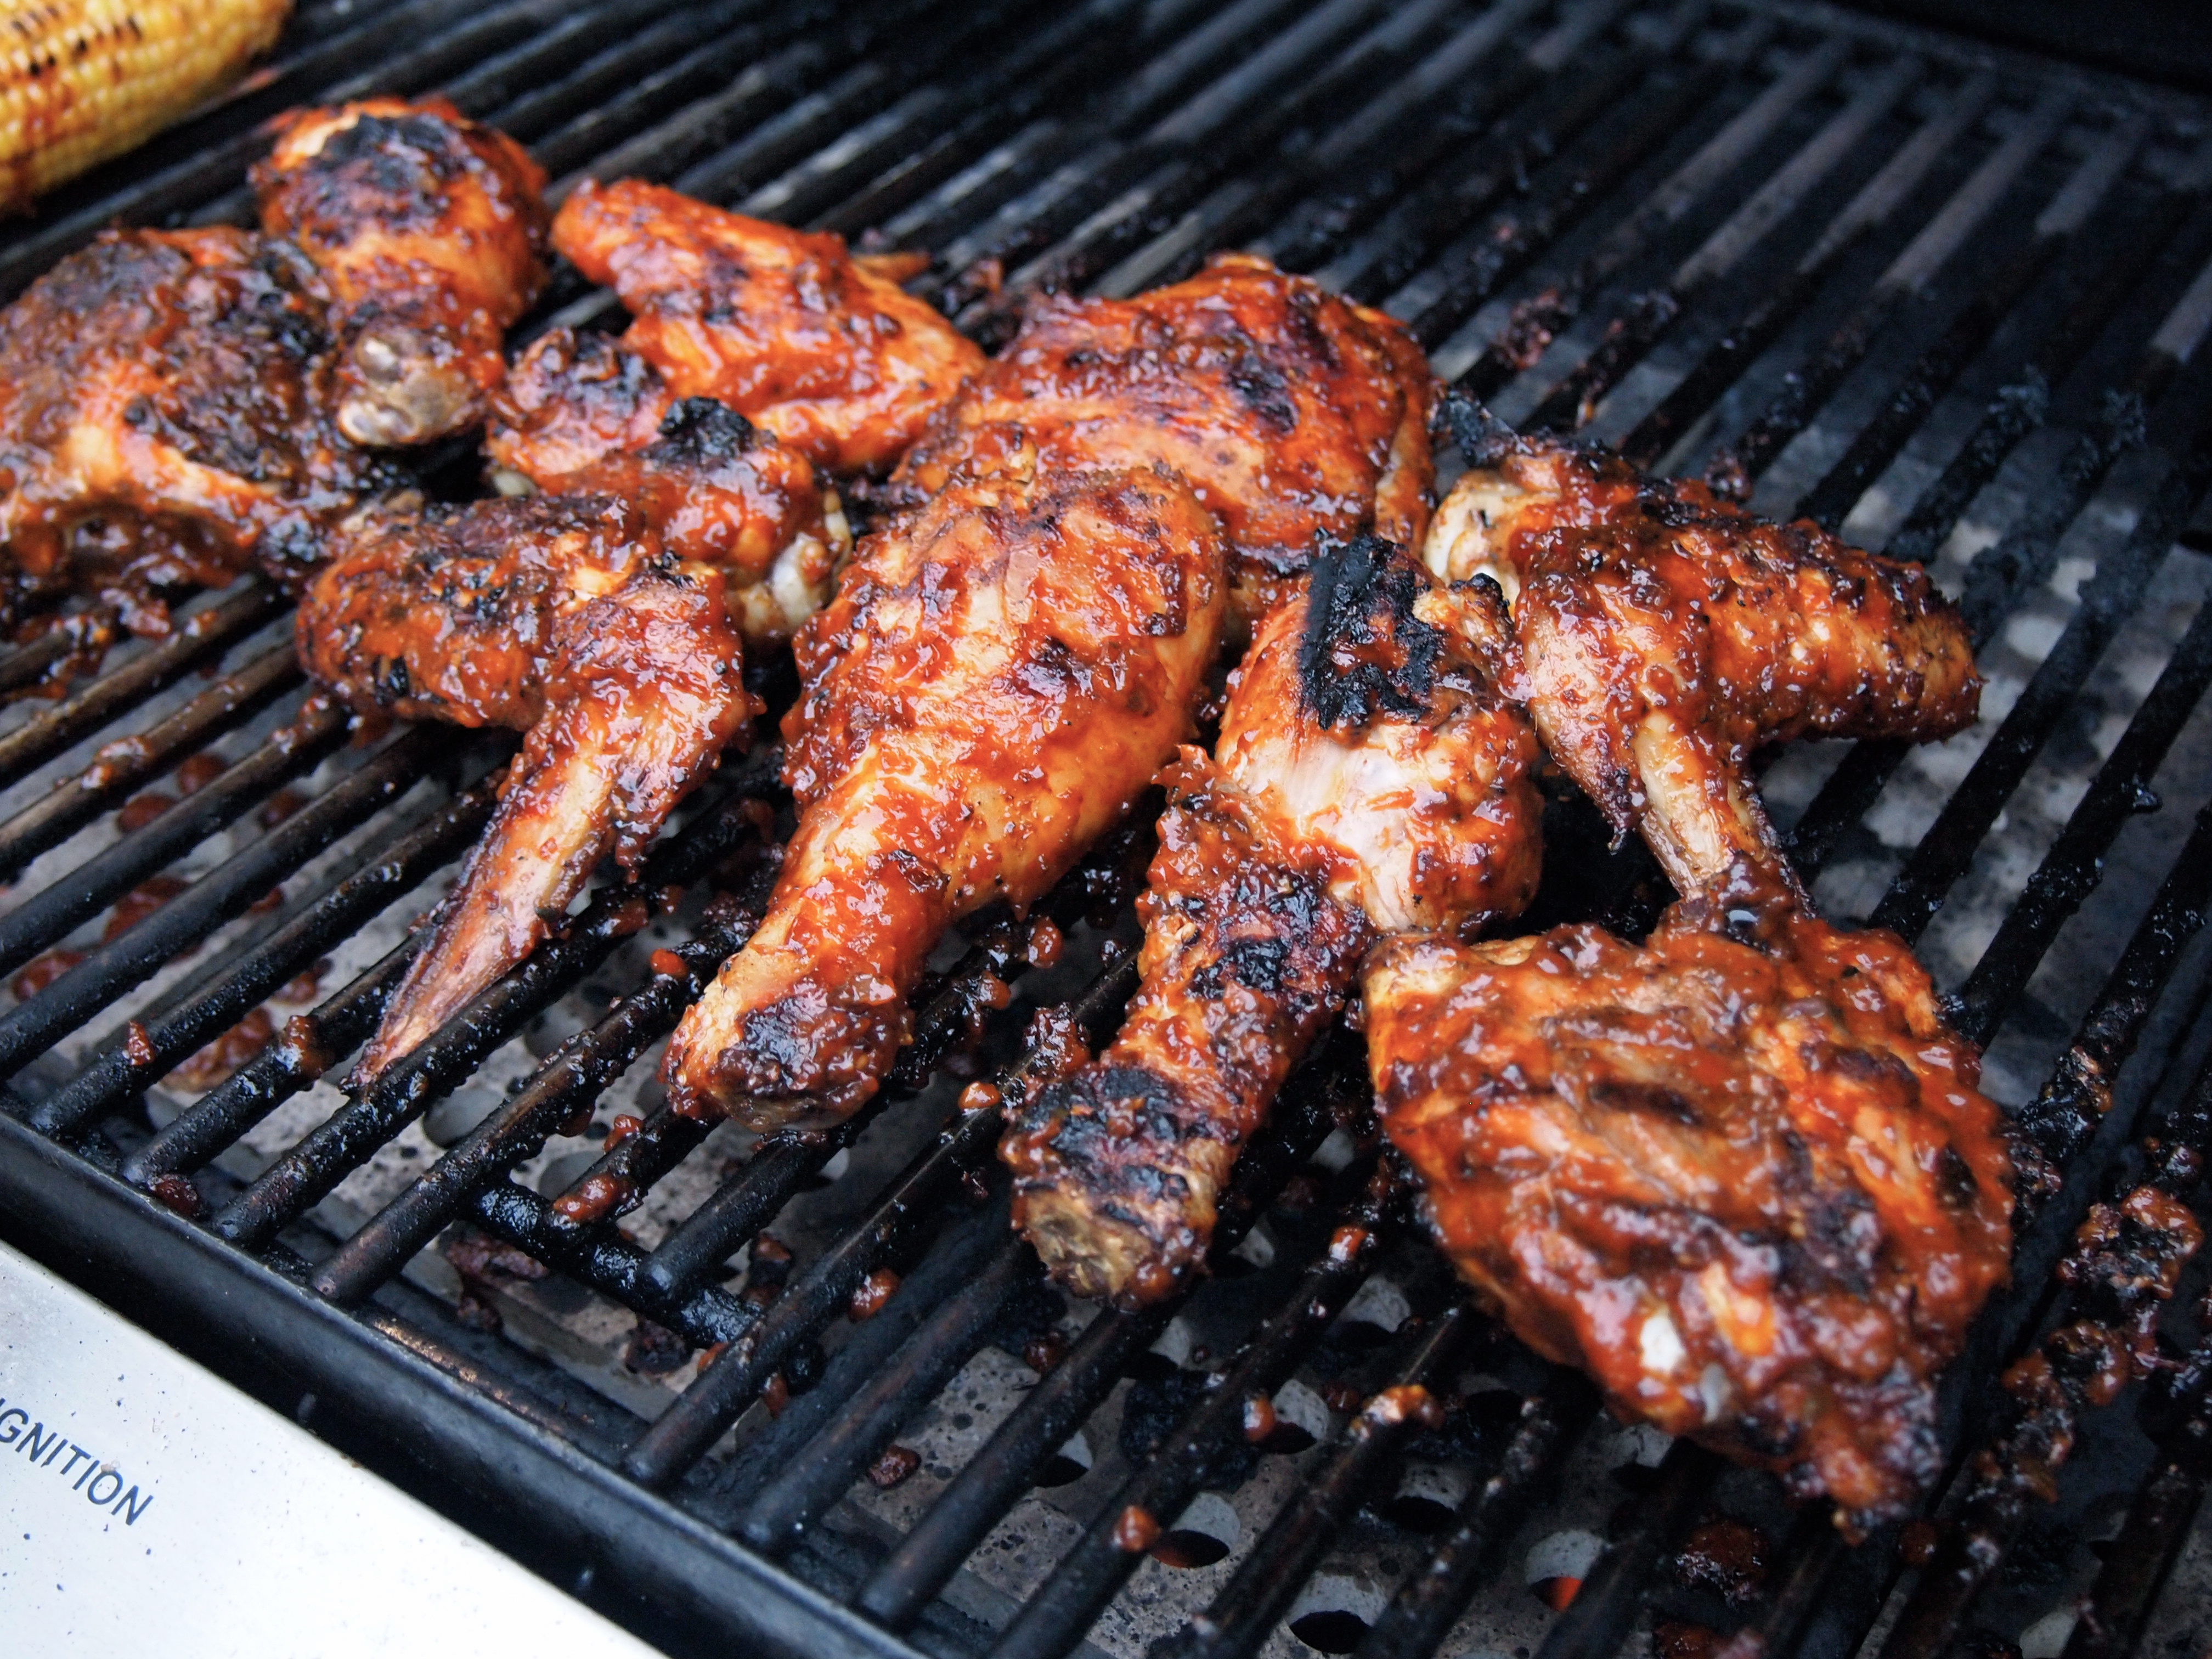
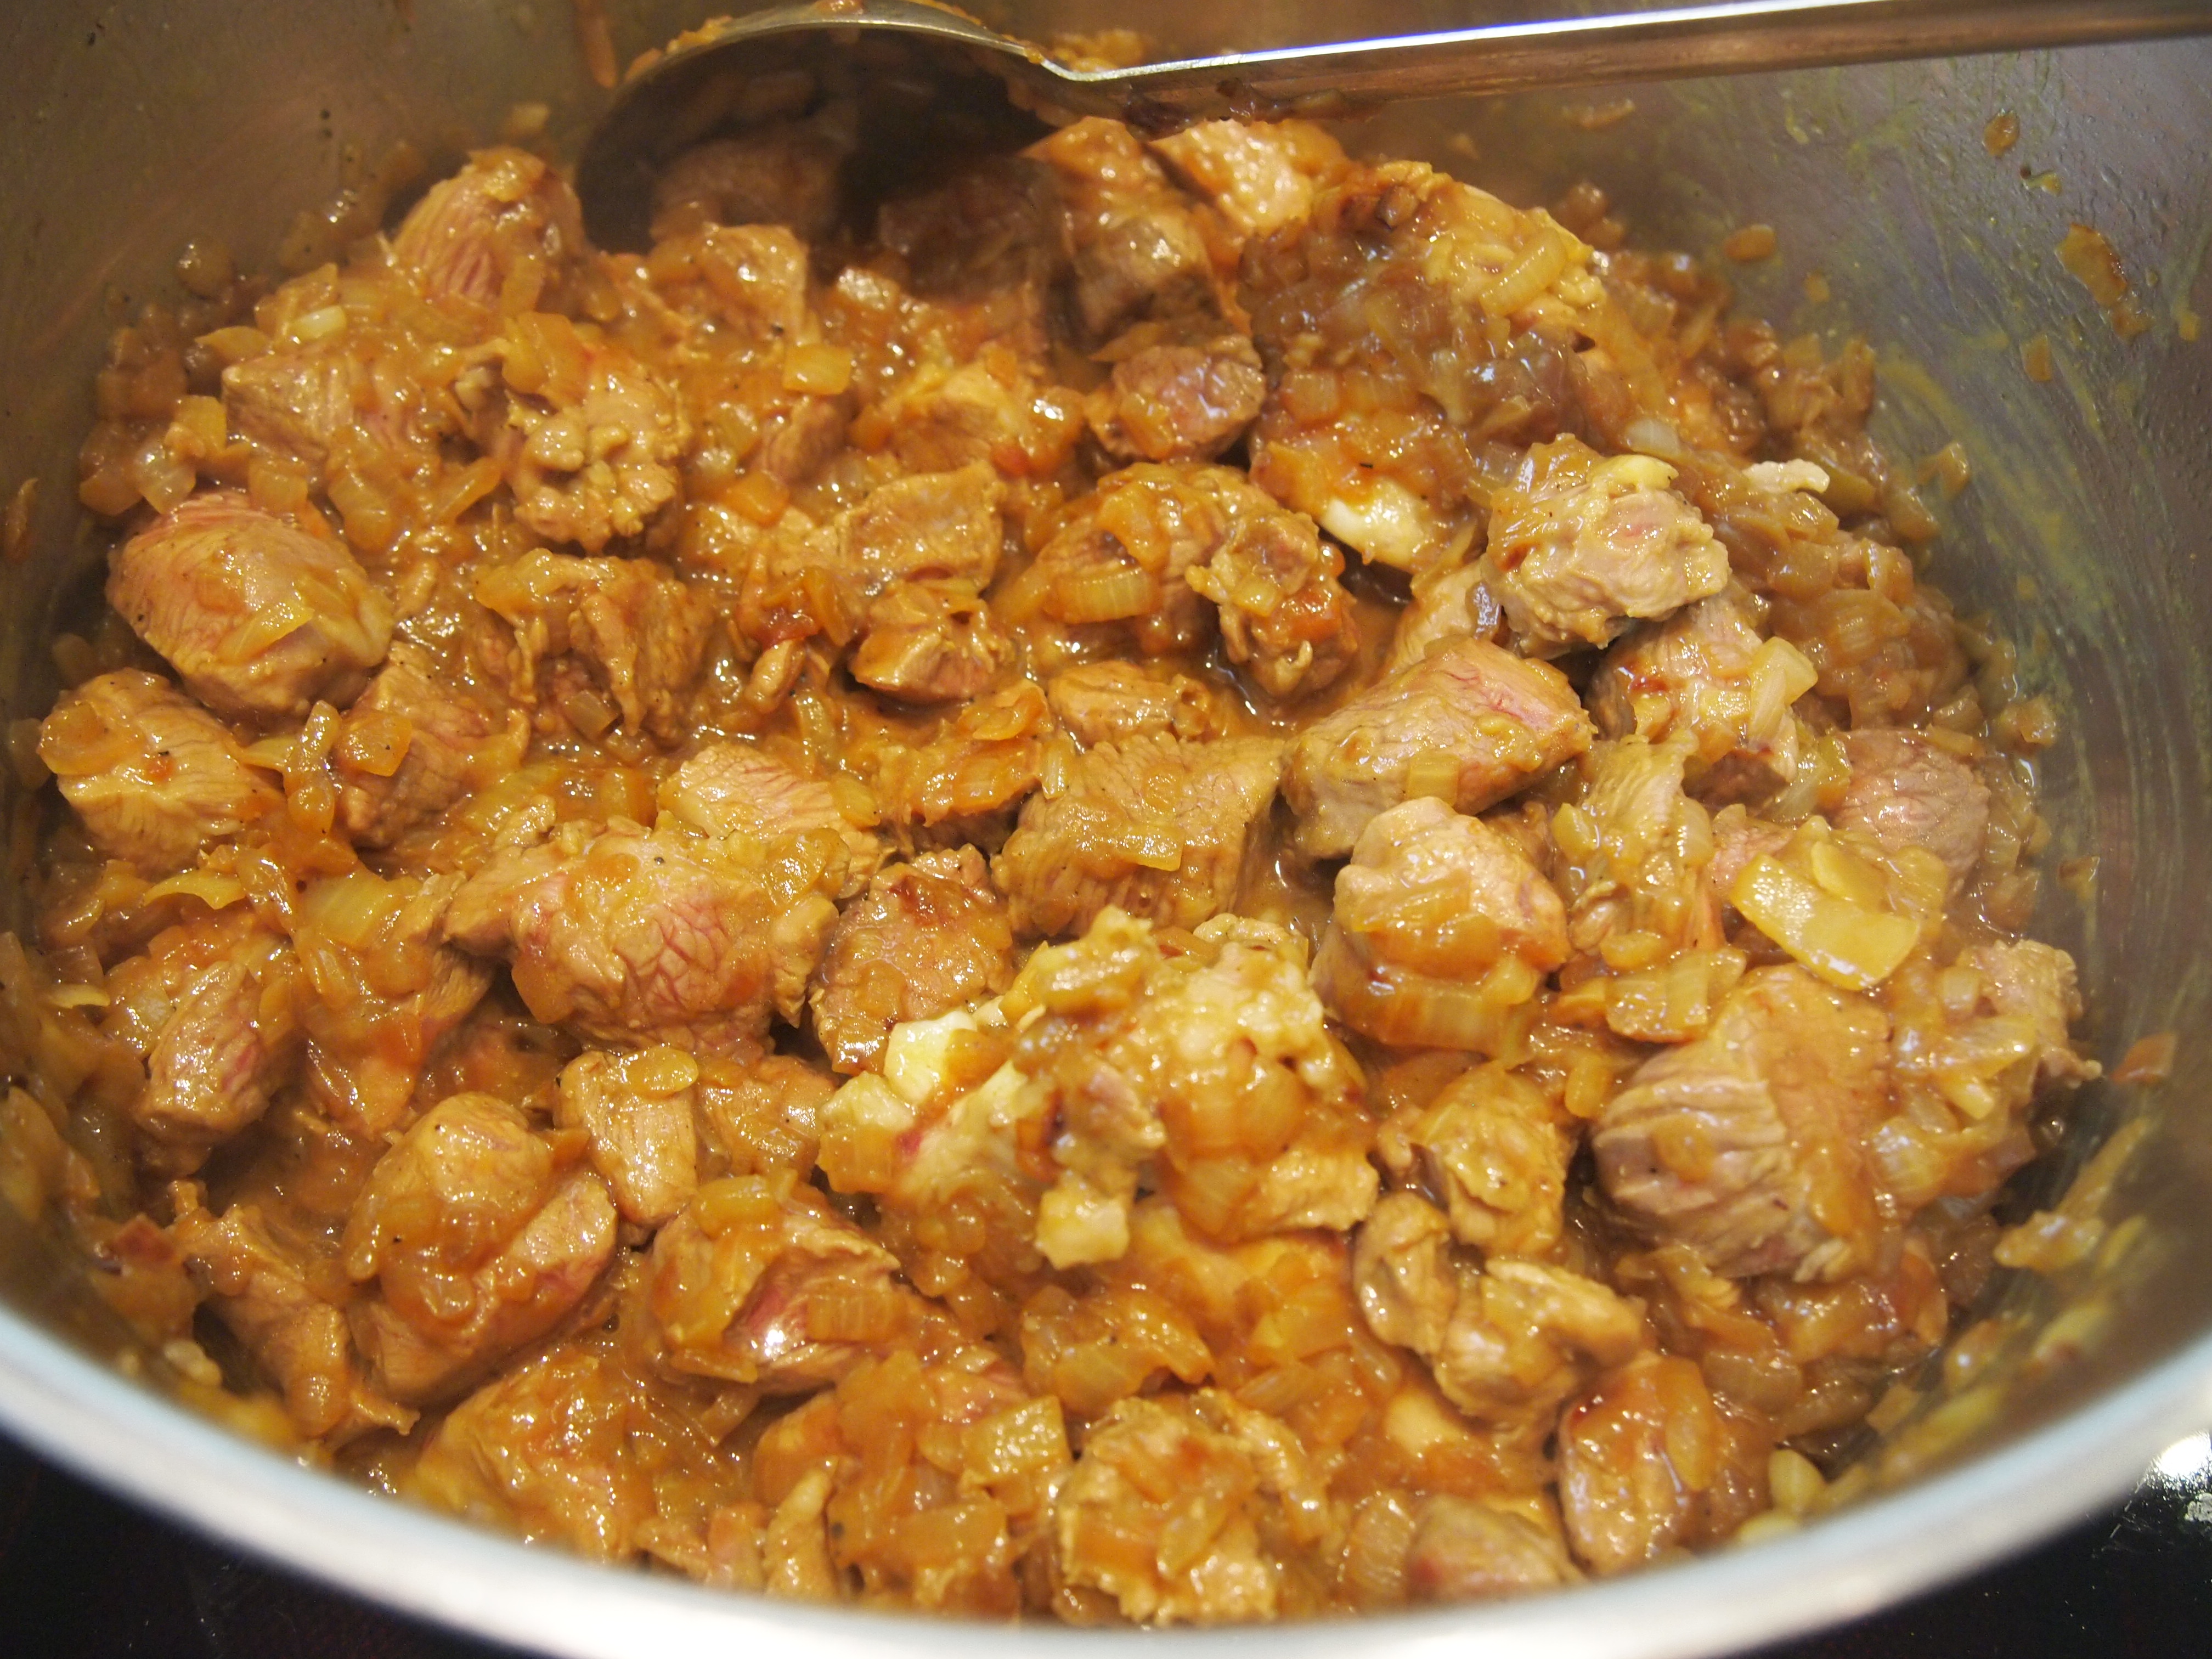
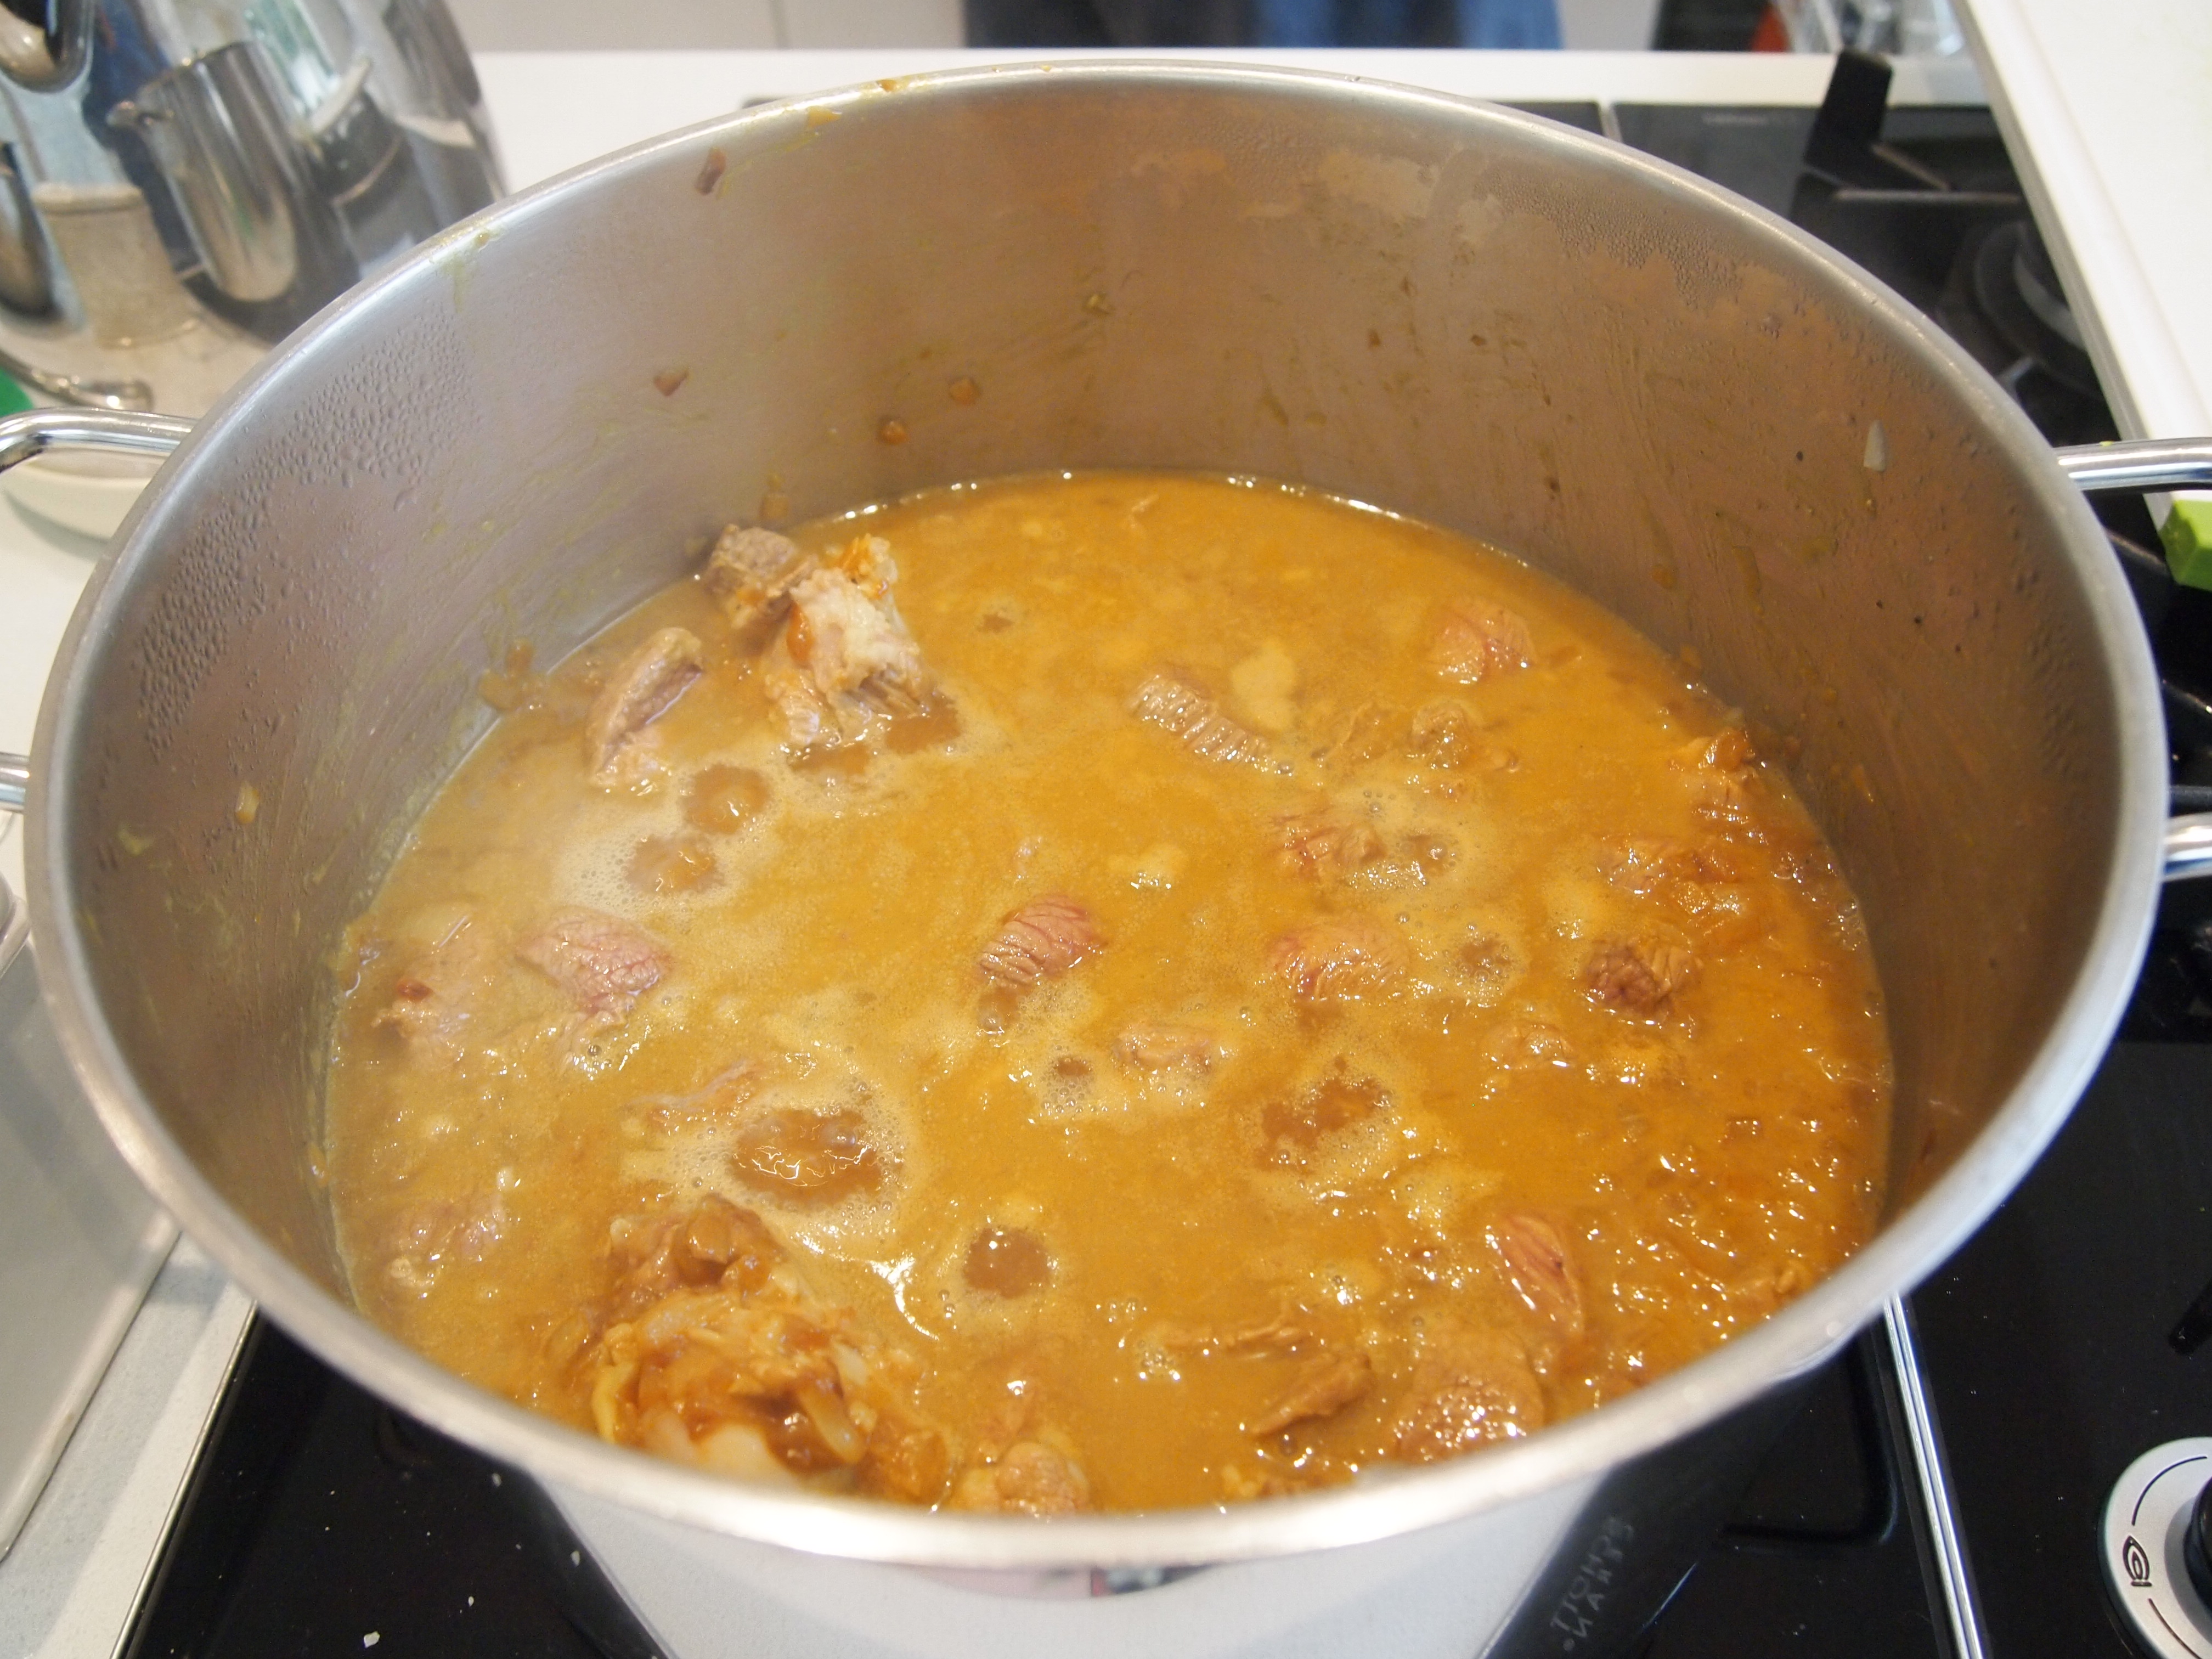
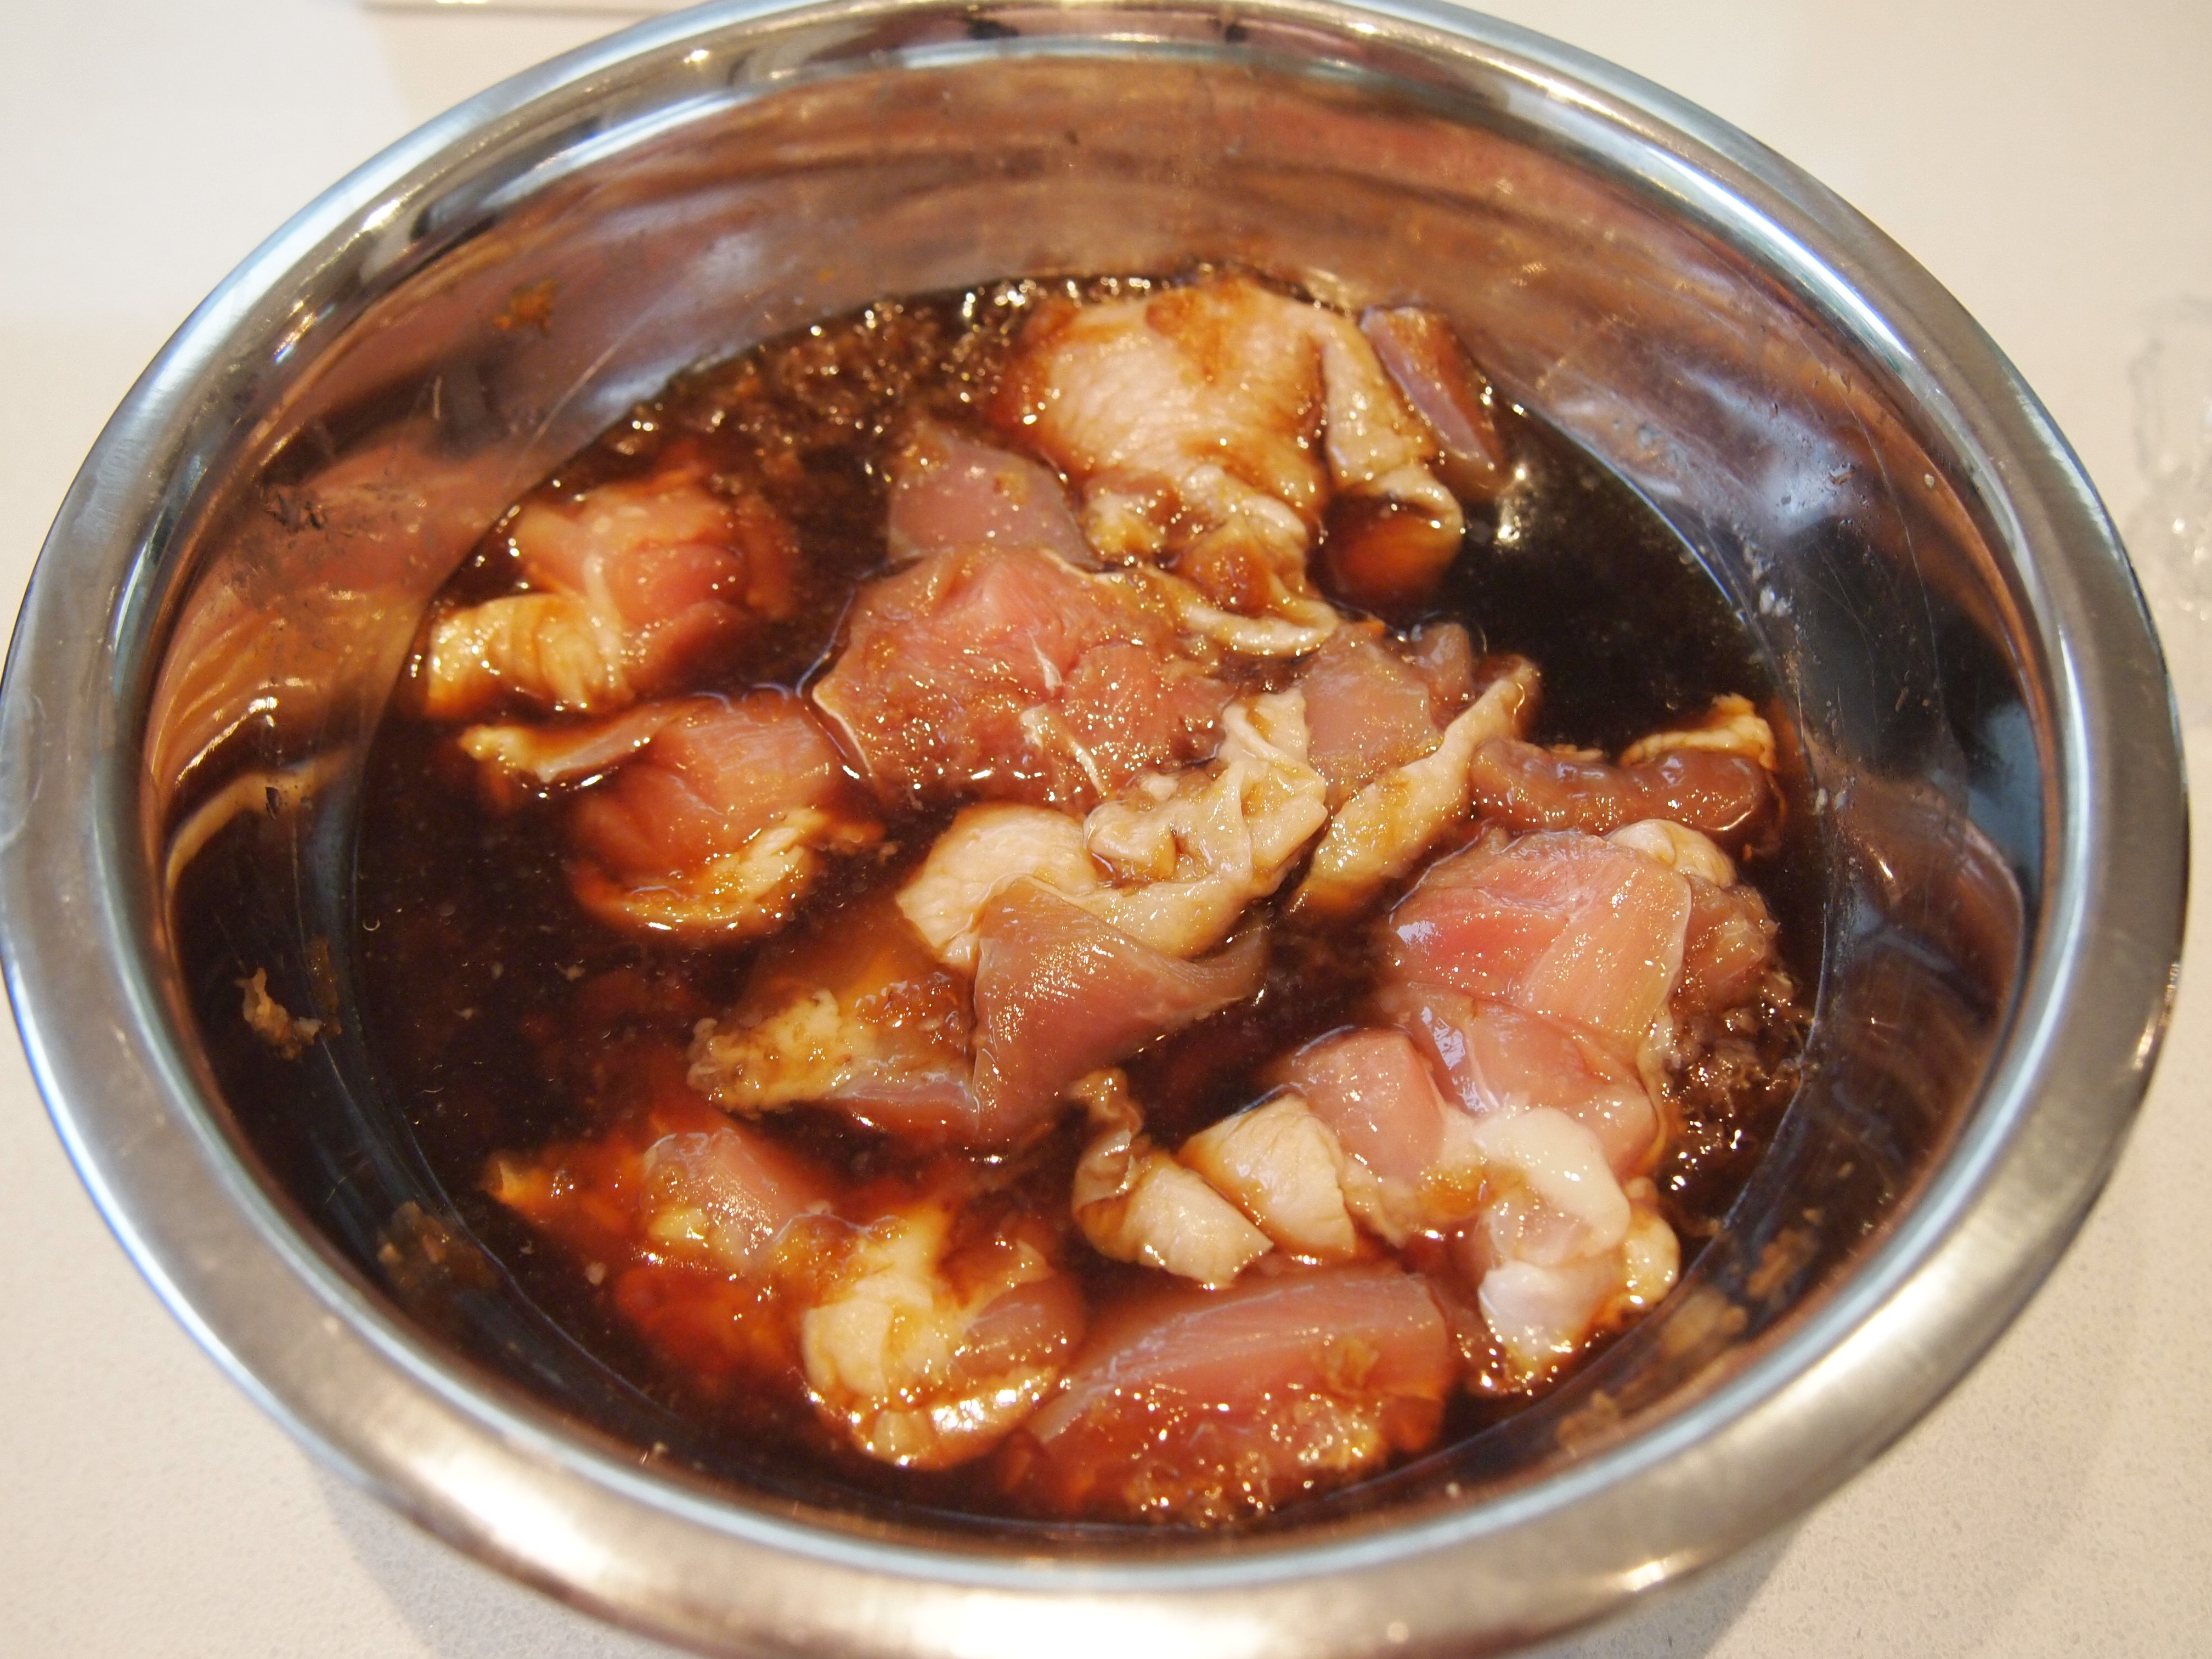
Cut the chicken into large bite size pieces, about 2 inches big. Mix all the marinade ingredients in a bowl and add the chicken. Marinade for as long as possible – an hour or two would be great but even 15 minutes will do. Heat 2 tablespoons of oil in a large non stick frypan over medium-high heat. When hot add the chicken pieces, shaking off as much marinade as possible. When the chicken pieces have turned golden brown turn them over and cook for a minute or two more. Add the sake and cover with a lid. Reduce heat and let it simmer for 10 minutes.

Chicken Teriyaki

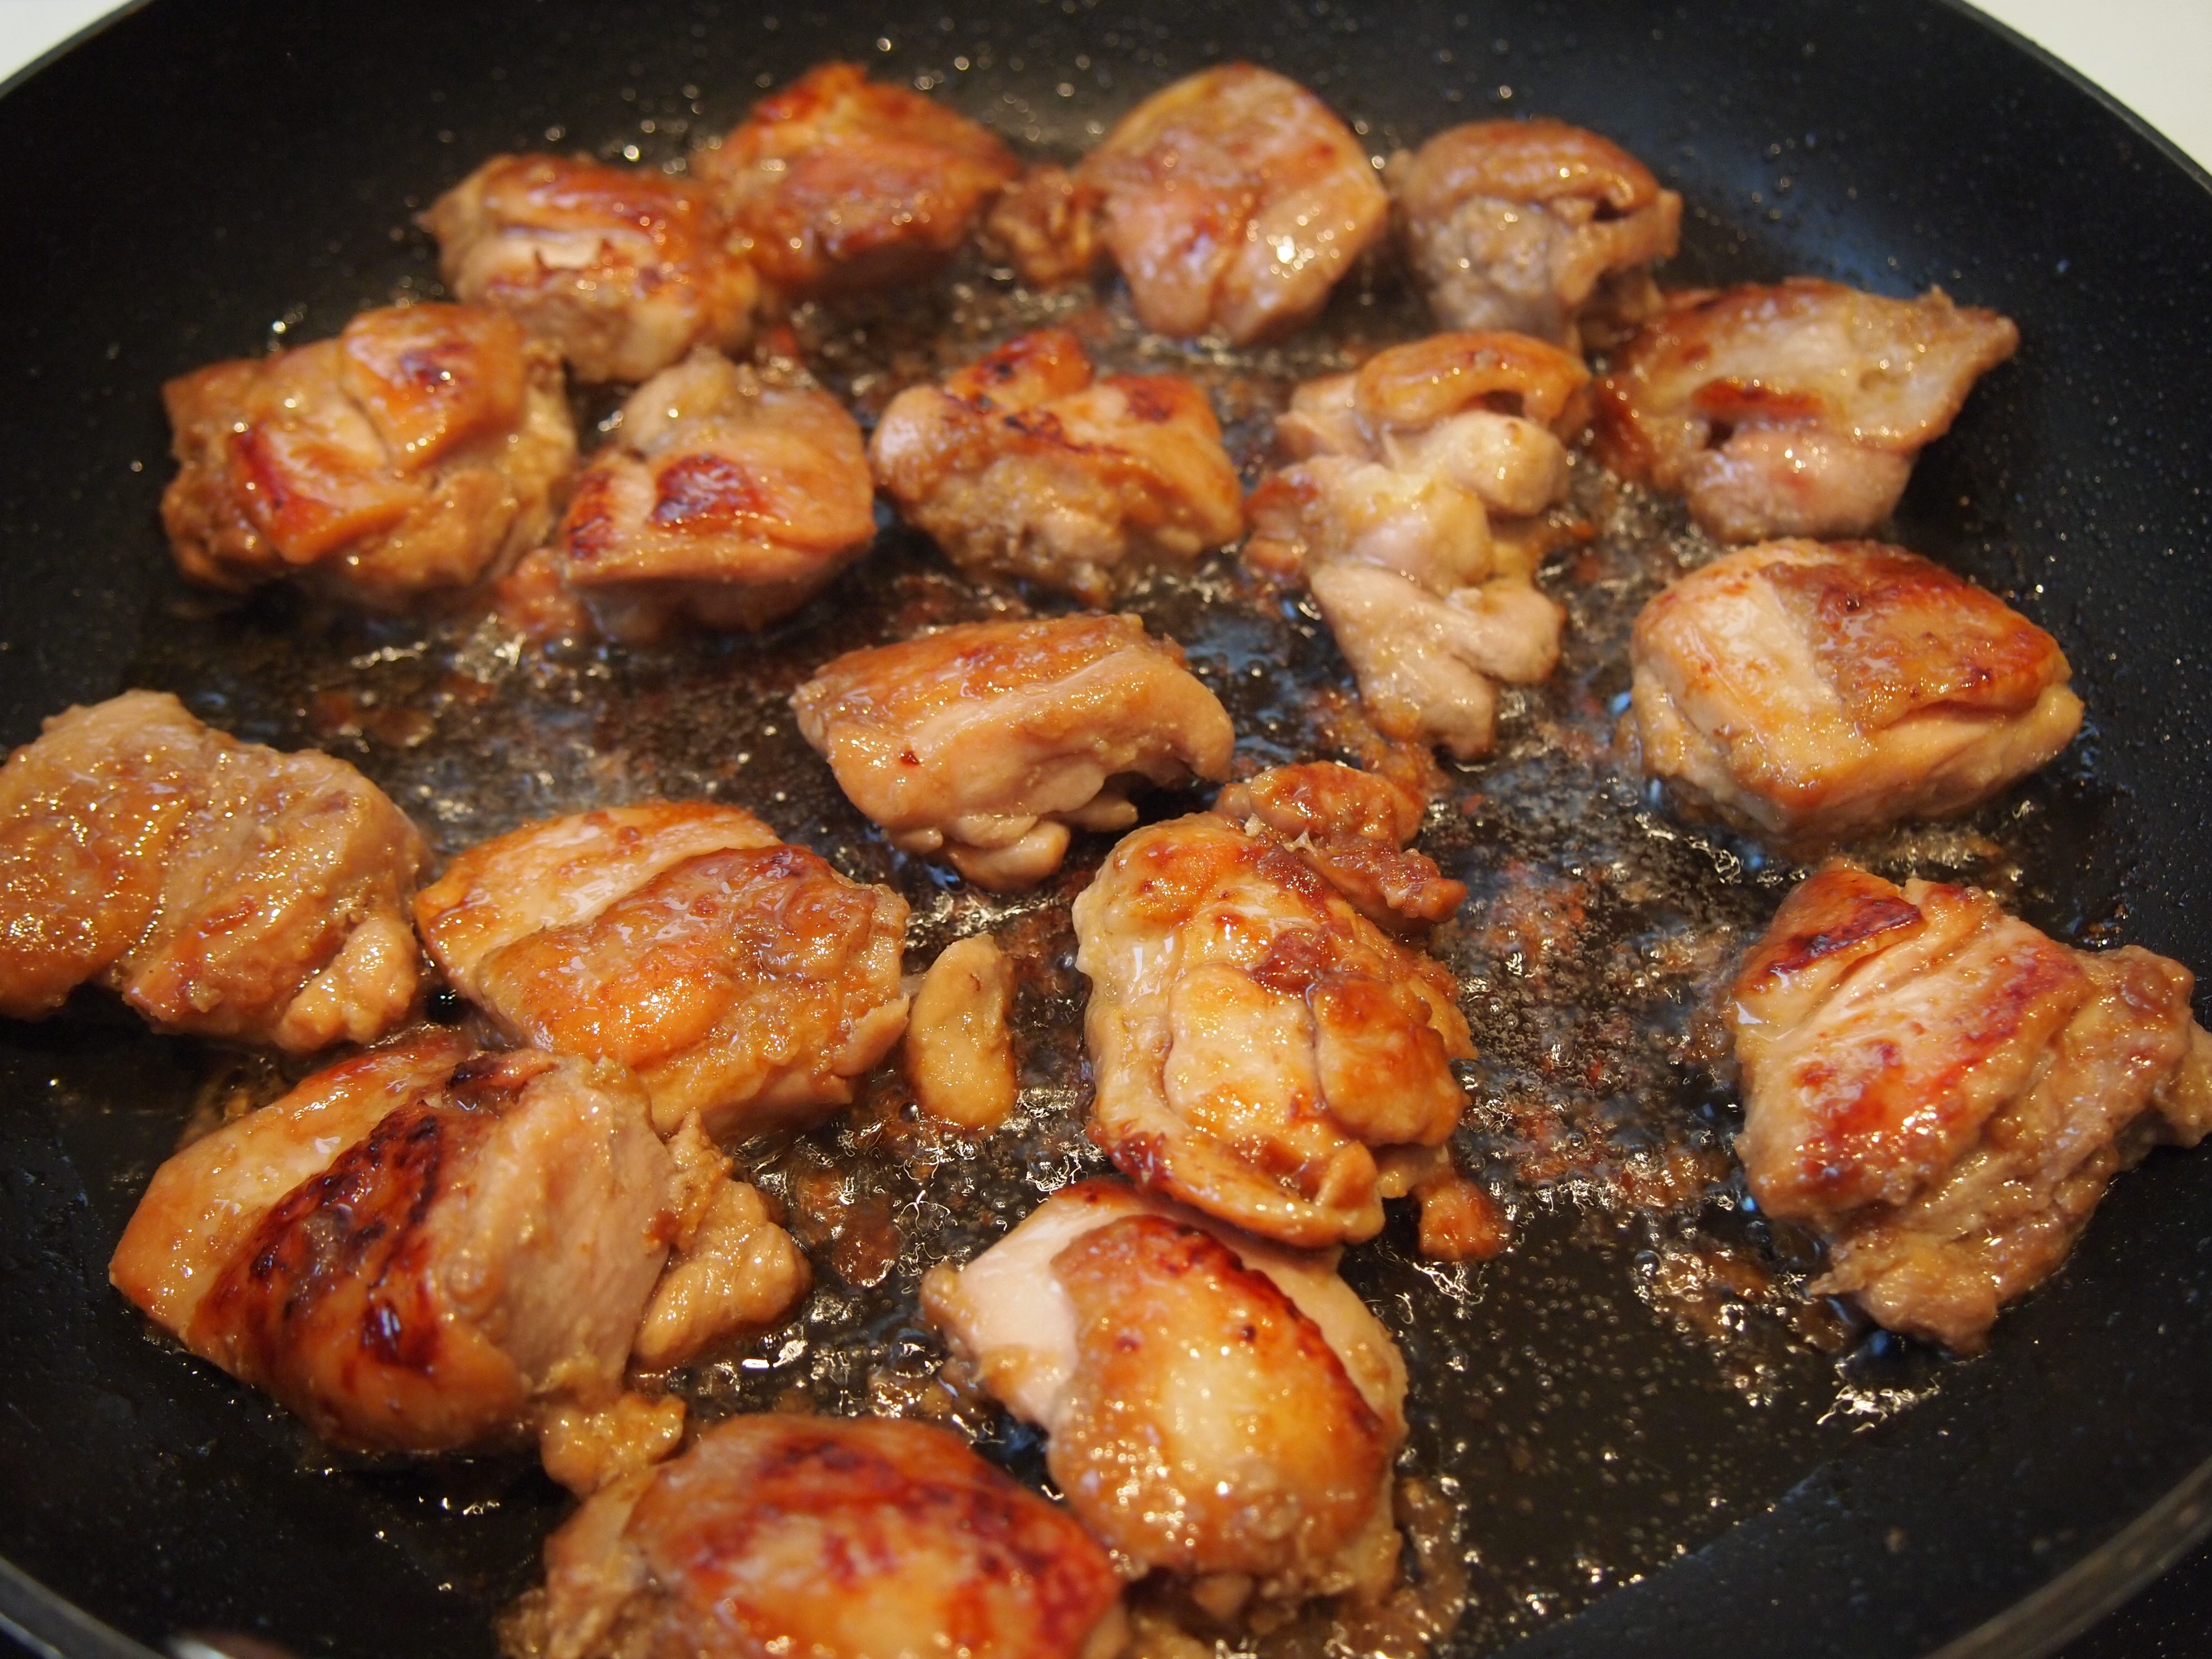
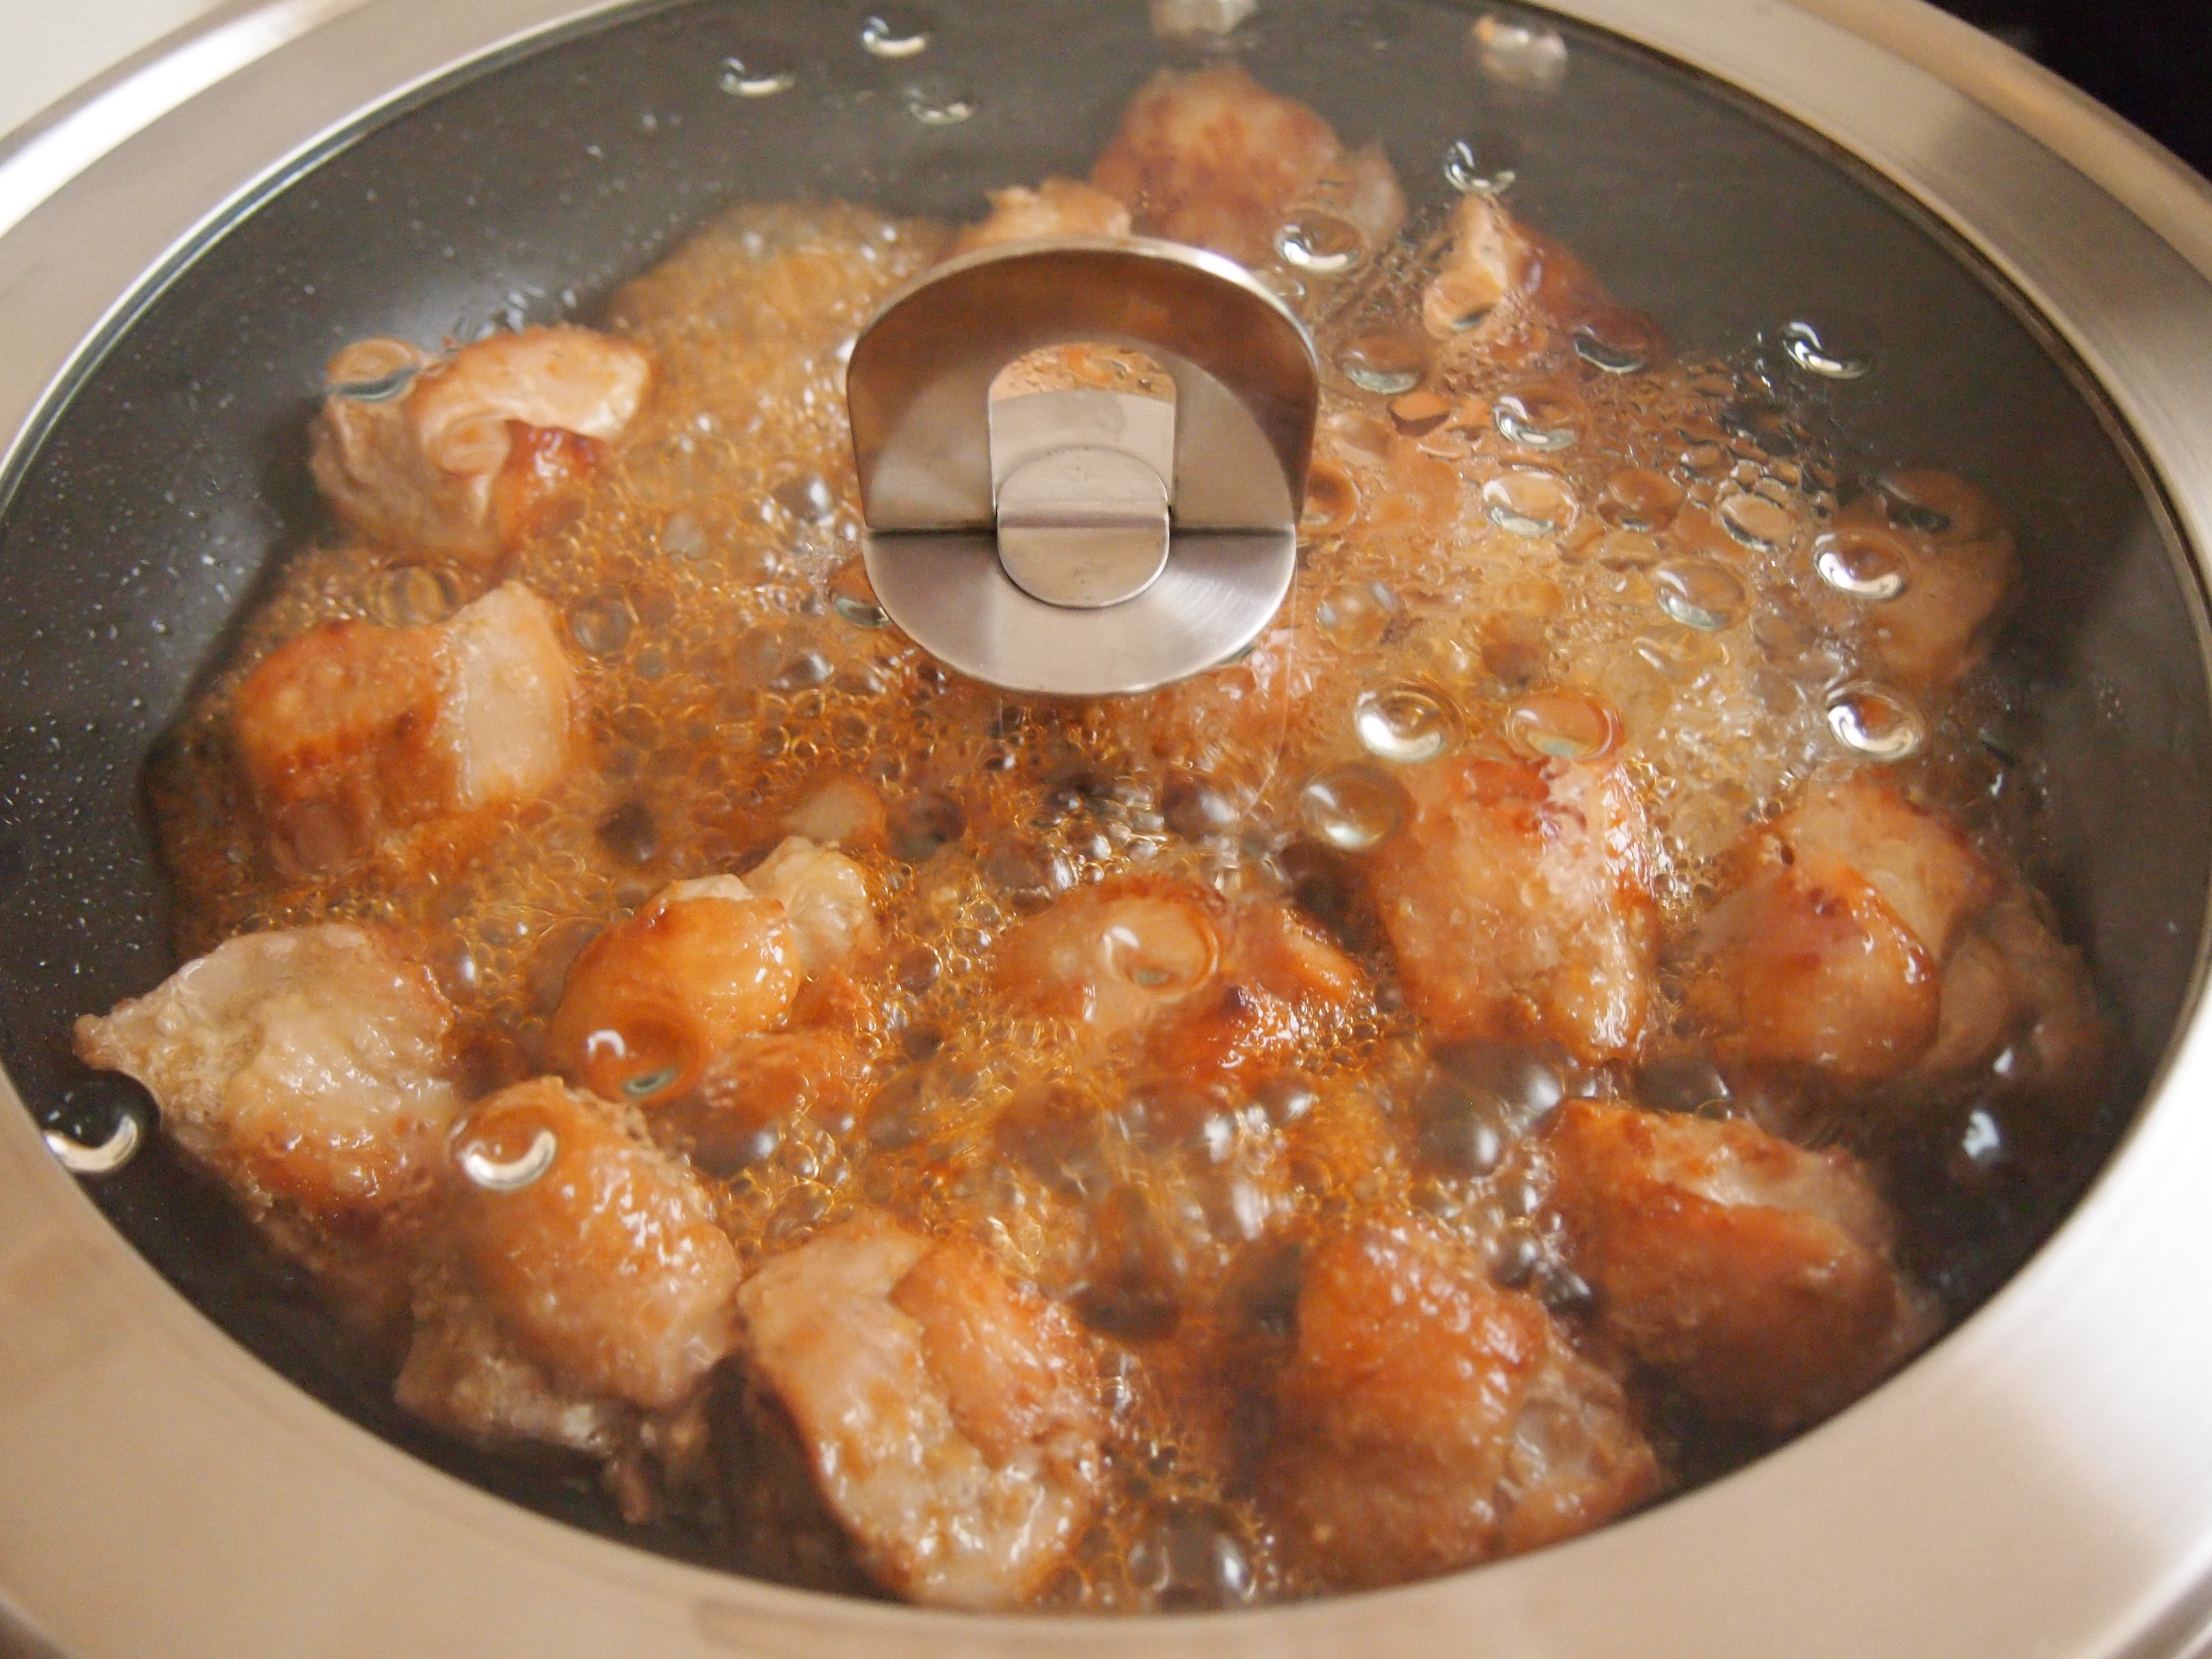
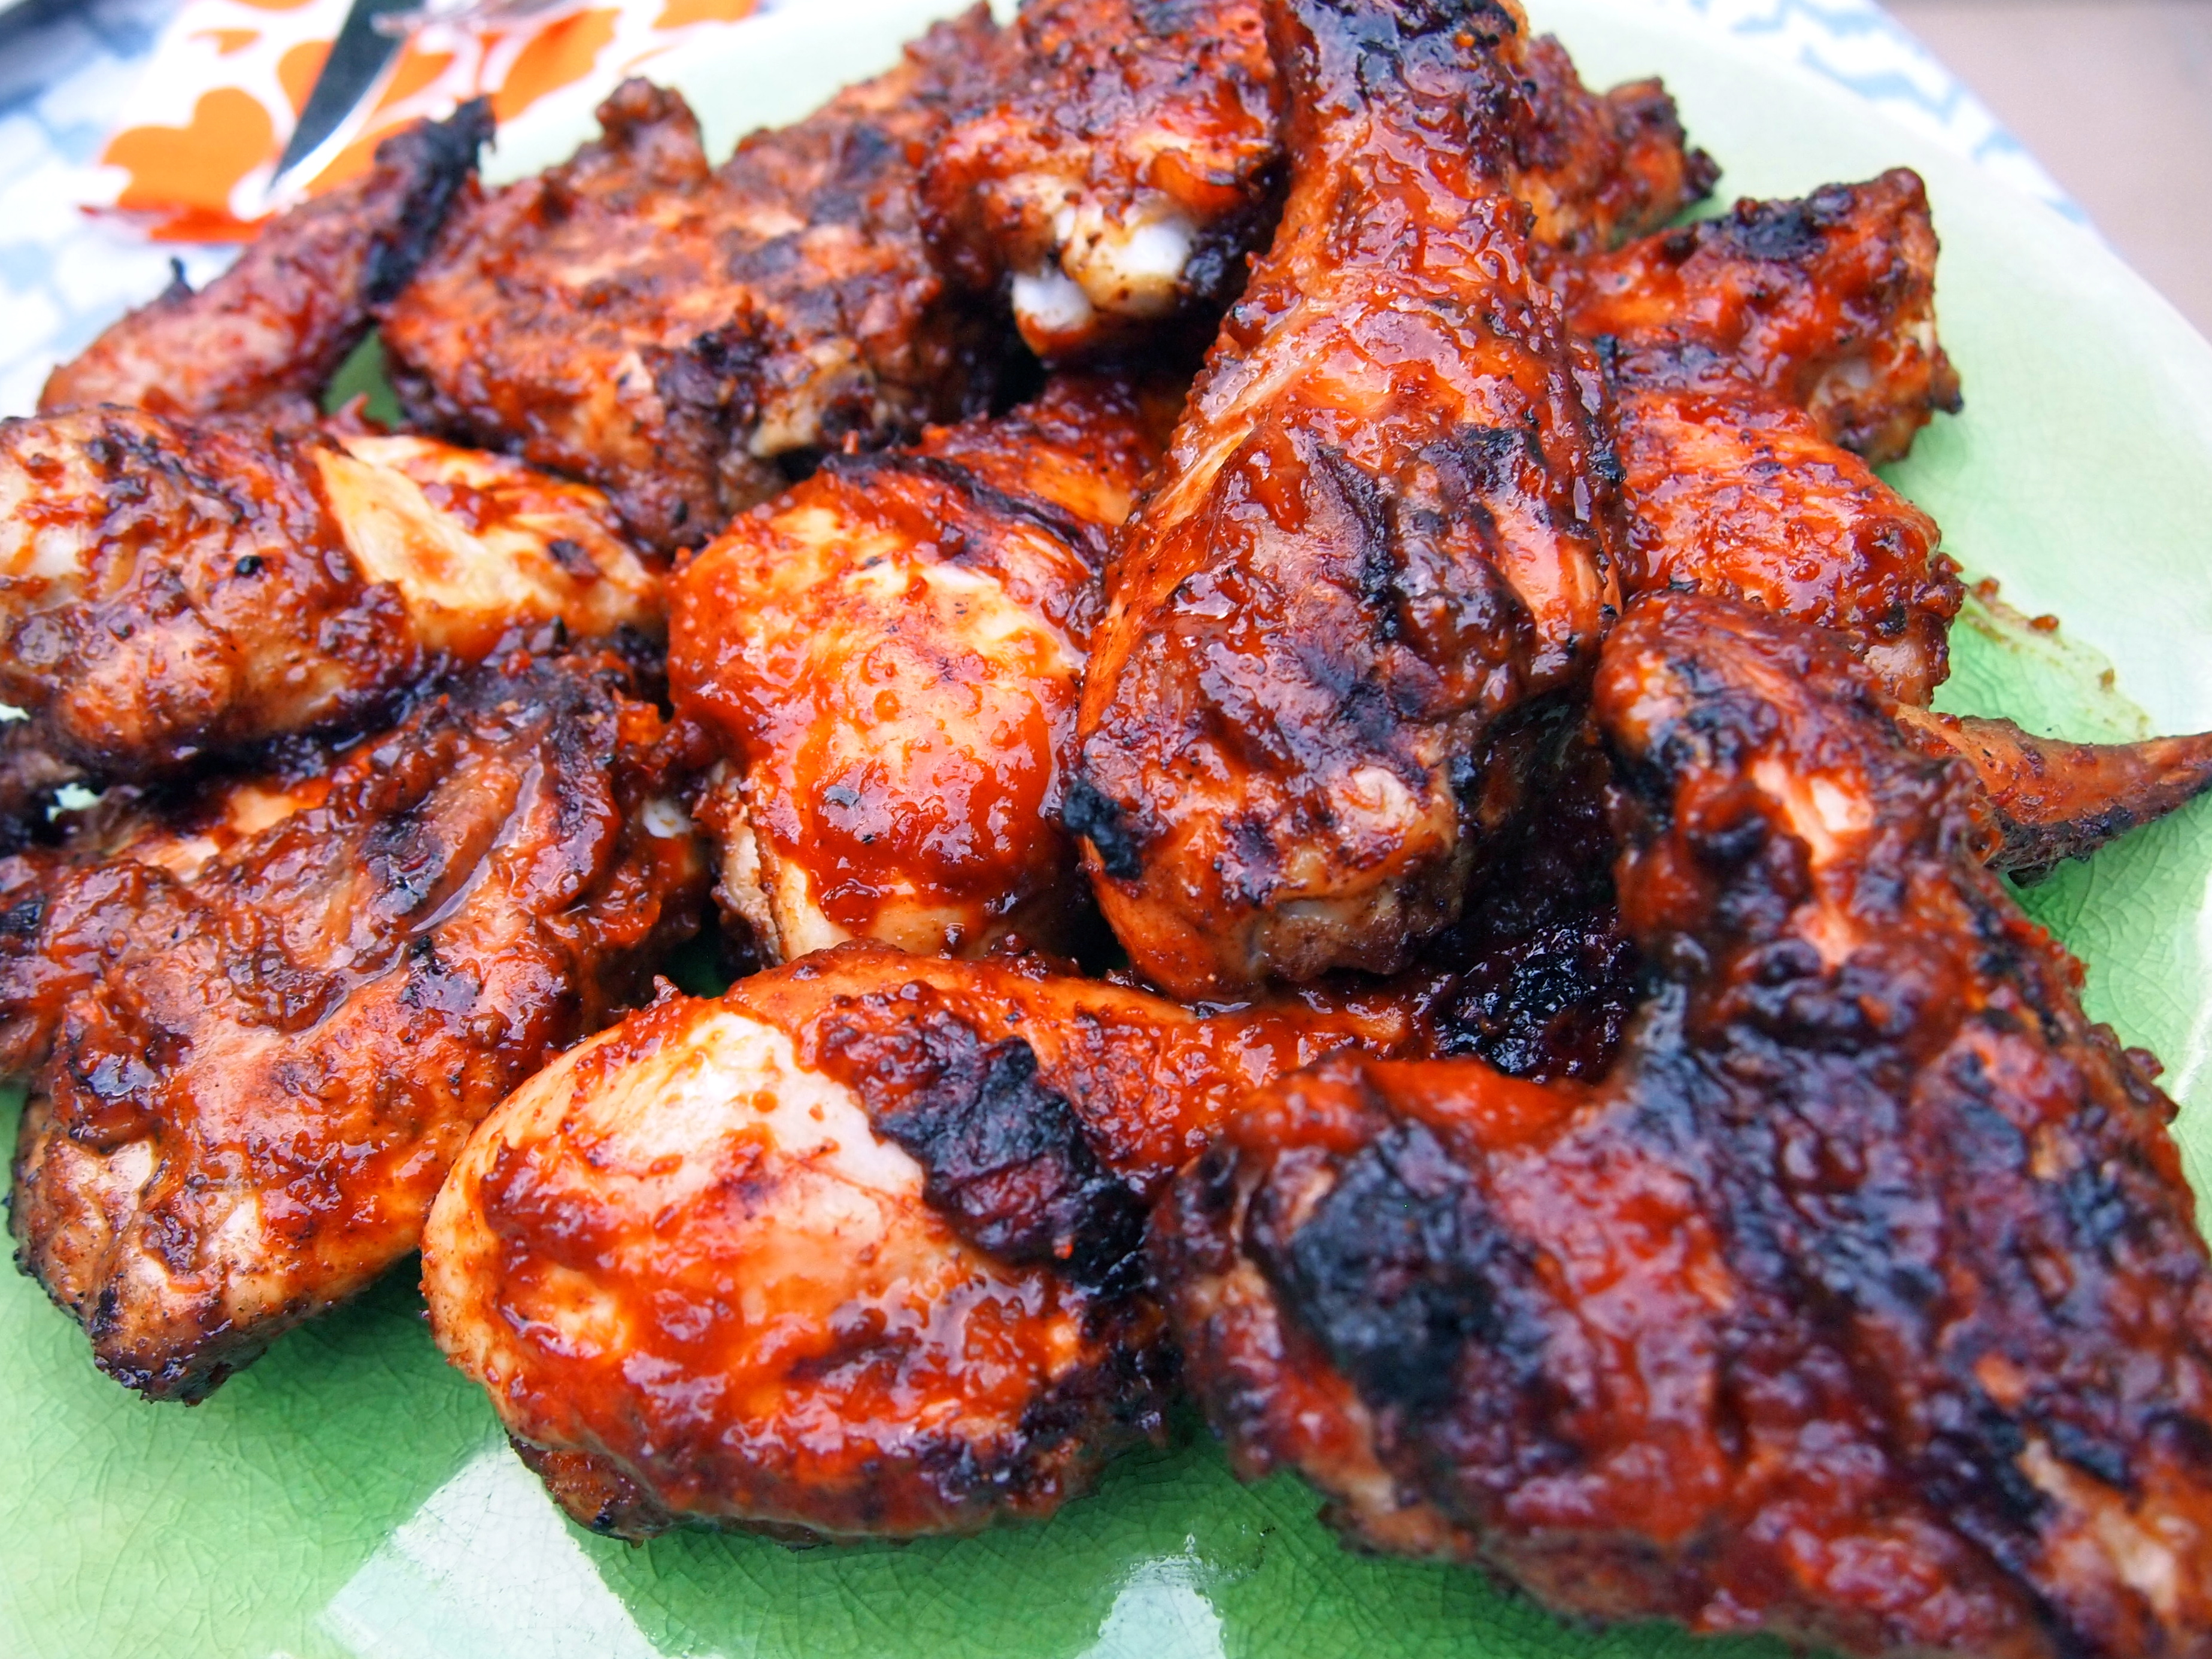
Remove the chicken and clean the pan with some kitchen paper. Return it back over a medium heat and add a tablespoon of fresh oil. When hot add the chicken and resume the frying process, once sizzling add the remaining marinade.  Cook for about another 5-6 minutes, turning and basting the chicken all the time to get a nice glaze.

Chicken Teriyaki

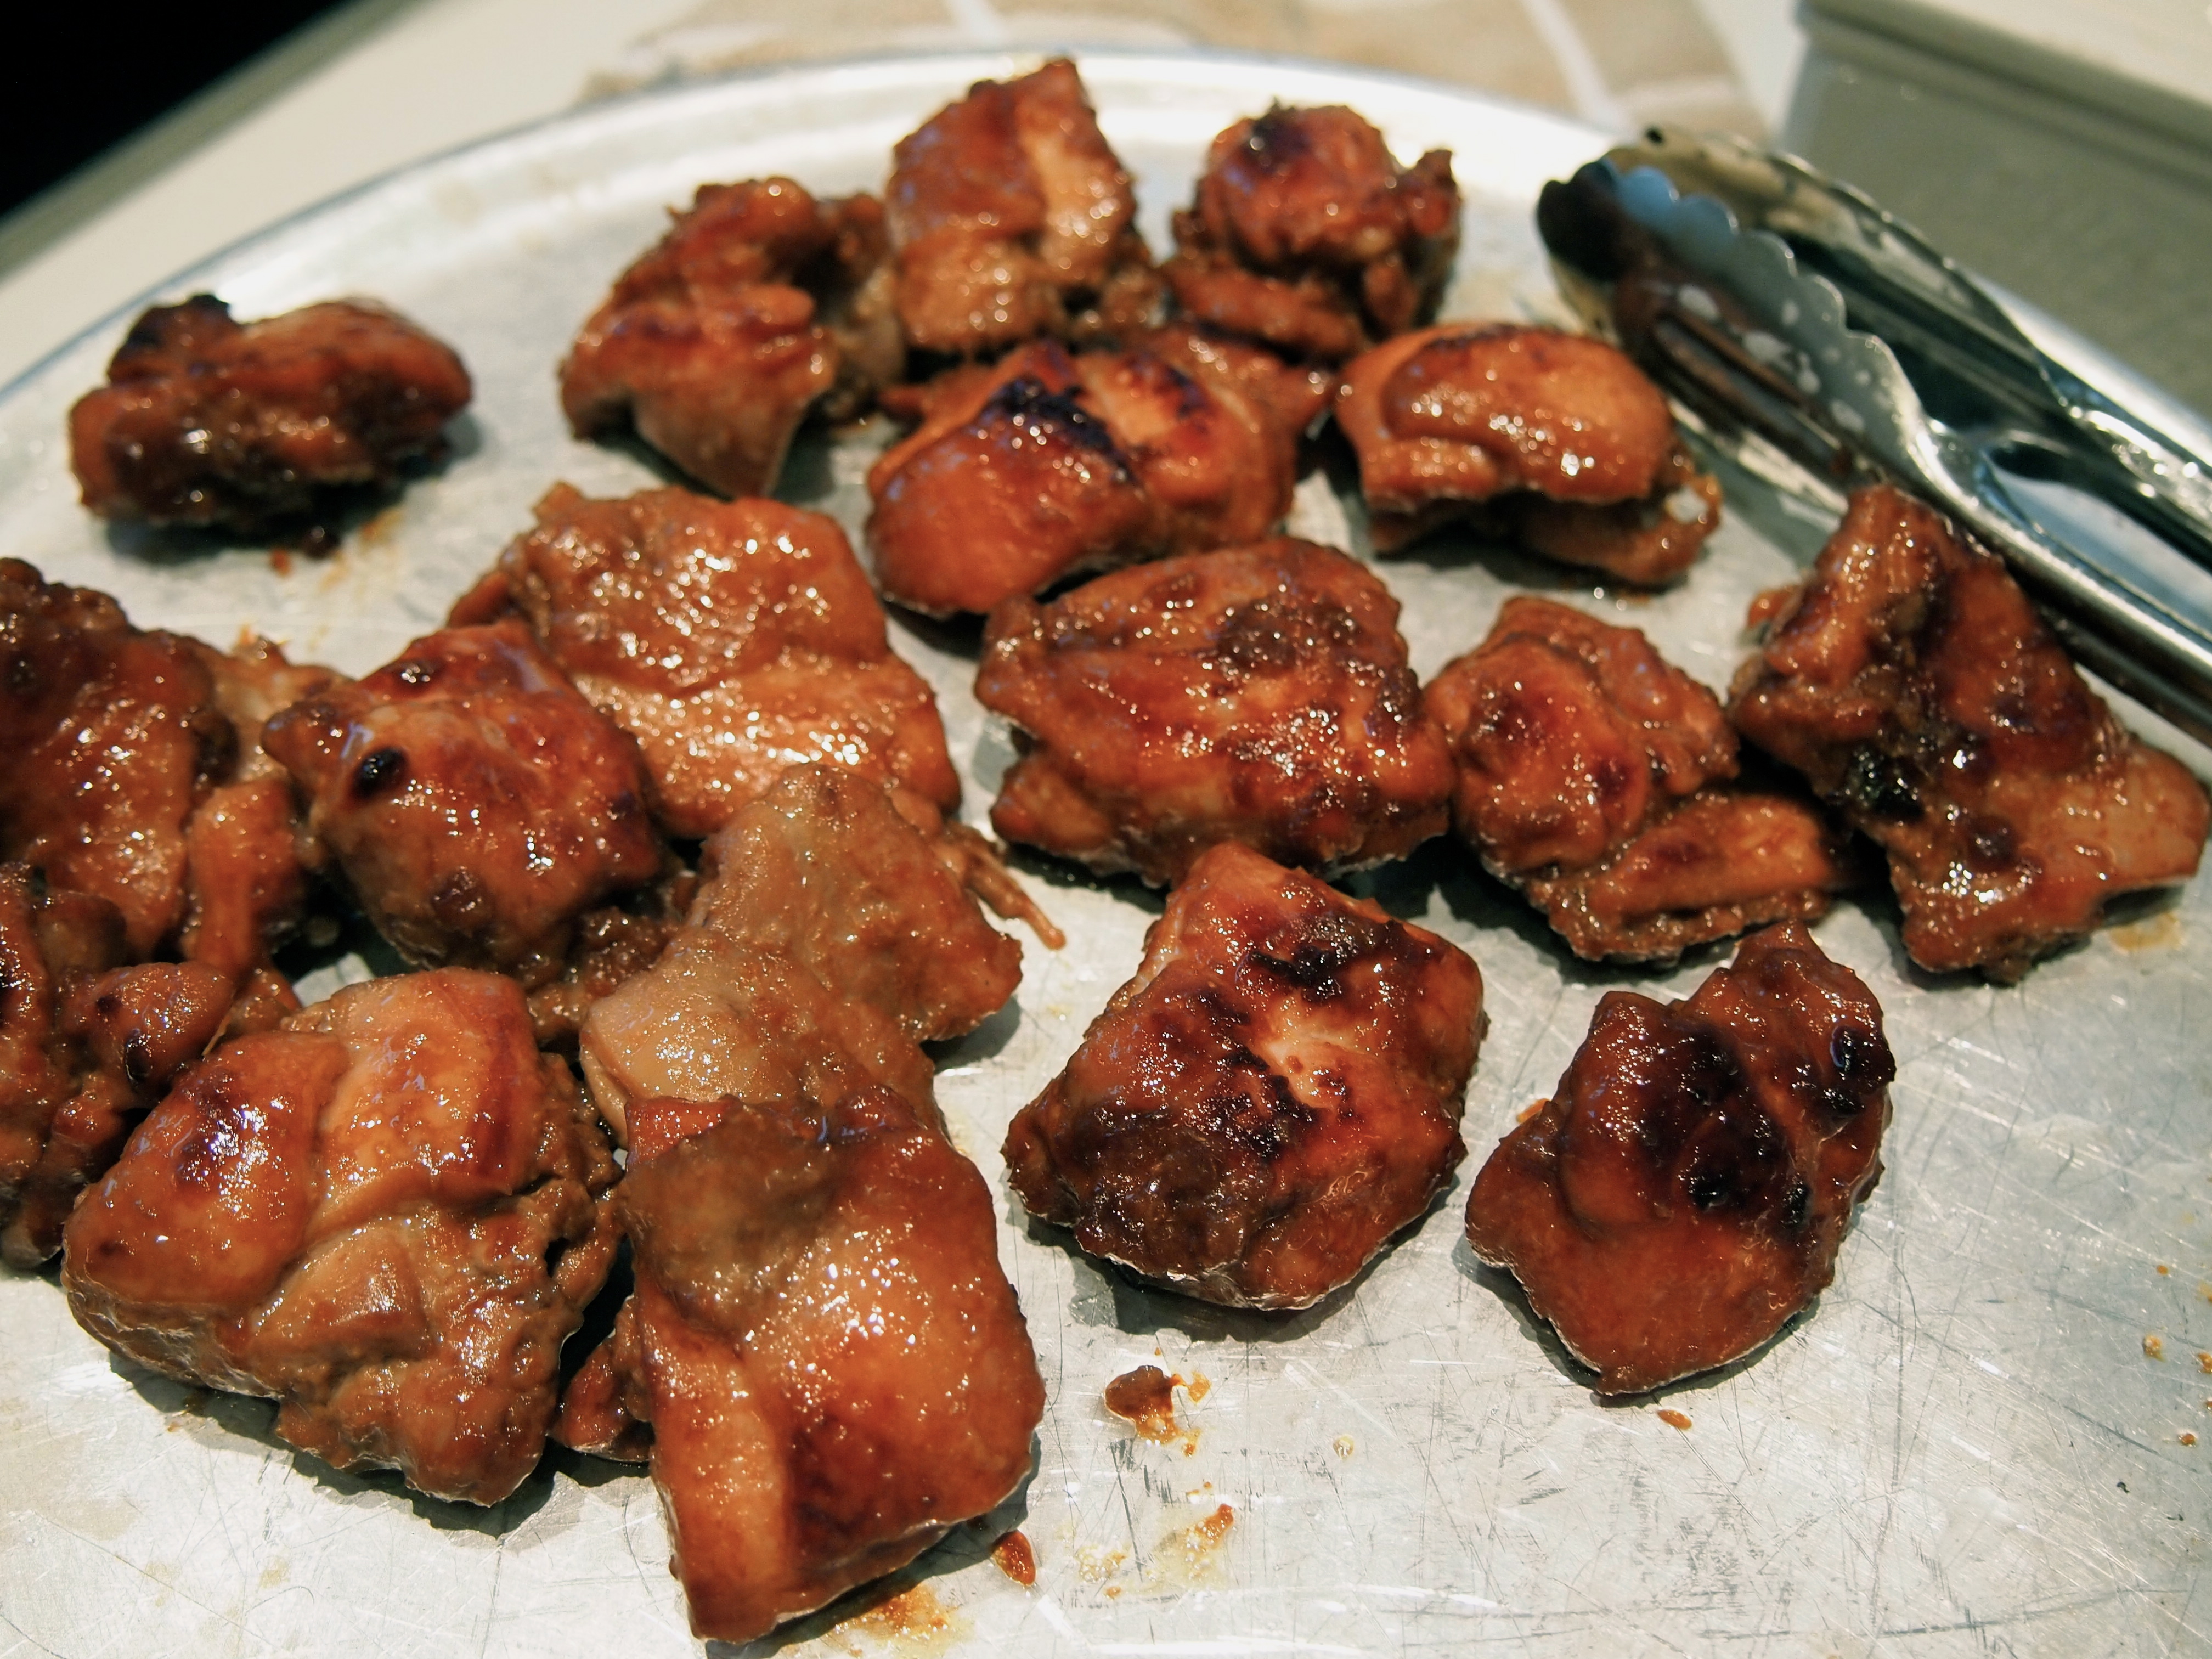
Due to the mirin and sugar in the sauce it will have a tendency to burn quite quickly so make sure that your heat isn’t too high. Remove the chicken to a platter, sprinkle with black and white sesame seeds and serve straight away.

Chicken Teriyaki

Mar 15, 2013
mustardwithmutton

no comments

Warm Spinach Salad with Roasted Onions, Tomatoes and Chorizo

Warm Spinach Salad with Roasted Onions, Tomatoes & ChorizoWe’ve recently fallen into the habit of having a steak dinner on Sunday nights and of course along with that comes the inevitable question of what to serve alongside. I’ve previously posted these steakhouse side dishes and they’re both great but unfortunately I suffer from “I-can’t-make- the-same-thing-twice-in-one-year” syndrome which can make menu planning very onerous. So this recipe is a result of one such Sunday when I was racking my brain for a side dish that we hadn’t had before. Warm spinach salads are nothing new and are very popular, especially in the States, but I wanted to add a little different twist on the more classic warm spinach salad which normally consist of bacon, and a warm vinaigrette. This salad has enough components to be the only side dish you’ll need to accompany a steak or any other grilled meat/poultry. It’s also substantial enough to serve as an appetiser or entree. My husband declared it was one of the best salads he’s had but unfortunately he’ll now have to wait another year to have it again!

Ingredients – Serves 4

250g baby spinach leaves, washed and spun dry
4-5 small red onions, peeled and quartered
8-10 small truss tomatoes, halved
1 large chorizo sausage, cut in half lengthways and then sliced into half moon pieces
4 cloves of garlic, roughly chopped
Olive oil
⅓ cup balsamic vinegar, divided
Salt & freshly ground black pepper

Method
Preheat oven to 170C. Place the tomatoes and onions on a baking tray, keeping them both separate. Season each with salt and pepper and drizzle generously with olive oil and the balsamic vinegar – the balsamic and oil in the tray will be used to make the dressing later so don’t worry if you think there’s too much. Add the garlic to the tomatoes and toss the tomatoes and onions lightly to coat them in the oil and vinegar but still keep them separated on the tray. Place in the oven and roast for 30 minutes. Add the chorizo to a spare spot on the tray and increase heat to 200C and roast for a further 10 minutes or until the onions and chorizo are crispy and golden. Remove from the oven and drain off all the juices from the tray into a small bowl.

Whilst the vegetable and chorizo are roasting place the spinach leaves in a large salad bowl or platter. You should have been able to retrieve a good amount of oil and balsamic from the roasting tray but if there isn’t enough to make a dressing add a little more balsamic and a splash of oil and whisk well. Check seasoning and then pour over the spinach leaves; just add as much as you need to lightly coat the leaves, don’t drown them in dressing. Gently toss through the warm tomatoes, onions and chorizo and add a little more dressing, Serve straight away whilst still warm.

Warm Spinach Salad with Roasted Onions, Tomatoes & Chorizo

Mar 12, 2013
mustardwithmutton

1 comment

Traditional Fish Cakes with Tartar Sauce

Traditional Fish Cakes with Tartar SauceSometimes it’s nice to have a fish supper that’s a little different to the usual baked, fried, or roasted fish fillet but coming up with new and innovative ways to prepare fish is challenging. I’ve realised however that there are a myriad of classic fish recipes I’ve yet to explore that fit this bill perfectly, and you can’t get more classic than traditional fish cakes. They’ve been around for years in various forms and most countries seem to have their own version but the classic fish cake consisting of white fish and potato is, I believe, an English creation with Mrs Beeton publishing a recipe in her 19th century Book of Household Management. There’s something so comforting about thick cakes of potato bound fish covered in a light crispy coating; the simple nature of  the ingredients making it satisfyingly familiar. Fish cakes are ideal if you have leftover fish or mashed potatoes and this is indeed how they may have originated – a sort of pescetarian bubble and squeak. But really they’re so good that there’s ample justification in making them from scratch. The good thing is that with the potatoes being incorporated with the fish it’s one less side dish you need to worry about. In fact all that’s required to go along side is a green salad or some steamed peas. I do love however topping the fish cakes with this easy home-made tartar sauce which gives a welcome tang and bite.

Ingredients – Serves 4

500gm white fish fillets – I used snapper
1 ½ cups mashed potatoes – leftovers are perfect or make some using 2 medium potatoes
1 ½ cups milk
3 bay leaves
10 peppercorns
1 teaspoon salt
2 spring onions, white and green parts finely sliced
Grated zest of 1 lemon
2 tablespoons finely chopped parsley
1 tablespoon dijon mustard
1 egg beaten with a little milk
½ cup seasoned flour
½ cup panko bread crumbs
2 tablespoons butter
2 tablespoons olive oil

Tartar Sauce
½ cup mayonnaise
¼ cup light sour cream or creme fraiche
1 small French shallot finely minced
6 cornichons finely chopped
Juice of half a lemon
1 teaspoon white wine vinegar
2 tablespoons finely chopped tarragon
Salt & freshly ground black pepper

Method
To make the tartar sauce place all the ingredients into a bowl and mix well to combine. Taste and adjust seasoning with more, salt, lemon juice or white wine vinegar.

To make the fish cakes bring the milk, bay leaves, peppercorns and salt to a boil. Lower heat to a gentle simmer and add the fish. Cover and cook for 10 minutes, or until the fish is just cooked. Remove the fish from the milk and leave to cool. Once the fish is cool enough to handle remove the skin and gently flake the fillets into large bite size chunks, set aside.

Put the mashed potatoes, spring onions, lemon zest, parsley, dijon mustard, 1 teaspoon salt and a generous pinch of black pepper in a bowl and mix until well combined. Taste and make sure it’s seasoned well. Add ¼ of the fish and beat it firmly into the potato mixture. Add the rest of the fish and this time very lightly and gently work it through so as the flakes remain as whole as possible. Place the mixture in the fridge for 10 minutes to firm up.


With slightly dampened hands take a handful of the mixture and form it into a thick patty. The size should be roughly 10cm in diameter and about 2 cm thick, but you can of course make them smaller if you wish. Repeat with the remaining mixture. You should end up with 5-6 cakes.
Bread the cakes by placing each fish cake first into the flour, then the milk and lastly in the mixture of plain and fresh breadcrumbs which have been mixed together. The fish cakes can be prepared up to this stage in advance and refrigerated until ready to fry.

Bring the fish cakes back to room temperature and heat a large non stick frying pan over medium heat. Add the butter and oil and when hot place the fish cakes gently in the pan. Let them cook undisturbed for a few minutes, make sure though that the heat isn’t too fierce. Check the underside of the cakes and if they are golden brown turn them over. Cook the other side for another few minutes until also golden. Remove from the pan and let them rest for a couple of minutes before serving with the tartar sauce and some lemon cheeks.

Traditional Fish Cakes with Tartar Sauce

Mar 8, 2013
mustardwithmutton

no comments

Baked Fig & Mascarpone Tart

Karen Martini's Fig & Mascarpone TartThis gorgeous tart by Karen Martini is the perfect dinner party dessert. Despite its appearance and the combination of ricotta and mascarpone, it’s actually very light and not overly sweet. I made it recently when some friends came over for a mid-week meal and it went down a treat, even with the non-dessert fans at the table – and yes, there are actually people out there who aren’t fond of desserts! The filling itself is very simple with all the ingredients being whizzed up in a matter of moments in a food processor. The only time consuming part is the tart shell and the blind baking it requires. I always make a double batch of shortcrust pastry and put one half in the freezer so I invariably have it on hand and this saves a little bit of fiddling around. I served the tart at room temperature and put the rest in the fridge at the end of the night. When I went to have a cheeky slice the next day for morning tea it was even better cold, which is how I think I’ll serve it the next time around. I also recommend not skipping the blackberry garnish, it adds a lovely sharpness and finishes the tart off beautifully.

Ingredients – makes 1 x 23cm tart   Adapted from Karen Martini, Where the Heart Is

1 quantity shortcrust pastry, using this recipe

Filling
250gm mascarpone, at room temperature
250gm ricotta, at room temperature
100gm castor sugar
100gm honey
1 teaspoon vanilla extract
2 eggs
1 egg yolk
1 tablespoon flour
4-5 large ripe figs, thickly sliced
2 tablespoons apricot jam
1 punnet blackberries (150gm)
1 tablespoon castor sugar,extra
Juice of half a lemon

Method
Roll out the pastry on a lightly floured board. Lift the pastry into a 23cm tart tin with a removable base, and press it in lightly. Cover and place in the fridge for a minimum of 30 minutes. Preheat oven to 180C. Blind bake the tart shell by lining the pastry with baking paper and beans or rice. Bake for 15 minutes. Remove paper and beans and cook for a further 10-15 minutes or until the pastry is crisp and golden. Set aside to cool and lower the oven to 160C.

To make the filling, combine mascarpone, ricotta, sugar, honey, vanilla, eggs, egg yolk and flour in a food processor and blend until smooth. Pour into the cooled tart shell. Arrange sliced figs on top. Bake for 35-40 minutes or until filling is set but still slightly wobbly in the centre and golden.

Place jam in a small saucepan over medium heat and warm for a few minutes until melted. Brush gently over the cooled tart. Combine blackberries, extra sugar and lemon juice. Spoon over the tart and serve either at room temperature or slightly chilled.

Baked Mascarpone & Fig Tart

Mar 5, 2013
mustardwithmutton

1 comment

Gnocchi Alla Sorrentina – Baked Gnocchi with Tomato, Mozzarella & Fontina

Gnocchi alla Sorrentina - Baked Gnocchi with Tomato, Mozzarella & FontinaGnocchi alla Sorrentina literally translates as gnocchi in the style of Sorrento but that really doesn’t mean much if you’ve never been to Sorrento and eaten their prized gnocchi dish. So forget about the name and just think of it as pillowy soft gnocchi coated with a gooey tomato and mozzarella sauce before being baked to golden perfection. Traditionally this recipe is made only with mozzarella cheese but I like to add fontina into the mix to further enhance the stringy cheesy quality which it’s so well known for. Whilst this is an ample meal to serve for dinner on it’s own, with maybe a green salad, I often like to serve these vegetarian baked pasta’s as a side dish instead of potatoes or other starch. There are only a few ingredients that go into making this dish so it’s important to use the best quality of each that you can, especially the cheese and the tomatoes. Obviously the gnocchi play the starring role and you can certainly make these yourself but that’s an endeavour I’ve yet to undertake so I make sure to buy very good quality fresh gnocchi from the refrigerated or frozen section of an Italian delicatessen or supermarket. I don’t think the vacuum packed gnocchi are as good for this particular dish.

Ingredients – Serves 4

750g best quality fresh or frozen potato gnocchi
Olive oil
1 small onion, finely diced
3 cloves of garlic, minced
2 x 400gm tins of Italian crushed tomatoes
Large pinch of chilli flakes
Salt
1 teaspoon sugar
6 large basil leaves
1 piece of parmesan rind
60g fontina cheese, diced
2 medium-large balls of fresh mozzarella (buffalo if possible), one diced and the other thinly sliced
2 tablespoons cream
¼ cup finely grated parmesan

Method
Bring a large pot of salted water to the boil and add the gnocchi. Cook according to package directions being careful to not overcook them. I like to take the gnocchi out as soon as they bob to the surface, especially as they will be baked later on. Set aside the drained gnocchi. Heat a medium size frypan or saucepan and add a few tablespoons of olive oil. When the oil is hot add the onion along with a pinch of salt and cook, without colouring, until the onions are transparent and soft. Add the garlic and chilli flakes and cook for a few more minutes. Add the tomatoes, sugar, basil leaves, a little more salt and the parmesan rind. Rinse each of the tomato tins with a little water and add this to the sauce. Bring to a simmer and cook partially covered, over low heat for 30 minutes. Remove the basil leaves and parmesan rind and take off the heat. Add the diced fontina, diced mozzarella and cream to the hot sauce and stir through until melted. Taste for seasoning and adjust if necessary.


To assemble the dish place the gnocchi into a large bowl and add the sauce. Stir through gently until well mixed and then transfer to a shallow baking dish. Top with the sliced mozzarella and parmesan. The dish can be assembled up to this point in advance and refrigerated until required. To cook, take the pasta out of the fridge and bring to room temperature. Place in preheated 180C oven for 30 minutes or until the sauce is bubbling and the top is golden brown. Let the pasta rest for 10 minutes before serving.

Gnocchi Alla Sorrentina - Baked Gnocchi with Tomato, Mozzarella & Fontina

Mar 1, 2013
mustardwithmutton

1 comment

Finger Lickin Barbecue Chicken

The Best Grilled Chicken with Barbecue SauceUnfortunately summer is slowly winding down in Sydney with today being the official start of Autumn so we’ve been trying to barbecue as often as the weather allows. We tend to mainly grill red meats such as steak, lamb and pork but for some reason we often over look cooking chicken on the grill, especially whole chicken pieces, which is a shame as chicken on the bone is perfect for the grill. Maybe the hesitance springs from memories of backyard barbecues where the chicken served is either raw or completely burnt, but with a little care that needn’t be the case. This dish is based on the barbecue flavours of the South with a sticky, smoky barbecue sauce which I also use on my ribs. The chicken is coated in a flavourful dry rub and left to marinade overnight (an hour or two will also do) and then lightly coated in oil before being put on the grill. The chicken should be three quarters cooked through before it can start to be basted with the barbecue sauce. Any sooner and the sugars in the sauce will burn the chicken before it’s cooked through. The best way to set up your grill for cooking chicken is to do the first part of the cooking process on an indirect heat, with the lid down for the majority of the time, to create an oven-like effect. At the point when you start basting the chicken with the sauce you can put it over direct heat and cook it a bit more fiercely. I’ve also been known to cook the chicken in a foil covered baking dish in in the oven for about 30-35 minutes before placing on the barbecue for the final basting and cooking. Either way you’ll be left with moist and tender meat with a burnished barbecue glaze that’s finger lickin good. Serve with baked potatoes, grilled corn on the cob, coleslaw and lots of napkins!

Ingredients – Serves 4

6-8 chicken pieces – I like to use a combination of drumsticks, thighs and wings. I find breasts dry out too much.
2 tablespoons vegetable oil
1 quantity smoky chipotle barbecue sauce from this recipe

Dry Rub
1 teaspoon salt
1 teaspoon mustard powder
1 teaspoon paprika
1 teaspoon smoked paprika
1 teaspoon Mexican chilli powder
1 teaspoon cumin
1 teaspoon dry oregano
2 teaspoons brown sugar
1 teaspoon onion powder
1 teaspoon garlic powder

Method

Place the ingredients for the dry rub in a large bowl and stir well to combine. Add the washed and dried chicken pieces and massage the spices into the chicken, ensuring each piece is well coated. Cover and refrigerate overnight if possible but an hour or two will also suffice.

Chicken with Dry Rub

Take the chicken out of the fridge and let it come to room temperature. Add the oil to the chicken pieces and rub it in well. Heat and set up your grill for indirect cooking and cook the chicken pieces, turning regularly, until they are almost cooked through. You should have the lid of the barbecue down for most of the cooking time; how long it takes will depend on the heat of your grill but it should be around 20 minutes. Alternatively you can preheat your oven to 180C and bake the chicken in a foil covered baking dish for 30-35 minutes. Once the chicken is almost cooked, move the pieces over the direct flame and start basting the chicken with the barbecue sauce.

Grilled Chicken with Barbecue Sauce

If you’ve done the first part of the cooking process in the oven then remove the chicken from the baking dish and place on a hot grill over a direct flame. Keep basting and turning the chicken until you have a nice glaze. It’s important to keep turning the chicken pieces over as the sauce starts to set and to keep basting. It should take about 10-12 minutes for the chicken to finish cooking and to achieve a nice glaze. Place the chicken pieces on a platter and let it rest for about 10 minutes before serving.

Finger Lickin Barbecue Chicken

Feb 26, 2013
mustardwithmutton

6 comments

Kookoo Baghali – Persian Broad Bean and Dill “Frittata”

Kookoo Baghali - Persian Broad Bean and Dill "Frittata"Kookoo is a Persian baked or fried egg dish not dissimilar to an Italian frittata or Spanish tortilla. There are many different varieties with most of them being vegetarian, the only meat based kookoo I’m aware of is one using minced lamb (kookoo goosht). This kookoo using broad beans (fava beans) and dill is one that you don’t come across very often but the classic pairing of beans and dill make it one of my favourites. Kookoo make a delicious and satisfying light meal and whilst we sometimes eat kookoo at lunchtime it’s more normally served in our house as part of the main evening meal, along with either a khoresht (persian lamb and vegetable based stew served with rice) or a polo dish such as sabzi polo or shirin polo. There are a few different methods that can be used to make kookoo with some people preferring to bake it in the oven. My mother would always fry her kookoo gently on the stove top and I think this gives the best result. Just about every recipe I’ve seen for kookoo seems to include either baking powder or flour which I’m not a fan of. The flour and baking powder is used to firm up the kookoo and give it a raised, puffy appearance which I think is unnecessary, especially as the taste of the baking powder/flour is often discernible in the finished dish. As with frittatas and tortillas, kookoo is excellent portable food so perfect for picnics. This would also make a lovely starter for a dinner party, especially if you have vegetarian guests, or if you’re making a Persian meal and want to include another item on the menu then you can’t go wrong with a kookoo and this one is particularly delicious.

Ingredients – makes one 30cm kookoo

Neutral flavoured vegetable oil – i.e.not olive or peanut oil. I like cold pressed rice bran oil
2 medium size onions, finely diced
¼ teaspoon tumeric
500g broad beans, double podded – I used frozen
Salt & freshly ground black pepper
1 cup chopped dill
6 eggs

Method

Heat a 28-30cm non stick frypan over medium heat and add enough oil to lightly coat the bottom. Add the onions and cook until golden brown and very soft. Add the turmeric and stir to incorporate and cook for a further minute. Add the broad beans and dill and continue to cook on a gentle heat for about 8 minutes. Season with salt and pepper. Remove to a bowl and allow to cool.

Whisk the eggs in a large bowl and season with salt and pepper. Add the cooled broad bean mixture to the eggs and stir to combine. Heat about a ¼ cup of oil in the same frypan used before; when the oil is hot add the egg mixture to the pan and spread it around evenly. Cook on low- medium for 30 minutes. For the last 15 minutes of cooking time I like to cover the pan with a wire mesh splatter guard. This lets some of the steam evaporate but still retains the heat. If you don’t have one then cover the pan lightly with foil. Keep checking the kookoo, adjusting the heat if it appears too fierce or increasing it if it’s not frying enough. After 30 minutes carefully cut the kookoo into 4 wedges. The kookoo at this stage will be firm enough for you to do this and then carefully flip each piece over and cook the underside for another 5 minutes.

Persian Kookoo Baghali

Turn off the heat, transfer the kookoo to a platter and cut into 8 slices. Serve either warm or at room temperature. I normally make my kookoo in advance and if I want to eat it warm I either give it a few minutes in the microwave or put it into a 180C oven for a 5 minutes.

Kookoo Baghali - Persian Broad Bean & Dill Baked Egg Dish

Feb 22, 2013
mustardwithmutton

7 comments

Simon Hopkinson’s Parmesan Biscuits

Simon Hopkinson's Parmesan BiscuitsI can’t tell you the number of recipes I’ve made from Simon Hopkinson’s recent television series the Good Cook. Somehow I’m much more tempted to try recipes after watching someone cook it than I would be from just reading the same recipe in a cook book. Hence the popularity of cooking shows I guess. That enhanced understanding you have of the finished dish and the chefs passion towards it can’t be replicated too easily in written form. Take these parmesan biscuits as an example. There are so many recipes for cheese biscuits and most of them are pretty similar but watching them being cooked by Simon Hopkinson I couldn’t wait to try them and I just knew they were going to be one of the better parmesan biscuits out there, and I was right. These are a lovely appetiser to serve with a glass of wine or Champagne – the ones topped with green chilli were my favourite, with a wonderful spicy kick. I must admit that I forgot to brush the biscuits with egg wash prior to baking but they didn’t seem to suffer for it although they may have had more of a golden glossy finish if I had. These are as fun and satisfying to make as they are to eat and will keep in an airtight container for at least a few days but they never seem to last that long.

Ingredients – Makes approx 25-30 biscuits   Adapted from Simon Hopkinson

100g cold unsalted butter, cut into chunks
100g plain flour, plus extra for flouring
¼ teaspoon salt
Pinch of cayenne pepper
½ teaspoon mustard powder
50g grated mature cheddar
50g finely grated parmesan, plus a little extra
1 egg, beaten
1 finger length green chilli, finely sliced (optional)

Method

Place the butter and flour into the bowl of a food processor with the salt, cayenne, mustard powder and cheeses. Process together to begin with, and then finely pulse the mixture in short spurts until the mixture comes together – it will eventually bind without the need for egg or water. Wrap in cling film and leave to chill in the fridge for at least 30 minutes. Pre-heat oven to 180C. Lightly flour a work surface and gently roll out the pastry to about ½ centimetre thickness. Cut out the biscuits to the size and shape you wish – I used a scallop edged 5cm round biscuit cutter.

Lay them out on a greased baking tray about 2cm apart – it may take two lots of baking to use up the entire mixture. Carefully brush the surface of each biscuit with the egg and sprinkle over a little finely grated parmesan. If you’re using the green chilli place a slice of chilli on each biscuit (or just some of them)  prior to sprinkling with parmesan. Bake for 10 minutes, or until they are a golden-brown colour. Carefully lift the biscuits off the tray using a palette knife and place on a rack to cool.

Simon Hopkinson's Parmesan Biscuits

Feb 19, 2013
mustardwithmutton

1 comment

Mustard Roasted Fish

Ina Garten's Mustard Roasted FishMy husband recently went on a fishing trip with some friends and came back proudly bearing four enormous kingfish fillets. Thankfully they scaled, gutted and filleted the fish they caught before bringing them home otherwise I might not have been as happy to have them. It’s the first time I’ve eaten fish that’s been caught so recently and the difference in flavour, texture and aroma (i.e. it has no, and I mean no, smell at all) is huge compared to fish that you buy from the fishmonger or even the fish markets. Two of the fillets I cooked very simply by flouring and pan frying them with a little butter, lemon juice and parsley. But I wanted to try something a little different for the last two fillets and decided to make Ina Garten’s mustard roasted fish from her Back to Basics cookbook. This was a great way to prepare fish and don’t be put off if you’re not big mustard fan as it’s not a prominent taste in the finished dish. This meal is so quick and easy to prepare and a lovely change from the way we normally cook fish. To be able to get dinner on the table in thirty minutes (and only use one baking tray and a small bowl) and have it look and taste this good means this will be a recipe I’m going to be making often.

Ingredients – Serves 4   Adapted from Ina Garten

4 fish fillets, any firm fleshed white fish works such as red snapper – I used Kingfish fillets
Salt and freshly ground black pepper
240g creme fraiche – I actually used light sour cream as I had a tub in the fridge and it worked just fine
3 tablespoons Dijon mustard
1 tablespoon whole-grain mustard
2 tablespoons minced French shallots
2 teaspoons drained capers

Method

Preheat the oven to 210C. Line a baking tray with parchment paper. Place the fish fillets skin side down on the tray. Sprinkle generously with salt and pepper. Combine the creme fraiche, 2 mustards, shallots, capers, 1 teaspoon salt, and ½ teaspoon pepper in a small bowl. Spoon the sauce evenly over the fish fillets, making sure the fish is completely covered.

Bake for 10 to 15 minutes, depending on the thickness of the fish, until it’s just cooked through, be carful not to overcook it. The fillets I used were very thick and I needed to cook them for 17 minutes. Remove from the oven and let them rest for a few minutes before serving.

Ina Garten's Mustard Roasted Fish

Feb 15, 2013
mustardwithmutton

no comments

Khoresht Karafs – Persian Lamb & Celery Stew

Persian Celery and Lamb Stew - Khoresht Karafs I don’t cook nearly as much Persian food as I’d like to. Unfortunately it’s not food that can be whipped up quickly and needs the better part of an afternoon to prepare and cook – it’s slow cooking at it’s best. The saving grace to all those hours is that khoresht freeze and reheat beautifully so when I do make some I always make a large batch to portion up and freeze for those nights when I don’t have time to cook. And like all slow cooked stews and braises the flavours enhance and deepen the second time around. I’ve posted some other Persian recipes and there’ll be more coming soon but this Khoresht or stew is a particular favourite. Growing up we almost exclusively ate Persian food and I remember my working mother spending hours in the kitchen on a Saturday making at least five different khoresht for our weekly dinners, a mammoth task! I was always anxious however when school friends came for dinner that they wouldn’t enjoy the food and would find it too unusual for their palate. I needn’t of worried because that never happened, every plate was wiped clean and seconds asked for. That’s the lovely thing about Persian cuisine; it’s exotic enough to be interesting and different yet there is something very familiar about it. This Khoresht may be overlooked by a lot of people as braised celery may not sound very appealing but it is actually one of the khoresht that most foreigners love and it’s my husbands favourite, so don’t be put off by the thought of cooked celery – it becomes delicious and sweet when braised for a long time. As I’ve mentioned before all khoresht are eaten with steamed basmati rice with accompaniments of fresh herbs such as mint, basil and red radishes, or a salad of finely diced cucumbers and tomatoes with a lemon dressing. If you have a Persian grocery store nearby then a jar of Persian torshi, pickled mixed vegetables, is wonderful on the side.

Ingredients – Serves 6 and freezes well

Neutral flavoured vegetable oil, not olive oil
4 good sized onions, finely diced
¾ teaspoon tumeric
700g diced lamb, I like to use leg of lamb that has been trimmed of all fat and cut into small, 2cm, bite size pieces
Salt and freshly ground black pepper
Juice of half a lemon
1 head of celery, washed and trimmed and cut into half centimetre slices
A handful of the young leaves from the head of celery finely chopped
½ cup of fresh finely chopped parsley, firmly packed
⅓ cup fresh finely chopped mint, firmly packed

Method

Place a heavy bottomed large saucepan over medium heat and add a good amount of oil, at least a quarter of a cup. Add the onions and stir and fry until the onions are golden brown and caramelised. This should take about 20 minutes.  Add more oil if the pan is running dry and stir regularly to ensure that the onions brown evenly and don’t get scorched. While the onions are frying rinse the meat in several changes of cold water and drain well. Wipe dry with paper towels. When the onions are ready add the turmeric and stir and cook for another couple of minutes. Increase the heat and add the meat. Cook stirring the meat for about 5 minutes until it changes colour. Place a kettle on to boil and add 2 teaspoons salt and 1 teaspoon black pepper to the meat. Give it a good stir and then add enough boiling water to just cover the meat, with only the tips of the meat showing. Bring to the boil then lower the heat to a gentle simmer. Cover with a lid a simmer for about 1 hour or until the meat is half cooked.

While the meat is cooking prepare the celery. Place a large skillet over medium heat and add enough oil to cover the surface of the pan. Add the celery along with a pinch of salt and cook gently until the celery is completely soft. Remove the celery with a slotted spoon, trying to keep as much oil in the pan as possible, and set aside. To the same pan add the finely chopped celery leaves, parsley and mint. If the pan looks to be running dry add some more oil, it’s important that the herbs have enough oil to sauté in otherwise they will scorch and become bitter. Gently sauté the herbs until they are soft and fragrant and the oil in the pan has taken on a green tinge, this should take about 8-10 minutes on a gentle heat.

When the meat has cooked for an hour remove the lid and add the lemon juice,cooked celery and herbs including the green tinged oil from frying the herbs. Stir to combine everything and taste for seasoning, adding more salt if necessary. Bring the pan to the boil again, then reduce the heat to gentle simmer and cook uncovered for a further hour or until the meat is fork tender and the juices have reduced and thickened.

At this stage the khoresht can be served and eaten but I prefer to place the khoresht into a oven proof casserole and place it in a 150C oven for a further hour. This step will achieve a nice golden topping and further concentrates the flavours. During the cooking time keep checking the khoresht and if the top is browning too much cover with foil. Serve with basmati rice.

Persian Celery & Lamb Stew - Khoresht Karafs