Nov 9, 2012
mustardwithmutton

no comments

Shredded Lamb Shoulder Moussaka

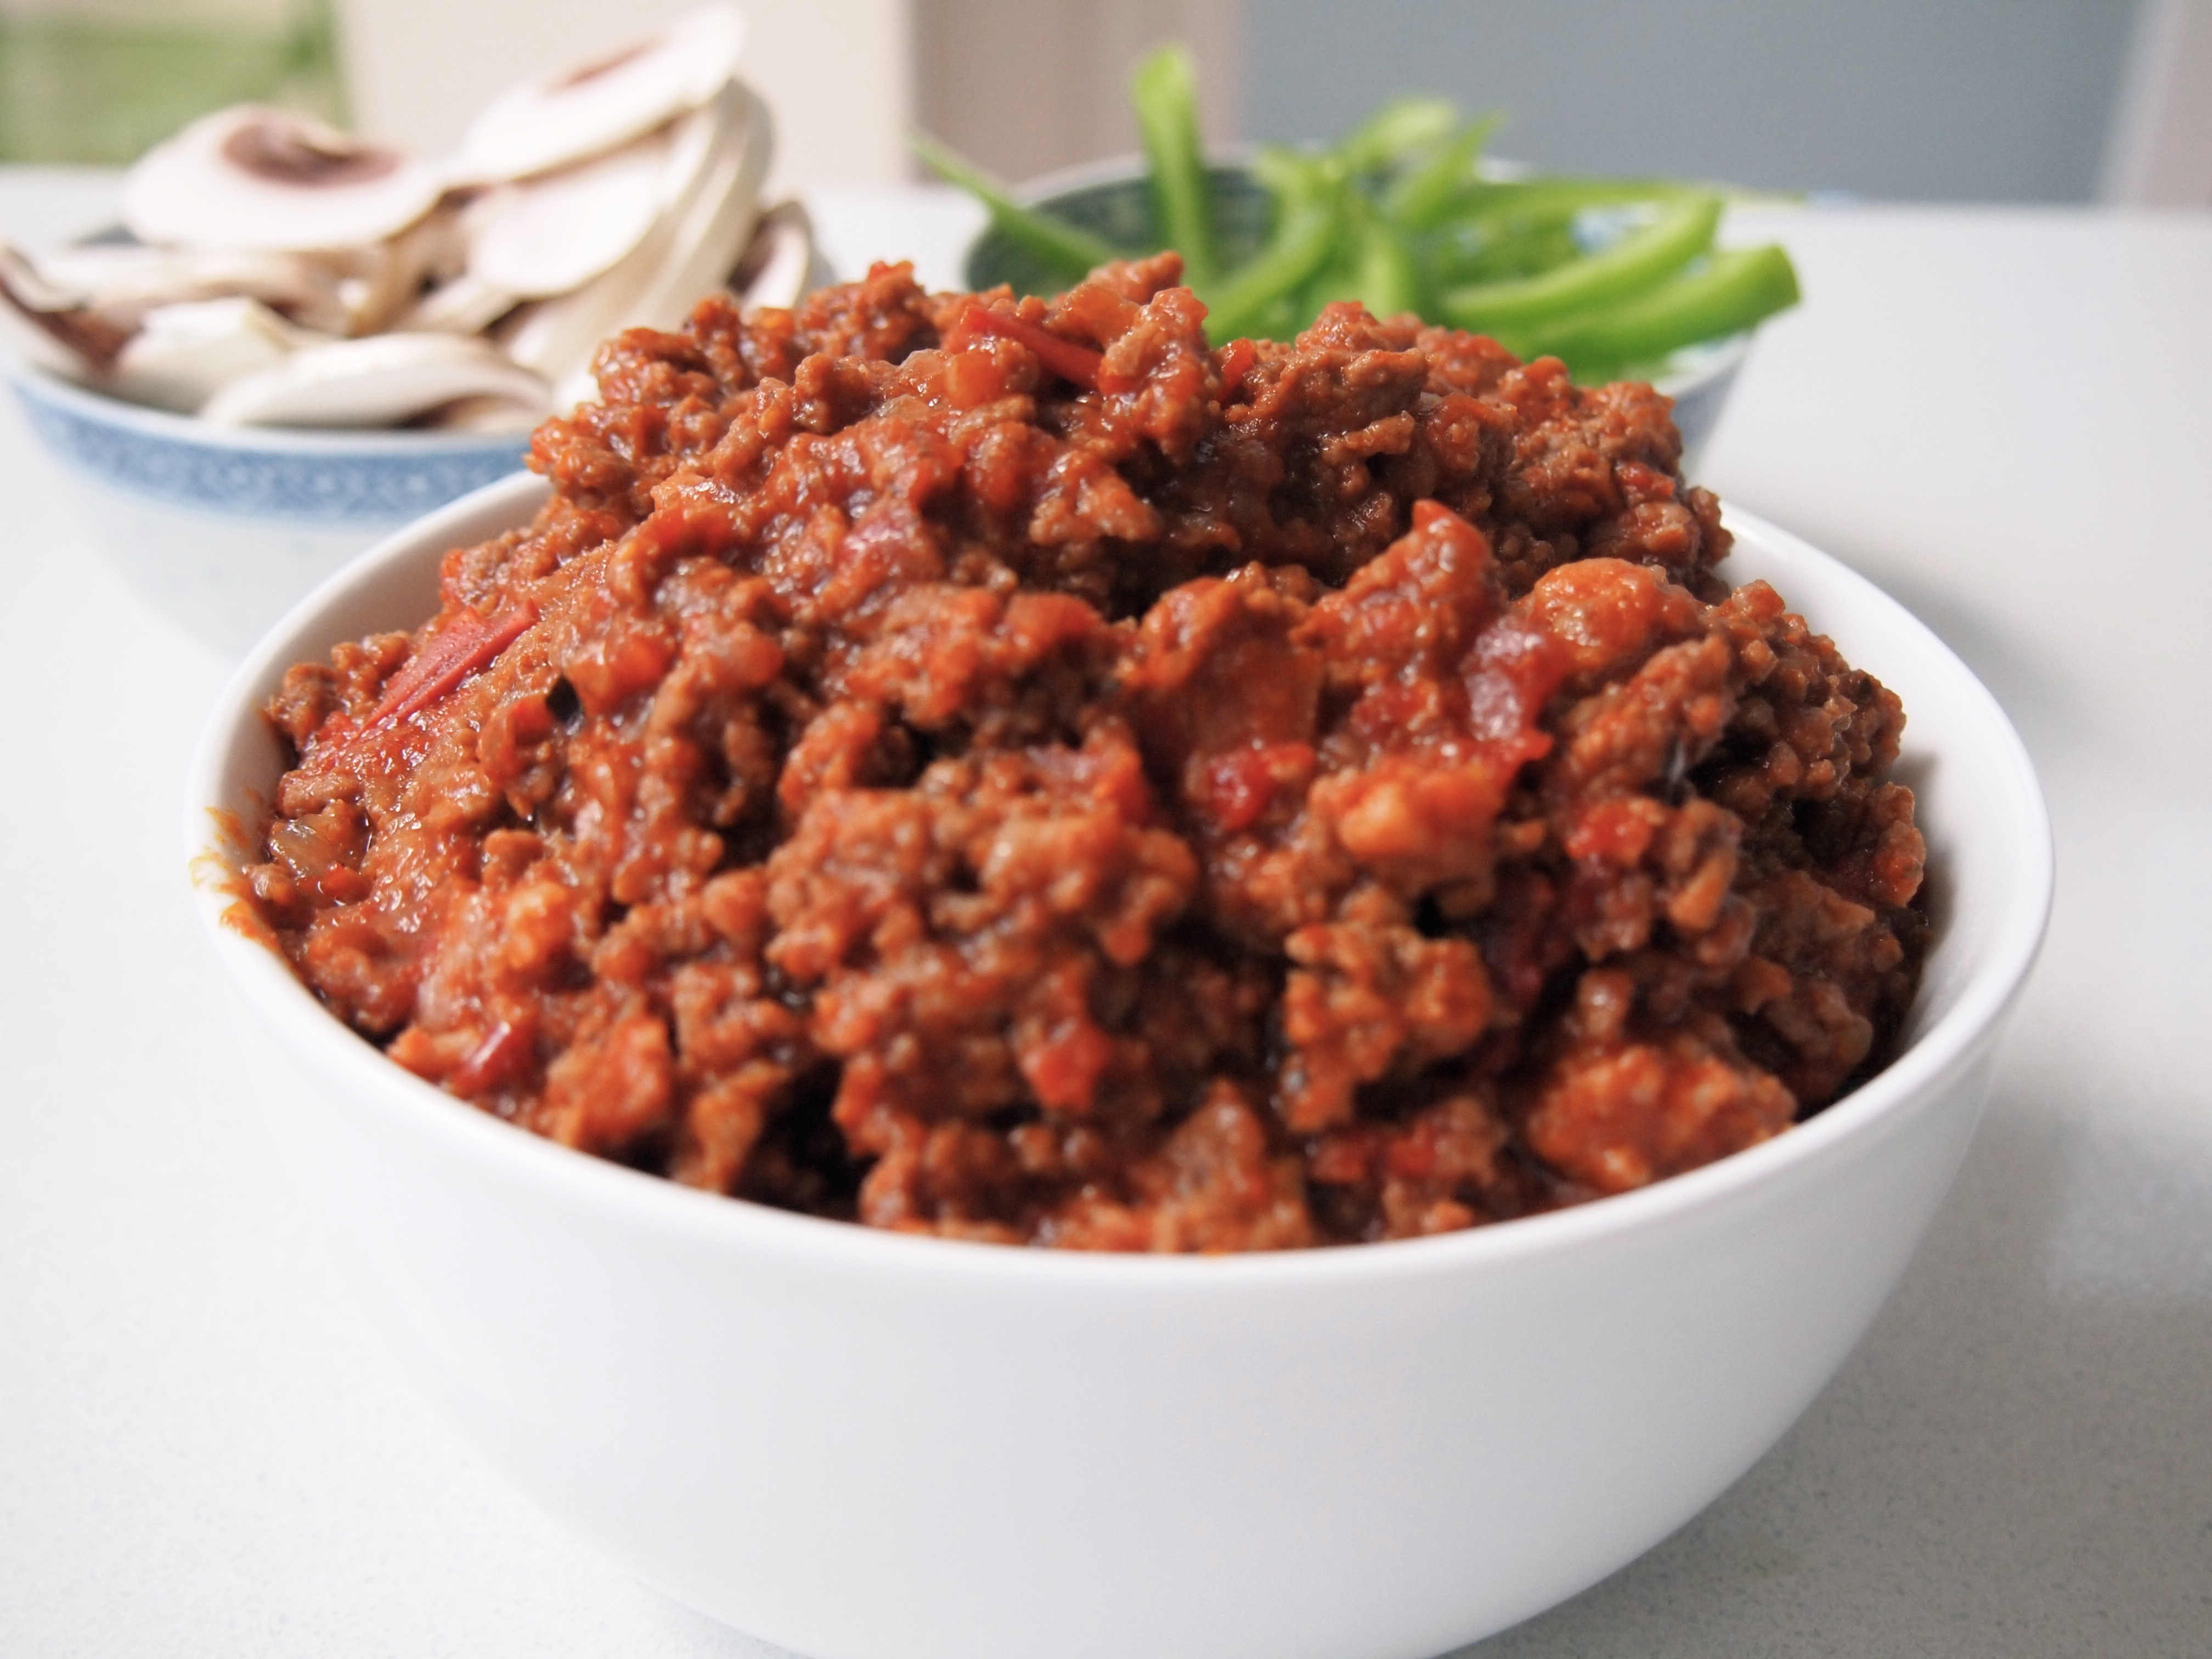
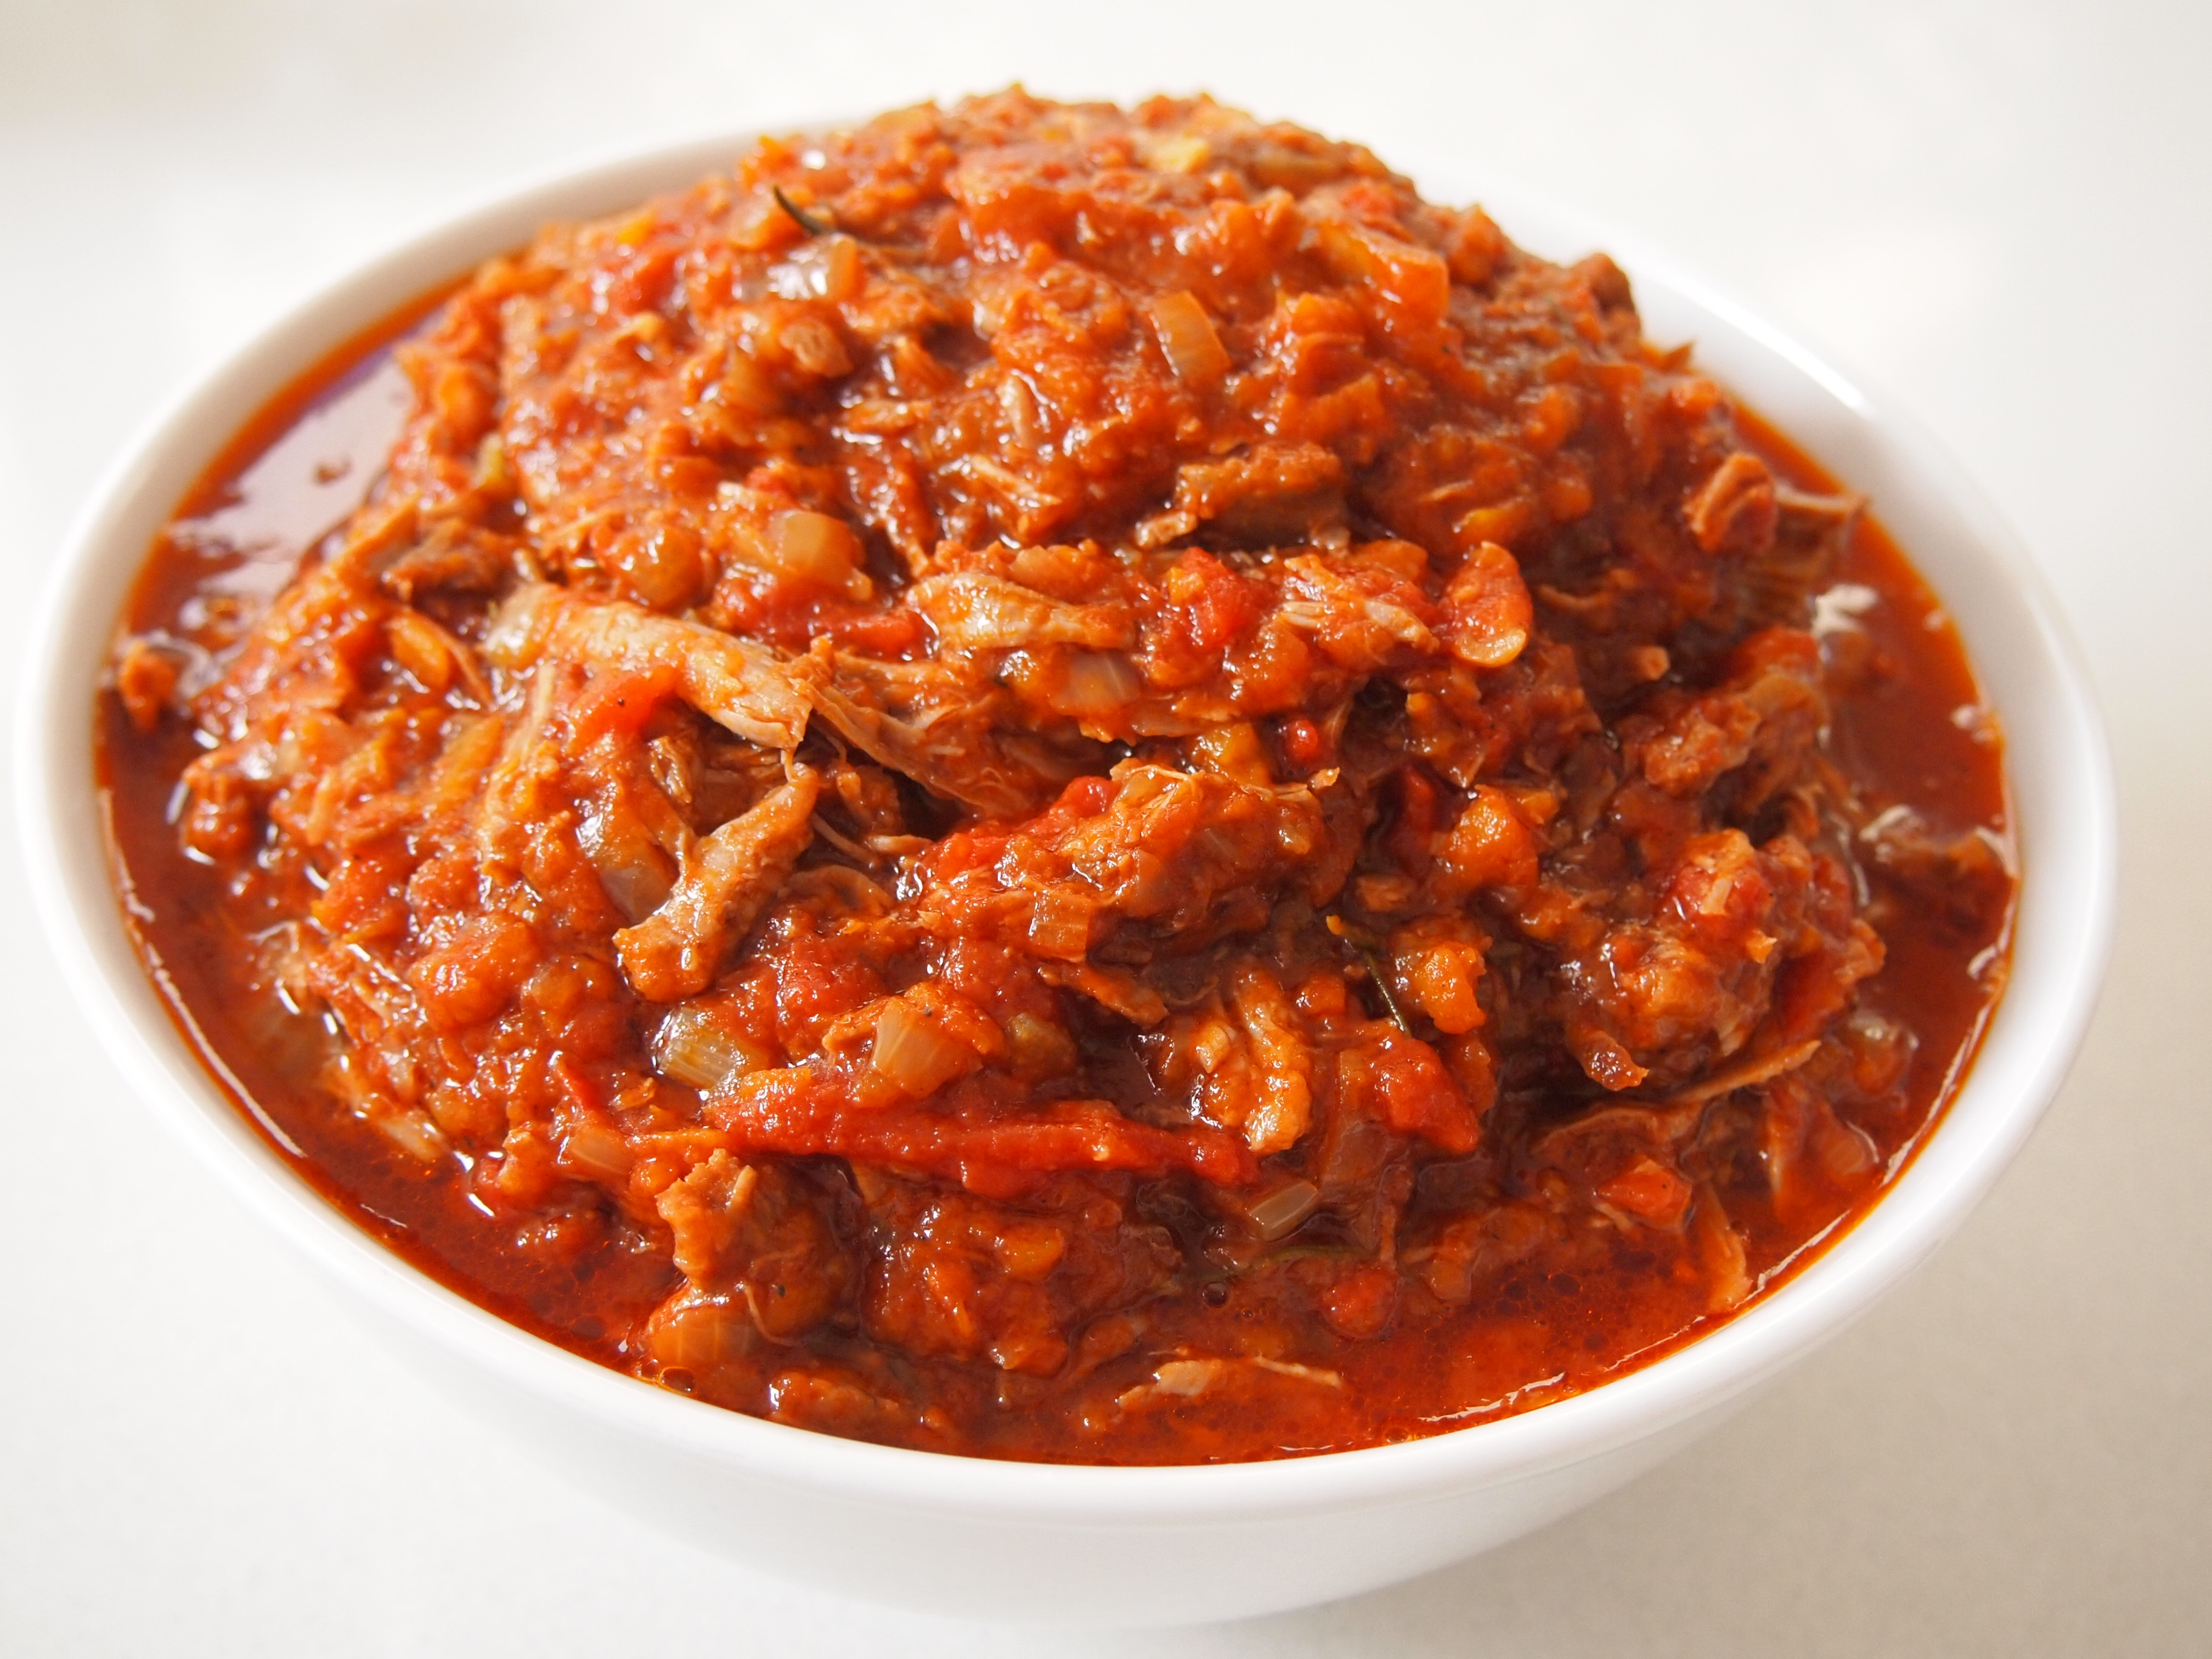
Moussaka is sometimes referred to as the Greek version of lasagne, with fried eggplant slices replacing the pasta.  It’s similar to lasagne in that there’s a ragu of minced meat which is topped with a béchamel sauce before being baked but it has a very different flavour profile due to the ragu being made with minced lamb and spiked with cinnamon and allspice.  This version is slightly different again as the minced lamb is replaced with shredded lamb shoulder.  It’s a delicious alternative and one that my family preferred to minced lamb.  The other similarity to lasagne is that both dishes are a labour of love. It’s time consuming to make and not something you can throw together after work but perfect for a rainy Sunday when you feel like some time in the kitchen.  I tackle these sort of dishes by preparing it over a number of days. Making the ragu one day, then frying the eggplants the next day and finally making the béchamel and assembling and baking on the third day.  Moussaka is quite rich and the quantities below fed four of us twice and it was even better reheated the second time. I served it with a greek salad full of olives and feta with a lemon and oregano dressing.

ingredients – Serves 8     Adapted from Feast Magazine

Olive oil
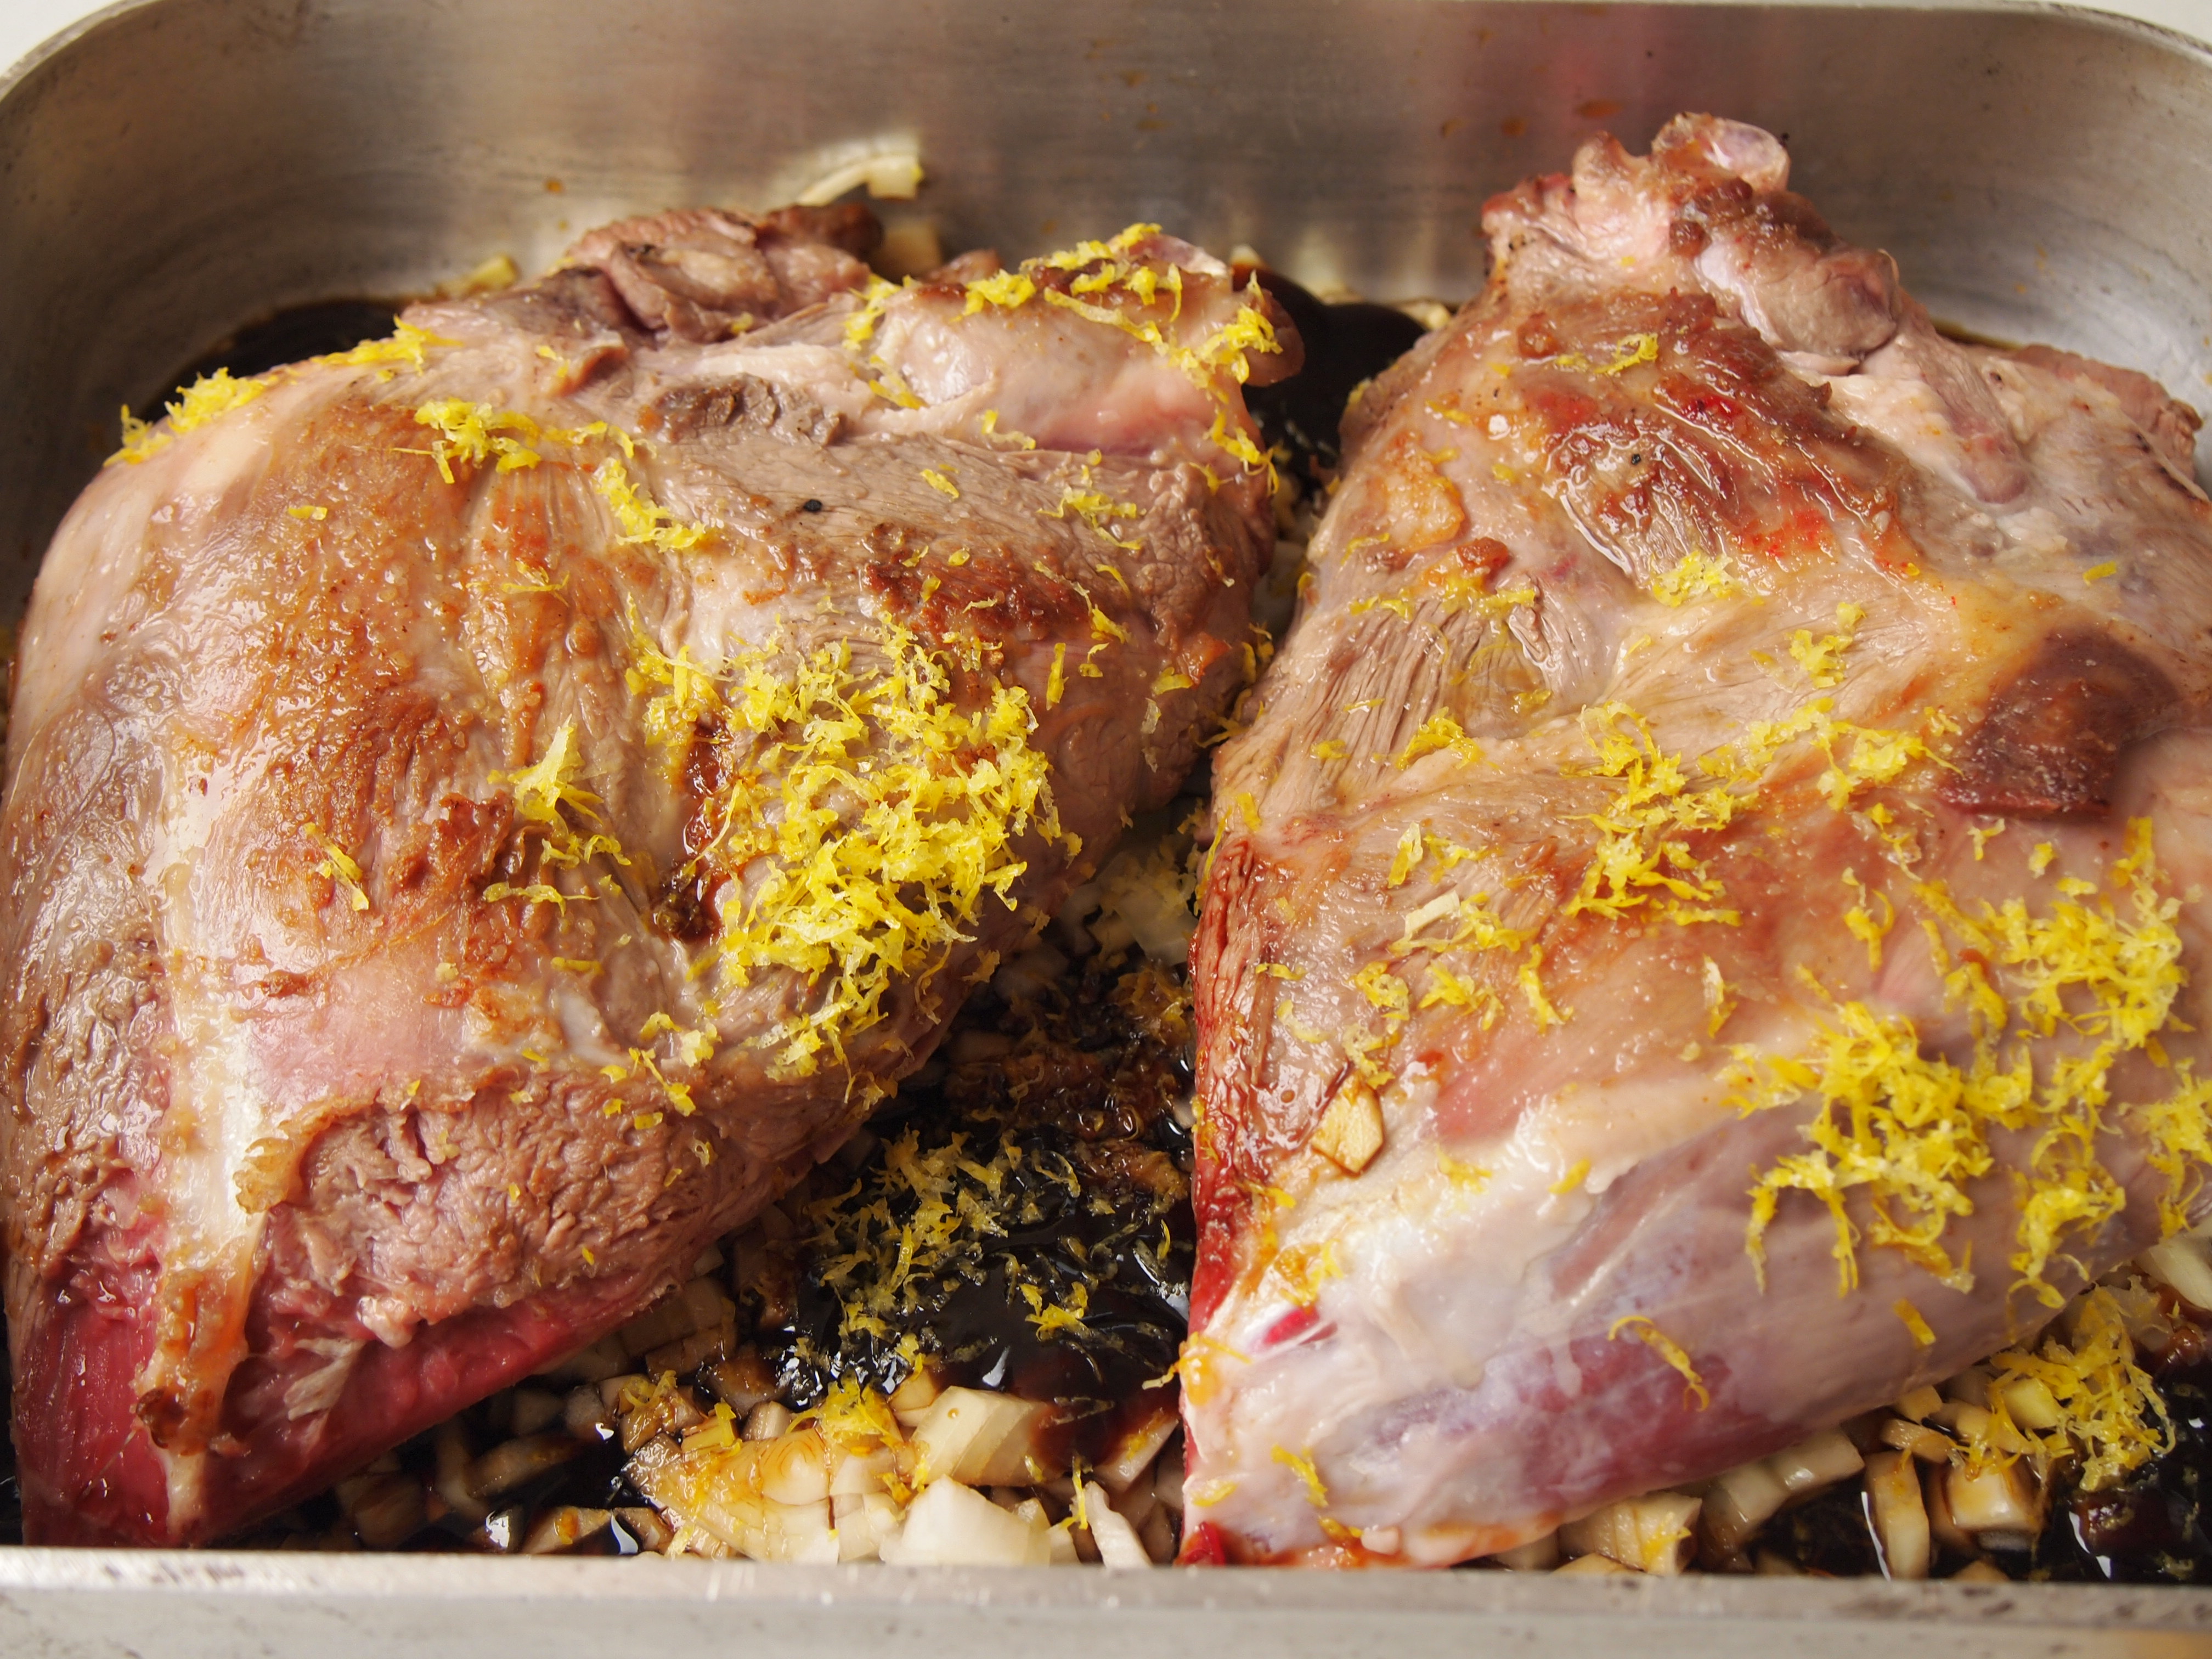
1.5 kg lamb shoulder, off the bone , trimmed of fat and cut into large 10cm chunks,seasoned with salt & pepper
2 onions, finely chopped
1 carrot, grated
1 celery stalk, finely diced
2 garlic cloves, finely minced
2 tablespoons tomato paste
1 bay leaf
1 rosemary sprig
1 cinnamon quill
1 teaspoon ground allspice
½ cup red wine
800g can chopped tomatoes
Salt & freshly ground black pepper
1.5 kg eggplant, cut into 5mm slices

Béchamel Sauce
80g butter
½ cup plain flour
2 cups milk
100g freshly grated parmesan
2 egg yolks
¼ teaspoon freshly grated nutmeg

Method

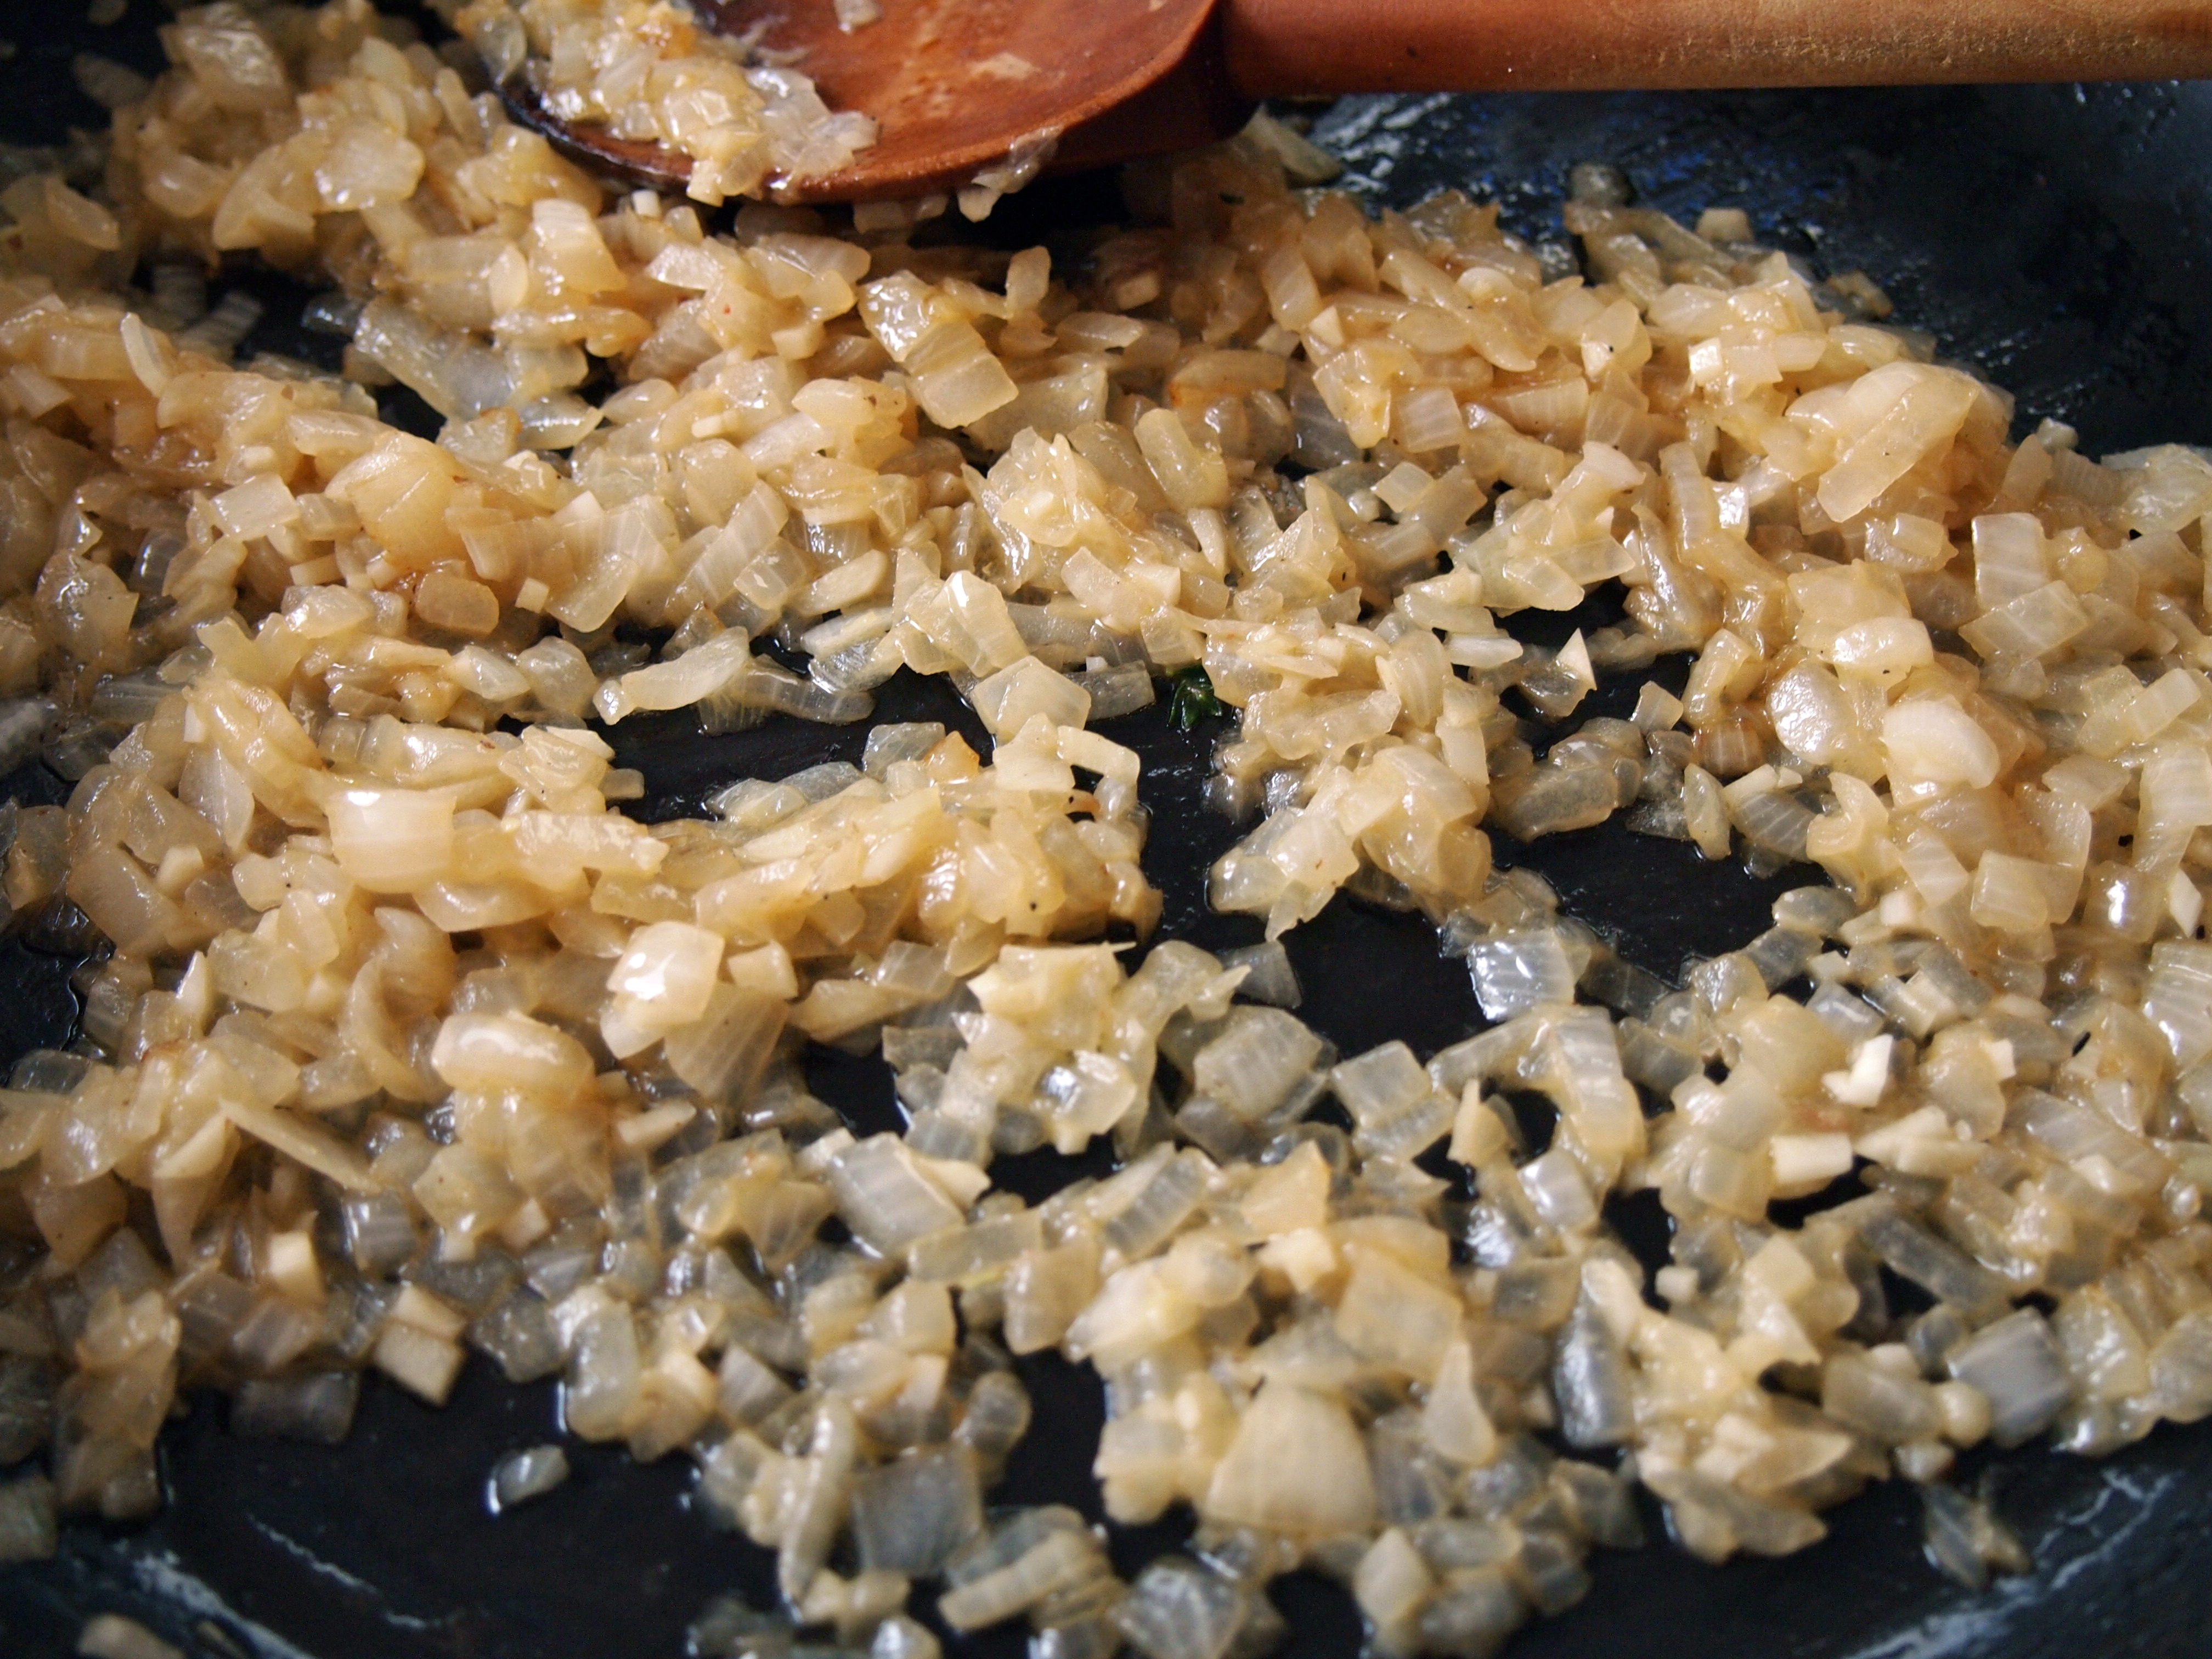
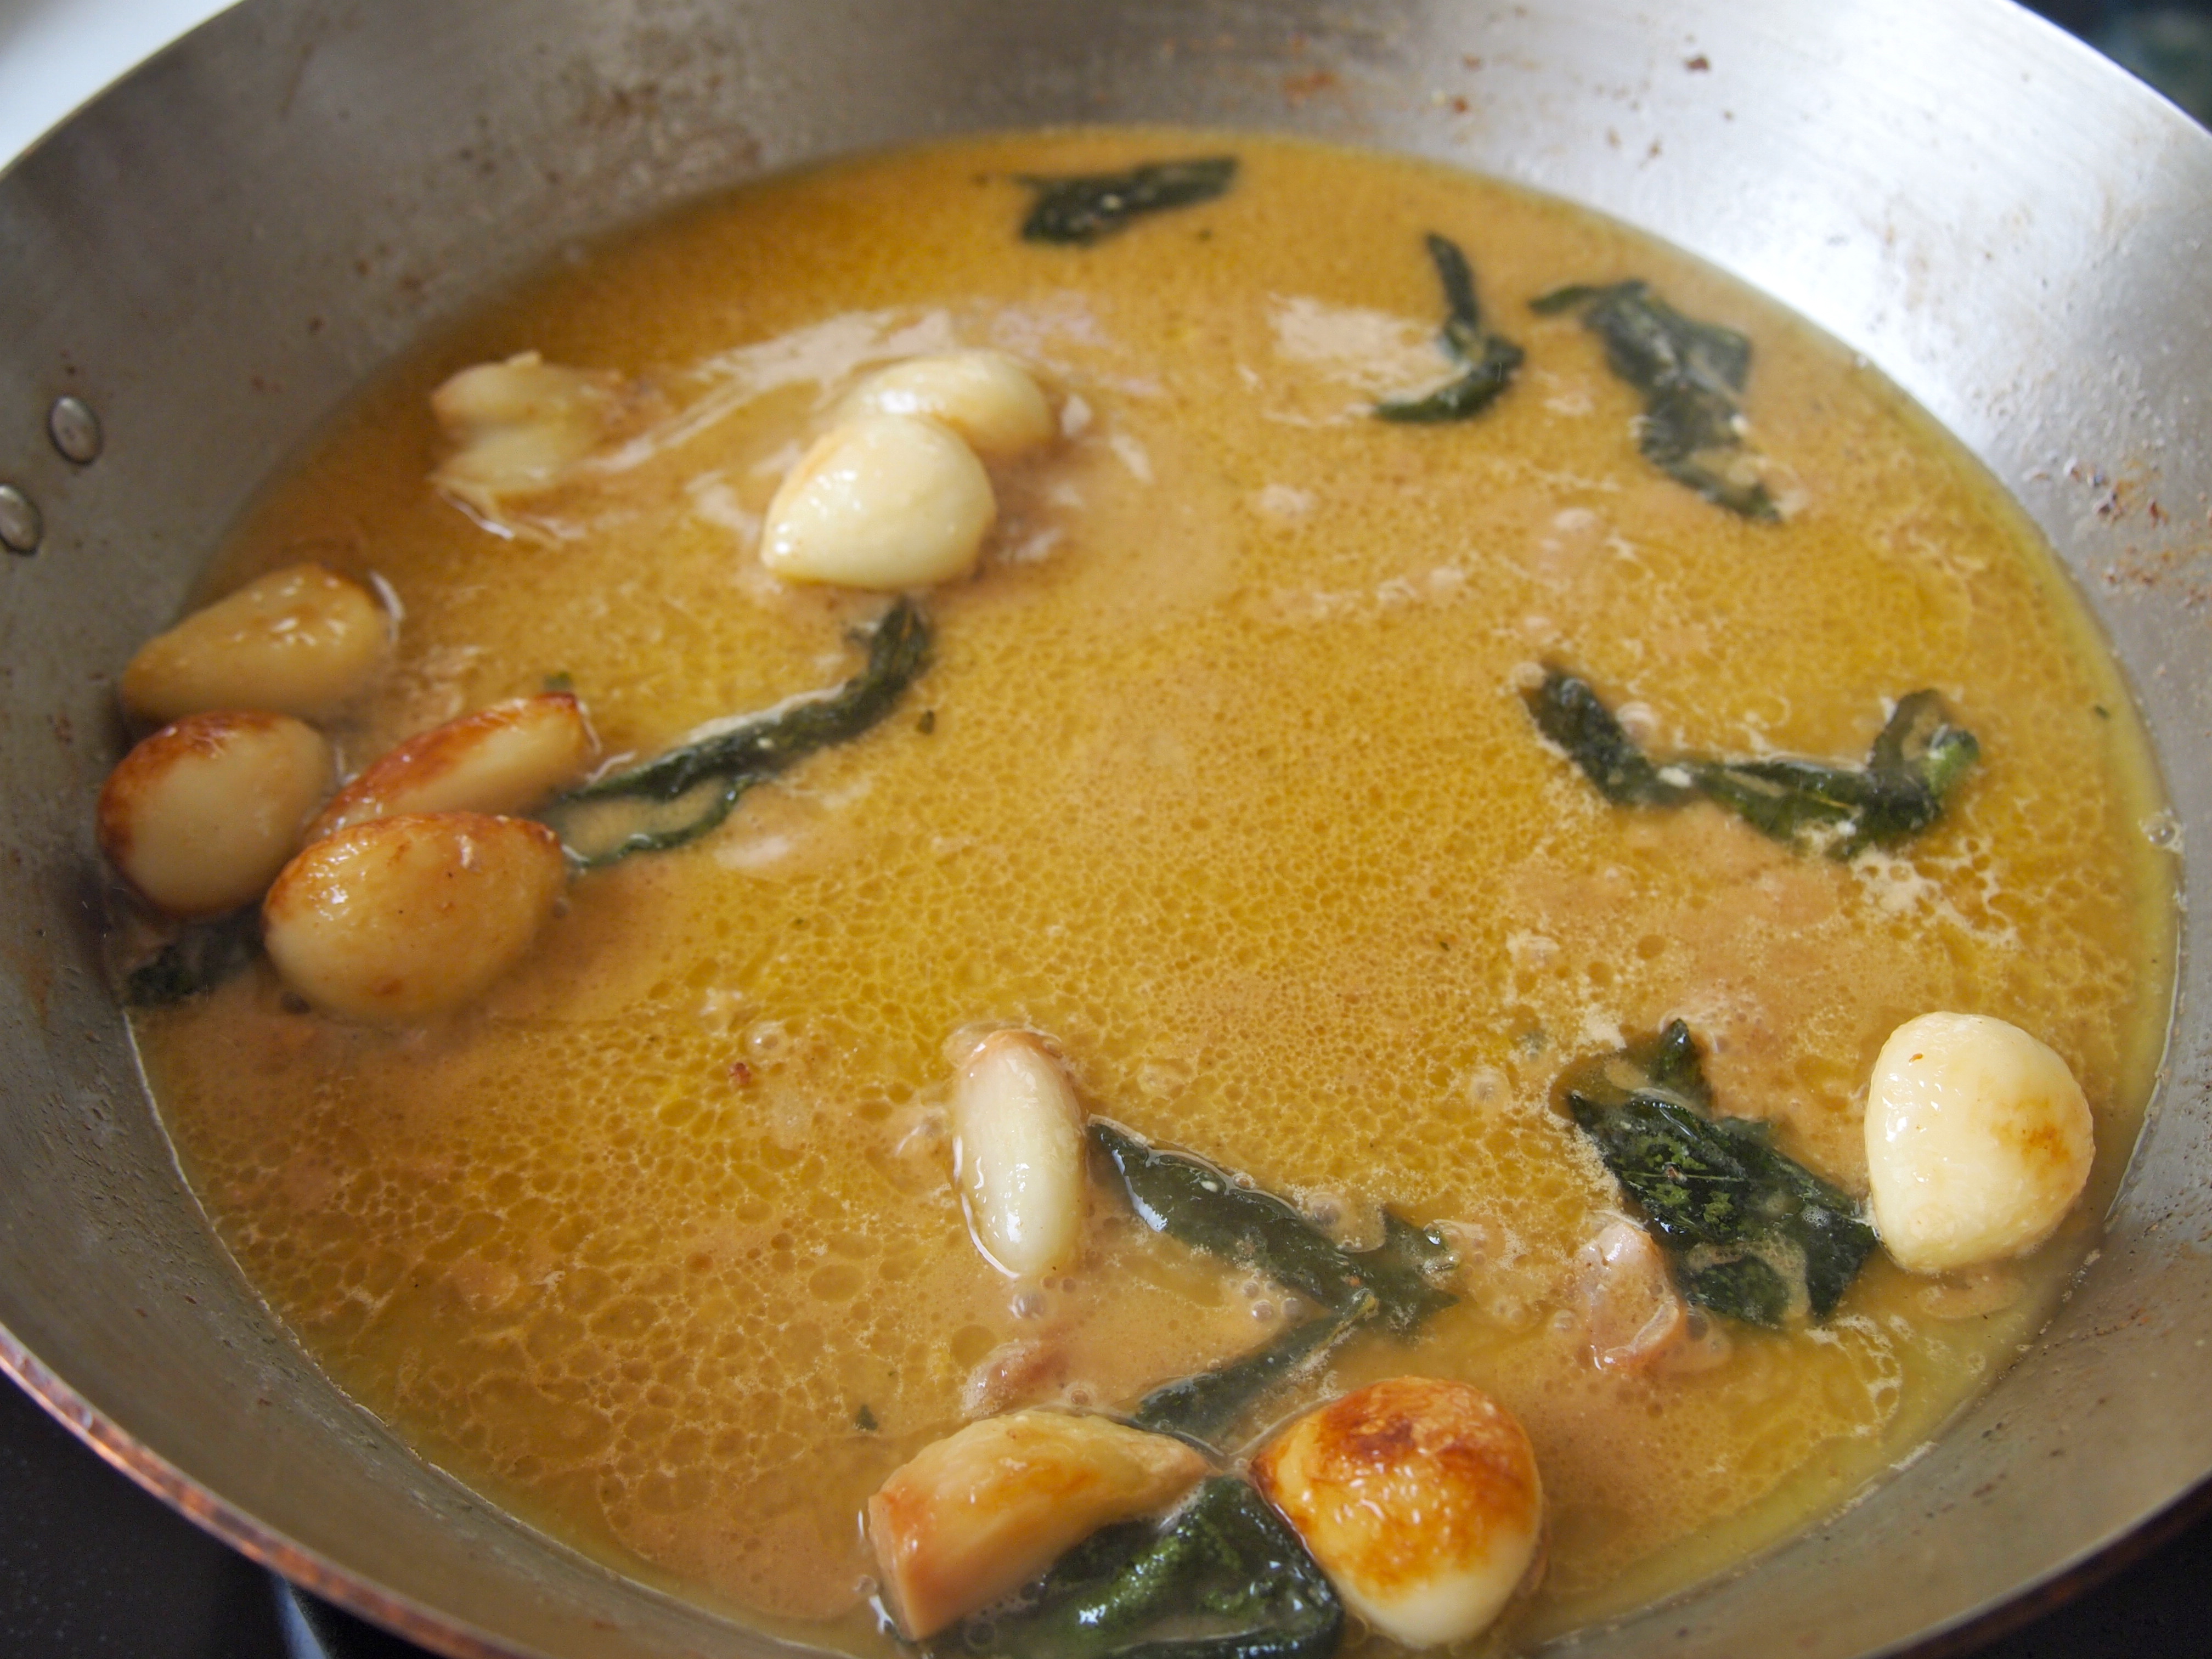
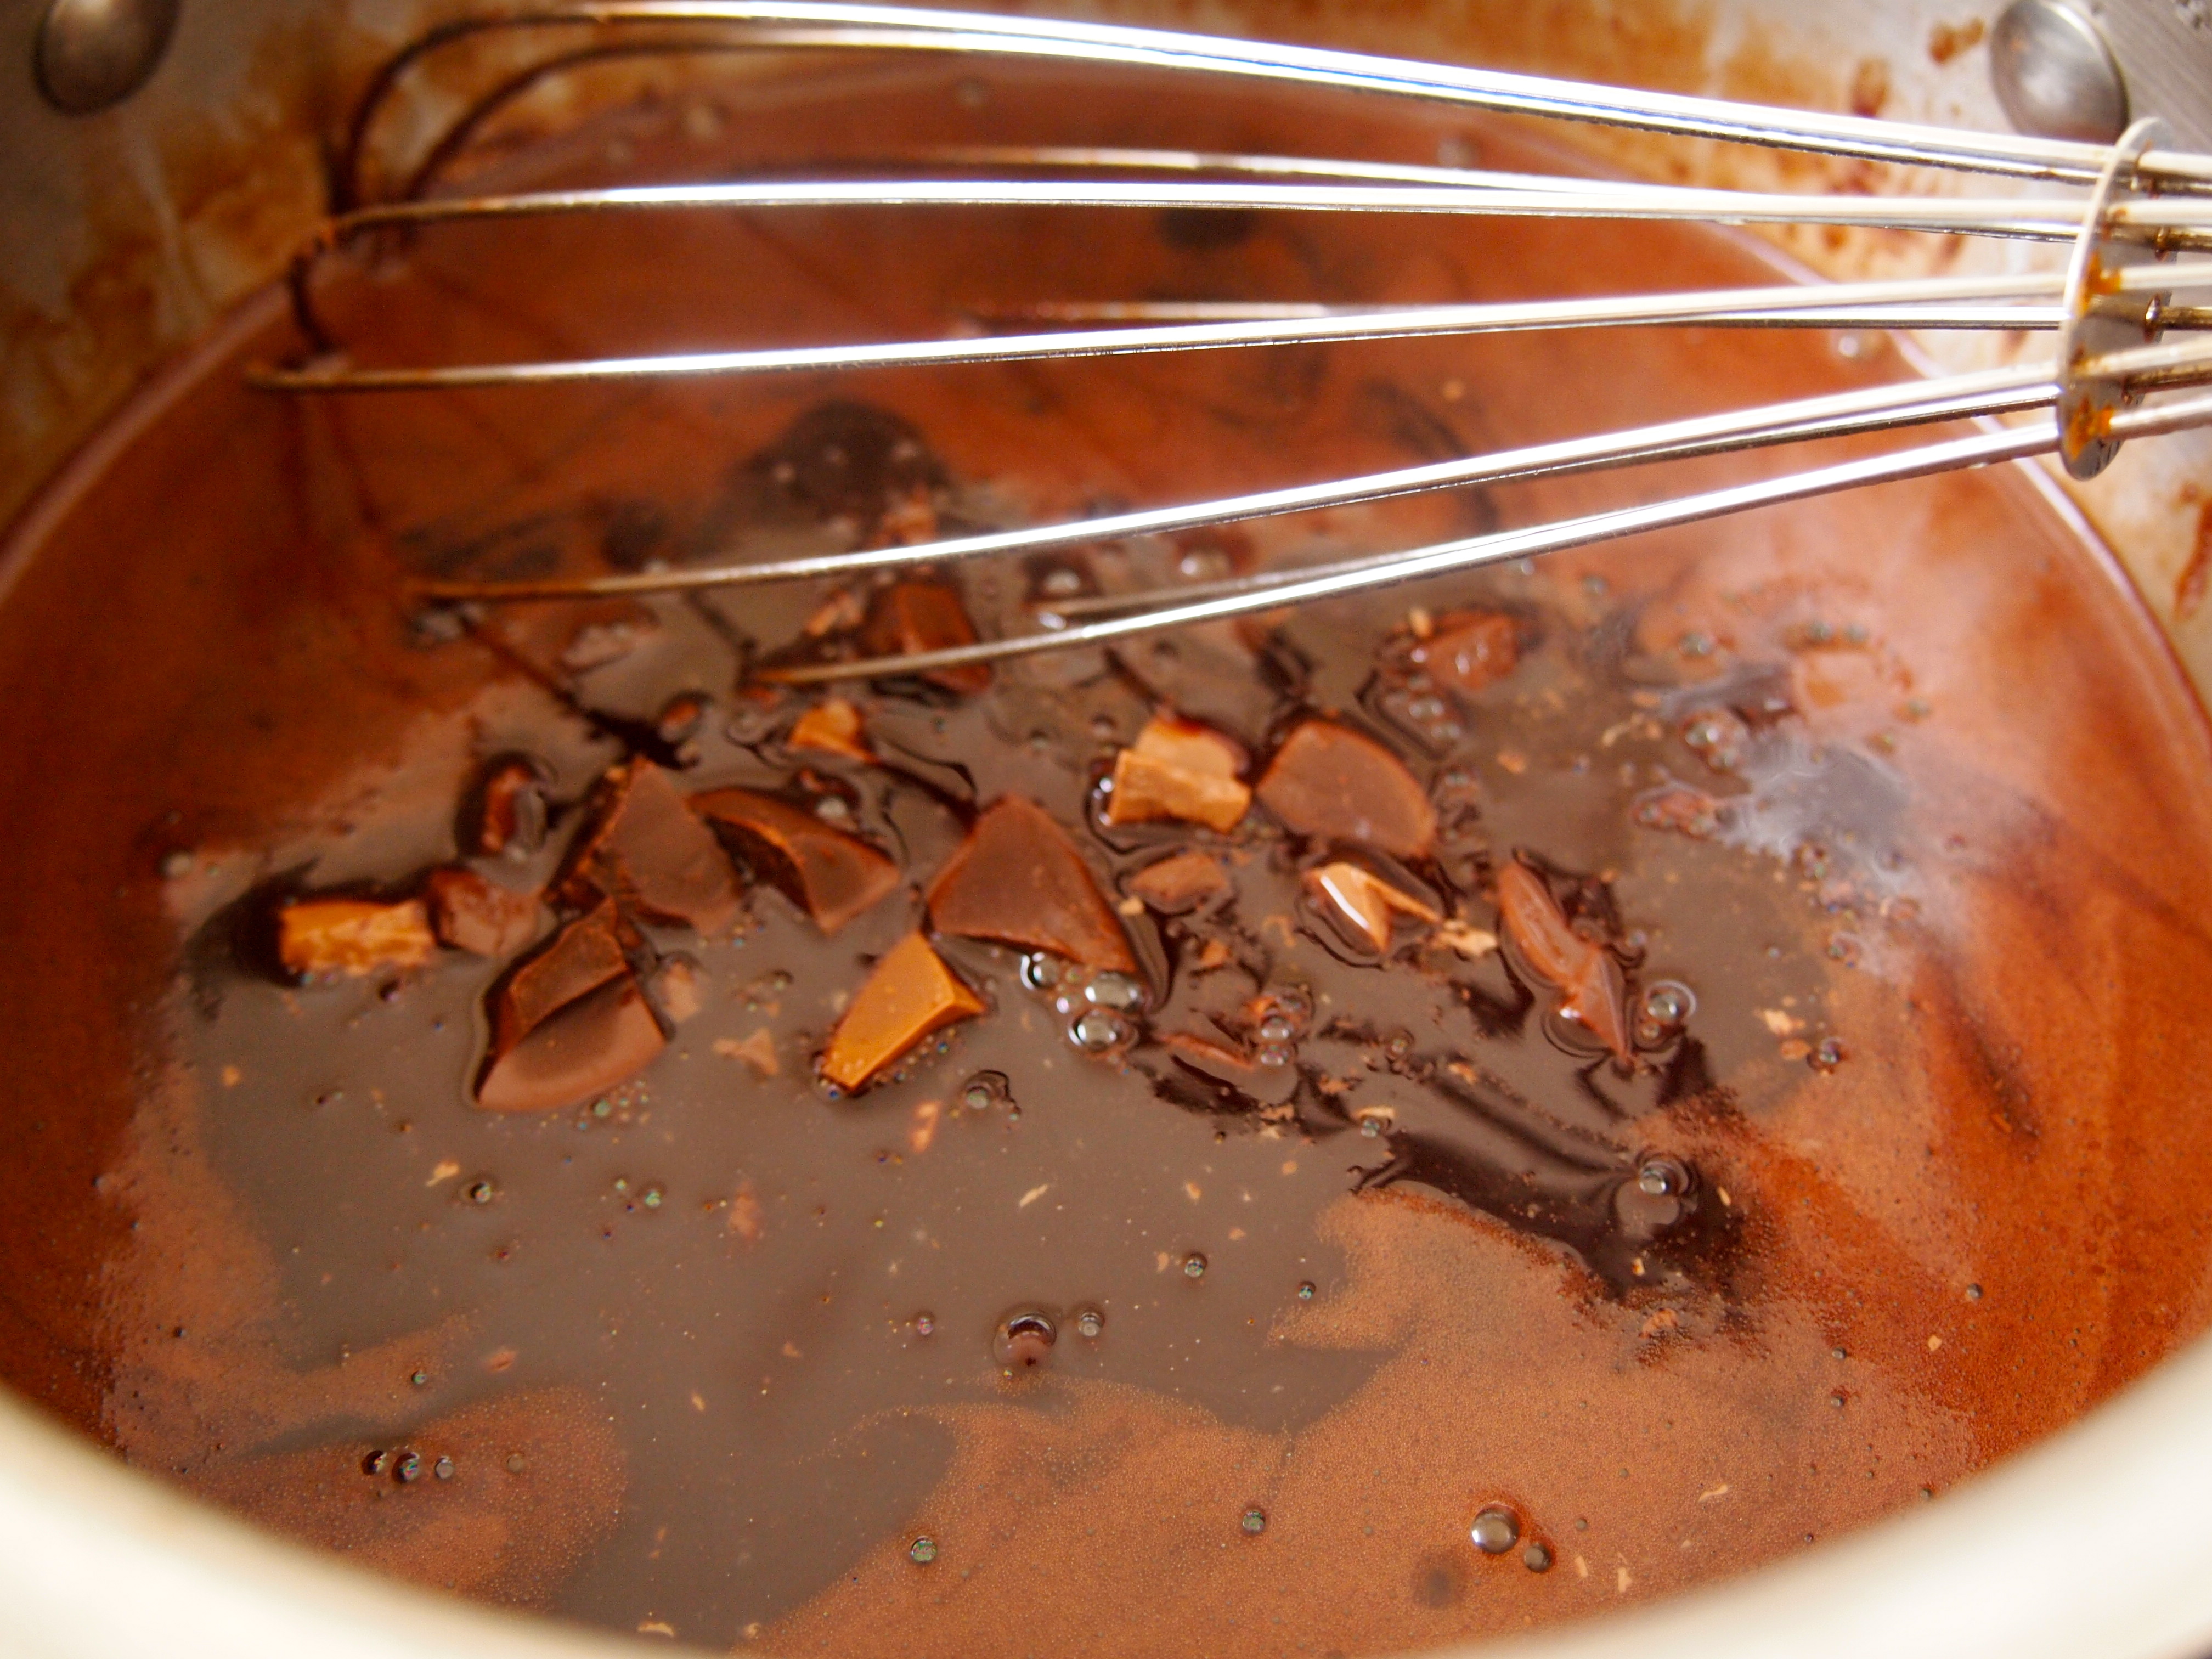
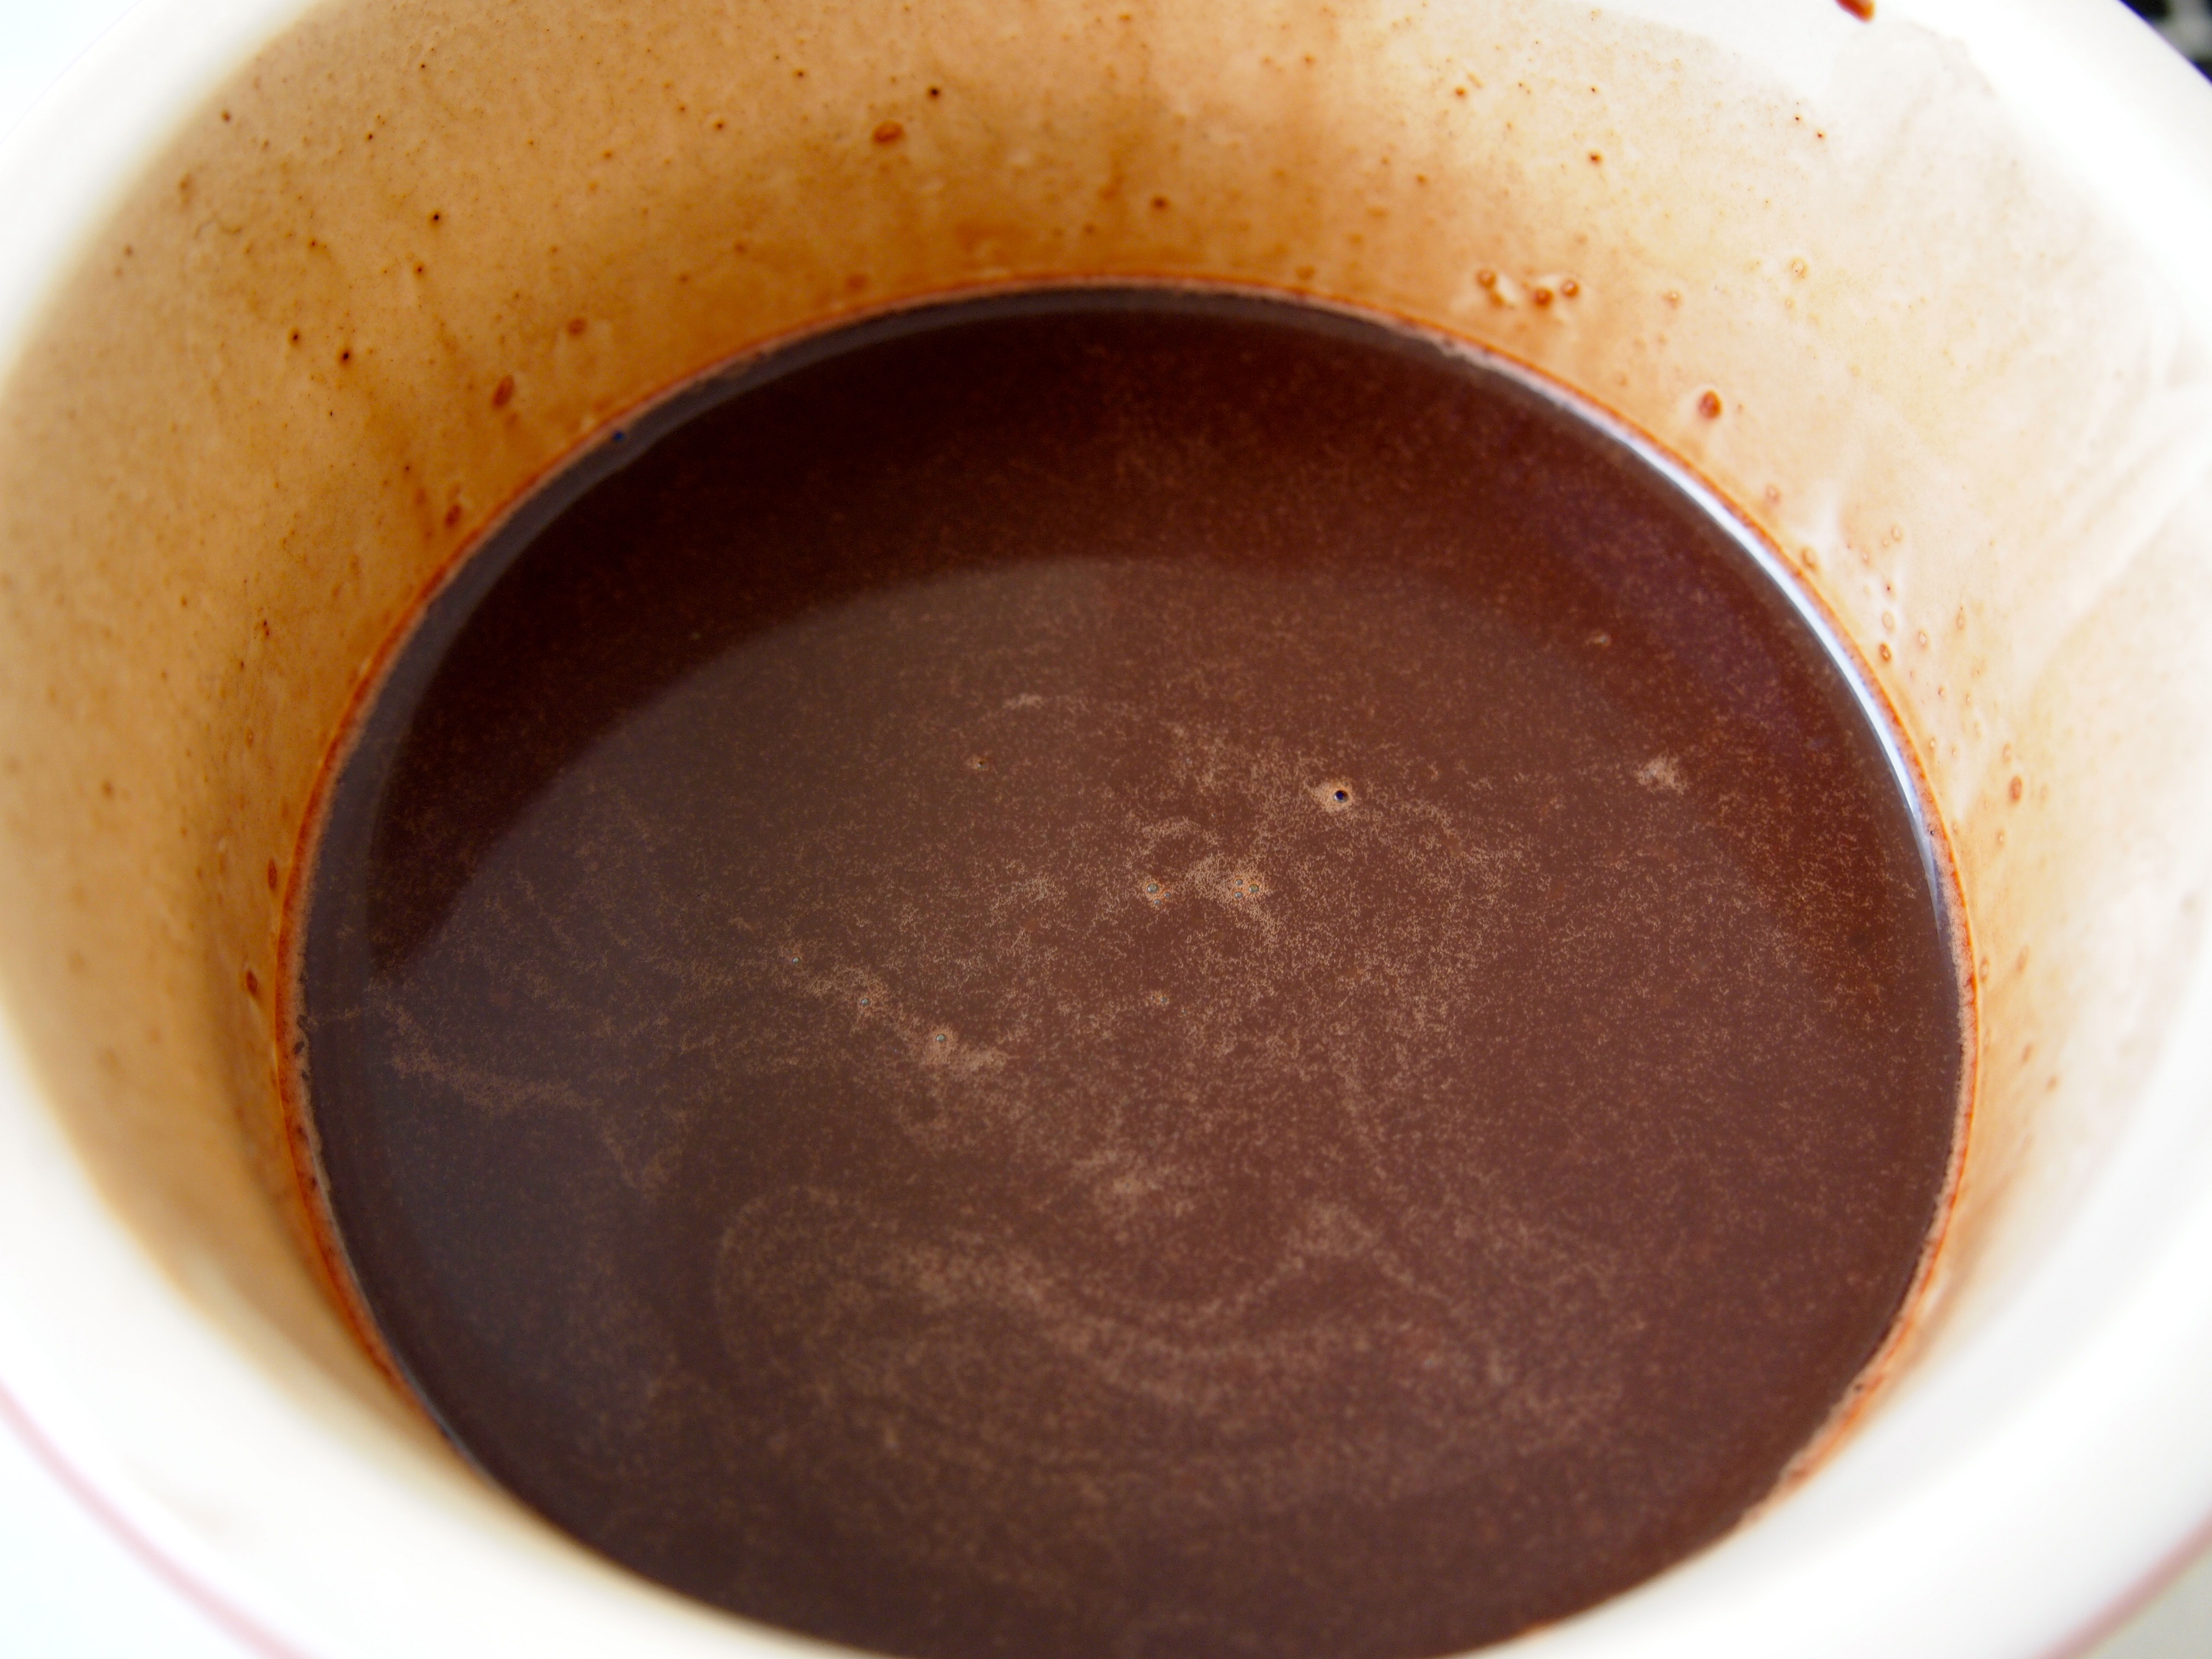
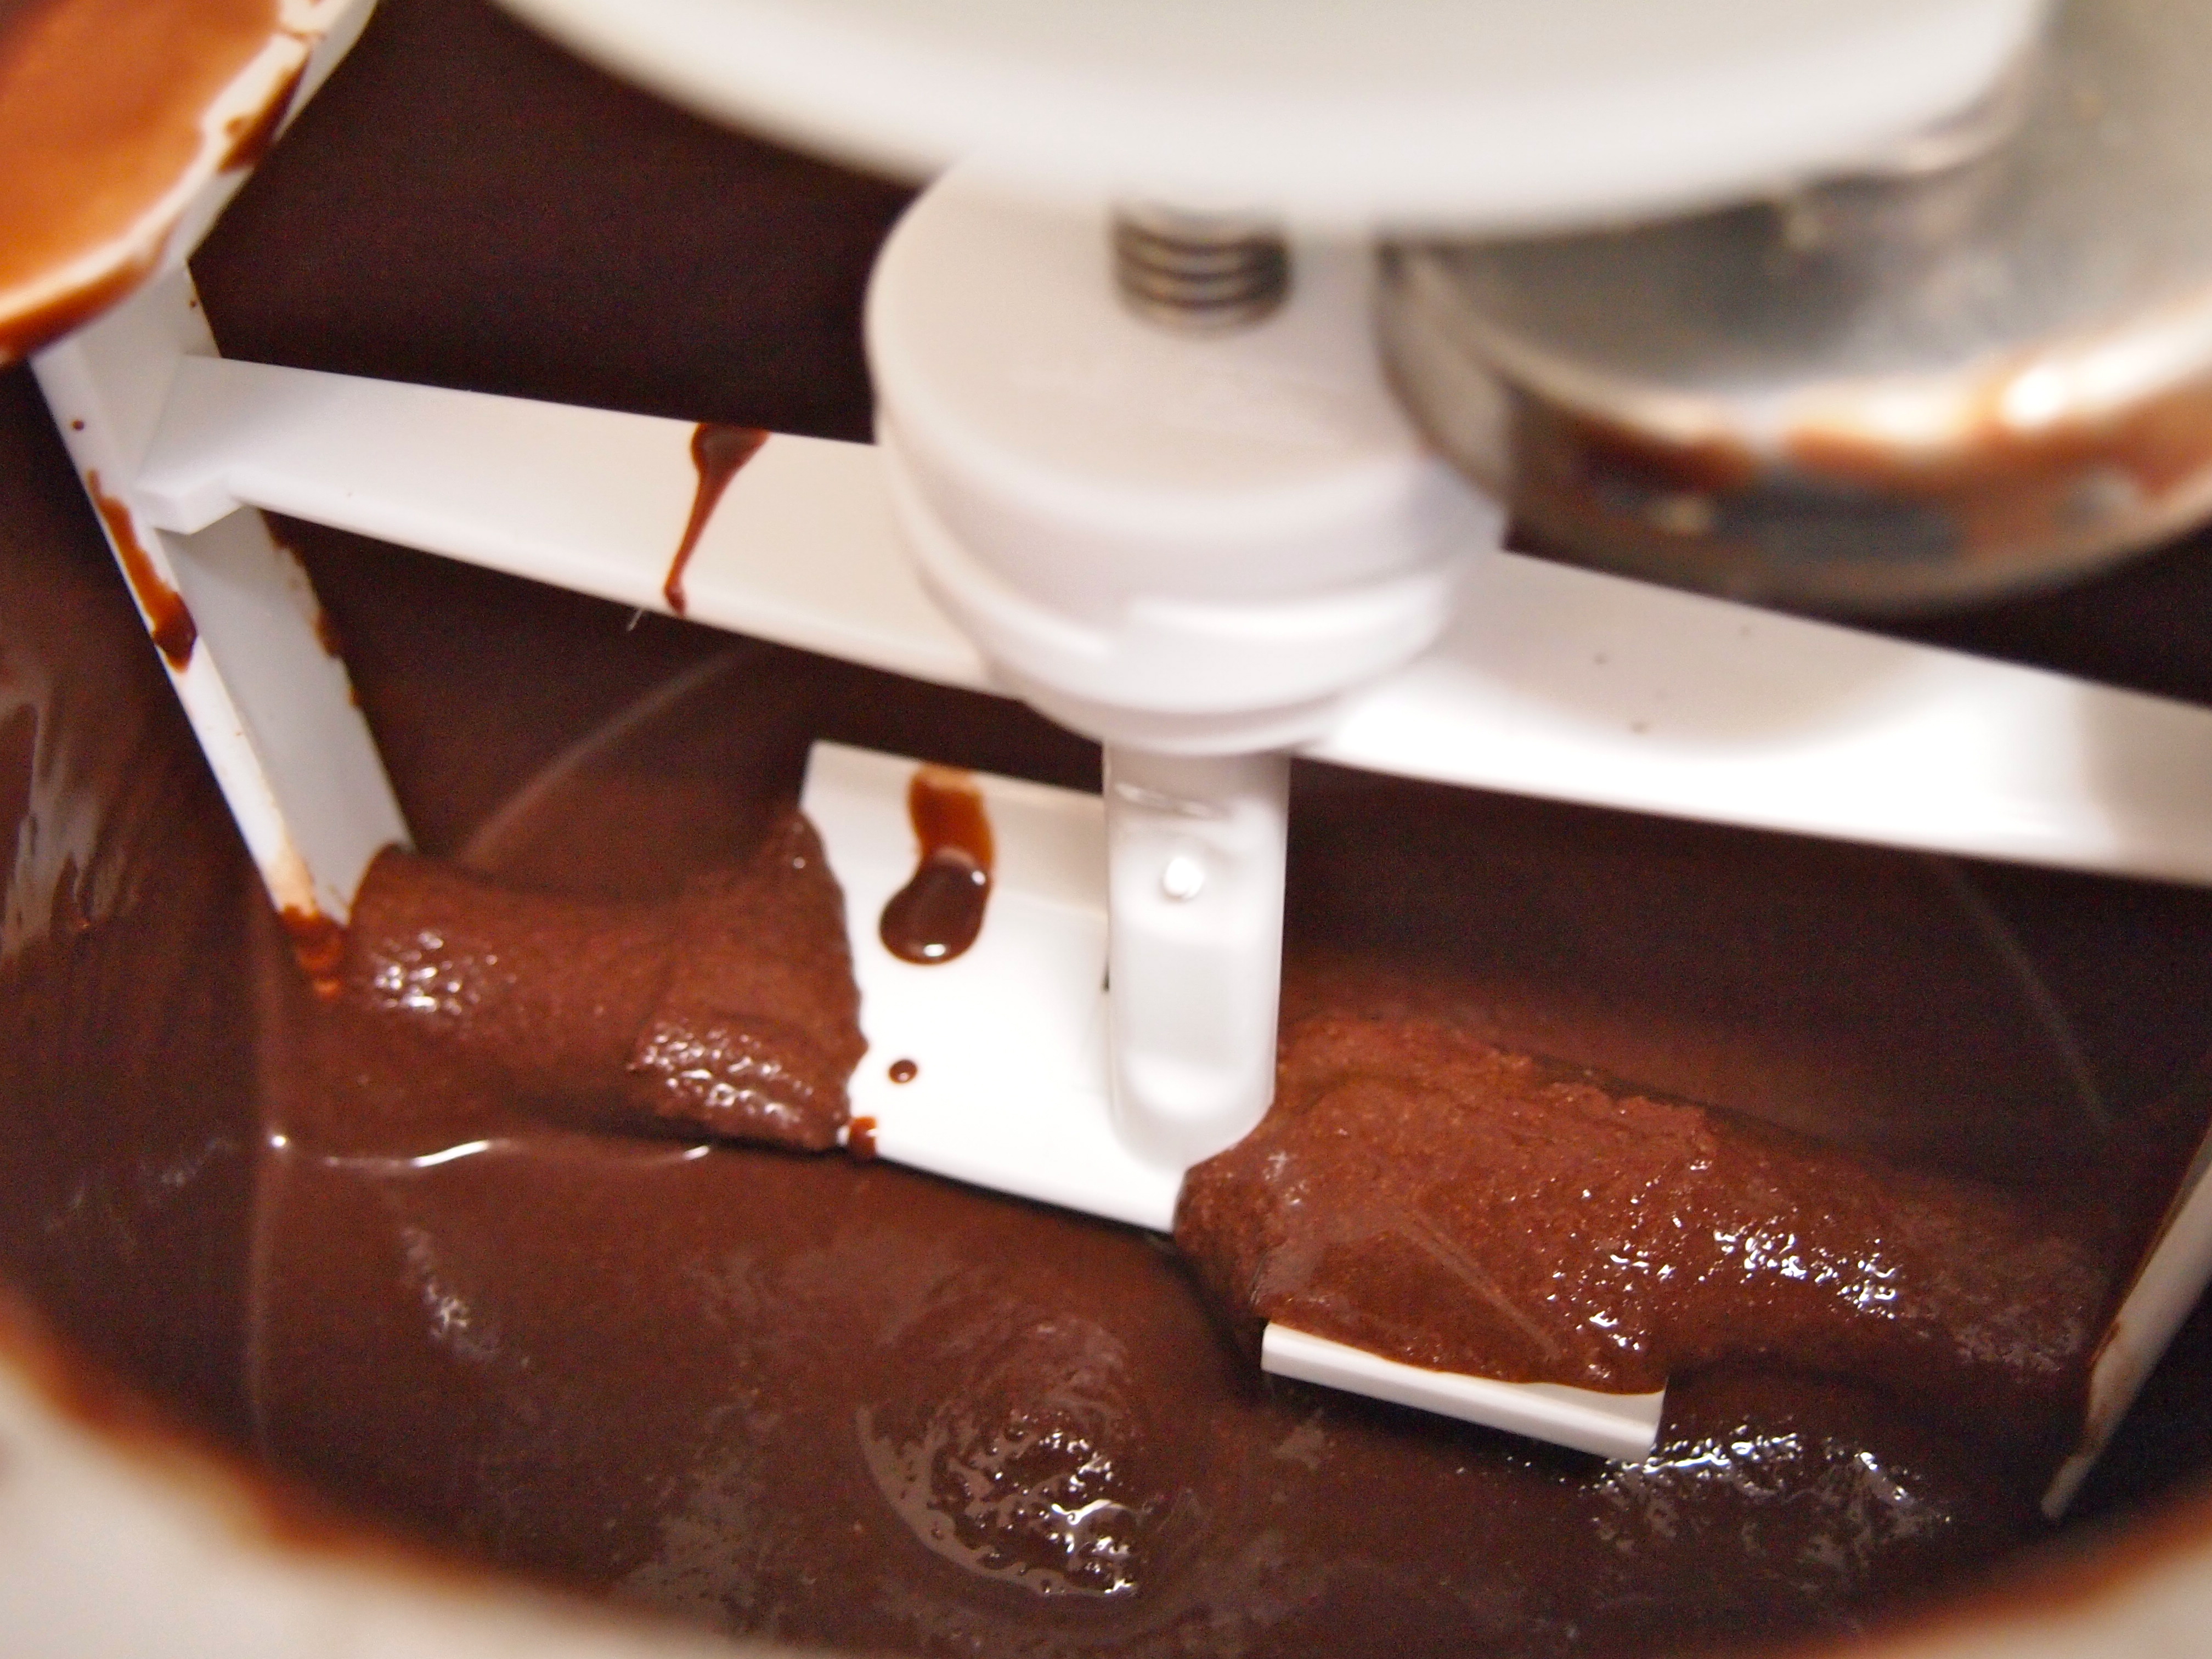
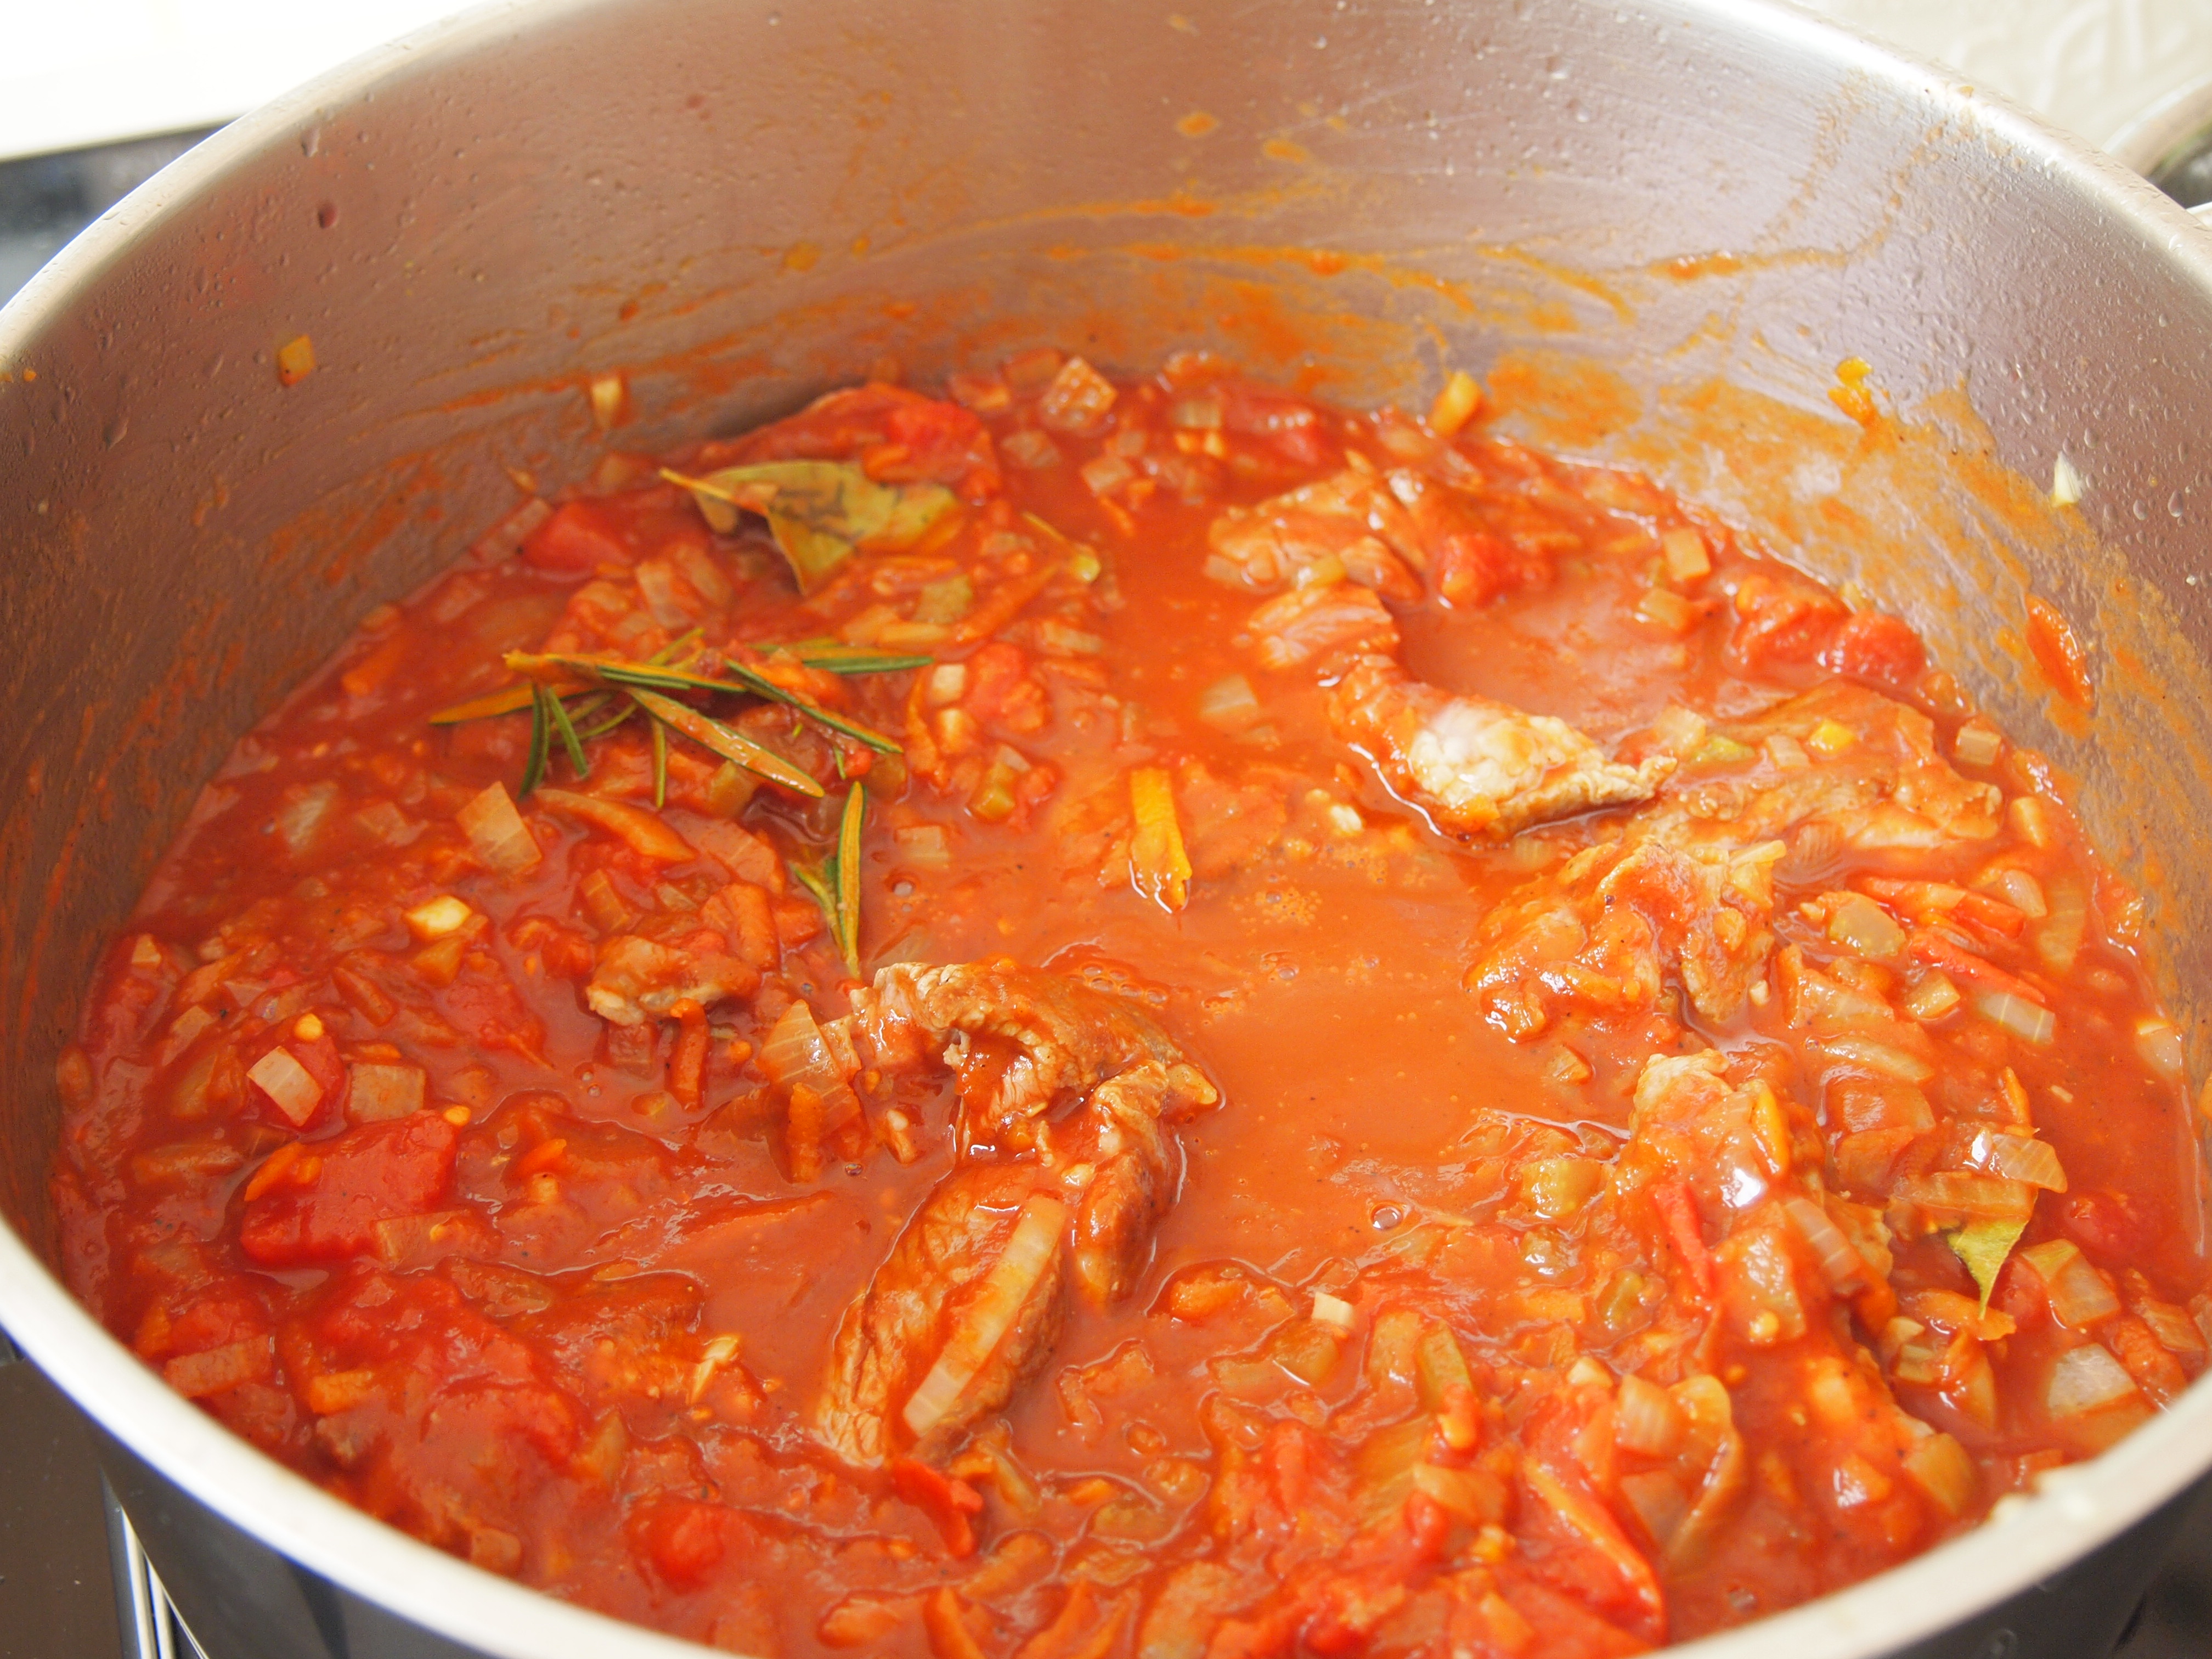
Heat 2 tablespoons of oil in a large, heavy-based saucepan over high heat.  Cook lamb in batches for a couple of minutes on each side until browned.  Transfer to a bowl. Heat 2 tablespoons of oil in the same pan.  Add onion, carrot and celery and cook over medium heat for 5 minutes or until softened. Add garlic and cook for a further minute. Stir in tomato paste and cook, stirring occasionally for 2 minutes or until combined. Add herbs, spices, wine, 1 teaspoon salt and tomatoes and bring to the boil.  Return lamb to the pan and cover with a tight fitting lid. Reduce heat to low, cover and simmer for 1½ hours. Uncover and cook for a further hour or until the lamb is very tender and sauce has reduced. Using two forks shred the lamb and remove the cinnamon stick, bay leaf and rosemary sprig.  Season the sauce with salt and pepper. Set aside.


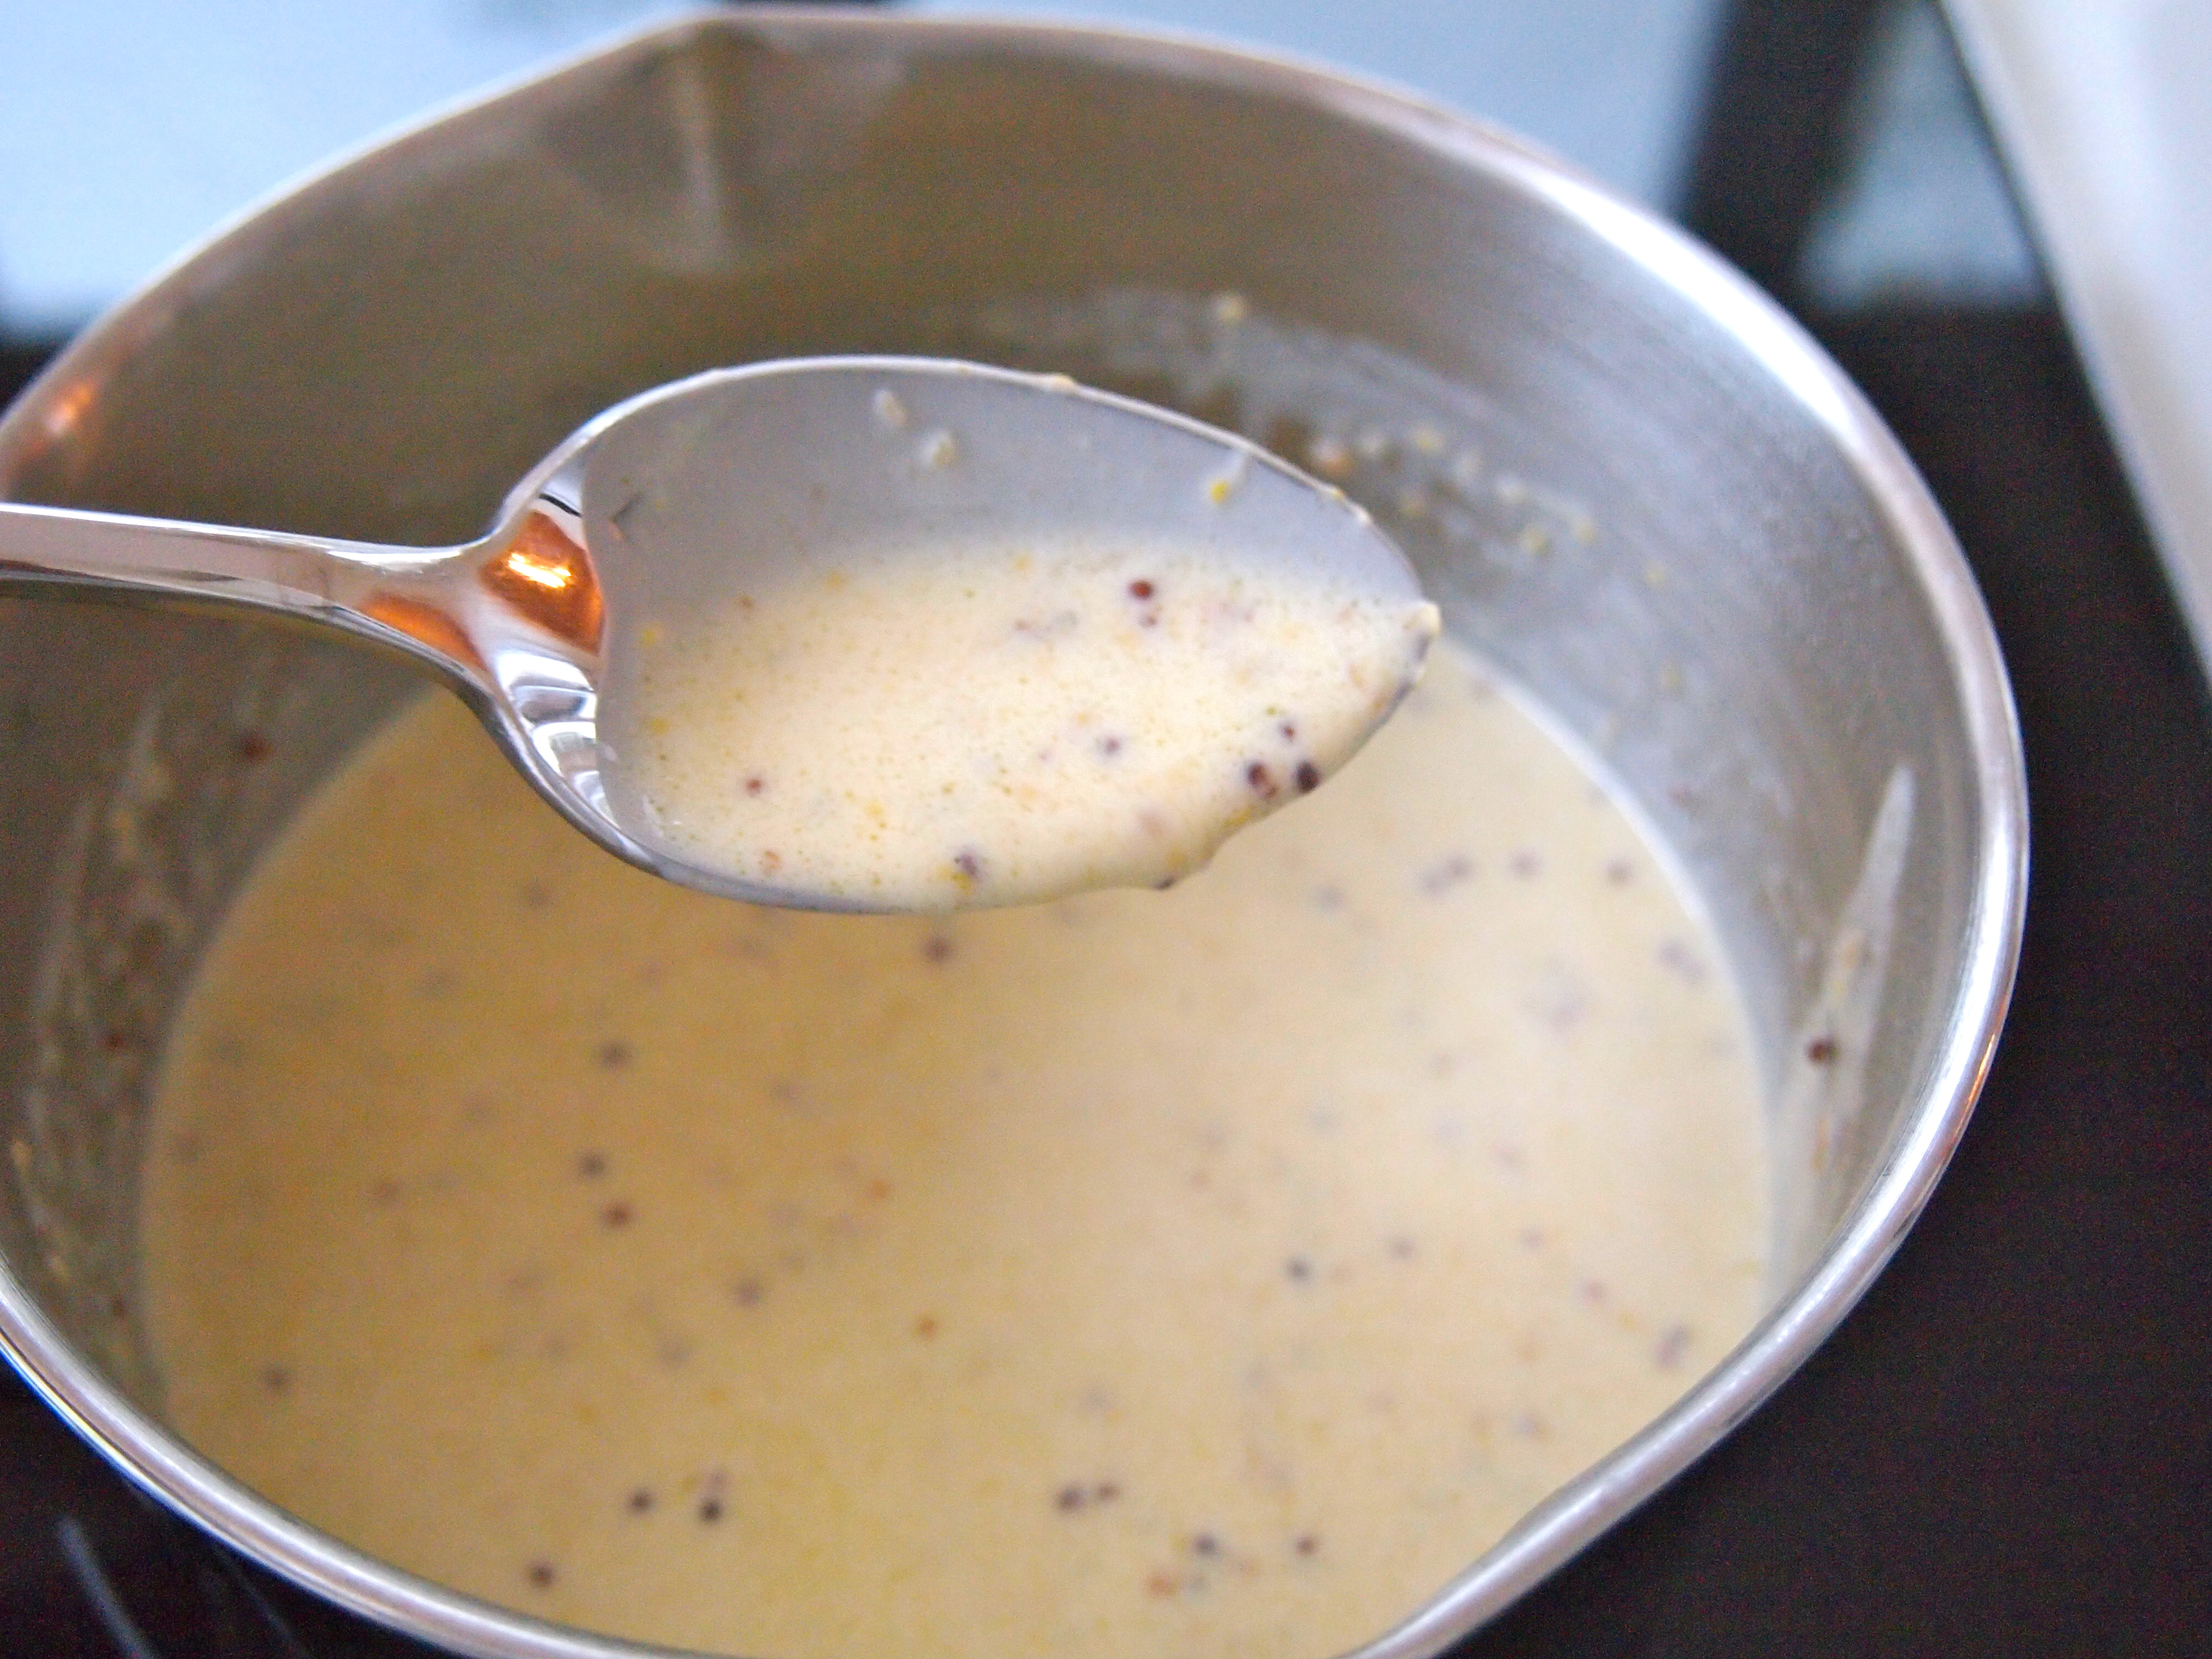
Meanwhile, soak the eggplant in water for 1 hour.  Drain and pat dry with paper towels. Heat some olive oil in a large non stick frypan and cook the eggplant in batches until golden brown.  Drain on paper towels and repeat with remaining eggplant, adding more oil as required. Preheat oven to 220C.  To make béchamel, melt butter in a pan.  Add flour and stir for 2 minutes.  Add milk, whisking continuously for 3 minutes or until mixture comes to a boil. Remove from the heat, add cheese and stir until melted. Stir in egg yolks and nutmeg.


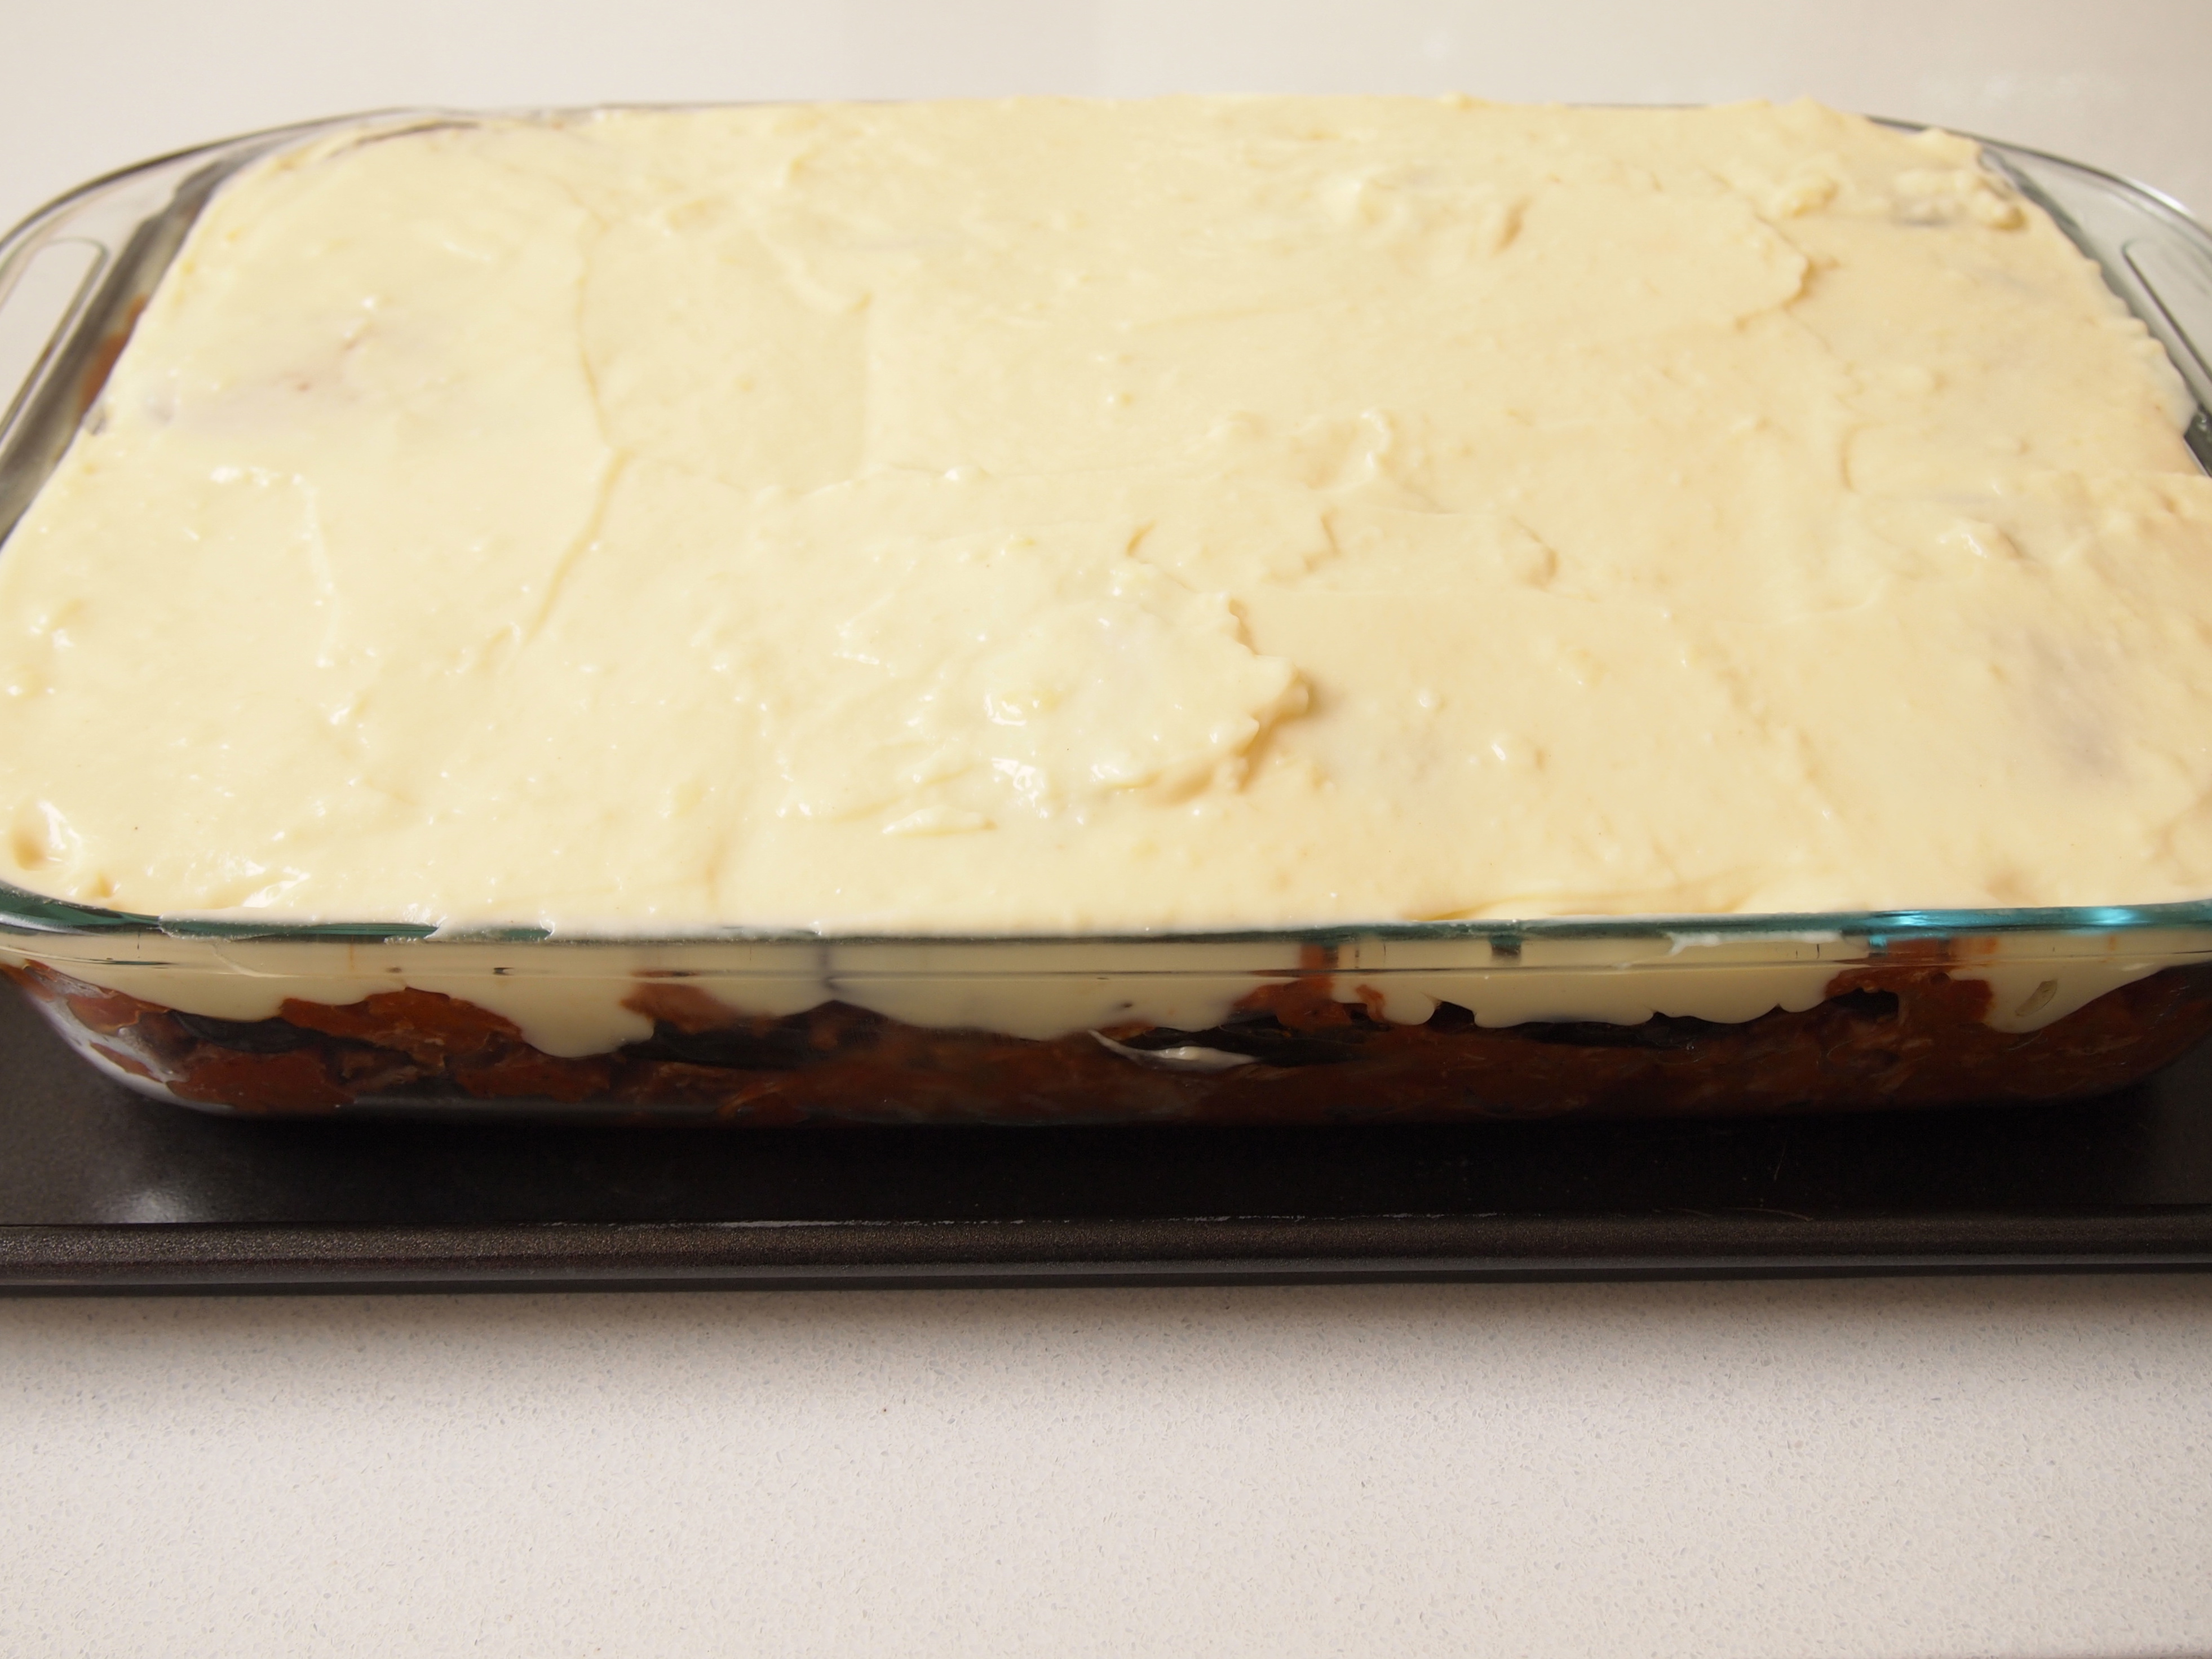
In a large oven proof baking dish, I used a lasagne dish, Place one third of the eggplant over the base in a single layer. Top with half the lamb. Add half the reminding eggplant, then the remaining lamb. Top with remaining eggplant and spread over béchamel.  bake moussaka for 30 minutes or until the top is golden brown.


Nov 7, 2012
mustardwithmutton

no comments

Herb & Cucumber Quinoa Tabbouleh with Minted Labne

Quinoa (pronounced keen-wah) is one of the new super foods, except it’s not that new. The Inca’s cultivated it for domestic use more than 3000 years ago and referred to it as the “mother of all grains”. But it isn’t really a grain, it’s a seed and as such contains no wheat or gluten and is very low GI. It’s one of the few foods to contain all 8 essential amino acids, in fact it’s closely related to beets and spinach as they are both chenopods. Anyway enough of the nutritional mumbo jumbo all we need to know is that it’s not only delicious but good for us! A lot of recipes will tell you to cook quinoa with a 1:2 ratio of quinoa to water i.e. 1 cup quinoa to 2 cups water. But I find this results in a somewhat gluggy consistency. So for perfect fluffy quinoa I recommend a 1:1 ratio. You also need to know that unless your quinoa has been pre-soaked (this will be stated on the packaging) you’ll need to soak it for 15 minutes before it’s washed, drained and cooked. The exact directions are in the recipe below. Now onto the labne. How I love this stuff. Labne is just greek yoghurt which has been strained through a cloth to remove the whey leaving behind a cheese like substance but with the sour tang of yoghurt.  It can be a great (and much less expensive) substitute for goats cheese and can be flavoured with anything you like, in this case garlic and mint. The quantities for the labne below will make more than you need for the tabbouleh but the leftovers can be served with toasted pita bread as an appetiser. I made this salad to accompany a barbecued butterflied leg of lamb with Middle Eastern flavours. Enjoy!

Ingredients – Serves 4
500g thick Greek-style yoghurt
1 small garlic clove crushed
1 bunch mint, leaves picked
⅓ cup olive oil
1½ cup quinoa, soaked for 15 minutes then washed and strained through a fine mesh sieve
1 teaspoon butter
1 bunch of dill, leaves picked and finely chopped
2 Lebanese cucumbers, peeled and finely chopped
6 spring onions, white and green parts finely sliced
Juice of  1 lemon
Salt & Freshly ground place pepper

Method

If possible begin the minted labne the day before, however I have made it on the same day with a soaking time of 5 hours and it’s worked but overnight soaking will give best results. Place 100g yoghurt into a mini food processor with the garlic, 1 cup mint leaves, 2 teaspoons of the olive oil and 1 teaspoon salt. Process until the mint is finely chopped. Stir into the remaining 400g yoghurt, then spoon into a sieve lined with a square of muslin or a clean chux. Place the sieve over a bowl, then fold the edges of the muslin over the yoghurt to cover.  Place a small plate on top to weigh it down and leave to drain for 24 hours in the fridge.


To make the quinoa place the soaked and drained quinoa into a saucepan and add 1½ cups cold water, ½ teaspoon of salt and the butter.  Bring to the boil, stir and reduce the heat to a very low low simmer, cover with a tight fitting lid and cook for 30 minutes. Remove the lid and fluff the quinoa with a fork and place into a large bowl.  Thinly slice the remaining mint leaves and add to the quinoa along with the dill, cucumbers and spring onions.  Add the lemon juice, remaining olive oil and season with salt and pepper. Spoon the tabbouleh onto a serving platter and crumble some of the minted labne over the salad.  Serve at room temperature.

Nov 5, 2012
mustardwithmutton

1 comment

Lamb Shoulder Slow Cooked with Soy, Lemon & Garlic

This is another recipe from the Red Spice Road cookbook and it’s awesome. The meat is succulent and falling off the bone from hours of slow braising with a wonderful Asian soy based sauce that’s thick and flavourful.  It’s a quick dish to put together but it does need a lot of time in the oven – you won’t need to do a thing though whilst it’s cooking so it has a lot of wow factor for very little effort.  You’ll want to serve this with lots of steamed rice to mop up the juices and a salad of finely shredded cabbage, mint and cucumber with an Asian style dressing of light soy, sugar, rice wine vinegar and sesame oil is wonderful paired with the lamb.

Ingredients – Serves 4    Adapted from John McLeay, Red Spice Road 

2 tablespoons vegetable oil
2½ kg lamb shoulder, bone in – I used 2 small lamb shoulders instead, trimmed of excess fat and seasoned with salt and pepper
600ml chicken stock
2 medium onions, peeled and diced
6 garlic cloves, peeled and diced
2 inch piece of ginger peeled and diced
150ml light soy sauce
125ml sweet soy sauce
2 tablespoons grated lemon rind
4 tablespoons oyster sauce
Garnish
4 spring onions, white and green parts finely sliced
Handful of coriander leaves
1 tablespoon grated lemon rind
1 lemon quartered

Method

Preheat oven to 160C. Place a large oven roasting pan over medium high heat and add the vegetable oil.  When hot place the lamb shoulder in skin down and fry for a few minutes on each side to get some colour. Remove from the heat and add all the other ingredients.  Place some baking paper on the lamb then cover tightly with foil. Cook in the oven for 4 hours.  Remove the foil and paper and cook for a further 30-45 minutes to get a little more colour on the lamb and to reduce the sauce a little.

Remove the lamb from the oven and carefully transfer it to a serving dish.  Pour over some of the cooking liquid and pour the rest of the sauce into a gravy boat to serve separately. Garnish with spring onions, coriander and lemon rind over the lamb and place the lemon quarriers around the platter.

Nov 2, 2012
mustardwithmutton

2 comments

Baked Veal Scallopini with Ham, Mushrooms and Fontina

For some reason this dish screams 1980’s to me.  I’m not sure why as I don’t remember ever eating this in the 80’s but if I did  it would have been a regular on the dinner table for the last few decades.  In some ways this dish is similar to Veal Cordon Bleu in that the veal is paired with ham and cheese but this is a little lighter as the veal isn’t crumbed.  It’s a great do ahead dish as all the components can be prepared ahead of time and then assembled and baked when you’re ready to eat. So get out those shoulder pads, turn on some Duran Duran and take a delicious trip down memory lane.

Ingredients – Serves 4

4 small veal scallopini – or 2 large ones halved
Flour – a small amount for dusting the veal
Salt and freshly ground black pepper
Olive oil
1 small onion very finely diced
40g butter
2 tablespoons flour
1½ cups milk
300g button mushrooms, sliced
1 tablespoon fresh thyme leaves
4 large slices of double smoked ham
Sliced or grated fontina cheese, about 1 cup or enough to cover each slice of veal

Method

Season the veal with salt and pepper and lightly dust in flour.  Heat some olive oil in a non stick fry pan over medium hat and when hot add the veal and cook for a couple of minutes on each side.  Remove from the pan and set aside.  In the same frypan add a little more oil and add the sliced mushrooms and thyme leaves.  Cook and stir until the mushrooms have wilted and are soft and starting to brown.  Season with salt and pepper and set aside. In a small saucepan heat the butter and add the onions. Cook the onions over medium low heat for about 5 minutes or until soft, be careful not to get any colour on them.  Add the flour and stir it into the onion and butter mixture for a minute or two then whisk in the milk.  Keep whisking until the mixture comes to the boil and thickens, you want to achieve a spoonable consistency.  Remove from the heat and season with salt and pepper.


Preheat the oven to 200C.  To assemble the dish lay the veal in a baking dish that will hold the scallopini in one layer, something not too deep.  Spoon on half of the onion white sauce onto each slice of veal to thinly cover.  Add a layer of mushrooms followed by the ham slices.  Cover the ham with the remaining white sauce and then top each scallopini with enough fontina cheese to cover.  Bake in the oven for 20 – 25 minutes until heated through and golden brown.

Oct 31, 2012
mustardwithmutton

2 comments

Braised Chicken with Sage & Creamy Dijon Sauce

This chicken dish is done in the style of many French braises in that the chicken is first browned well and removed and the sauce is then made in the same pan utilising the caramelised crust created by browning the chicken to make a great base for a sauce, in this case using white wine, mustard and a little cream.  It’s really important to take the time to brown the chicken well.  This will make the difference between a final dish that tastes good to one that tastes great. The sauce is truly delicious and as we’re a gravy centric family I doubled the amount of sauce in the recipe below so as there’s lots to go around.  Something to mop up the sauce in the way of mashed potatoes would be great but if you don’t have the time a nice crusty loaf of bread and a green salad would make a fine dinner.

Ingredients – Serves 4  Adapted from Food52

6 chicken thighs, seasoned with salt and pepper
12 garlic cloves, peeled
12 sage leaves
2 tablespoons butter
2 tablespoons olive oil
3 tablespoons Dijon Mustard
½ cup White wine
⅓ cup Cognac or brandy
1½ cups chicken stock
½ cup cream
1 tablespoon all purpose flour
Salt & freshly ground black pepper

Method

In a large sauté pan add the butter and the olive oil, the sage leaves and the garlic cloves. When the butter starts to sizzle add the chicken thighs skin side down and let them get golden brown over medium heat. Turn them with a spatula without damaging the chicken and brown the other side. They will be cooking later so you just want to get the nice gold brown colour now. Heat the chicken stock. Remove the chicken from the pan and all but 2 tablespoons of the fat, add the white wine and the cognac and deglaze the pan, scraping any pieces of meet stuck on the bottom. Let the alcohol evaporate completely, then add the mustard and dissolve in the sauce with a whisk.


Add the chicken to the pan and add the hot chicken stock to ¾ of the height of the chicken thighs. Season with salt and freshly ground black pepper and let simmer over low heat, covered, for 30 minutes. Remove the cooked chicken thighs and keep warm. Let the sauce simmer over low heat to reduce to as much as you will need for the thighs. Sift the flour and dissolve it in 3 tablespoons of cream using a whisk. Add the remaining cream and whisk. Now add a bit of hot sauce, whisk together very well and slowly pour in the pan. Keep whisking so the sauce doesn’t stick to the bottom. Let the sauce reduce again to the amount you need, always stirring. I like to have about two cups of sauce to serve with the chicken thighs. Put the chicken back into the pan and bring back up to a simmer so as the chicken is heated through and serve immediately.

Oct 29, 2012
mustardwithmutton

1 comment

Warm Steak Salad with Creamy Mustard Dressing

This is a dish my family has been making for a long time, so long that I’ve actually forgotten where the original recipe came from. Basically it has all the components of a steak dinner but on one plate which not only makes it easy to prepare but easy to serve as well, especially if you’re feeding a large number of people.  For dinners we serve this dish individually plated but a large platter of this would also be great for a buffet table.  The salad component is made up of baby spinach leaves, rocket and watercress which are then topped with sliced avocado.  The warm components are then added in the form of crispy roasted cubed potatoes and fried sliced fillet steak.  A generous drizzle of a warm and creamy mustard dressing finishes it off and pulls it all together.  One of those rare main meal salads that’s satisfying in both winter and summer.

Ingredients – Serves 4

Mixed salad leaves consisting of baby spinach, rocket and watercress – enough to generously cover 4 plates
2 avocados, peeled and sliced
olive oil
4 thin cut fillet steaks – size and weight can be adjusted to fit the appetite of the people you’re feeding
4 large potatoes (I use desiree), washed and cut into small cubes
Garlic powder
Salt & freshly ground black pepper

For the Creamy Mustard Dressing
3 teaspoons seeded mustard
3 teaspoons creamed horseradish
⅓ cup olive oil
½ cup cream
2 teaspoons brown sugar
2 tablespoons white wine vinegar

Method

Preheat the oven to 200C. Bring the fillet steak to room temperature and season well with garlic powder, salt and pepper. To make the dressing place all the ingredients in a small pan and mix well to combine.  Bring it up to a simmer over medium heat and cook for a few minutes.  Set aside in the pan for reheating later.  Place the potatoes on a baking tray and drizzle with enough olive oil to coat the potatoes well and season with salt.  Place in the oven and roast for 50 – 60 minutes or until golden brown and crispy.  While the potatoes are cooking distribute the salad leaves evenly on the dinner plates and top each with half a sliced avocado. When the potatoes are 10 minutes away from being ready start cooking the steak.


Heat a non stick fry pan over medium-high heat and drizzle some olive oil over the fillet steaks.  When the pan is hot add the steaks and cook for a minute or two on each side until done to your liking.  As the steaks are thin cut they won’t take long to cook.  Rest the steaks on a carving board for 5 minutes then cut into finger width slices against the grain of the meat.  When the potatoes are ready place some on top of the avocados on each plate and top with the fillet steak slices.  Bring the dressing back to a simmer and pour a generous amount on top of each salad. Serve straight away.

Oct 26, 2012
mustardwithmutton

no comments

Meat Fest Pizza

Those pizza aficionados out there who import mineral water from Naples to make their pizza dough, look away now.  This is as far away from an Italian style pizza as you can get – think more a piece of pie from Brooklyn, and it’s delicious.  No scant toppings of wafer thin prosciutto and arugula here. This pizza is hearty. Don’t get me wrong, I’m very partial to a thin based pizza with minimal toppings of buffalo mozzarella and heirloom tomatoes but every now and then it’s nice to have something a little more gutsy.  The name meat fest is due to the fact that the base of the pizza isn’t topped with the usual tomato sauce but a rich smoky bolognese style ragu made with minced beef and crumbled sausages; and if that wasn’t enough meat the pizza is then garnished with final layer of pepperoni.  If I have the time and inclination I often make my own pizza dough (minus the imported  mineral water) but I’ve recently found a store bought pizza base (Bazaar brand)  that’s thin and can stand up to the toppings while remaining crisp which means I can decide to have pizza without too much planning ahead.  If the weather’s good we grill this on the barbecue which gives it a wonderful wood oven flavour but it’s still awesome baked in a hot oven.

Ingredients – Makes 1 large pizza (with leftover ragu which can be frozen for the next time)

Olive oil
1 red onion, finely diced
2 cloves of garlic, finely minced
Pinch of chilli flakes
300g minced beef
1 chorizo sausage, casing removed and finely diced
2 Italian style sausages – mild or spicy, casing removed and crumbled
1 tablespoon tomato paste
400g tin of diced tomatoes
1 teaspoon oregano
1 teaspoon sugar
2 teaspoons barbecue sauce
Salt & freshly ground black pepper
1 large pizza base – store bought or homemade
2-3 medium size mushrooms thinly sliced
1/2 green capsicum finely sliced
Enough thinly sliced pepperoni to top the pizza in one layer
1 cup grated mozzarella

Method

To make the ragu heat some olive oil in a saucepan over medium heat and add the onions.  Cook until onions are soft and translucent.  Add the garlic and chilli flakes and cook for a few more minutes.  Increase the heat and add the minced beef and the sausages.  Stir and cook, breaking up the meat with your spoon until the meat has changed colour and is starting to brown.  Add the tomato paste and let it cook with the meat for a couple of minutes then add the diced tomatoes, sugar, oregano and barbecue sauce. Season with salt and pepper and bring to the boil.  Lower the heat and simmer uncovered for at least 30 minutes or until the sauce is reduced and thickened. Let the sauce cool and set aside.

Preheat oven to 220C (or if you ant to make it on the barbecue set up your grill for indirect heat).  Take the pizza base and top it with enough ragu to give a nice thick even layer over the entire base, leaving a small border around the edge.  Add a layer of the sliced mushrooms followed by a layer of the sliced green pepper.  Add the mozzarella evenly over the pizza then add a final layer of pepperoni.


Place the pizza in the preheated oven for about 20 minutes until the cheese has melted and the top is golden brown.  Check every 5 minutes to make sure it’s not burning and rotate it to cook evenly.  Alternatively place the pizza on the barbecue and cook for a couple of minutes with the pizza directly over the flame to crisp the base.  Then move the pizza to the indirect part of the grill, lower the lid and cook for about 10 – 12 minutes or until the top is golden brown.  Again you’ll need to open the lid, check on it and rotate it during the cooking time.

Oct 24, 2012
mustardwithmutton

no comments

Chocolate Sorbet

This amazing sorbet is the creation of David Lebovitz but I think it’s almost misleading to call it a sorbet, even though technically that’s exactly what it is as it contains no dairy.  To me sorbets bring to mind icy and grainy textures and this sorbet is anything but. It’s so dense and smooth you would swear that it was made from a custard base of eggs and cream like most ice creams are.  My niece thought it tasted like frozen chocolate fudge or mousse, and lets face it that’s no bad thing!  Try adding a sprinkle of flaky sea salt when you serve it – it really amplifies the chocolate flavour.

Ingredients – makes 1 litre    Adapted from David Lebovitz

2 1/4 cups (555 ml) water
1 cup (200 g) sugar
3/4 cups (75 g) unsweetened Dutch-process cocoa powder
Pinch of salt
170 g bittersweet or semisweet chocolate finely chopped – I used half dark and half milk chocolate
1/2 teaspoon vanilla extract

Method

In a large saucepan, whisk together 1 1/2 cups (375 ml) of the water with the sugar, cocoa powder, and salt. Bring to a boil whisking frequently. Let it boil, continuing to whisk for 45 seconds.

Remove from the heat and stir in the chocolate until it’s melted, then stir in the vanilla extract and the remaining 3/4 cup (180 ml) water. Transfer the mixture to a blender and blend for 15 seconds, I used a stick blender. Chill the mixture thoroughly, then freeze it in your ice cream maker according to the manufacturer’s instructions. If the mixture has become too thick to pour into your machine, whisk it vigorously to thin it out.


Once the mixture has been churned it will have a very soft consistency so you’ll need to place it into a container and freeze for a few hours or overnight.  Take the sorbet out of the freezer about 10 minutes before you need to serve it.

Oct 23, 2012
mustardwithmutton

no comments

Rosemary Stuffed Rainbow Trout al Cartoccio

Rosemary and fish might seem an unlikely combination but it really works.  I ordered this dish at a local Italian restaurant and liked it so much that I recreated it at home the next week.  Al Cartoccio simply means food that is wrapped in a parcel and then baked.  This is a great way of cooking food gently, especially fish, ensuring the wonderful aromas and juices are retained in the cooking pouch. This is a simple fish supper that’s perfect for midweek.  In fact the fish can be prepared and wrapped in their paper parcels and refrigerated until ready to bake. The waft of rosemary that escapes the paper parcel when served is wonderful and paired with some boiled baby potatoes, a green vegetable and some homemade tartar sauce it’s perfect for company too.

Ingredients – Serves 2

2 rainbow trout weighing about 450-500g each, scaled and gutted
A large knob of butter softened
Salt & freshly ground black pepper
1 good size bunch fresh rosemary

Method

Preheat oven to 200C. Take two large sheets of baking paper and place a trout in the middle of each one.  Brush the trout liberally on both sides with butter and season well with salt and pepper. Stuff the cavity of each trout with half a bunch of rosemary. Make a parcel by bringing the two sides of the baking paper together and creasing in the middle to ensure no steam escapes.  Tie the ends with kitchen string – basically the trout parcels will resemble large lollies when they’re wrapped.


Place the trout on a baking sheet and bake in the oven for 20 minutes. Remove and carefully untie the parcels and transfer on to plates making sure to pour over any buttery juices accumulated in the parcels.

Oct 22, 2012
mustardwithmutton

no comments

Baked Pappardelle with Pancetta & Porcini

This would have to be one of the best baked pasta dishes I’ve ever made, or tasted,  for that matter and I don’t say that lightly.  It comes from one of my favourite chefs, Simon Hopkinson.  The recipe below will feed 2-3 people and I think it tastes best when made to these quantities.  The pasta needs to lie in a shallow gratin dish so if you need to increase the amounts listed don’t be tempted to put it into a deeper dish; just use a larger shallow dish or divide it into two dishes. I wasn’t able to find any good quality pancetta; I find most of the Australian made pancetta (Italian pancetta is still not allowed to be imported into Australia) to be overly salty and I wasn’t near a good deli to pick up a better quality artisan one so I used speck instead and I must say that I found the smokey flavour worked very well with the porcini.  Next time I’ll make it with pancetta as originally intended and believe me, there will be a next time!

Ingredients – serves 2 -3    Adapted from The Good Cook by Simon Hopkinson

500ml milk
30g dried porcini mushrooms
40g butter
25g plain flour
salt and freshly ground black pepper
125g pappardelle
Olive oil
100g pancetta, cut into 2cm/1in pieces – I used speck
3-4 tablespoons freshly grated parmesan

Method

Preheat the oven to 190C. Warm the milk in a saucepan, add the porcini mushrooms, remove from the heat and soak for 10 minutes. Strain through a sieve suspended over a bowl, pressing lightly on the mushrooms with the back of ladle to extract all the milk.

Heat the butter in a clean saucepan, add the flour and stir over a low heat for 2-3 minutes without colouring the roux. Pour in the porcini-flavoured milk all in one go and whisk together vigorously until smooth. Cook the sauce for a further few minutes, or until the sauce has thickened. Season lightly with salt and freshly ground black pepper and set aside.

Heat a teaspoon of olive oil in a small frypan and cook the pancetta or speck for a few minutes until the fat has rendered a little and starting to crisp. Set aside.

Bring a large pan of salted water to a rolling boil. Add the pasta and cook until al dente. Drain in a colander, tip into a roomy bowl and carefully stir in the sauce, porcini and pancetta until well combined.


Place the pasta into a lightly buttered shallow oven-proof dish. Smooth the surface and cover with the parmesan then drizzle with a little olive oil. Bake in the oven for 30-40 minutes, or until bubbling around the edges and golden-brown.