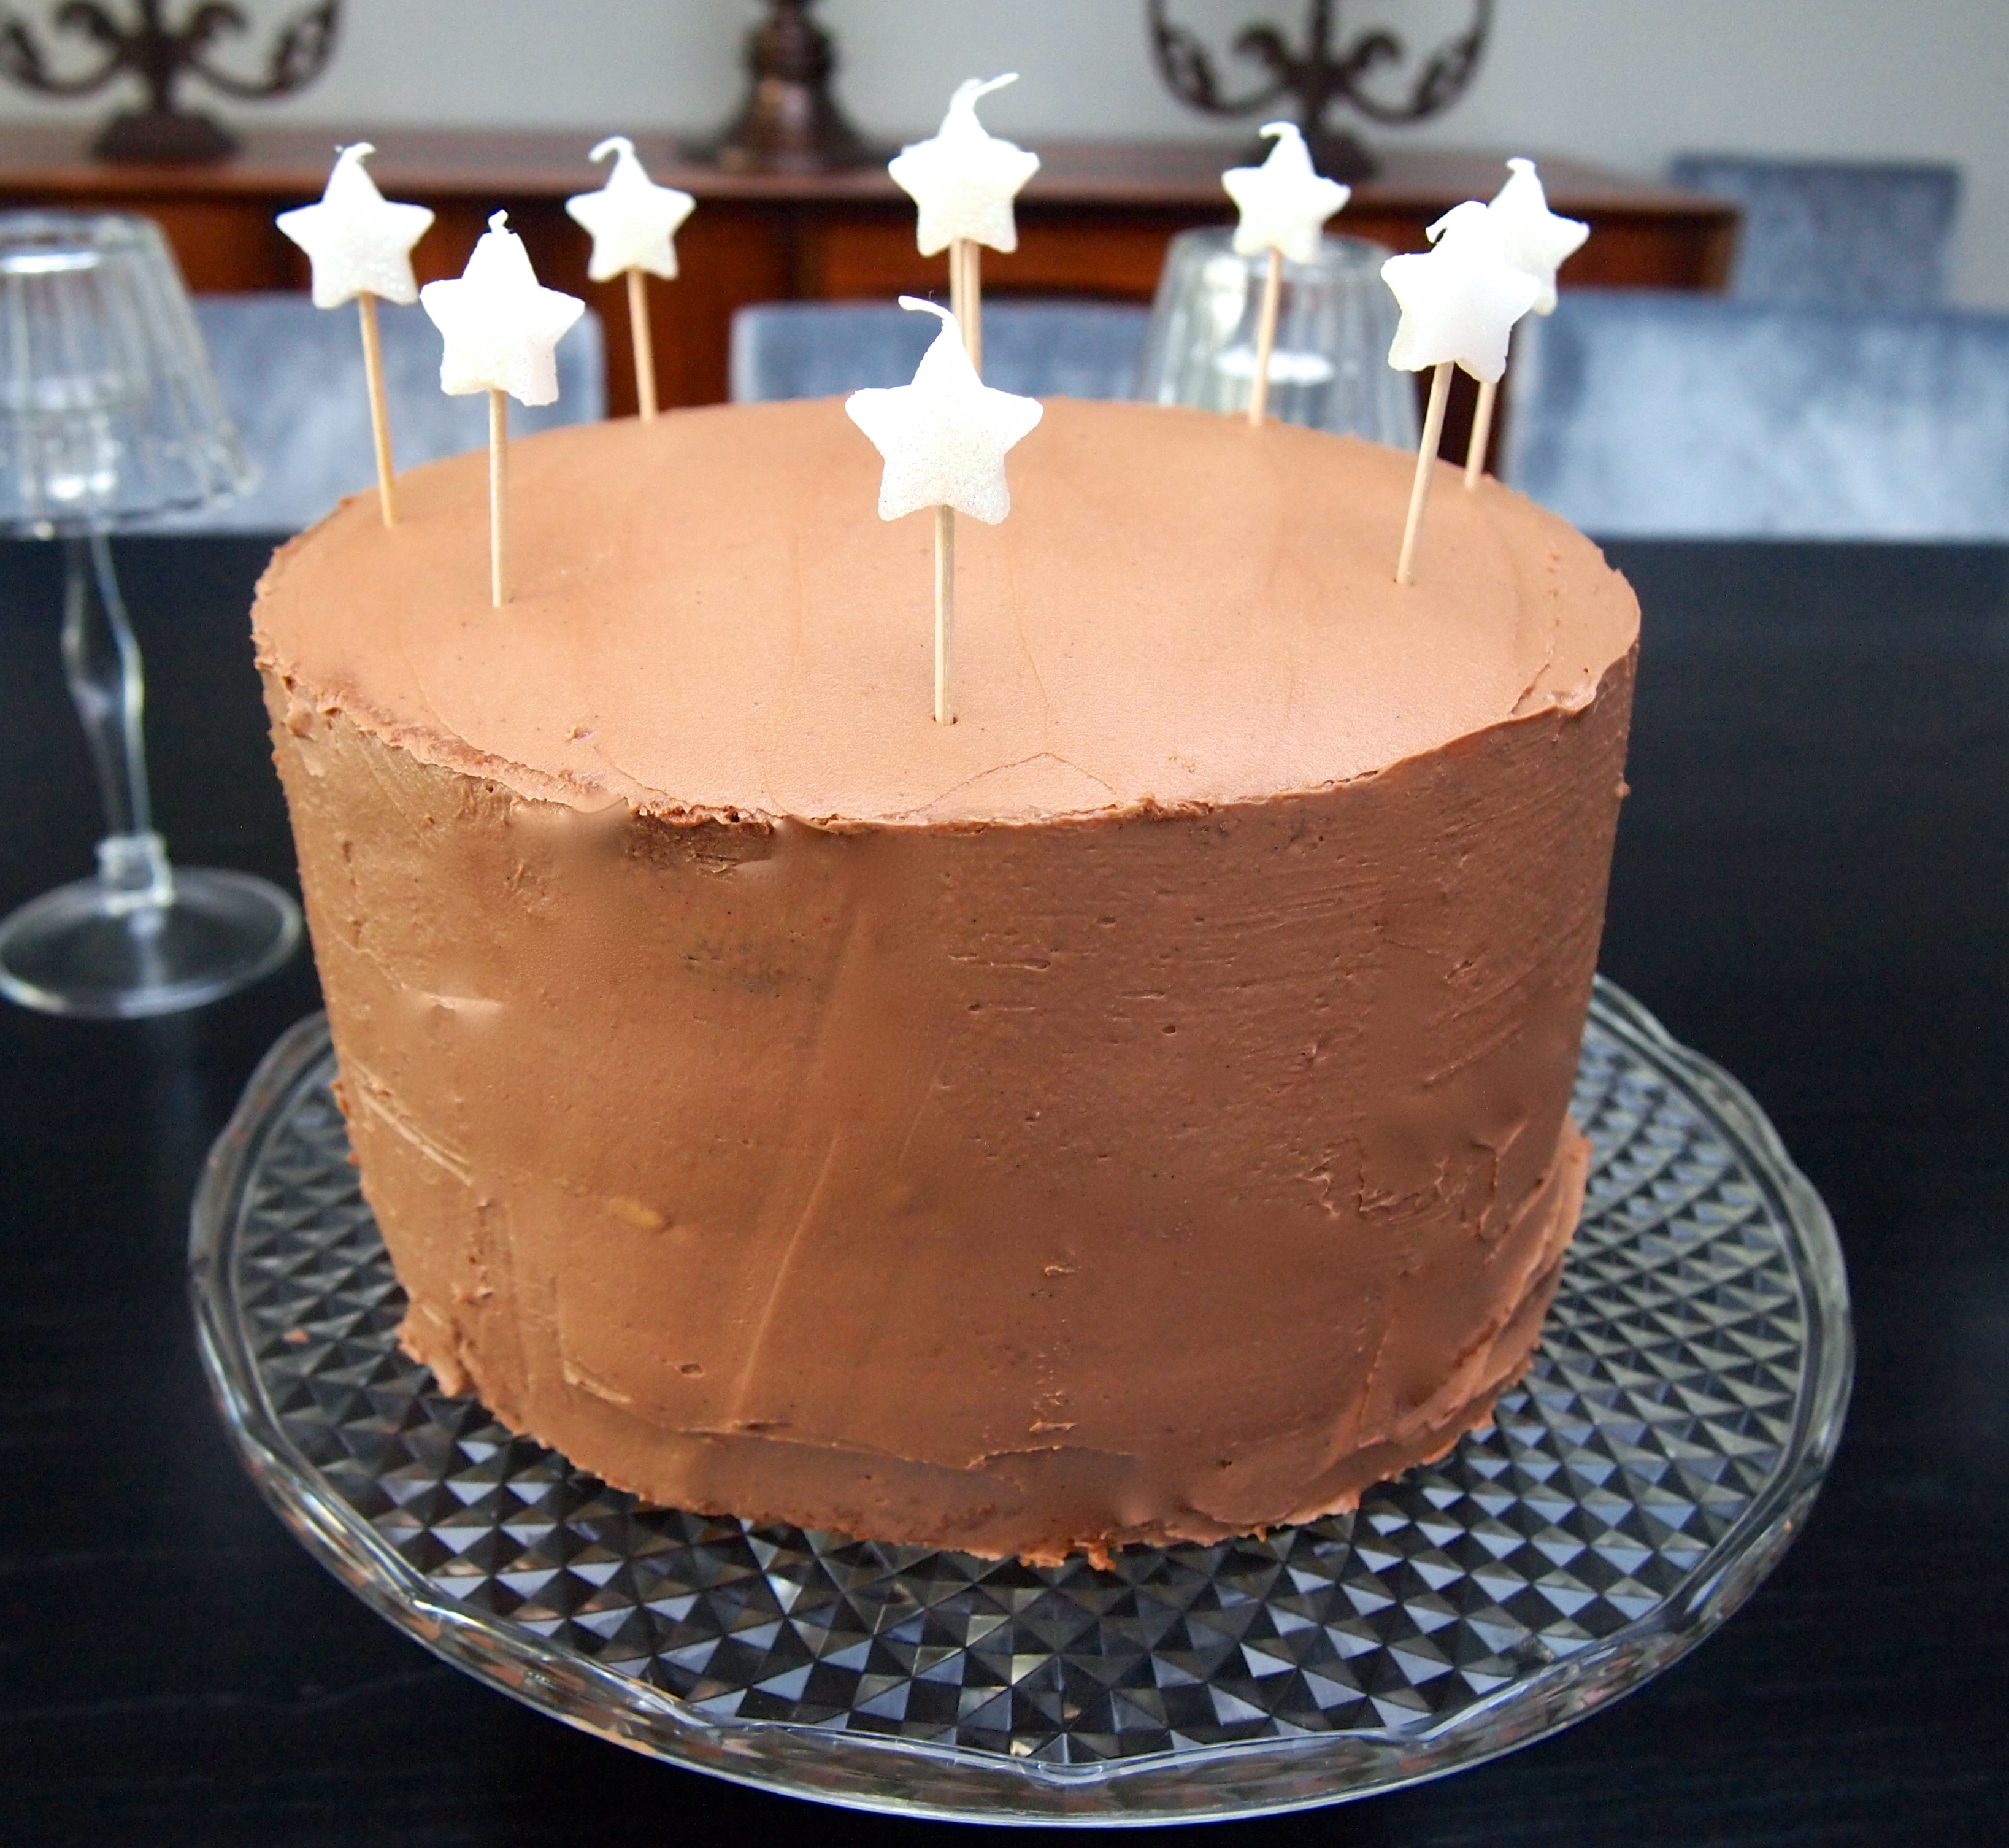
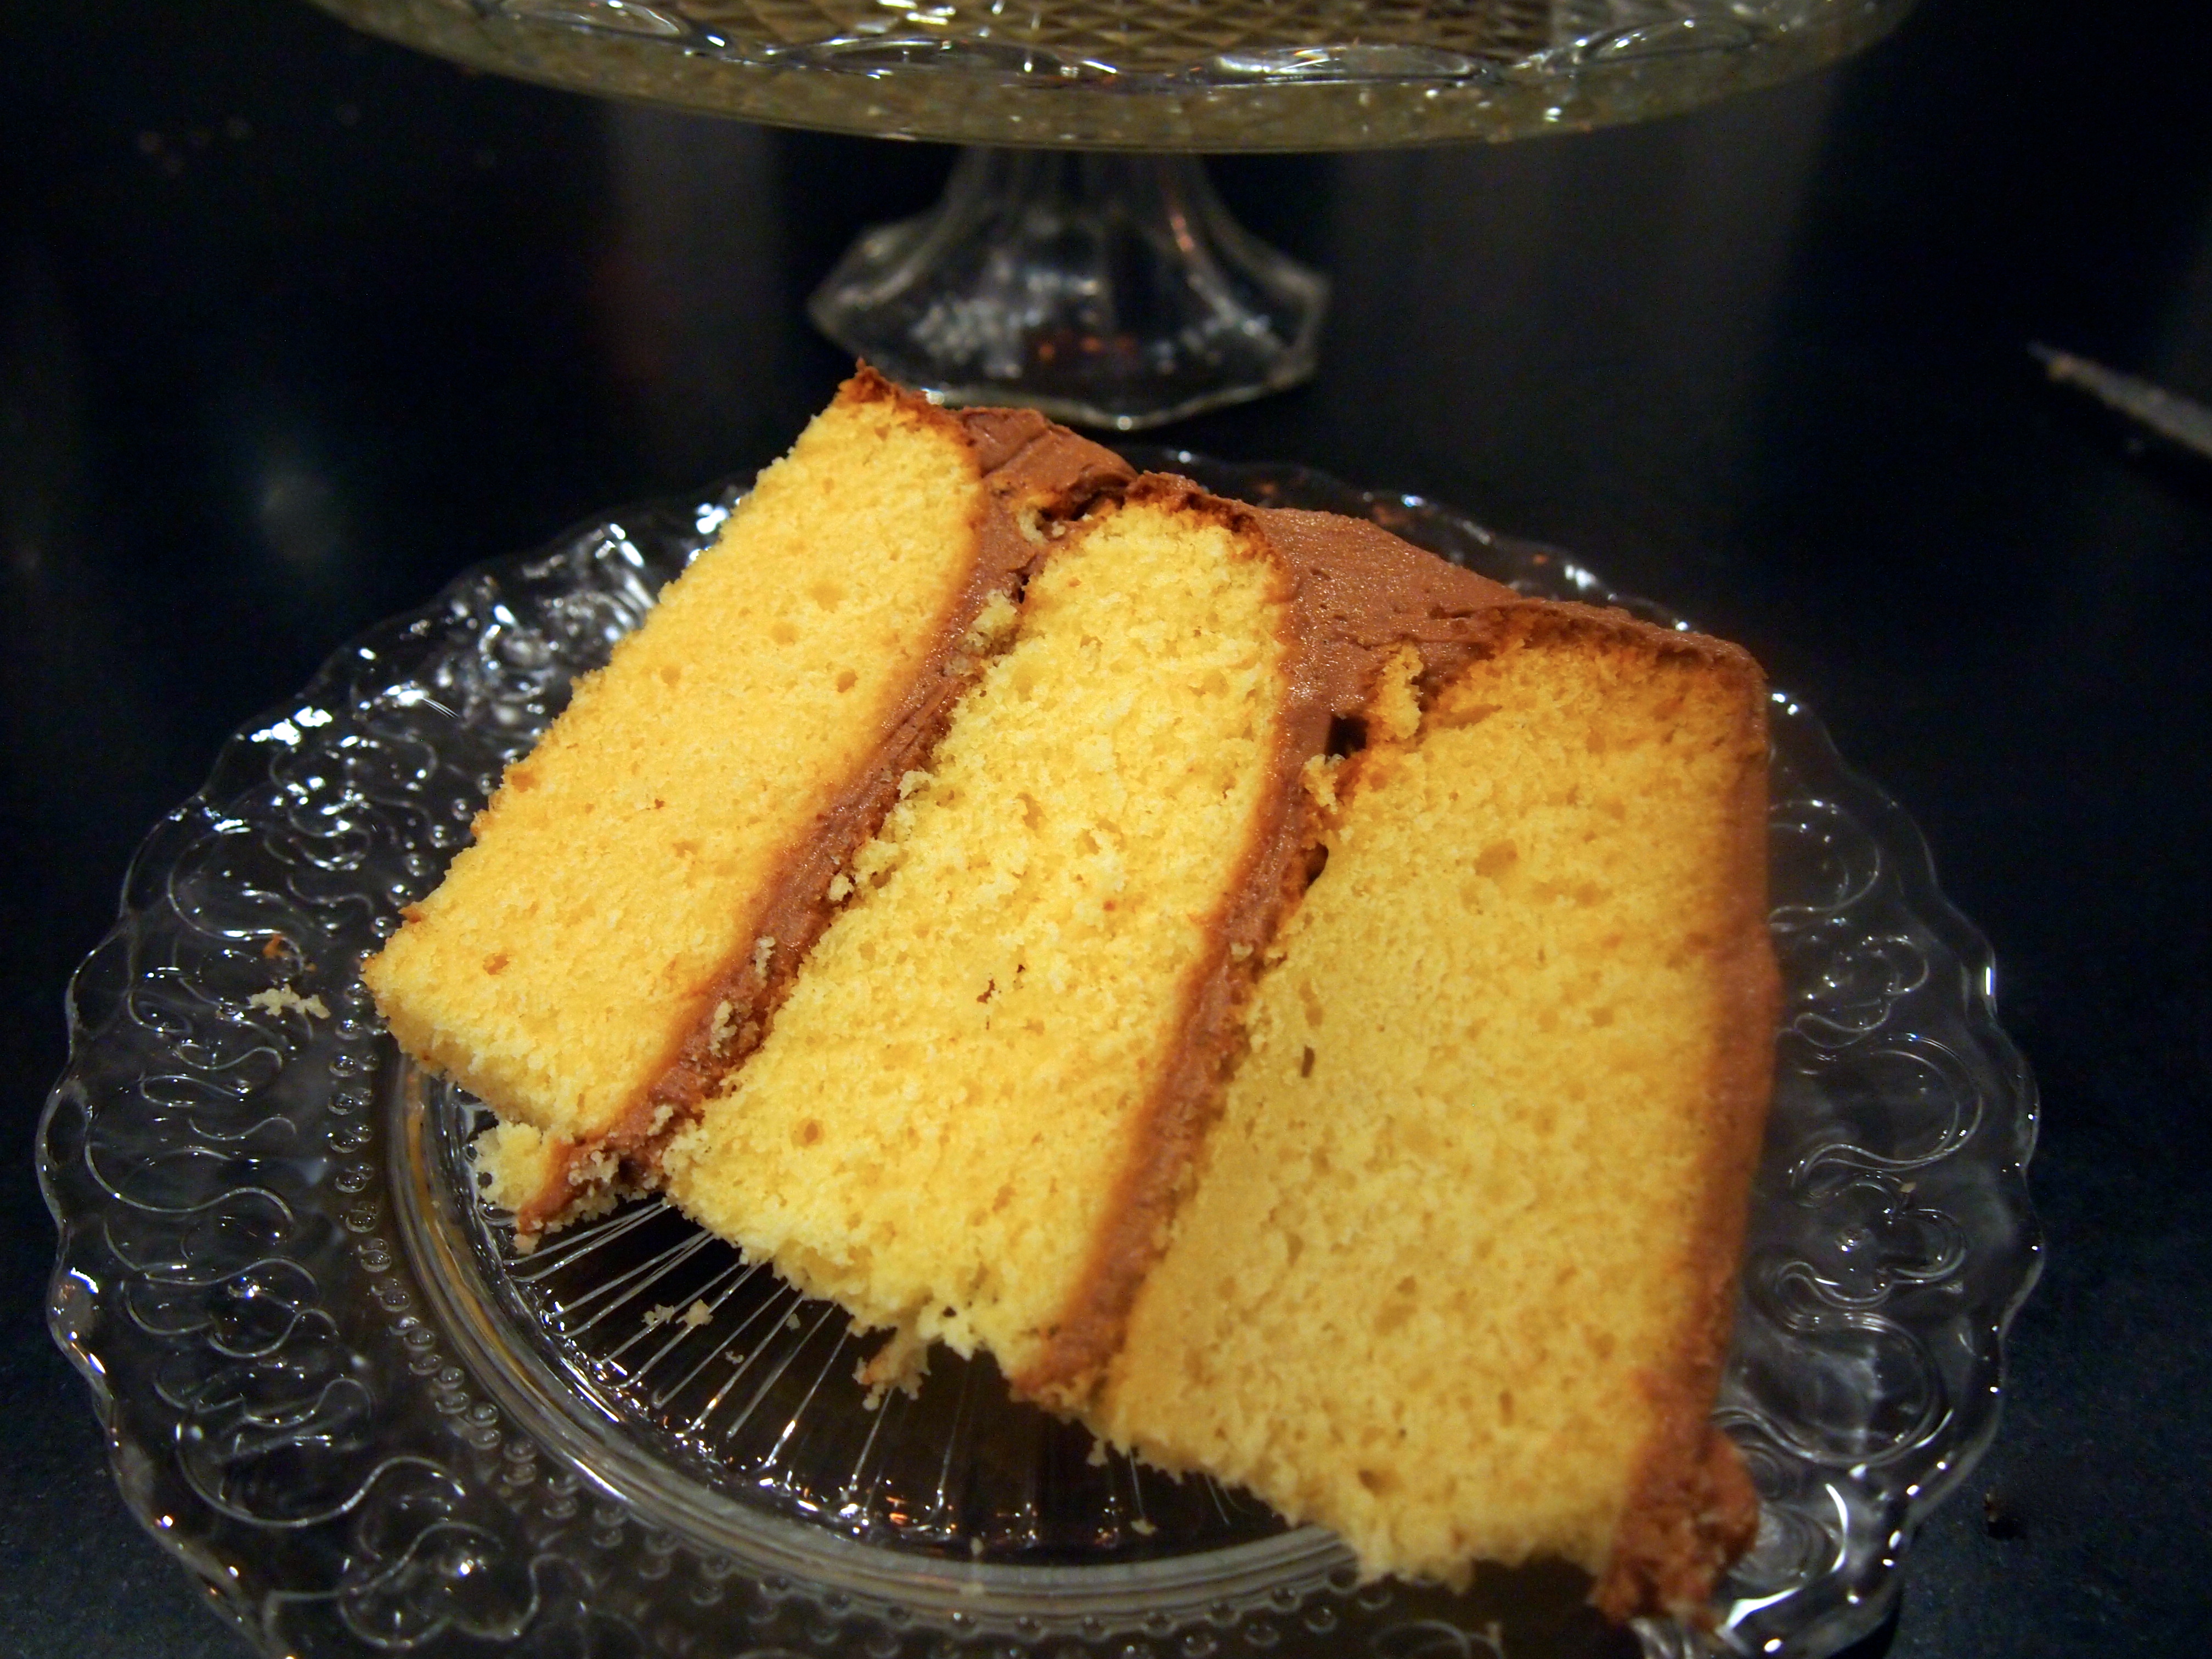
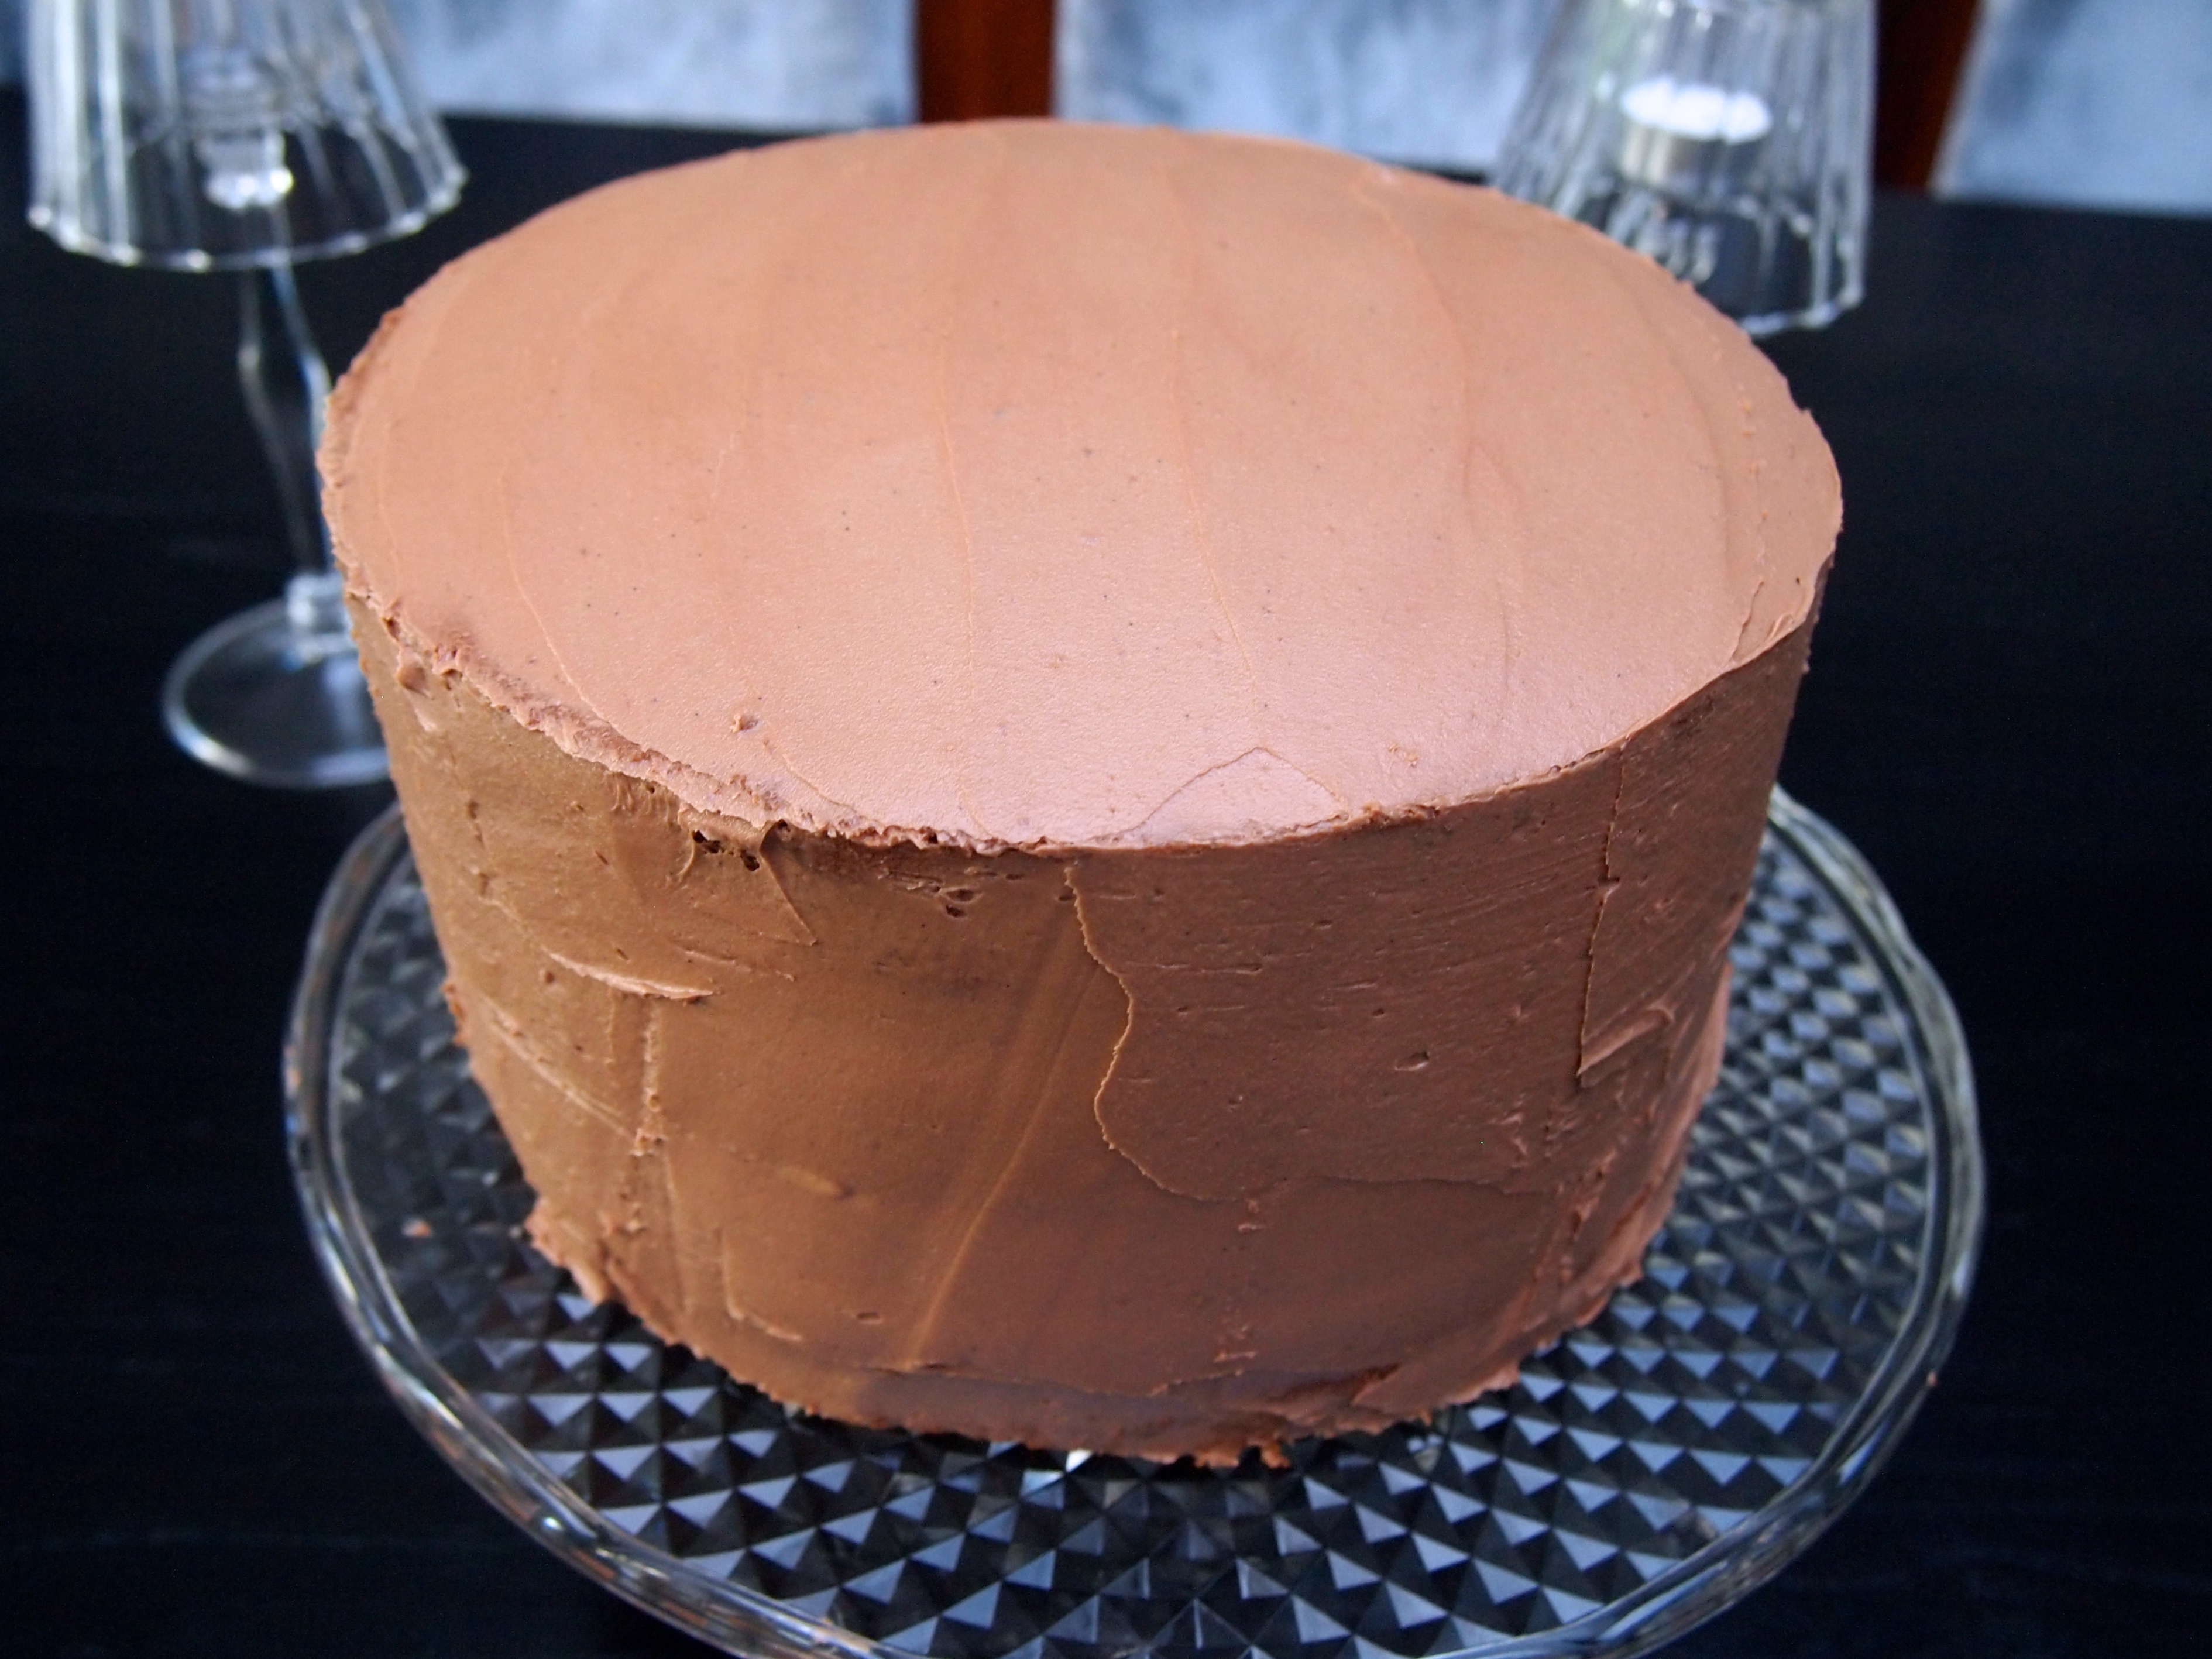
Layer cakes make a fantastic celebration dessert. They not only look impressive but they’re delicious and can feed a large number of people. I made this three layer cake for a birthday dinner for 12 and there was still half a cake left over – which is not a bad thing! The batter for this cake is called yellow cake. It is well known and much used in the States but not something we’re very familiar with here in Australia. Yellow cake is denser than sponge cakes and therefore holds up very well for layering. It has a great crumb and is lovely and moist – just a great, all round delicious vanilla cake. The frosting is the easiest frosting ever. It all goes into a food processor with no sifting of icing sugar required (my most dreaded task in the kitchen) and spreads like a dream.
Ingredients – Makes two 9 inch layers or 3 eight inch layers Adapted from Mel’s Kitchen
1 cup butter (225g), softened to room temperature
1 ¾ cups sugar (368 grams)
2 teaspoons vanilla extract
3 large eggs, room temperature
2 large egg yolks, room temperature
2 ¼ cups cake flour (255g), or make cake flour by sifting together 210g plain flour and 45g cornflour
1 ½ teaspoons baking powder
¼ teaspoon baking soda
½ teaspoon salt
½ cup milk (1% or above), room temperature
½ cup sour cream (light or regular), room temperature
Instant Buttercream Frosting Adapted from Smitten Kitchen
60g dark chocolate, melted and cooled
2½ cups icing sugar (no need to sift)
170g unsalted butter, at room temperature
3 tablespoons whole milk
½ tablespoon vanilla extract
Method
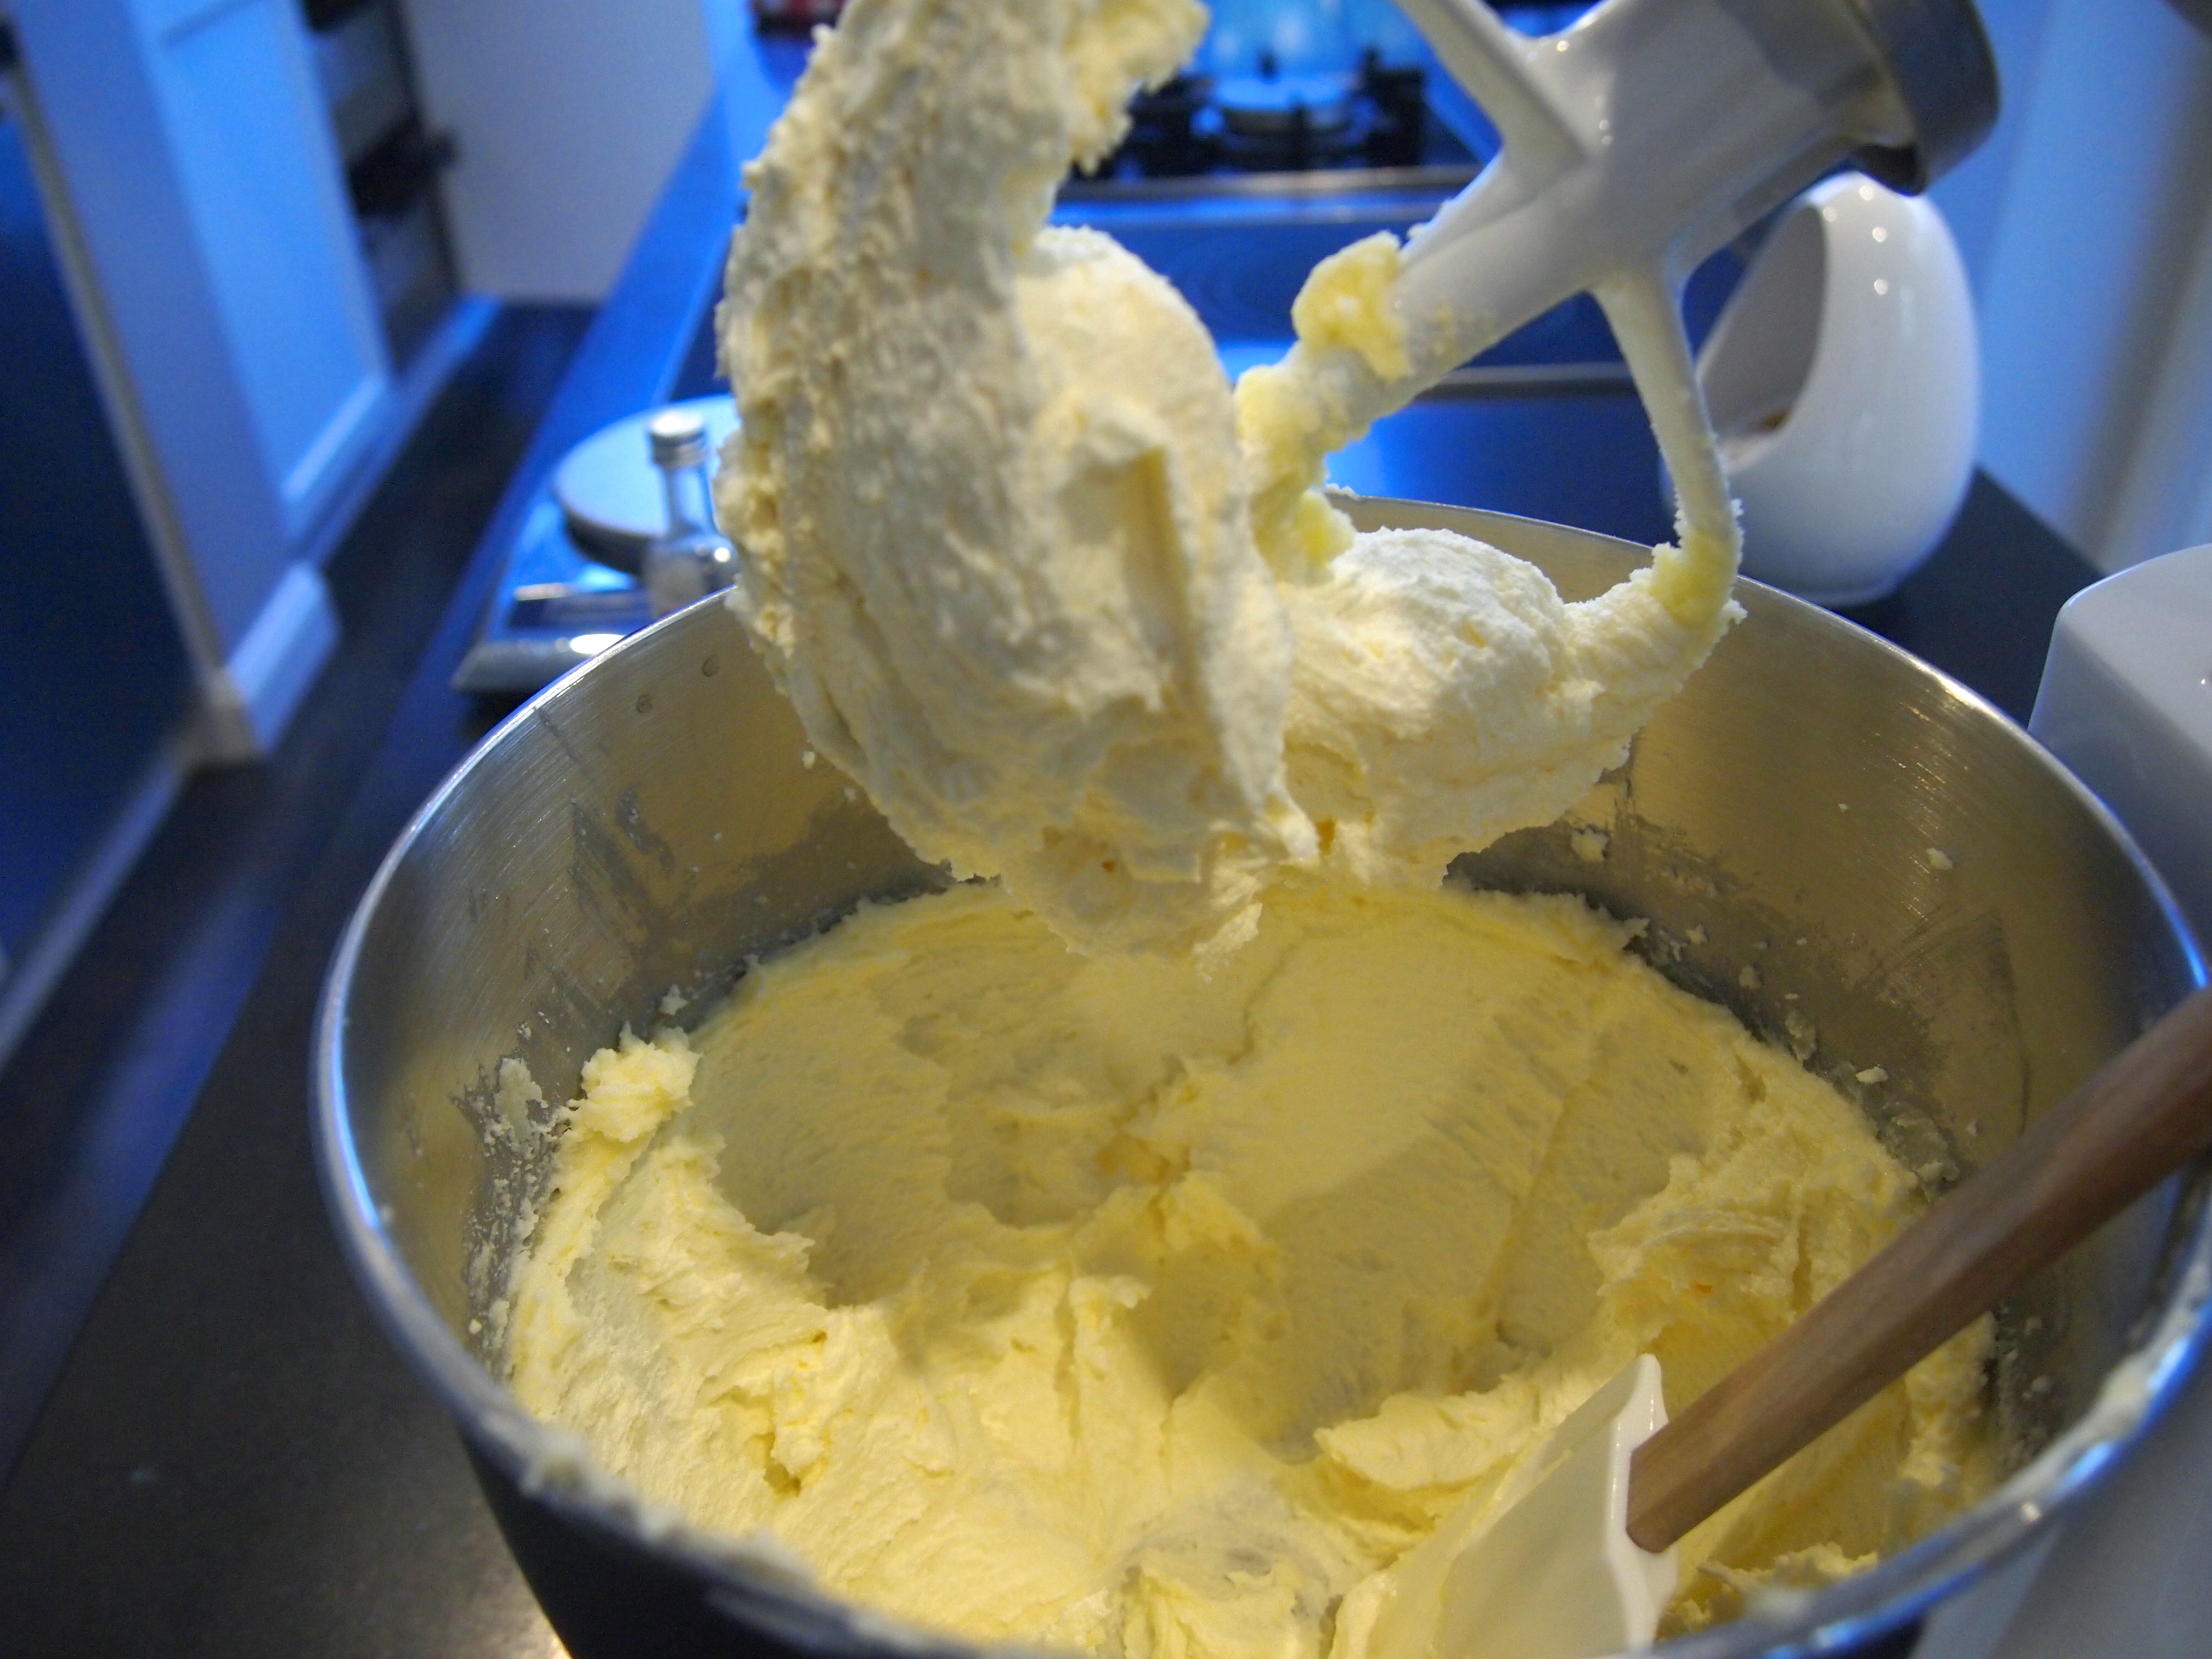
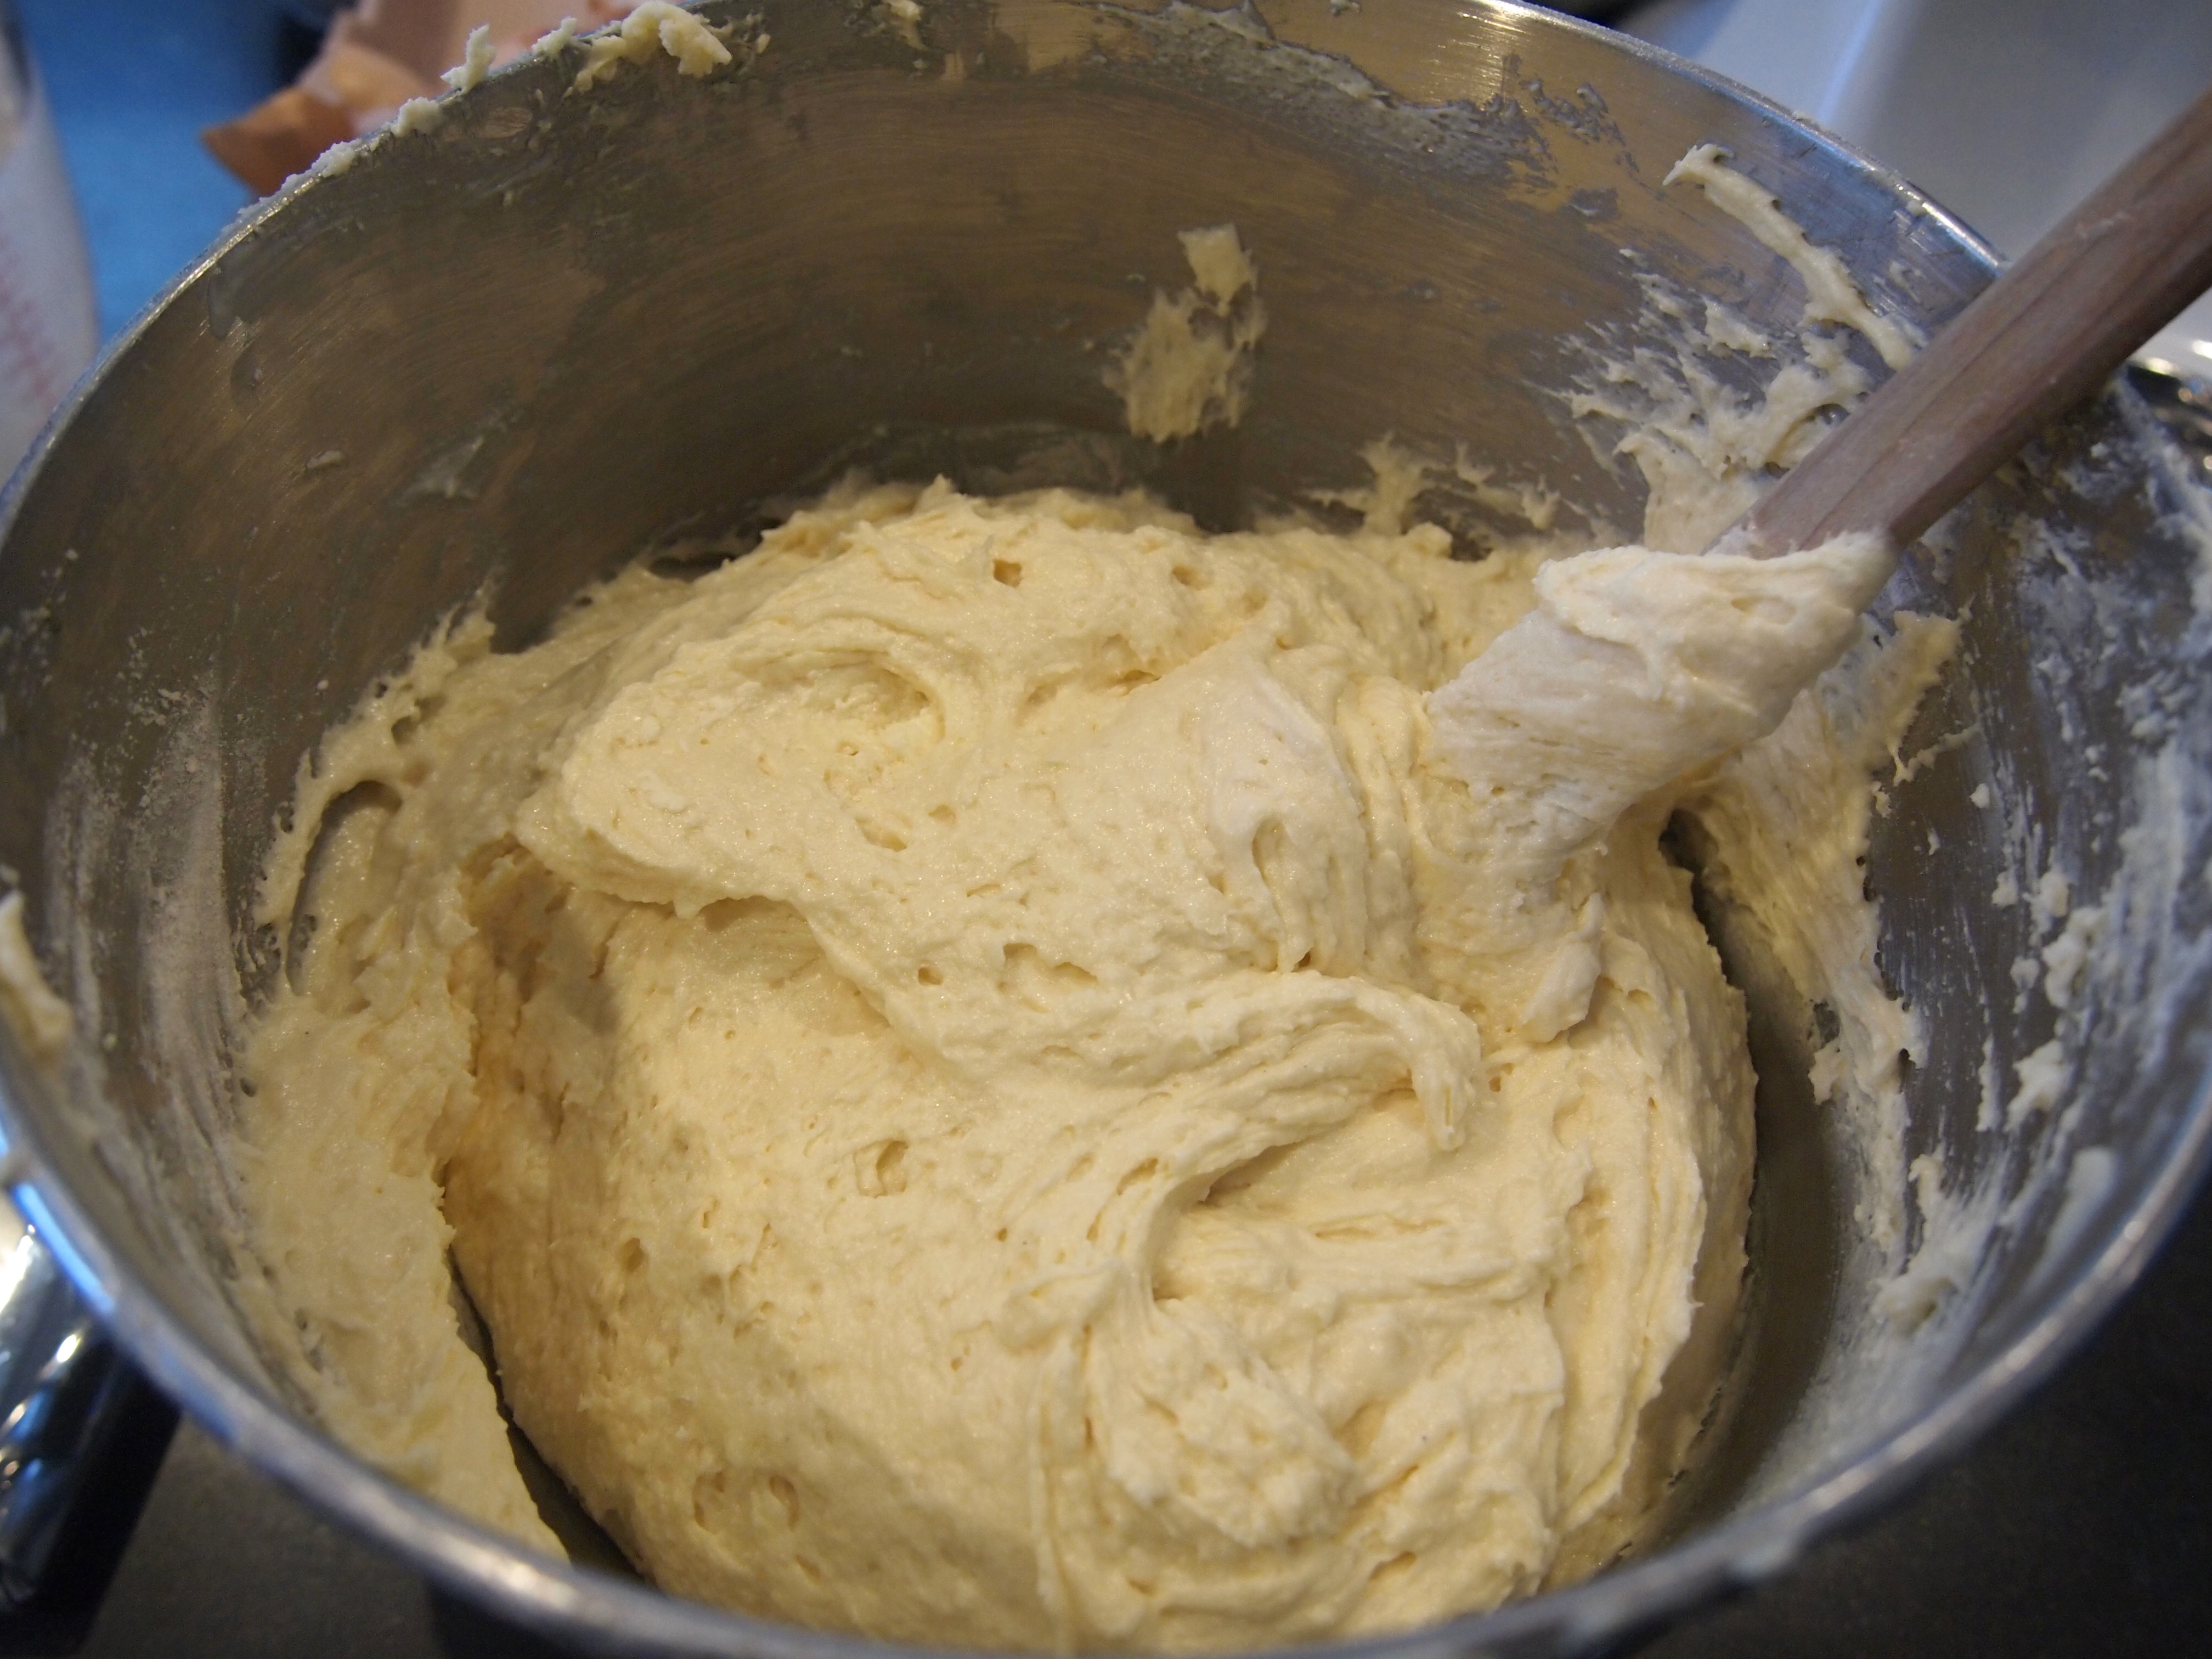
Preheat the oven to 180C. Whisk together the milk and sour cream and let come to room temperature. In the bowl of an electric stand mixer or with a handheld electric mixer, whip the butter on medium speed for 1-2 minutes. Add the sugar and beat for 4-5 minutes on medium speed. Mix in the vanilla.
One at a time, add the eggs and egg yolks, mixing just until combined in between additions. Scrape down the sides of the bowl as needed. Combine the cake flour, baking powder, baking soda and salt. Sift them together through a fine mesh strainer. Add the dry ingredients, alternating with the milk/sour cream mixture, starting and ending with the flour. Make sure you don’t over mix, scraping down the sides of the bowl as necessary. Give the batter one good, final stir with a rubber spatula.
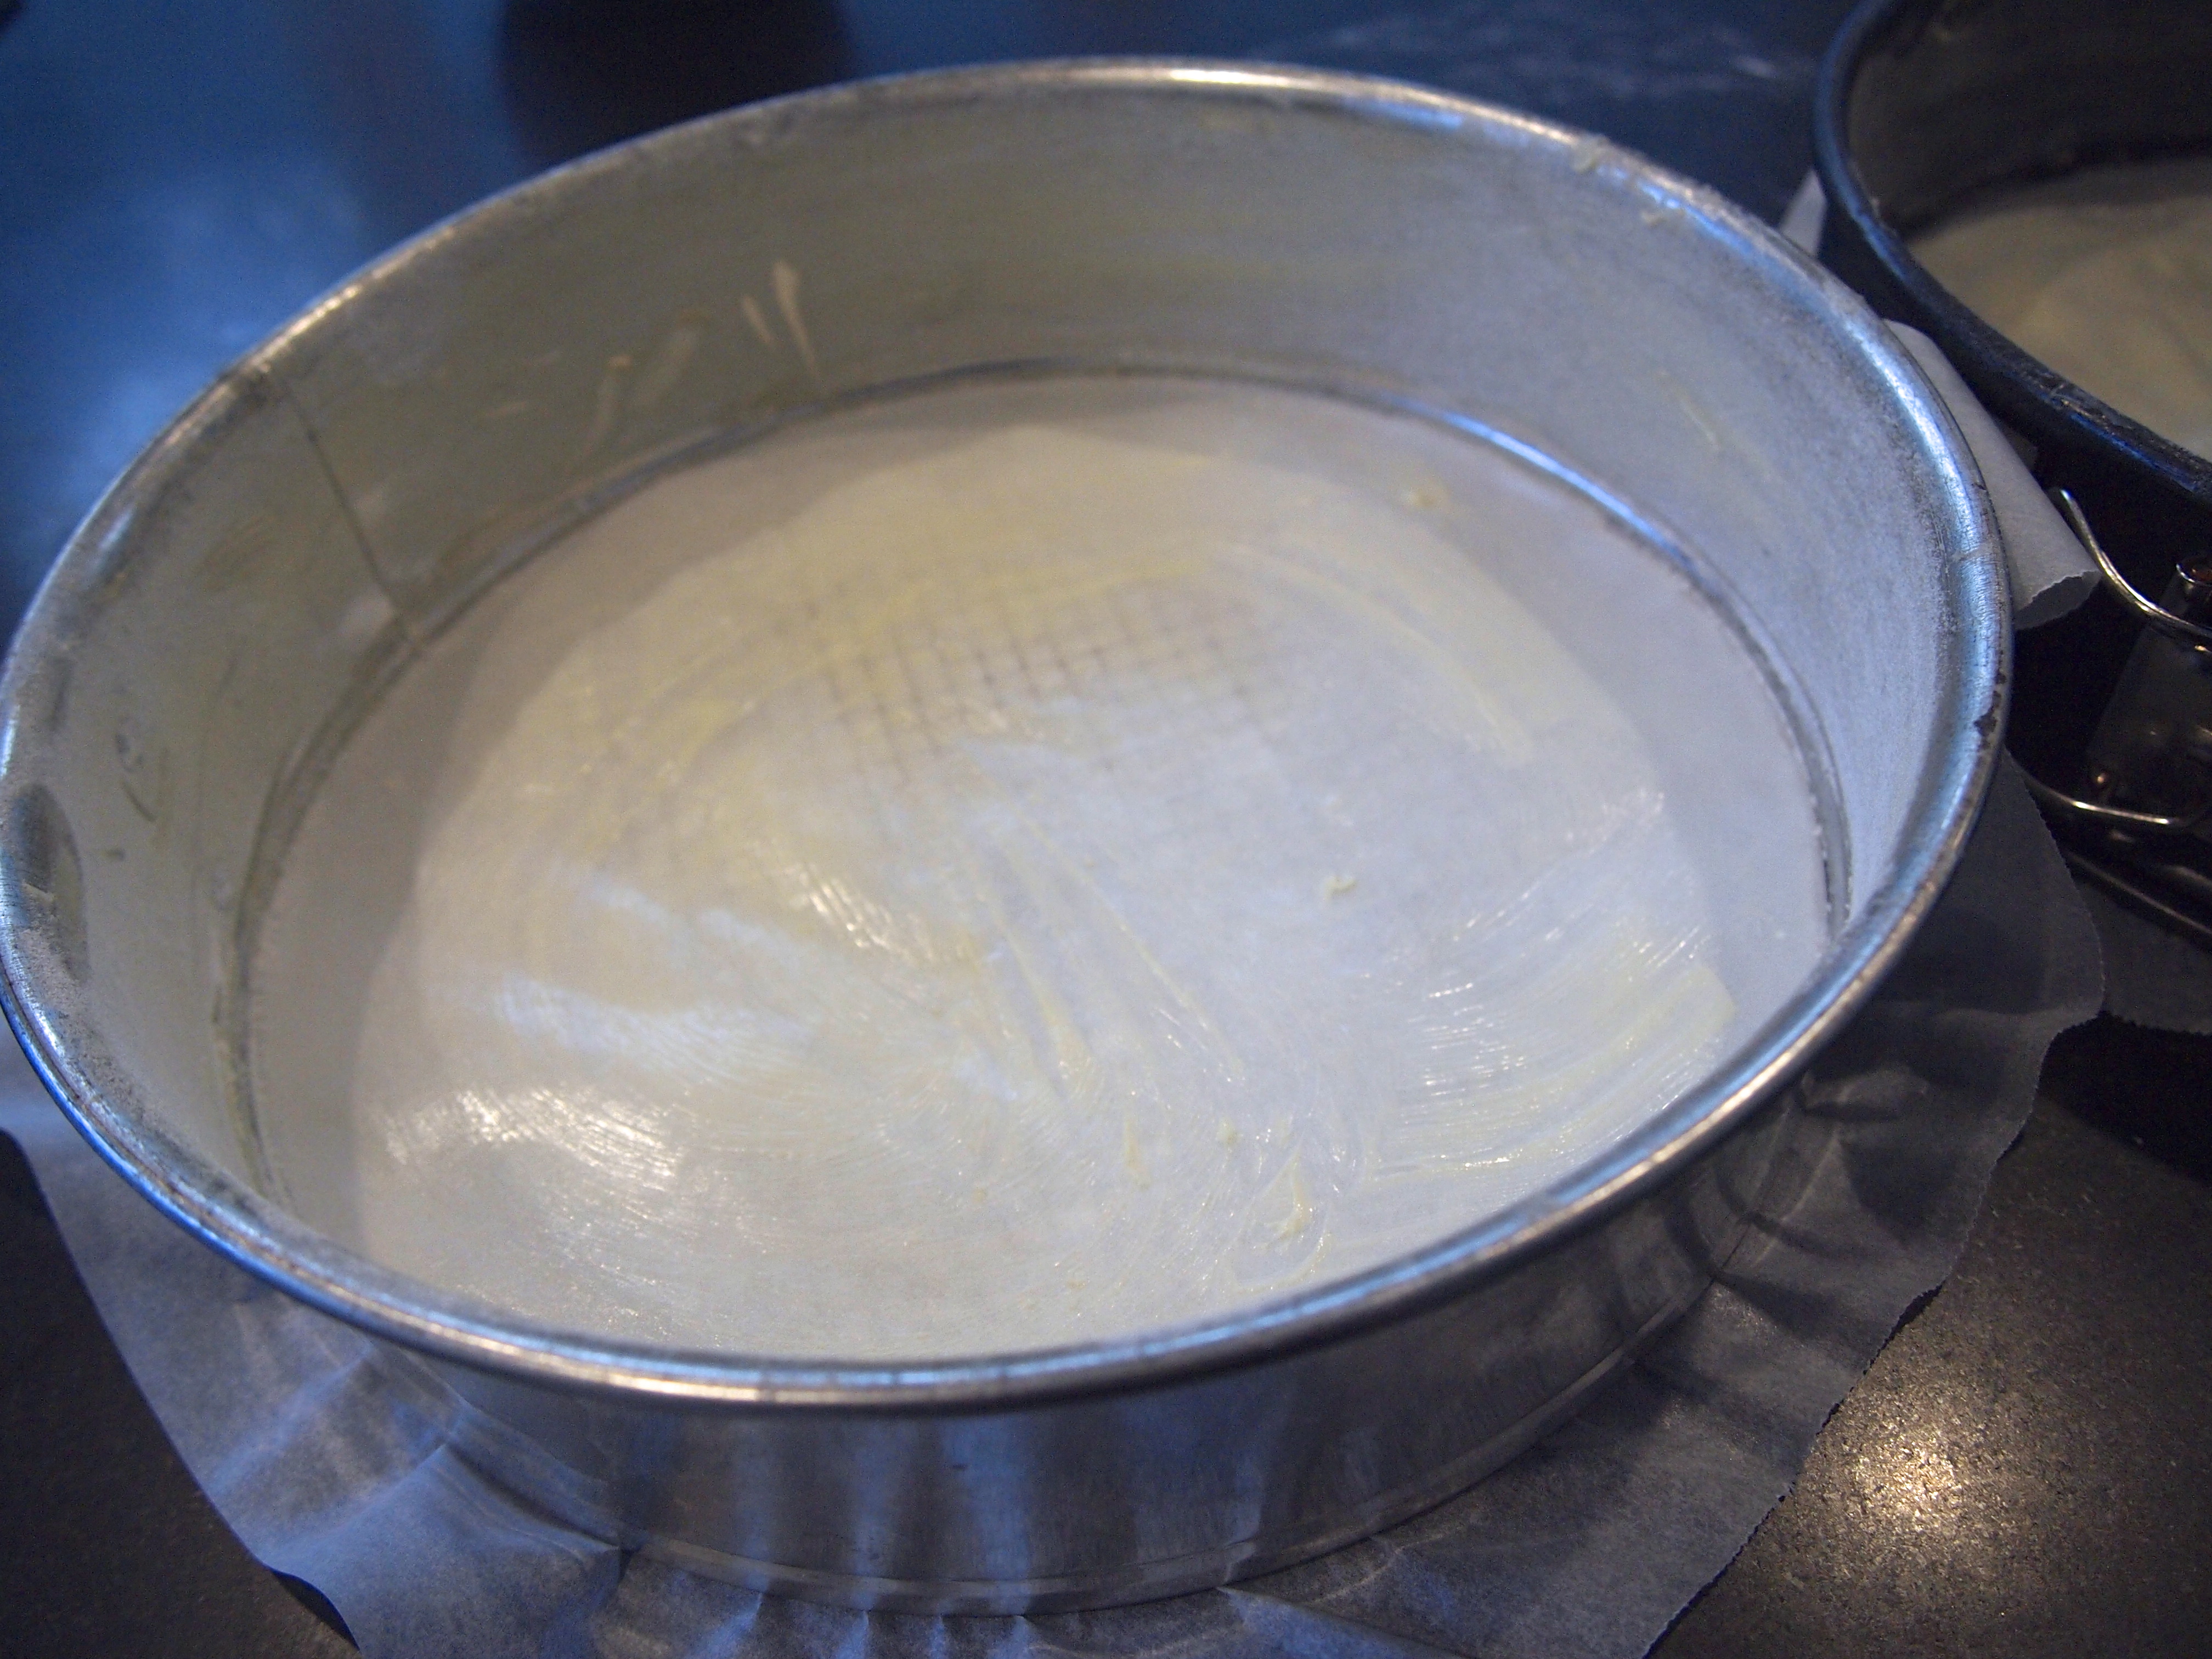
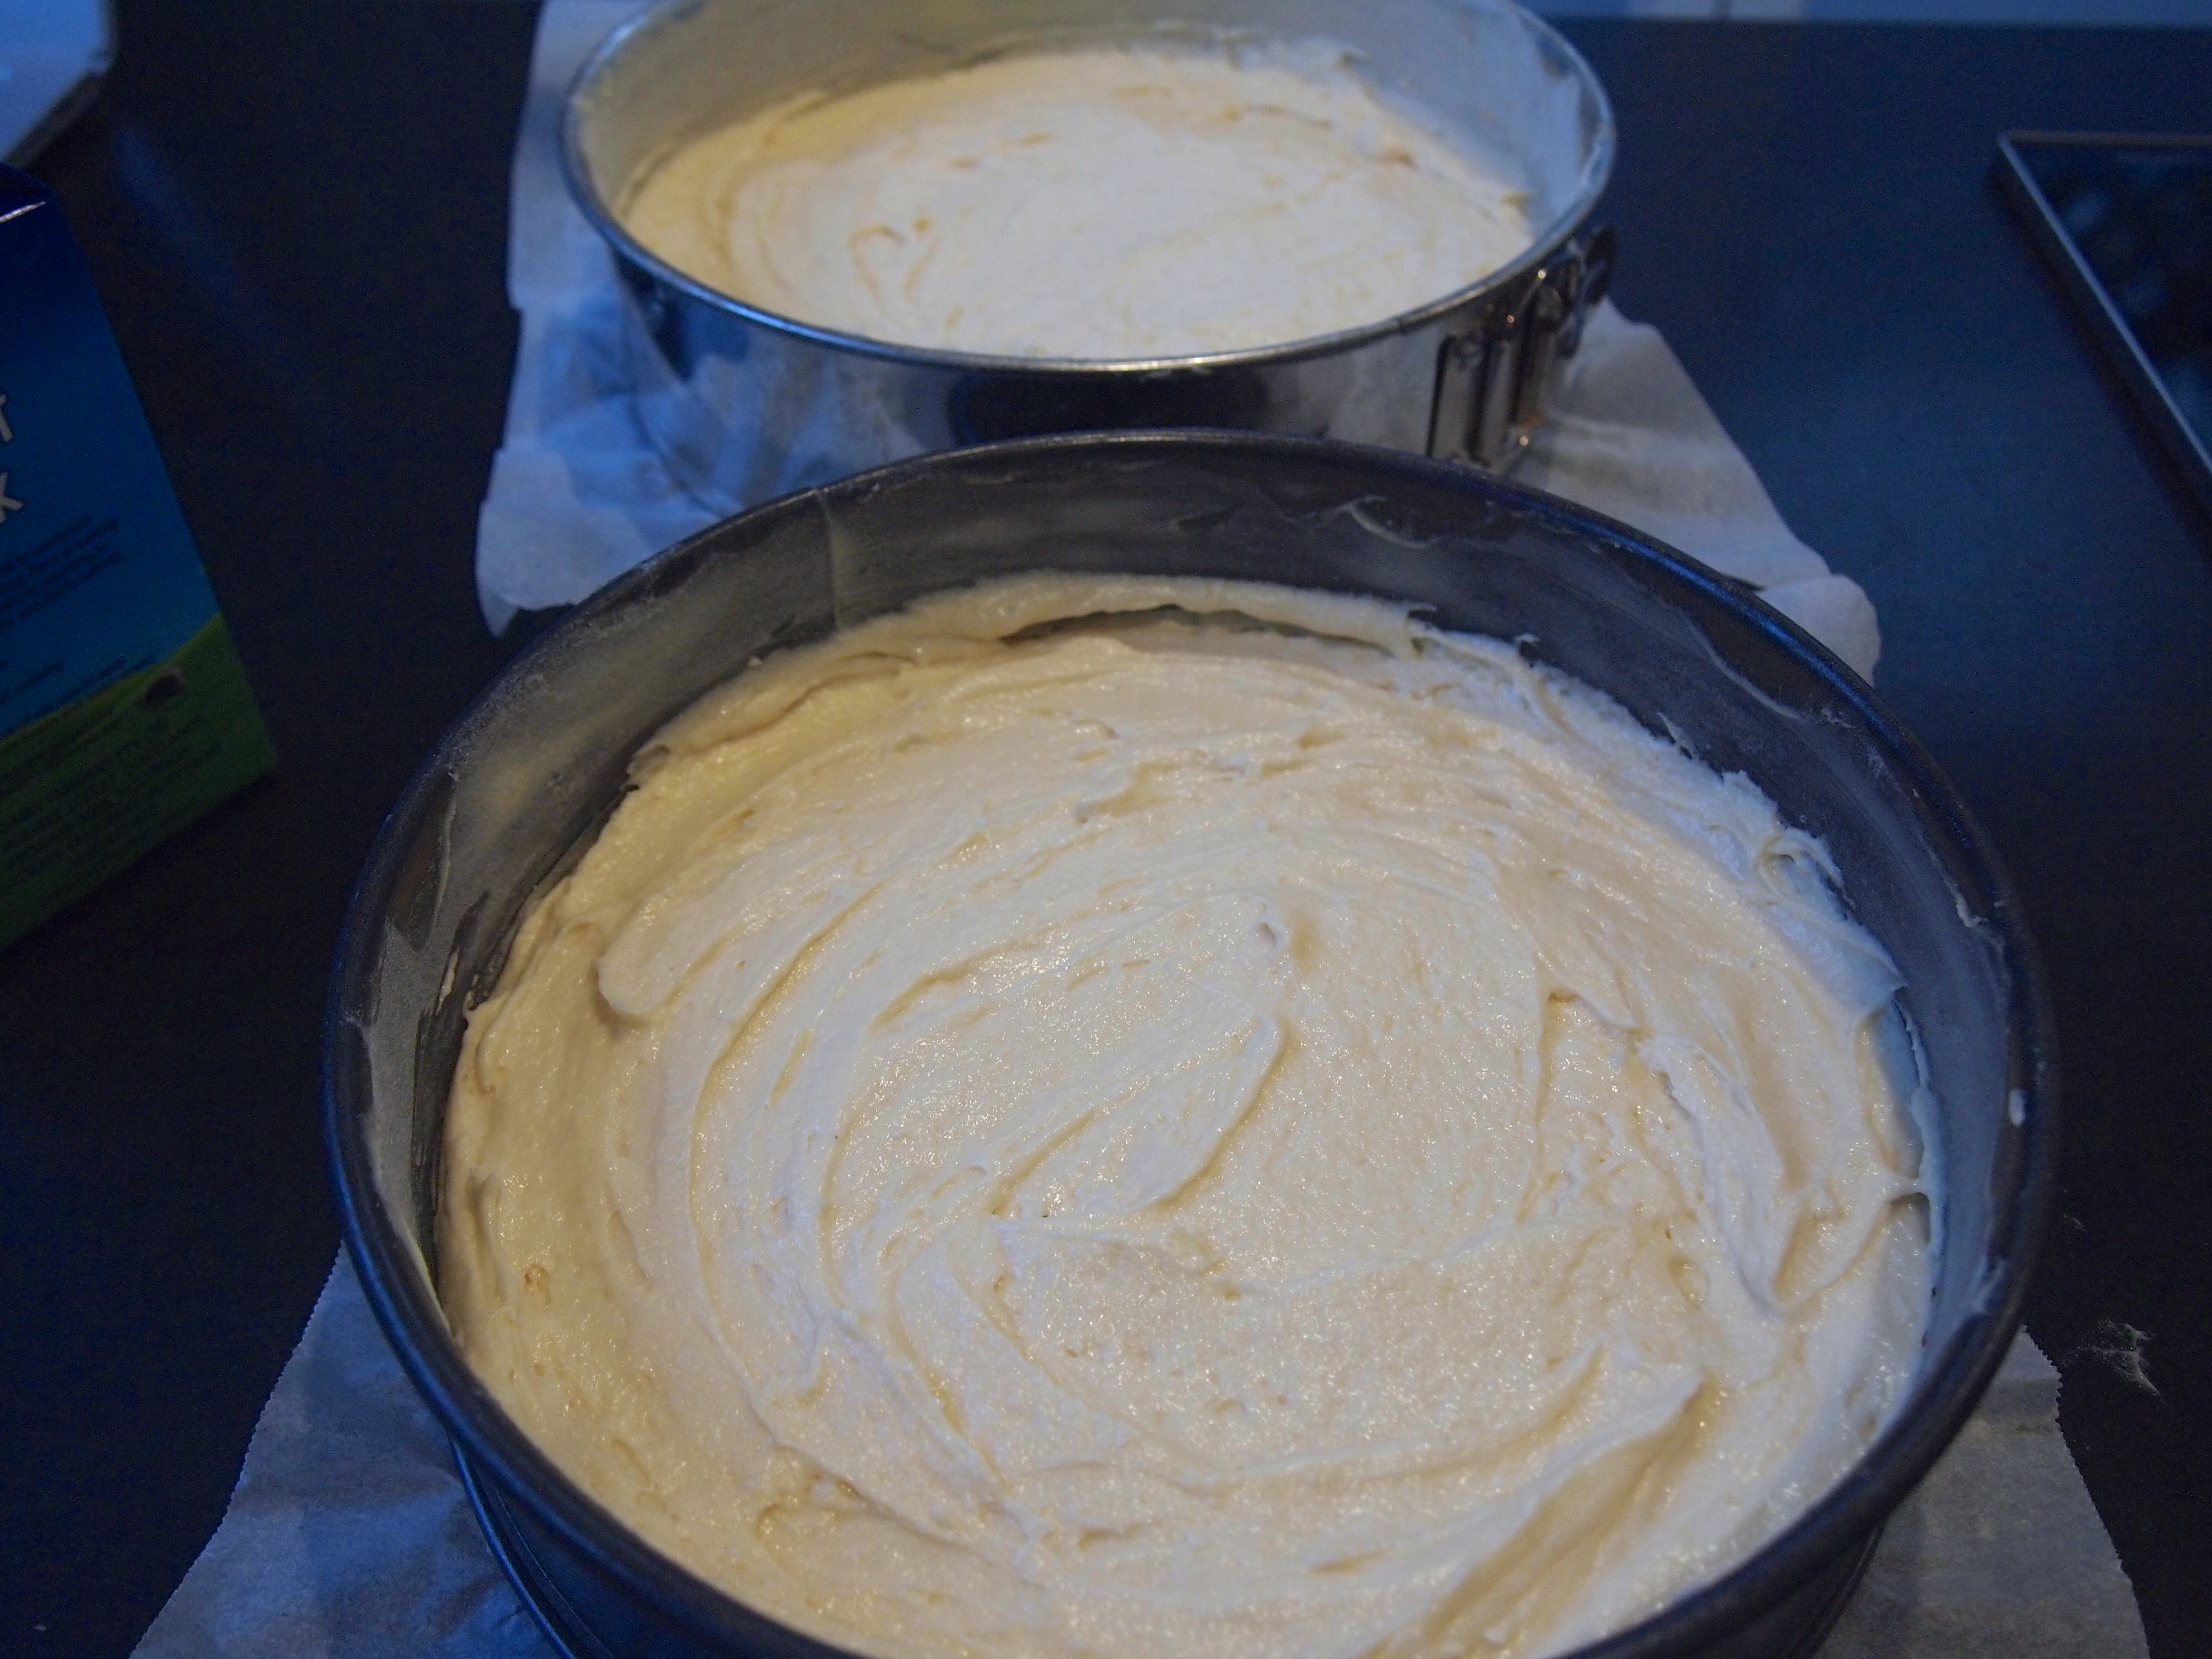
Butter and flour the cake tins and line the bottoms with baking paper. Divide the batter evenly between the pans. Drop each pan from about 3-inches onto the counter to minimize air bubbles while baking.
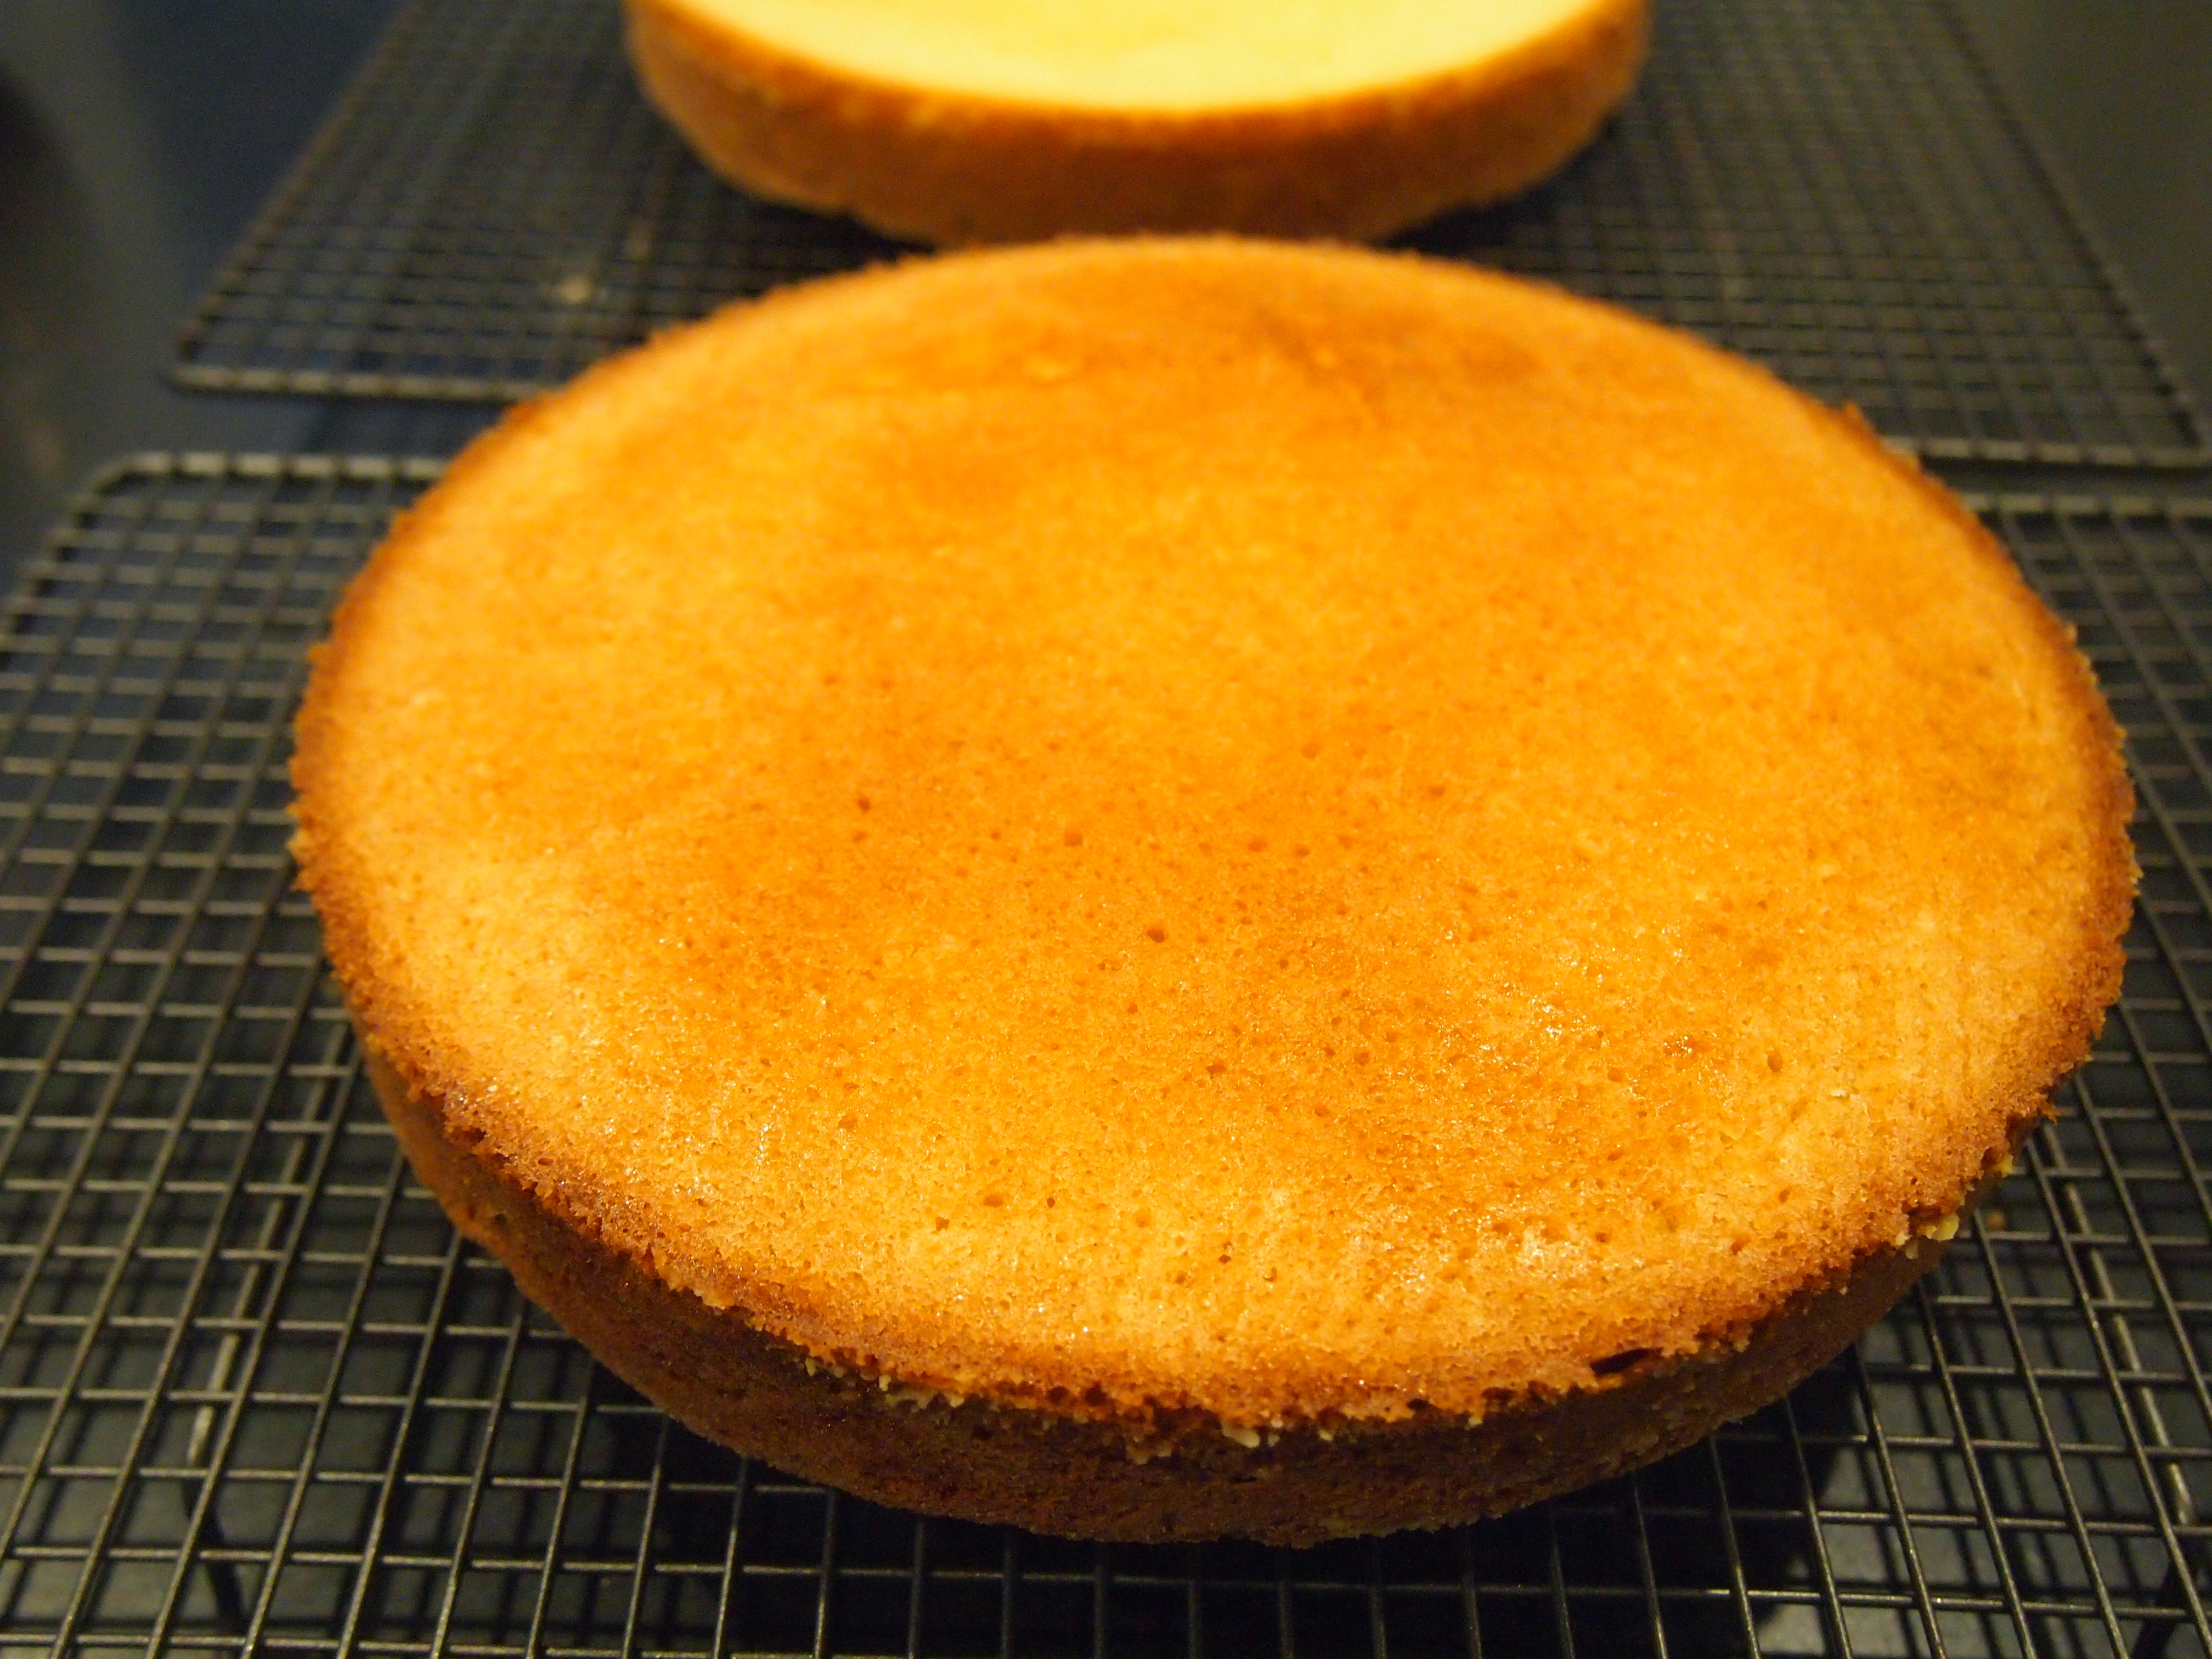
Bake for 30 minutes until lightly golden around the edges and a toothpick inserted in the center comes out with moist crumbs. Resist the urge to open and close the oven to check on the cake – this can cause the center of the cake to fall. And as with all cakes, don’t over bake or the cake will be dry. Let the cakes rest in the pans for 5-10 minutes before gently turning them onto a cooling rack to cool completely.
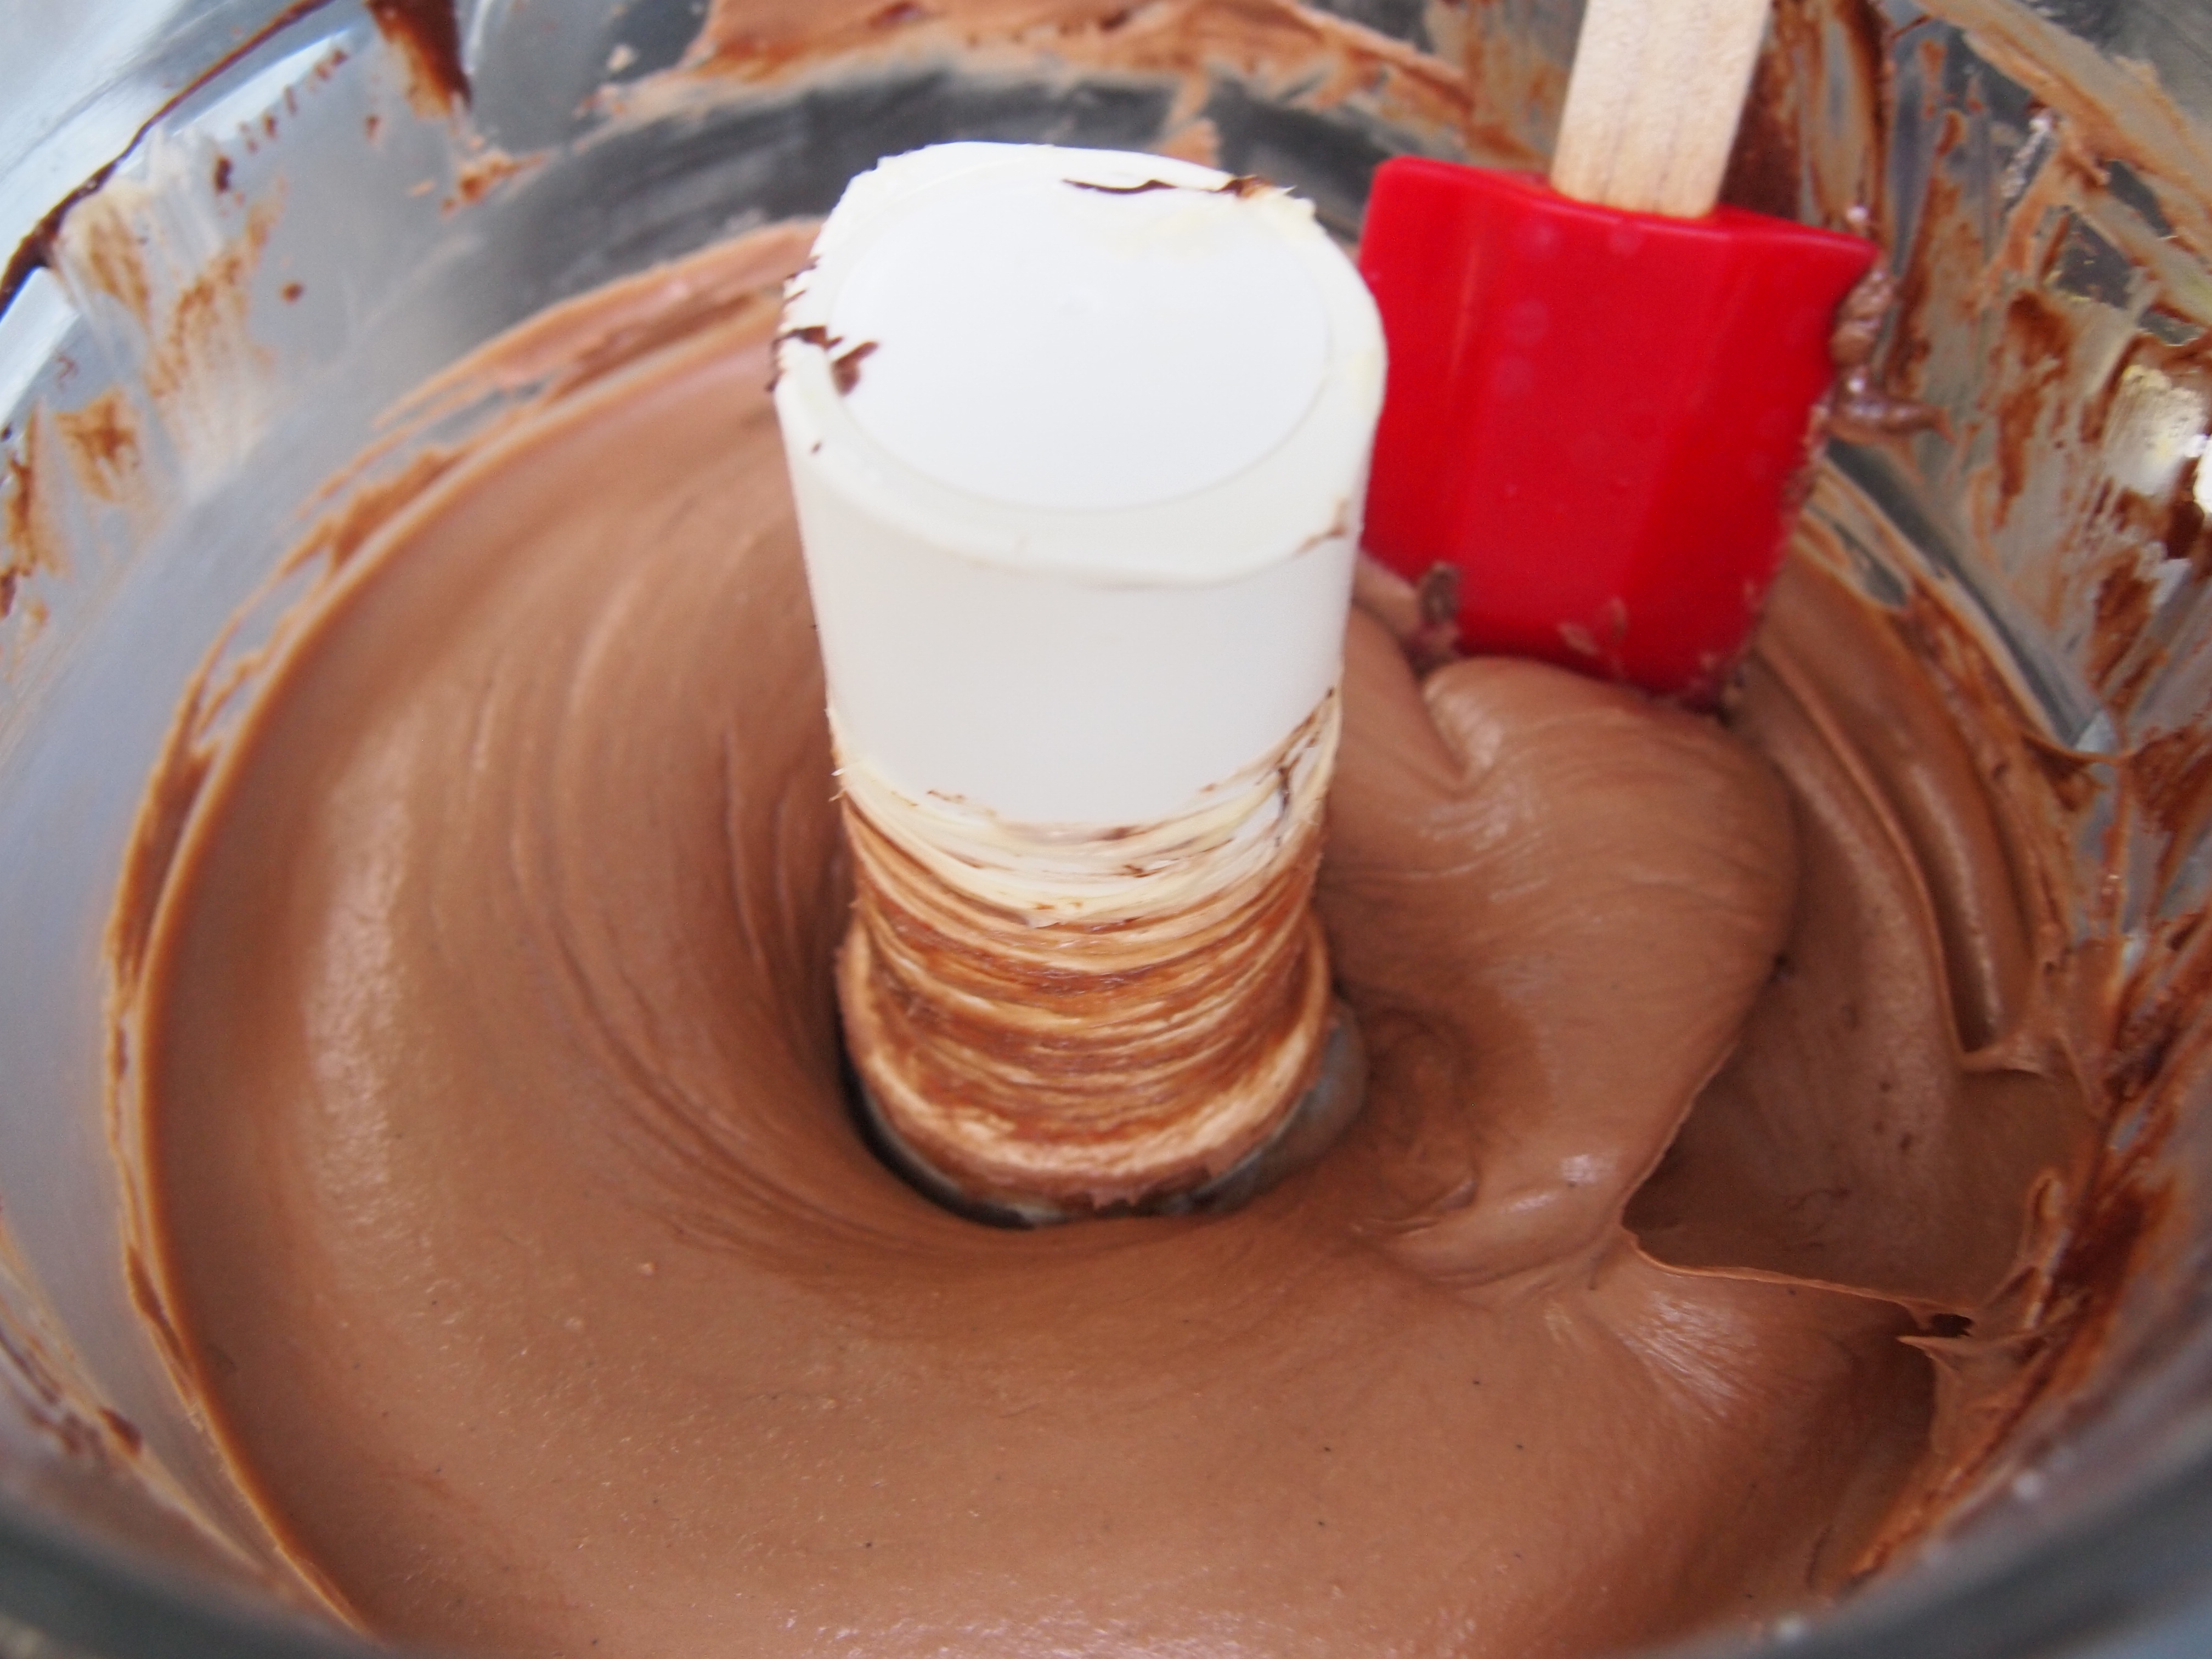
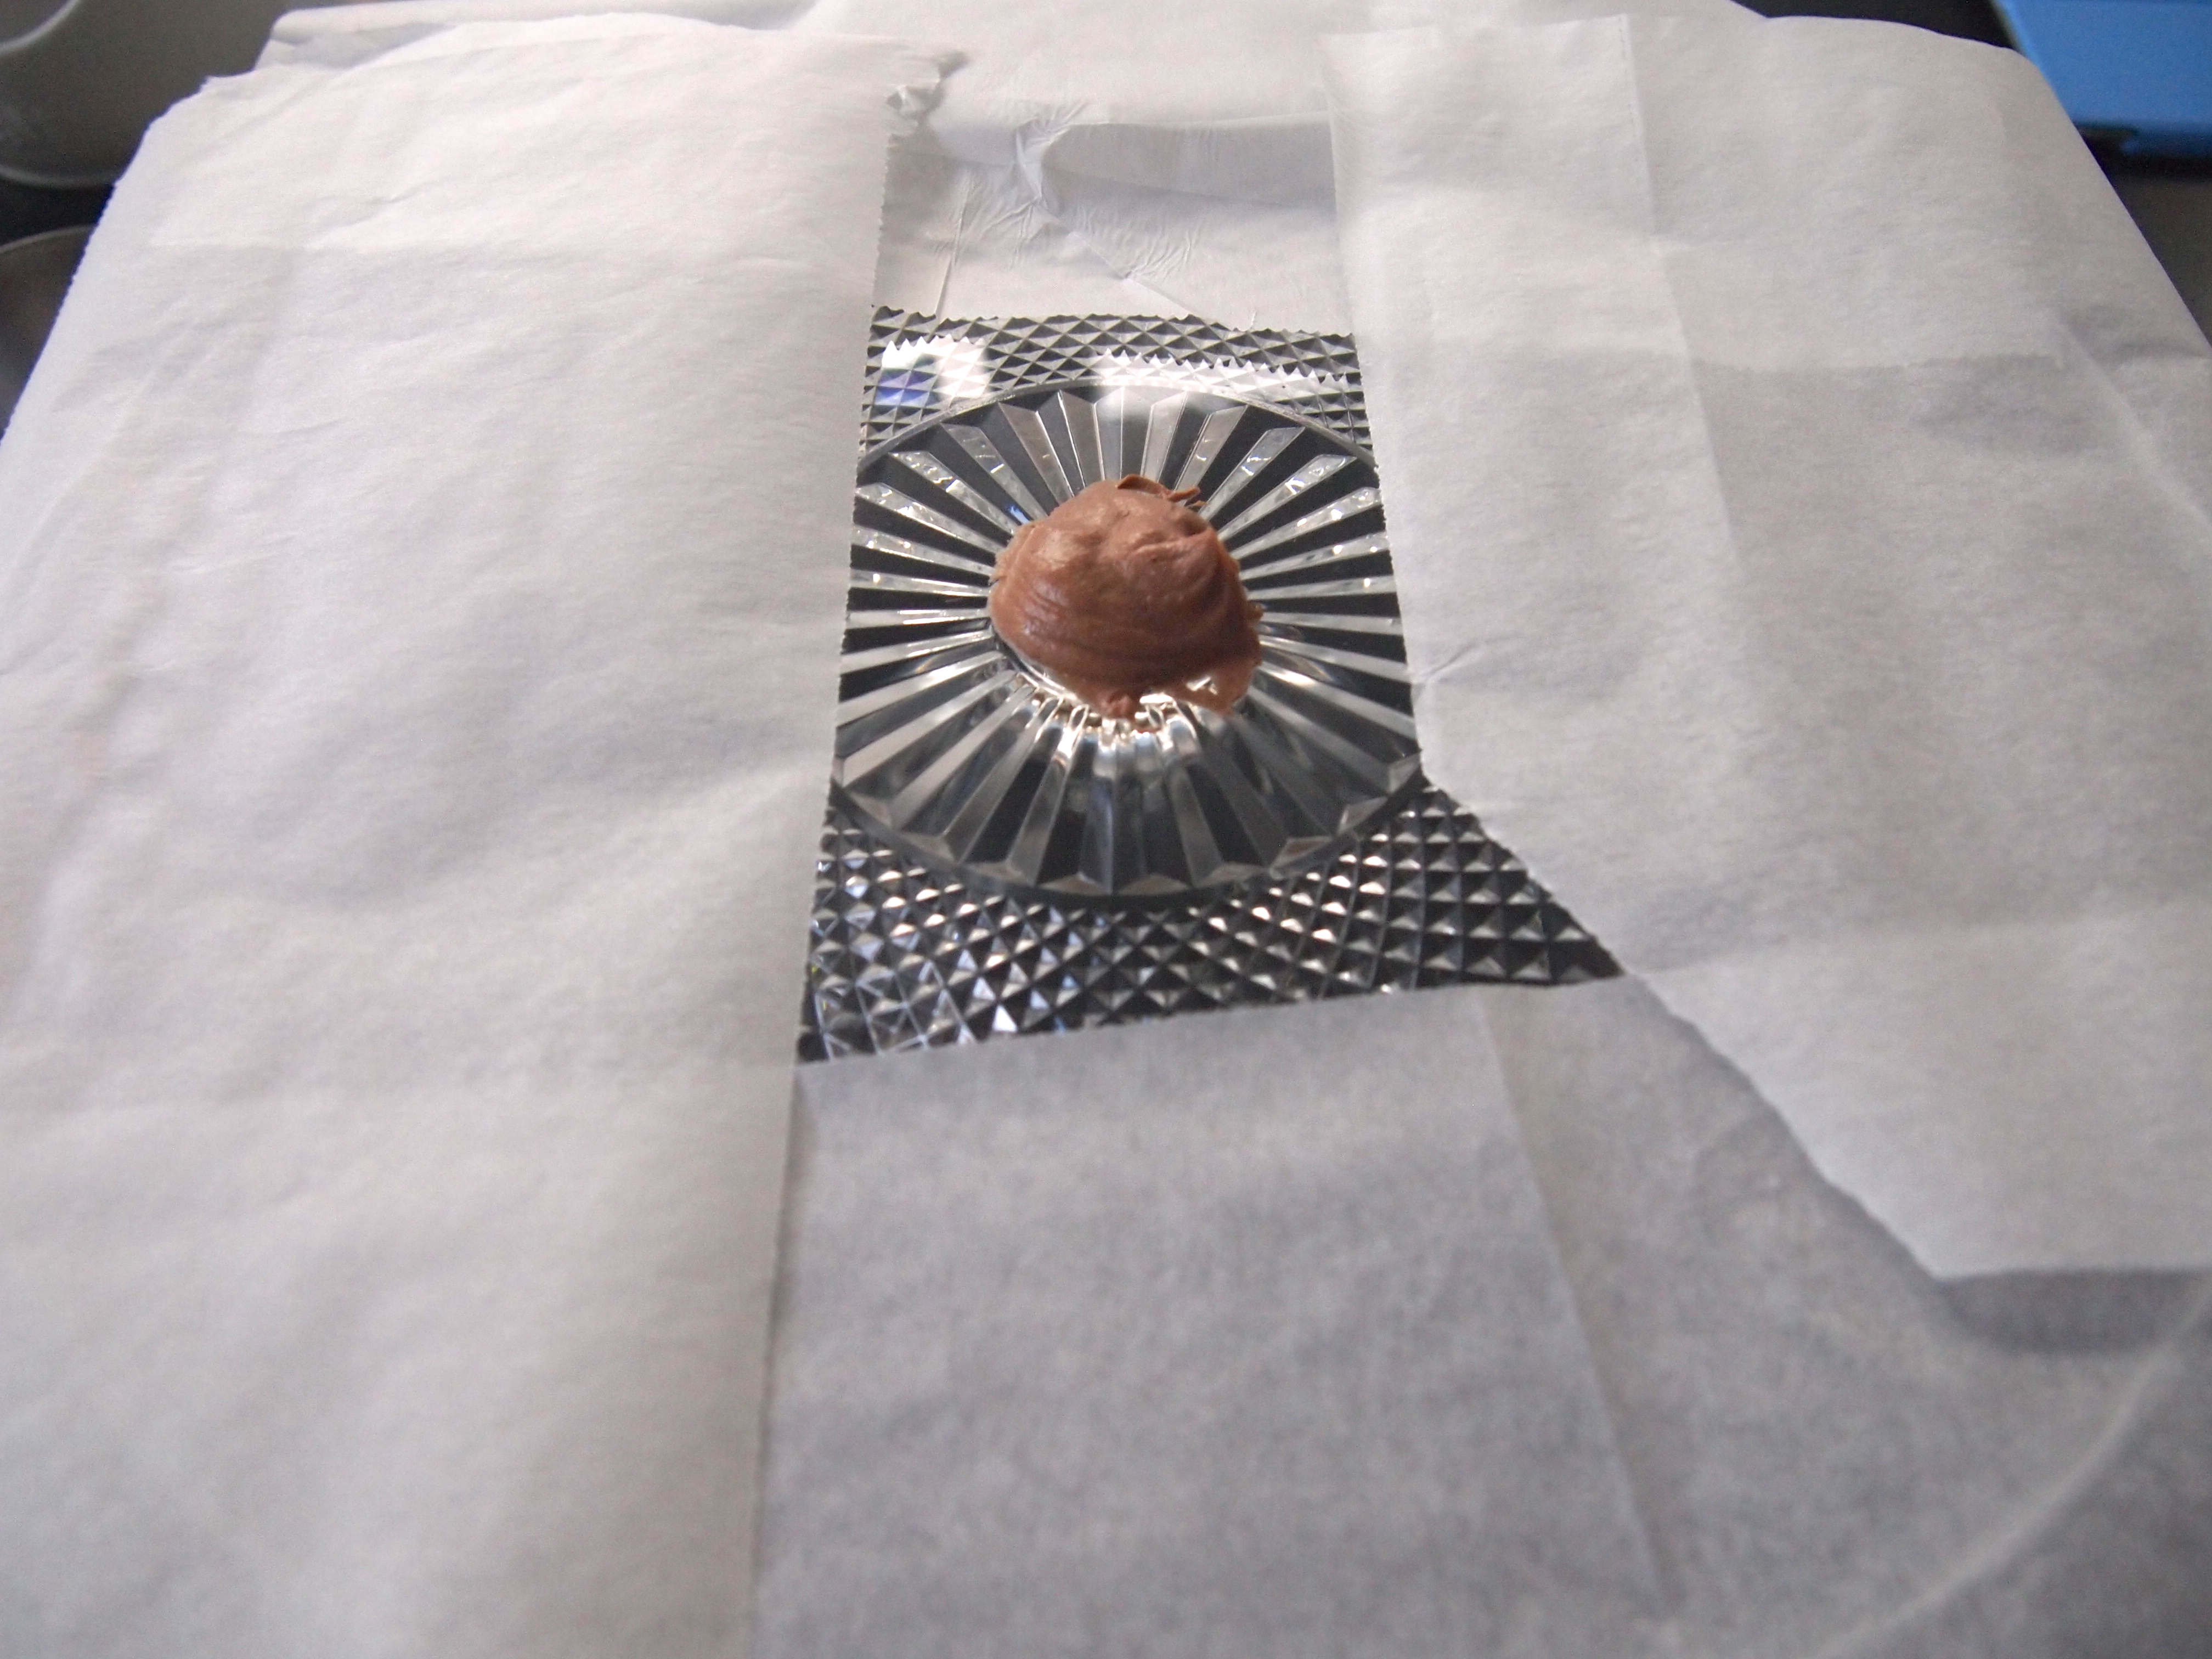
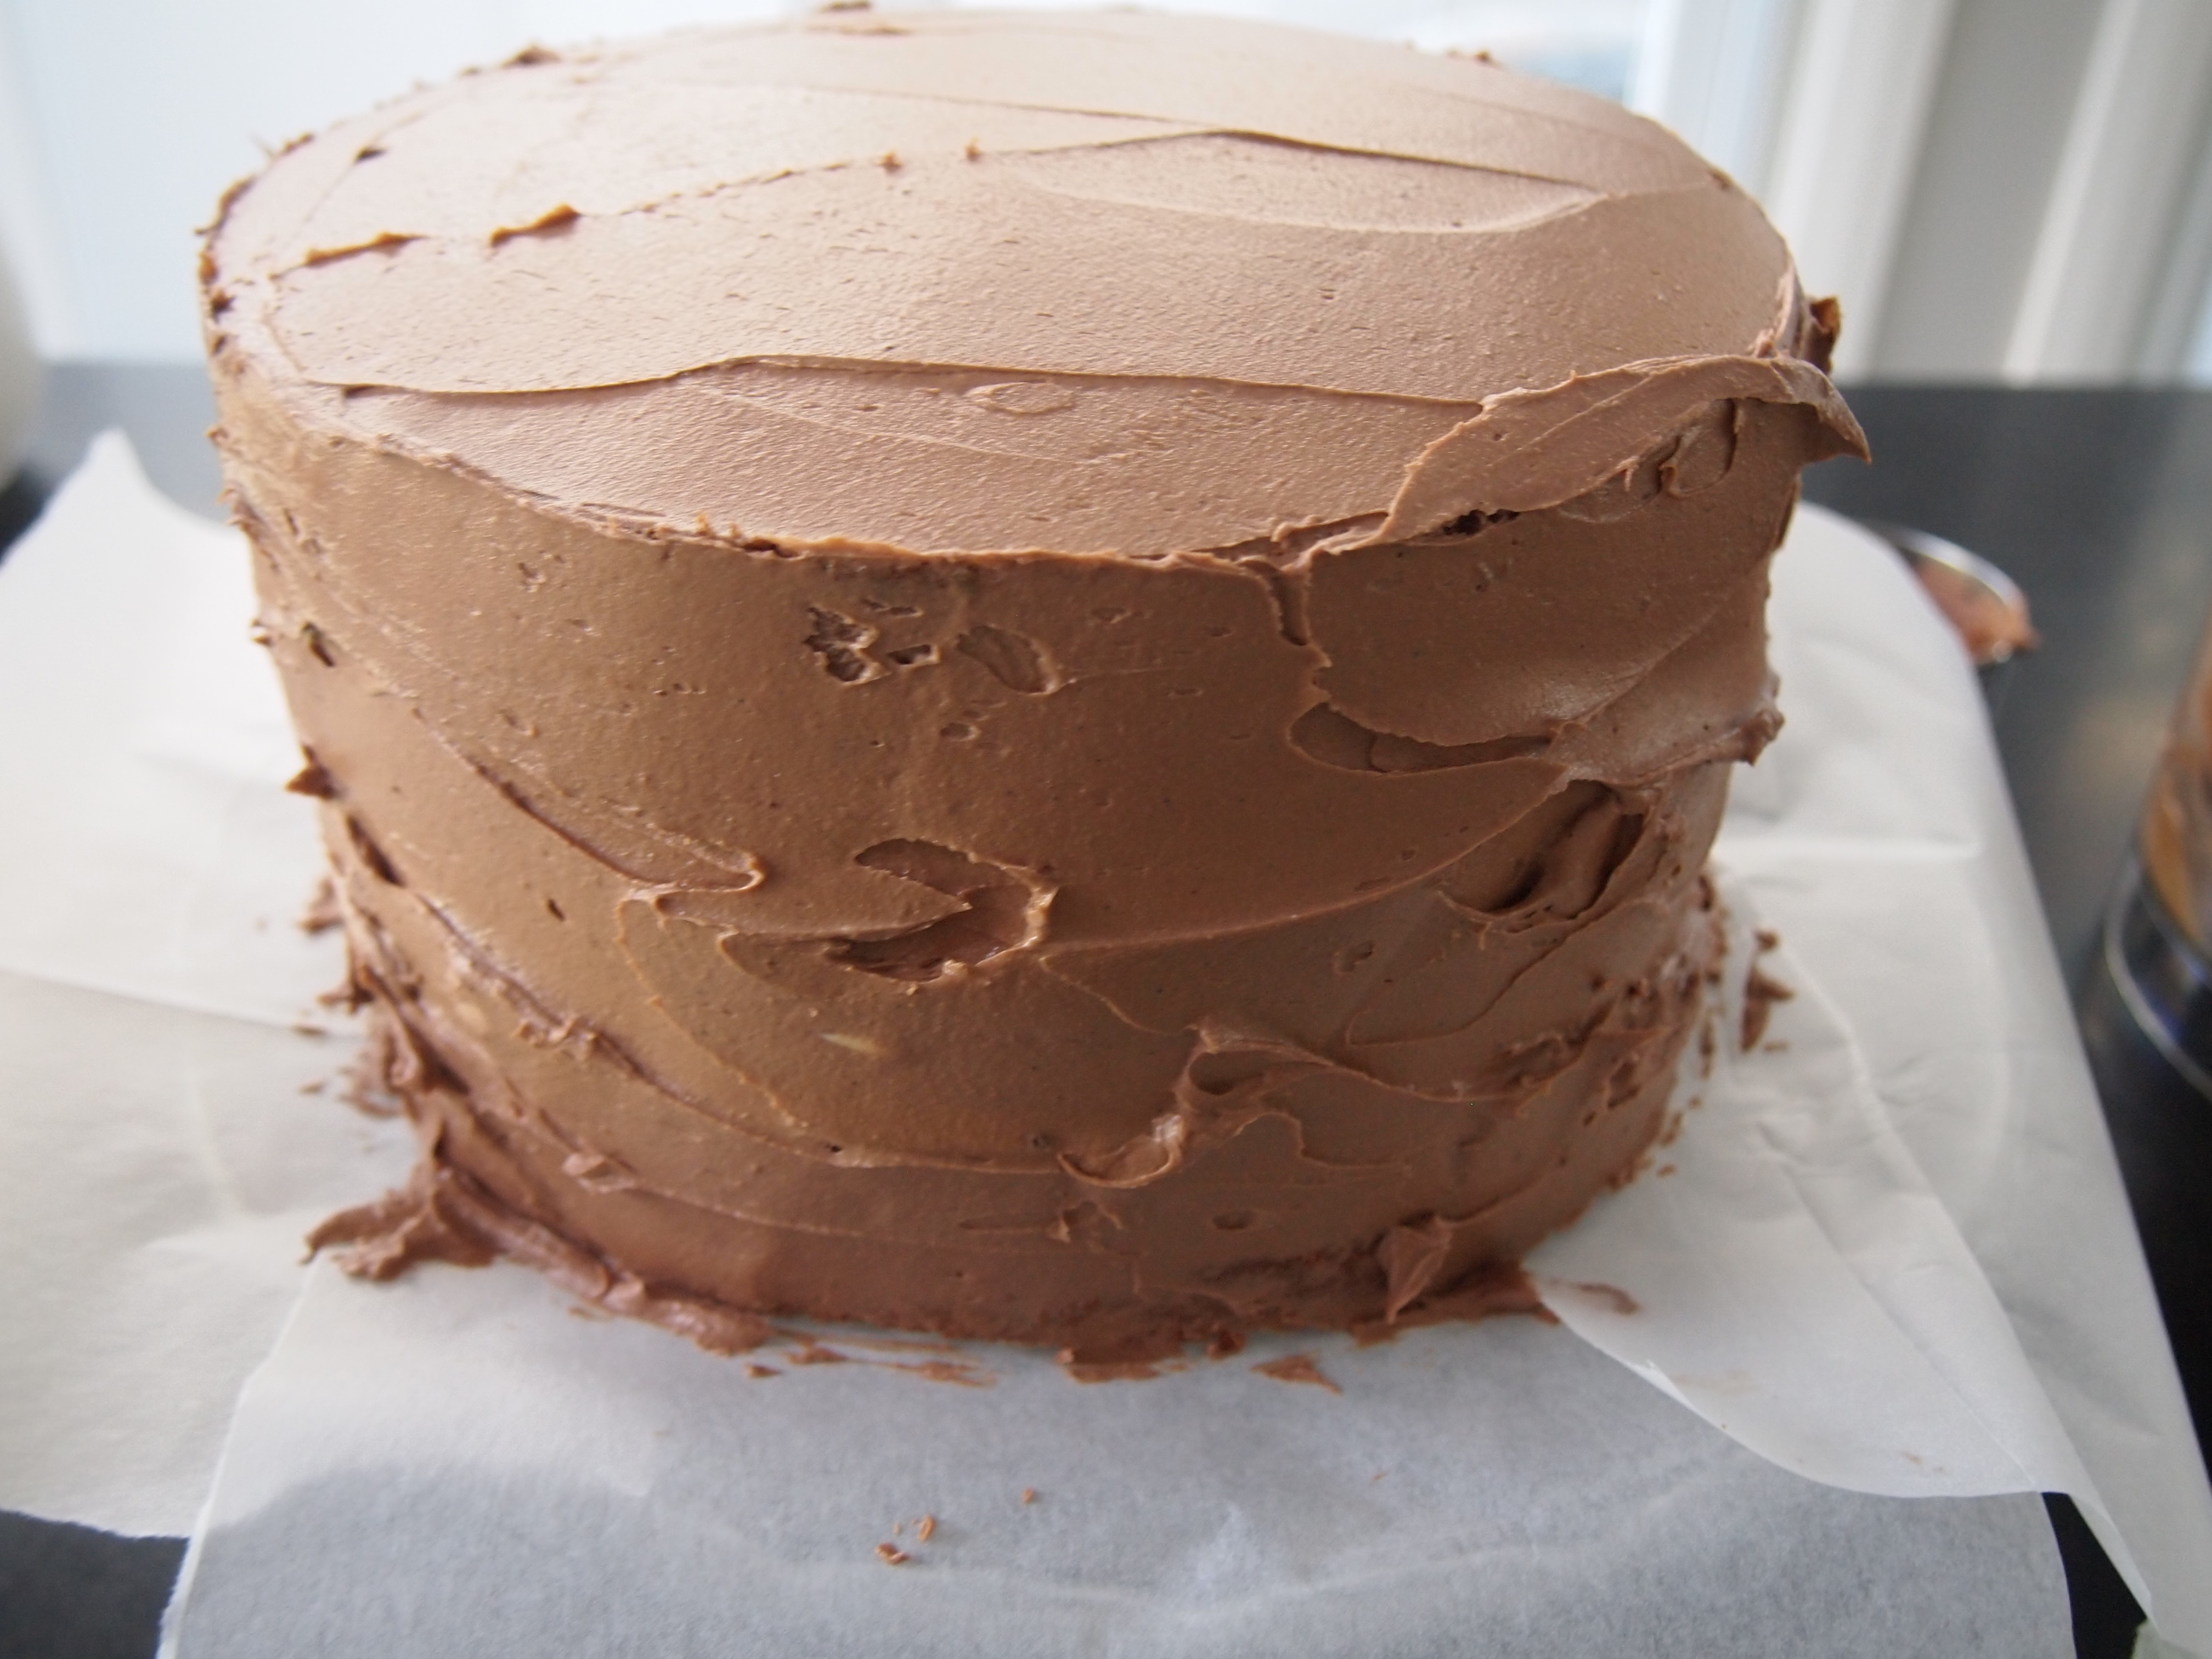
To make the frosting, place all the ingredients in a food processor and pulse to incorporate and then process until the frosting is smooth. To ice the cake: place a small amount of frosting on a cake stand and then for easy clean up, place strips of baking paper around the edges of the stand . Place the first layer of cake on the stand on top of the blob of frosting – this ensures the cake doesn’t slide around.
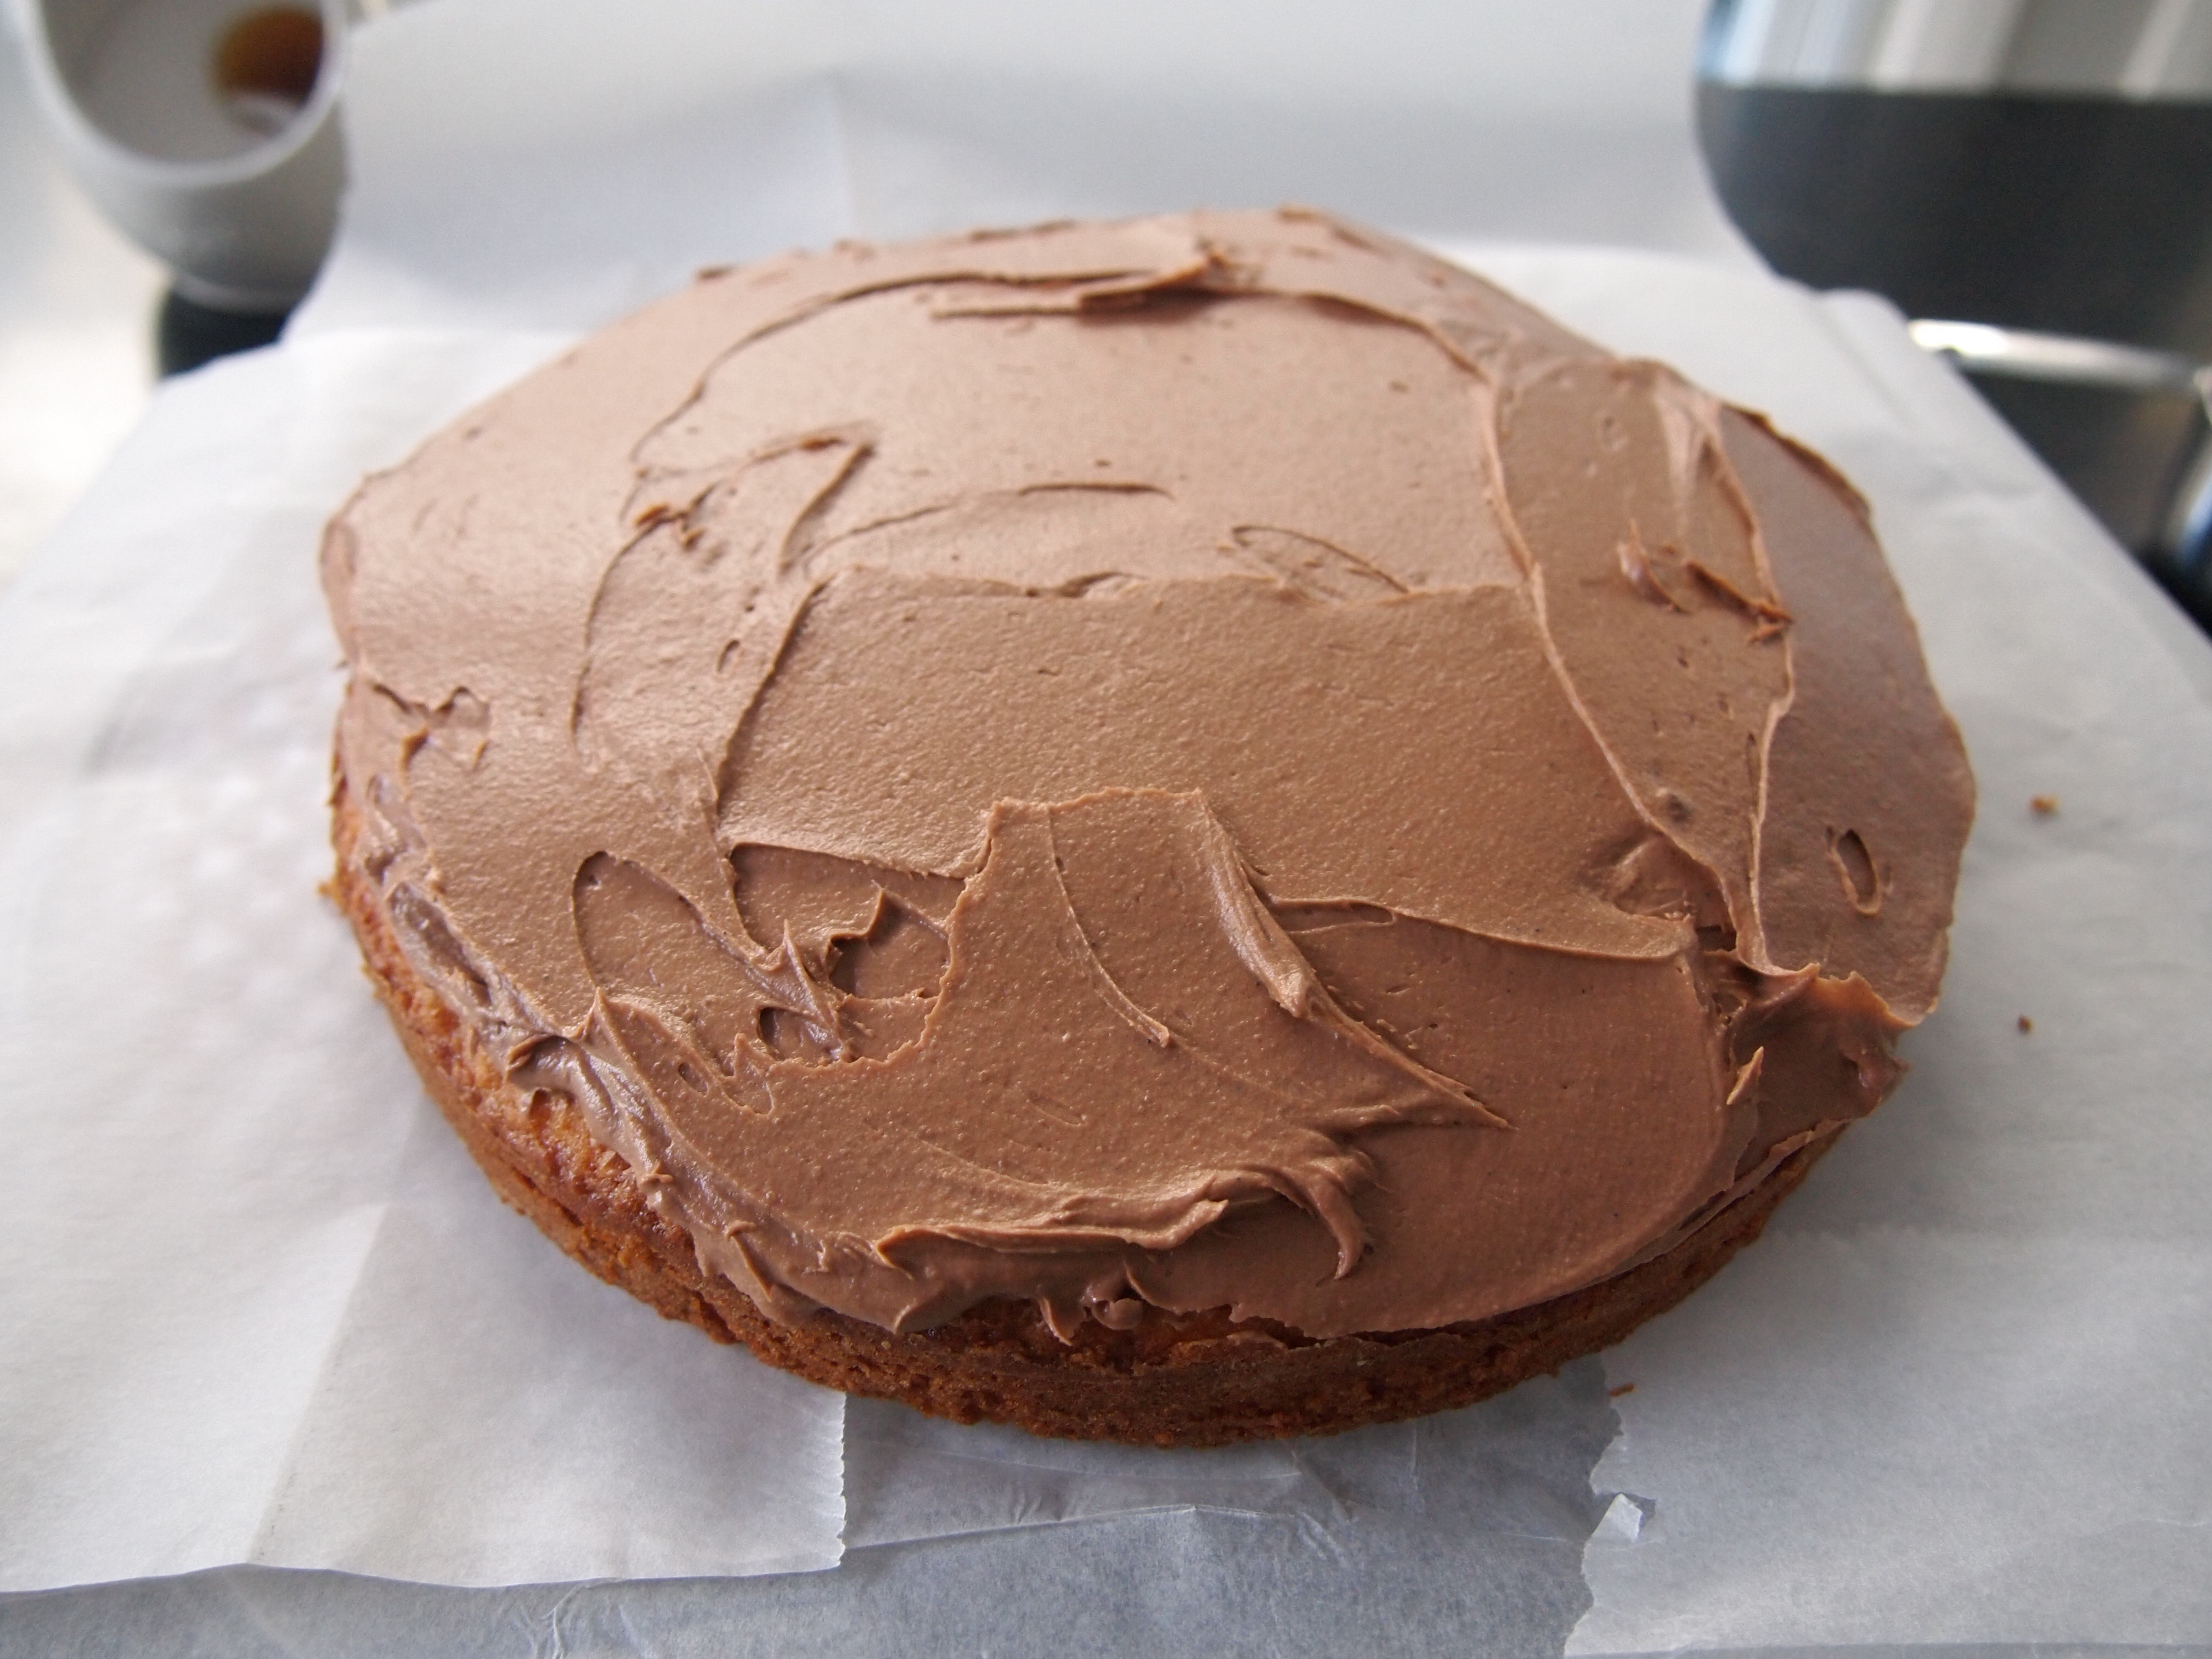
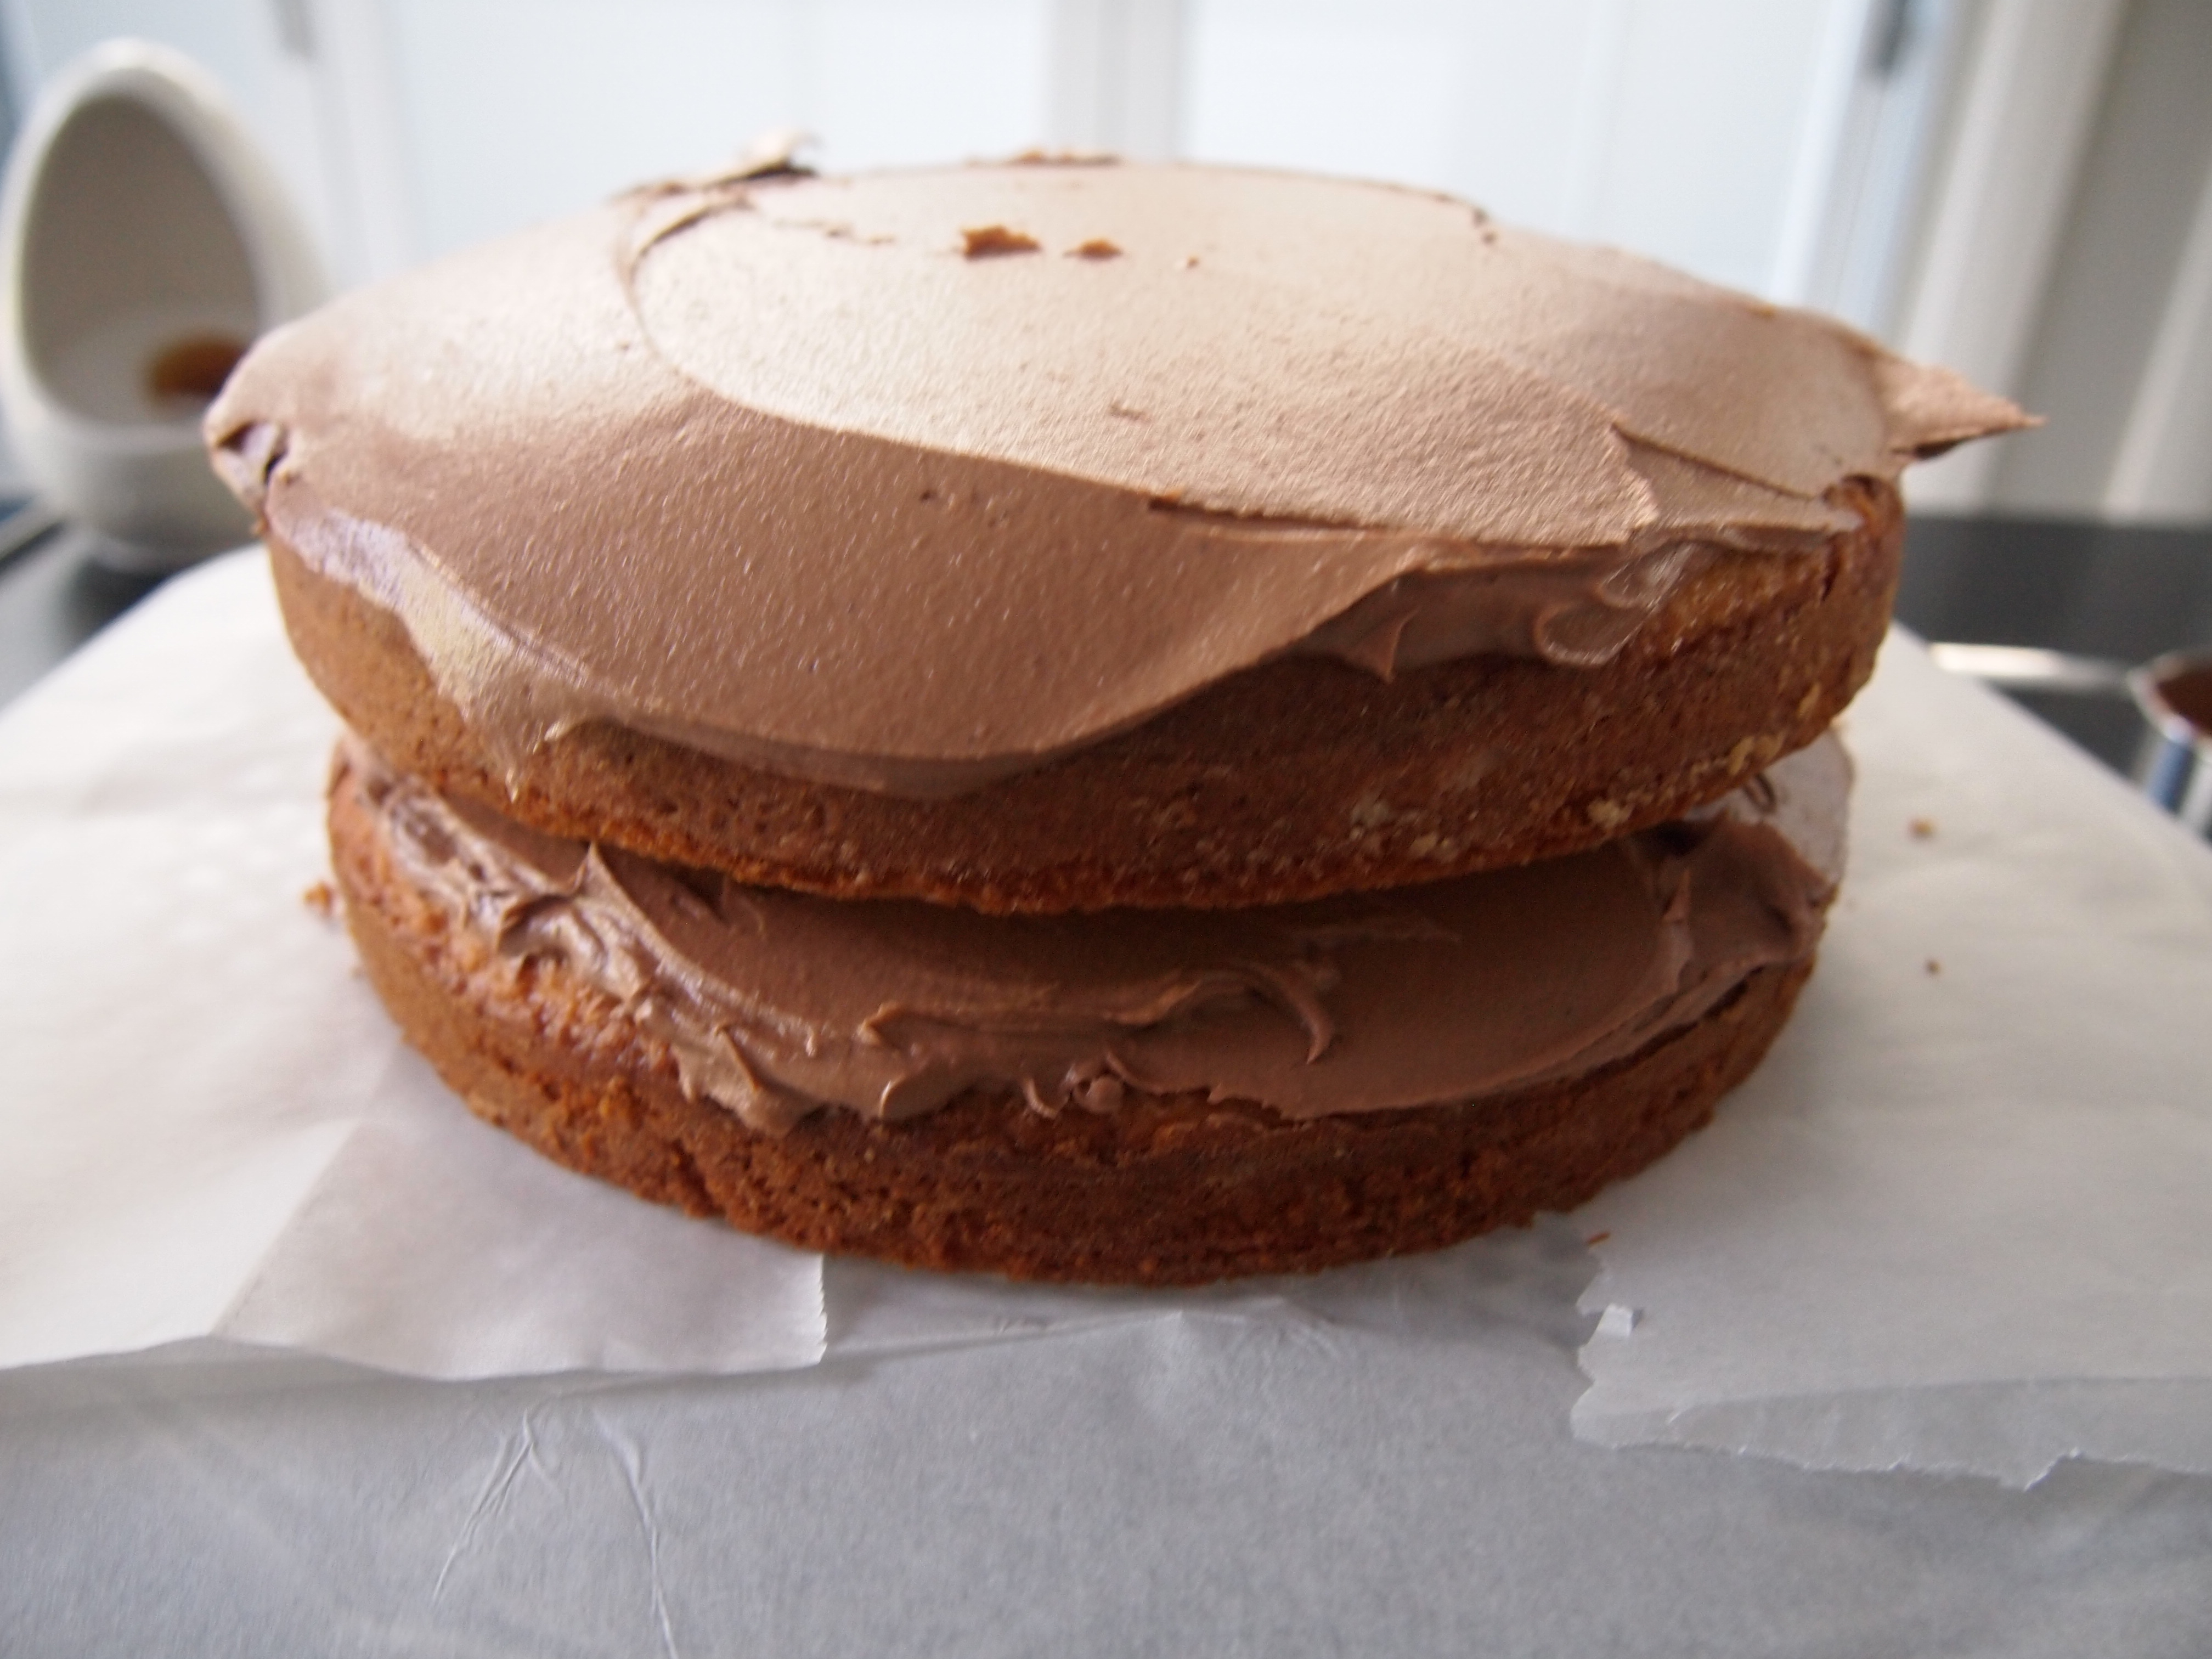
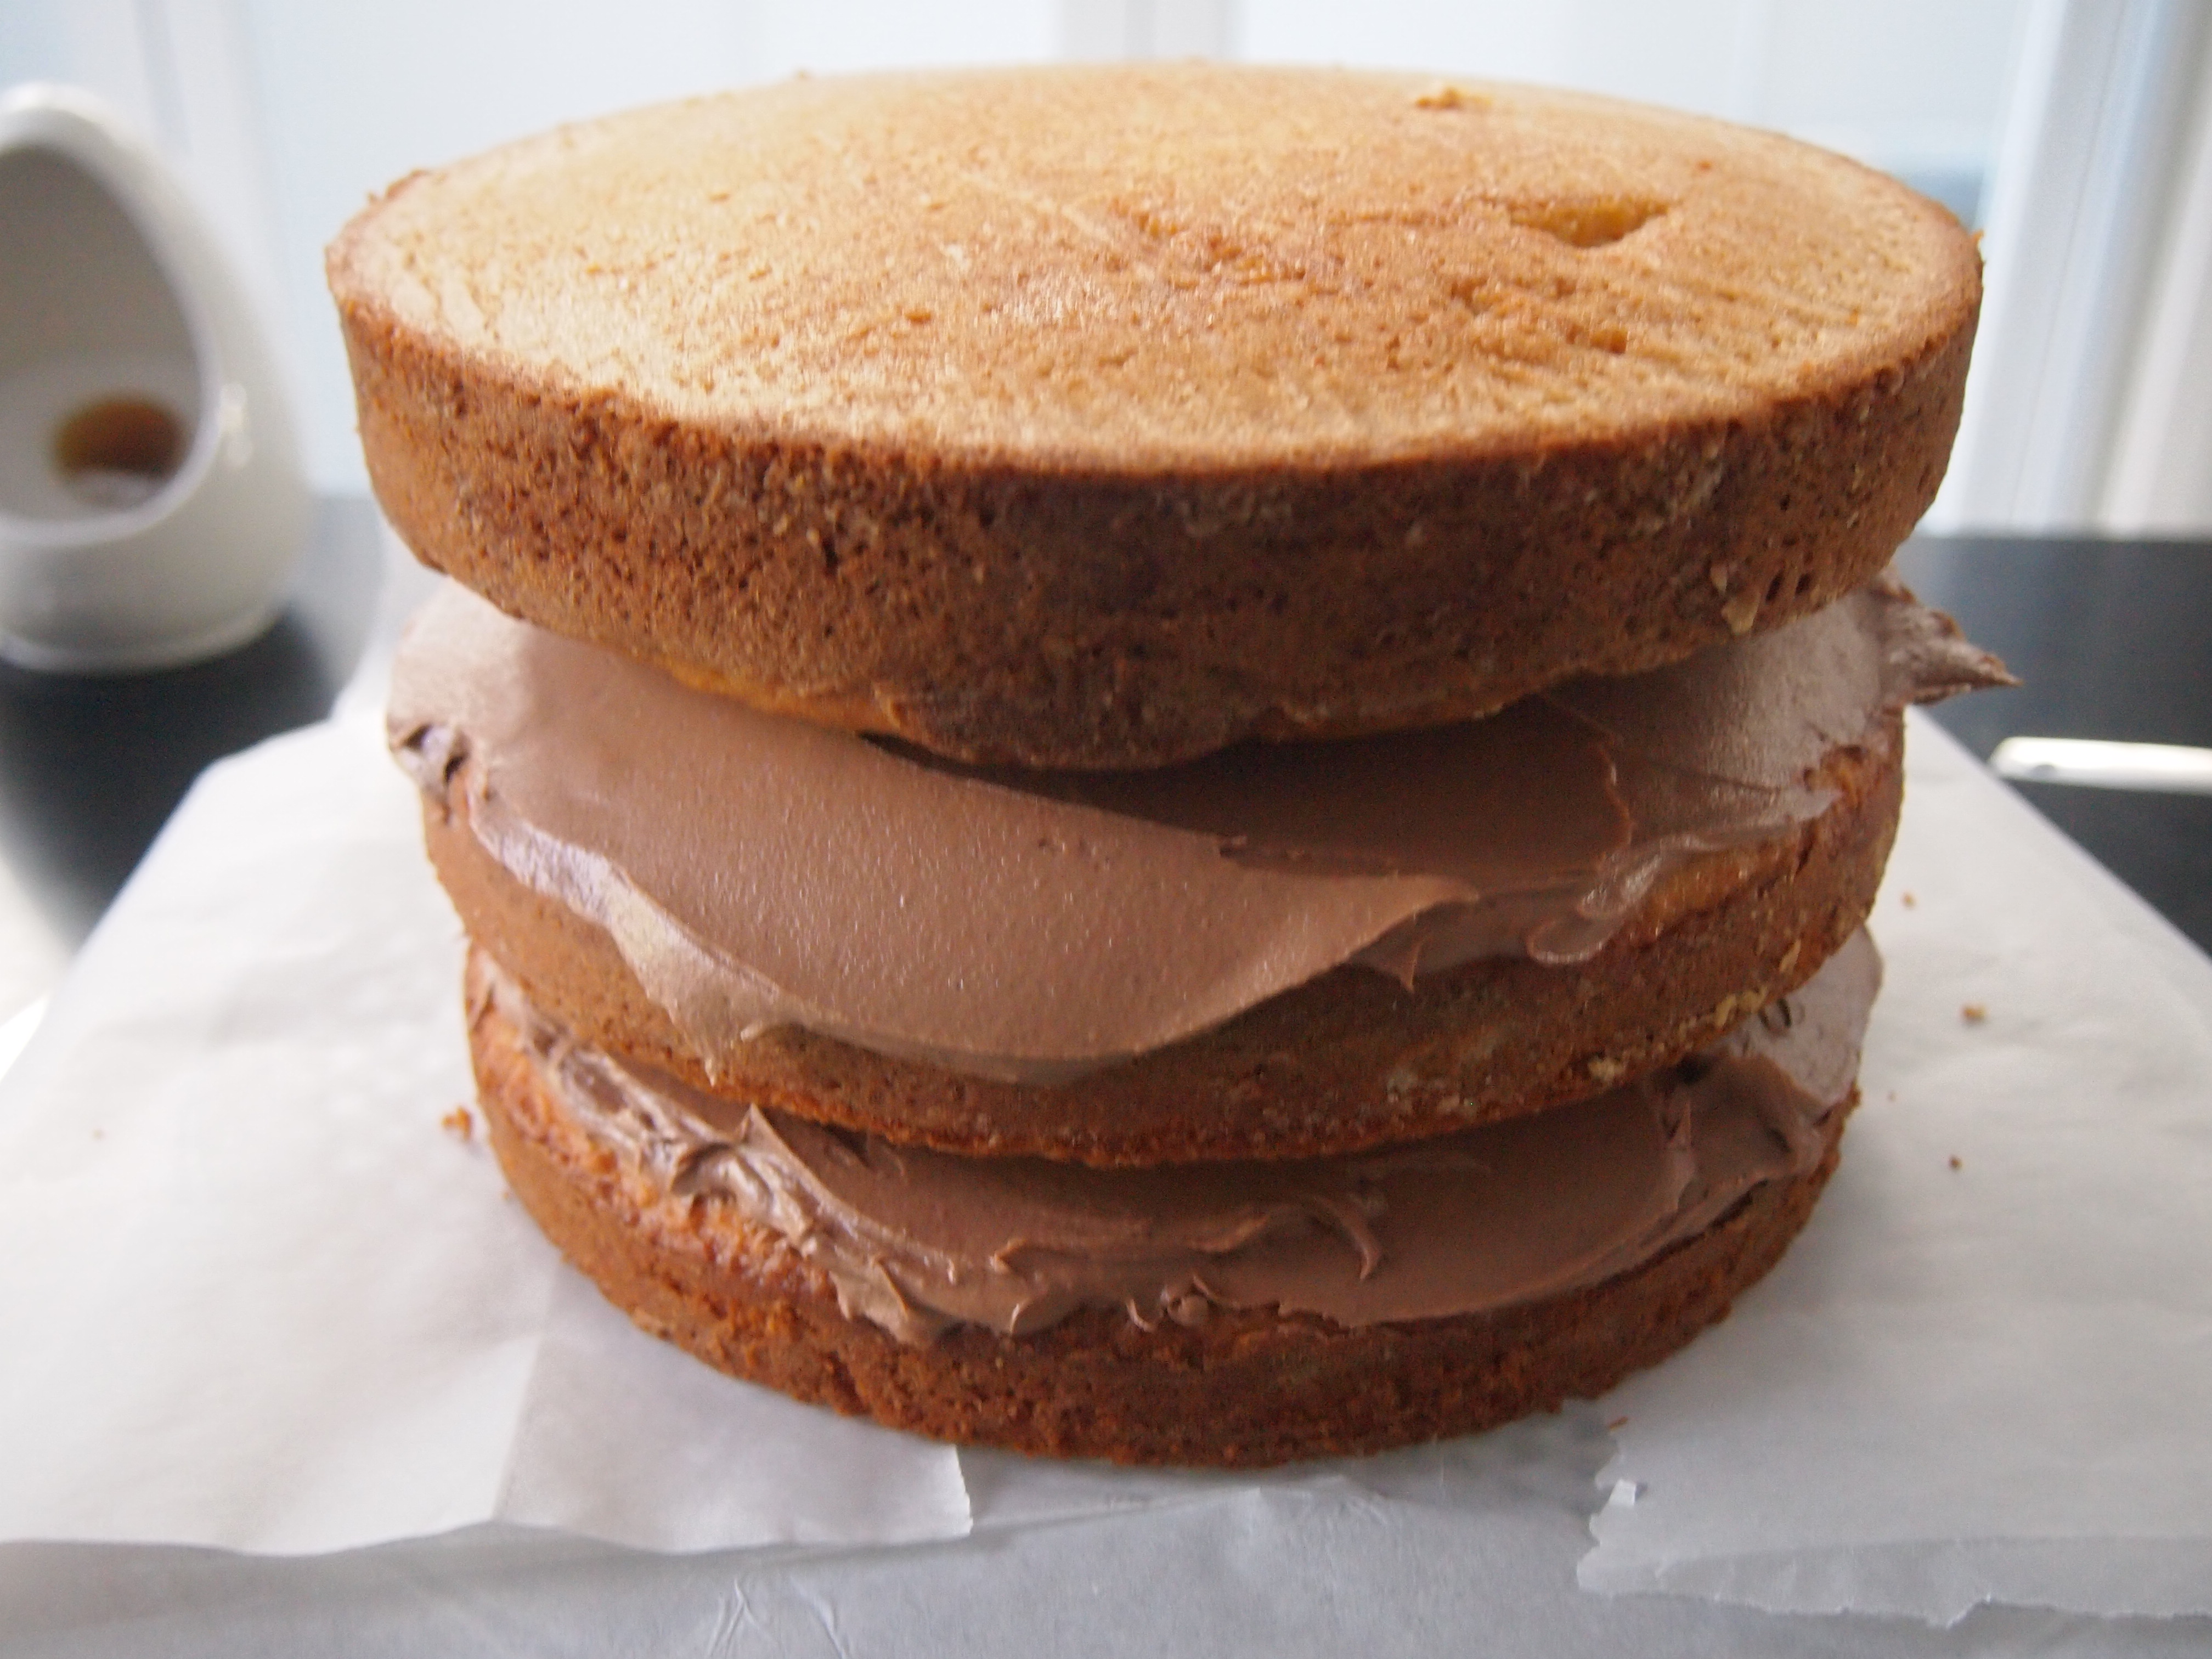
Add a generous amount of frosting on the cake and using a pallet knife work it to the edges and smooth it so it is an even layer. Don’t worry about getting some on the sides of the cake. Place the next layer of cake on top and cover with frosting as before. For the final layer cover with frosting as before but this time add slightly more of the mixture and work some of the frosting down the sides of the cake.
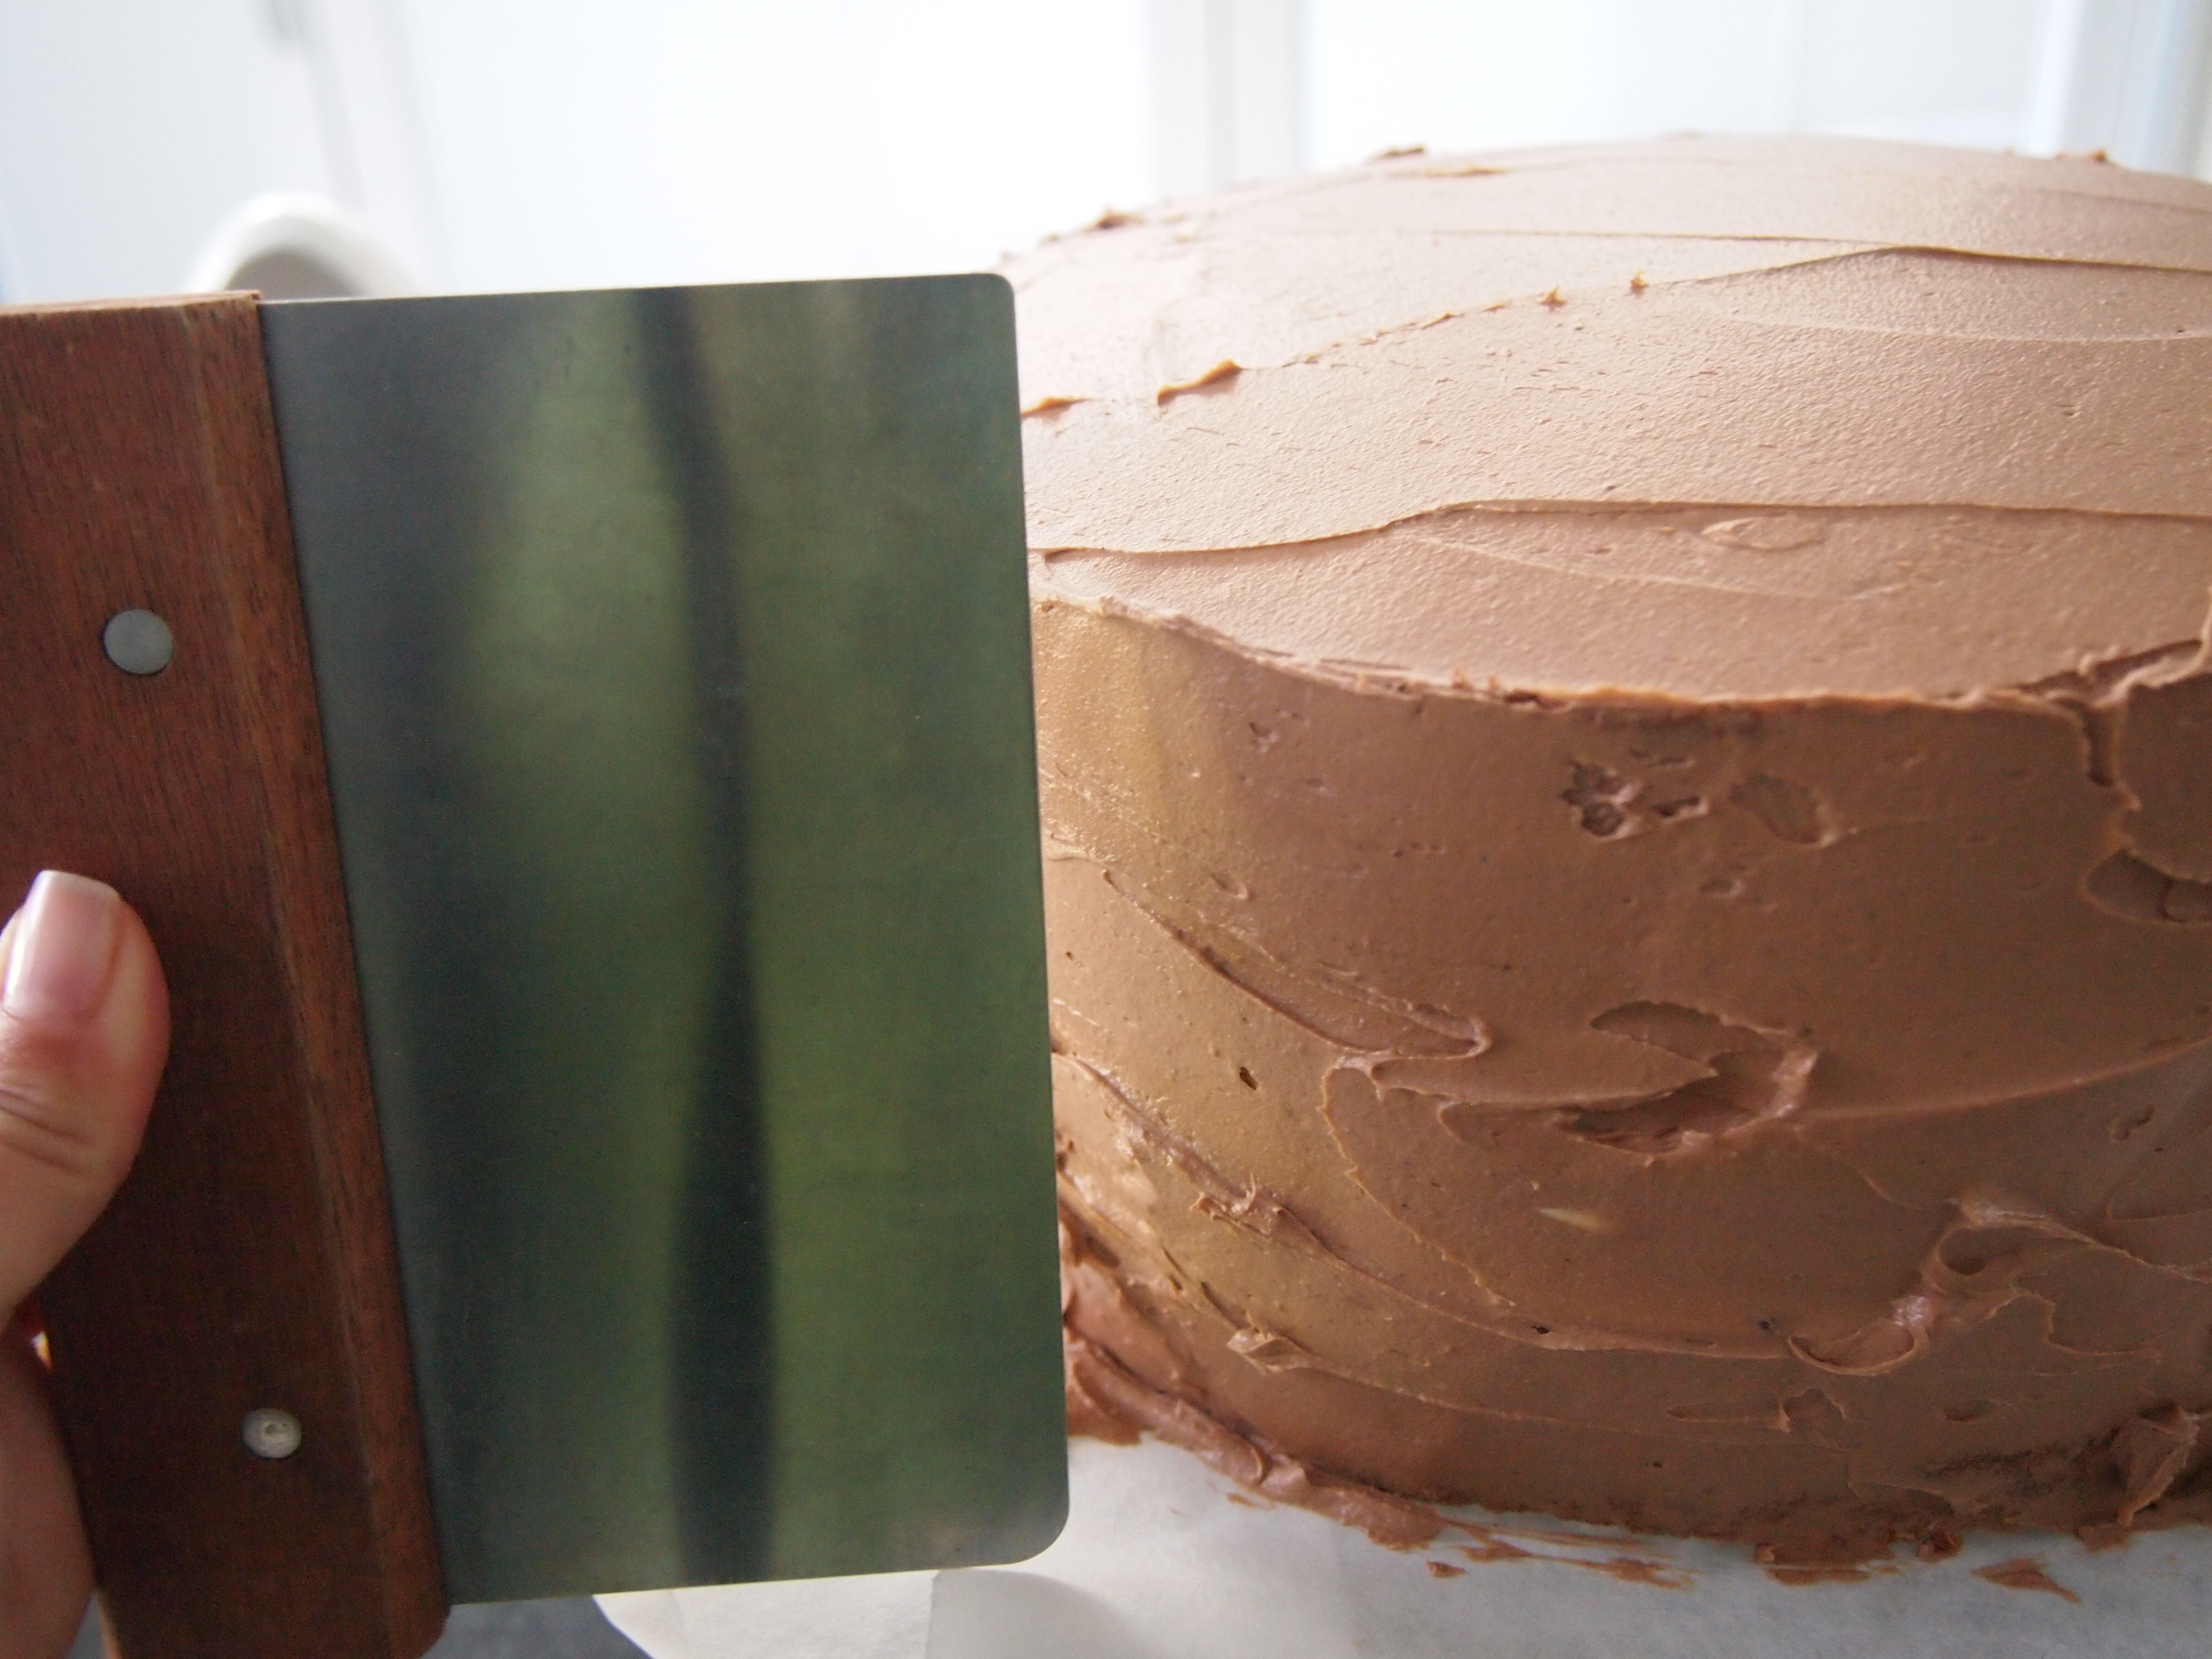
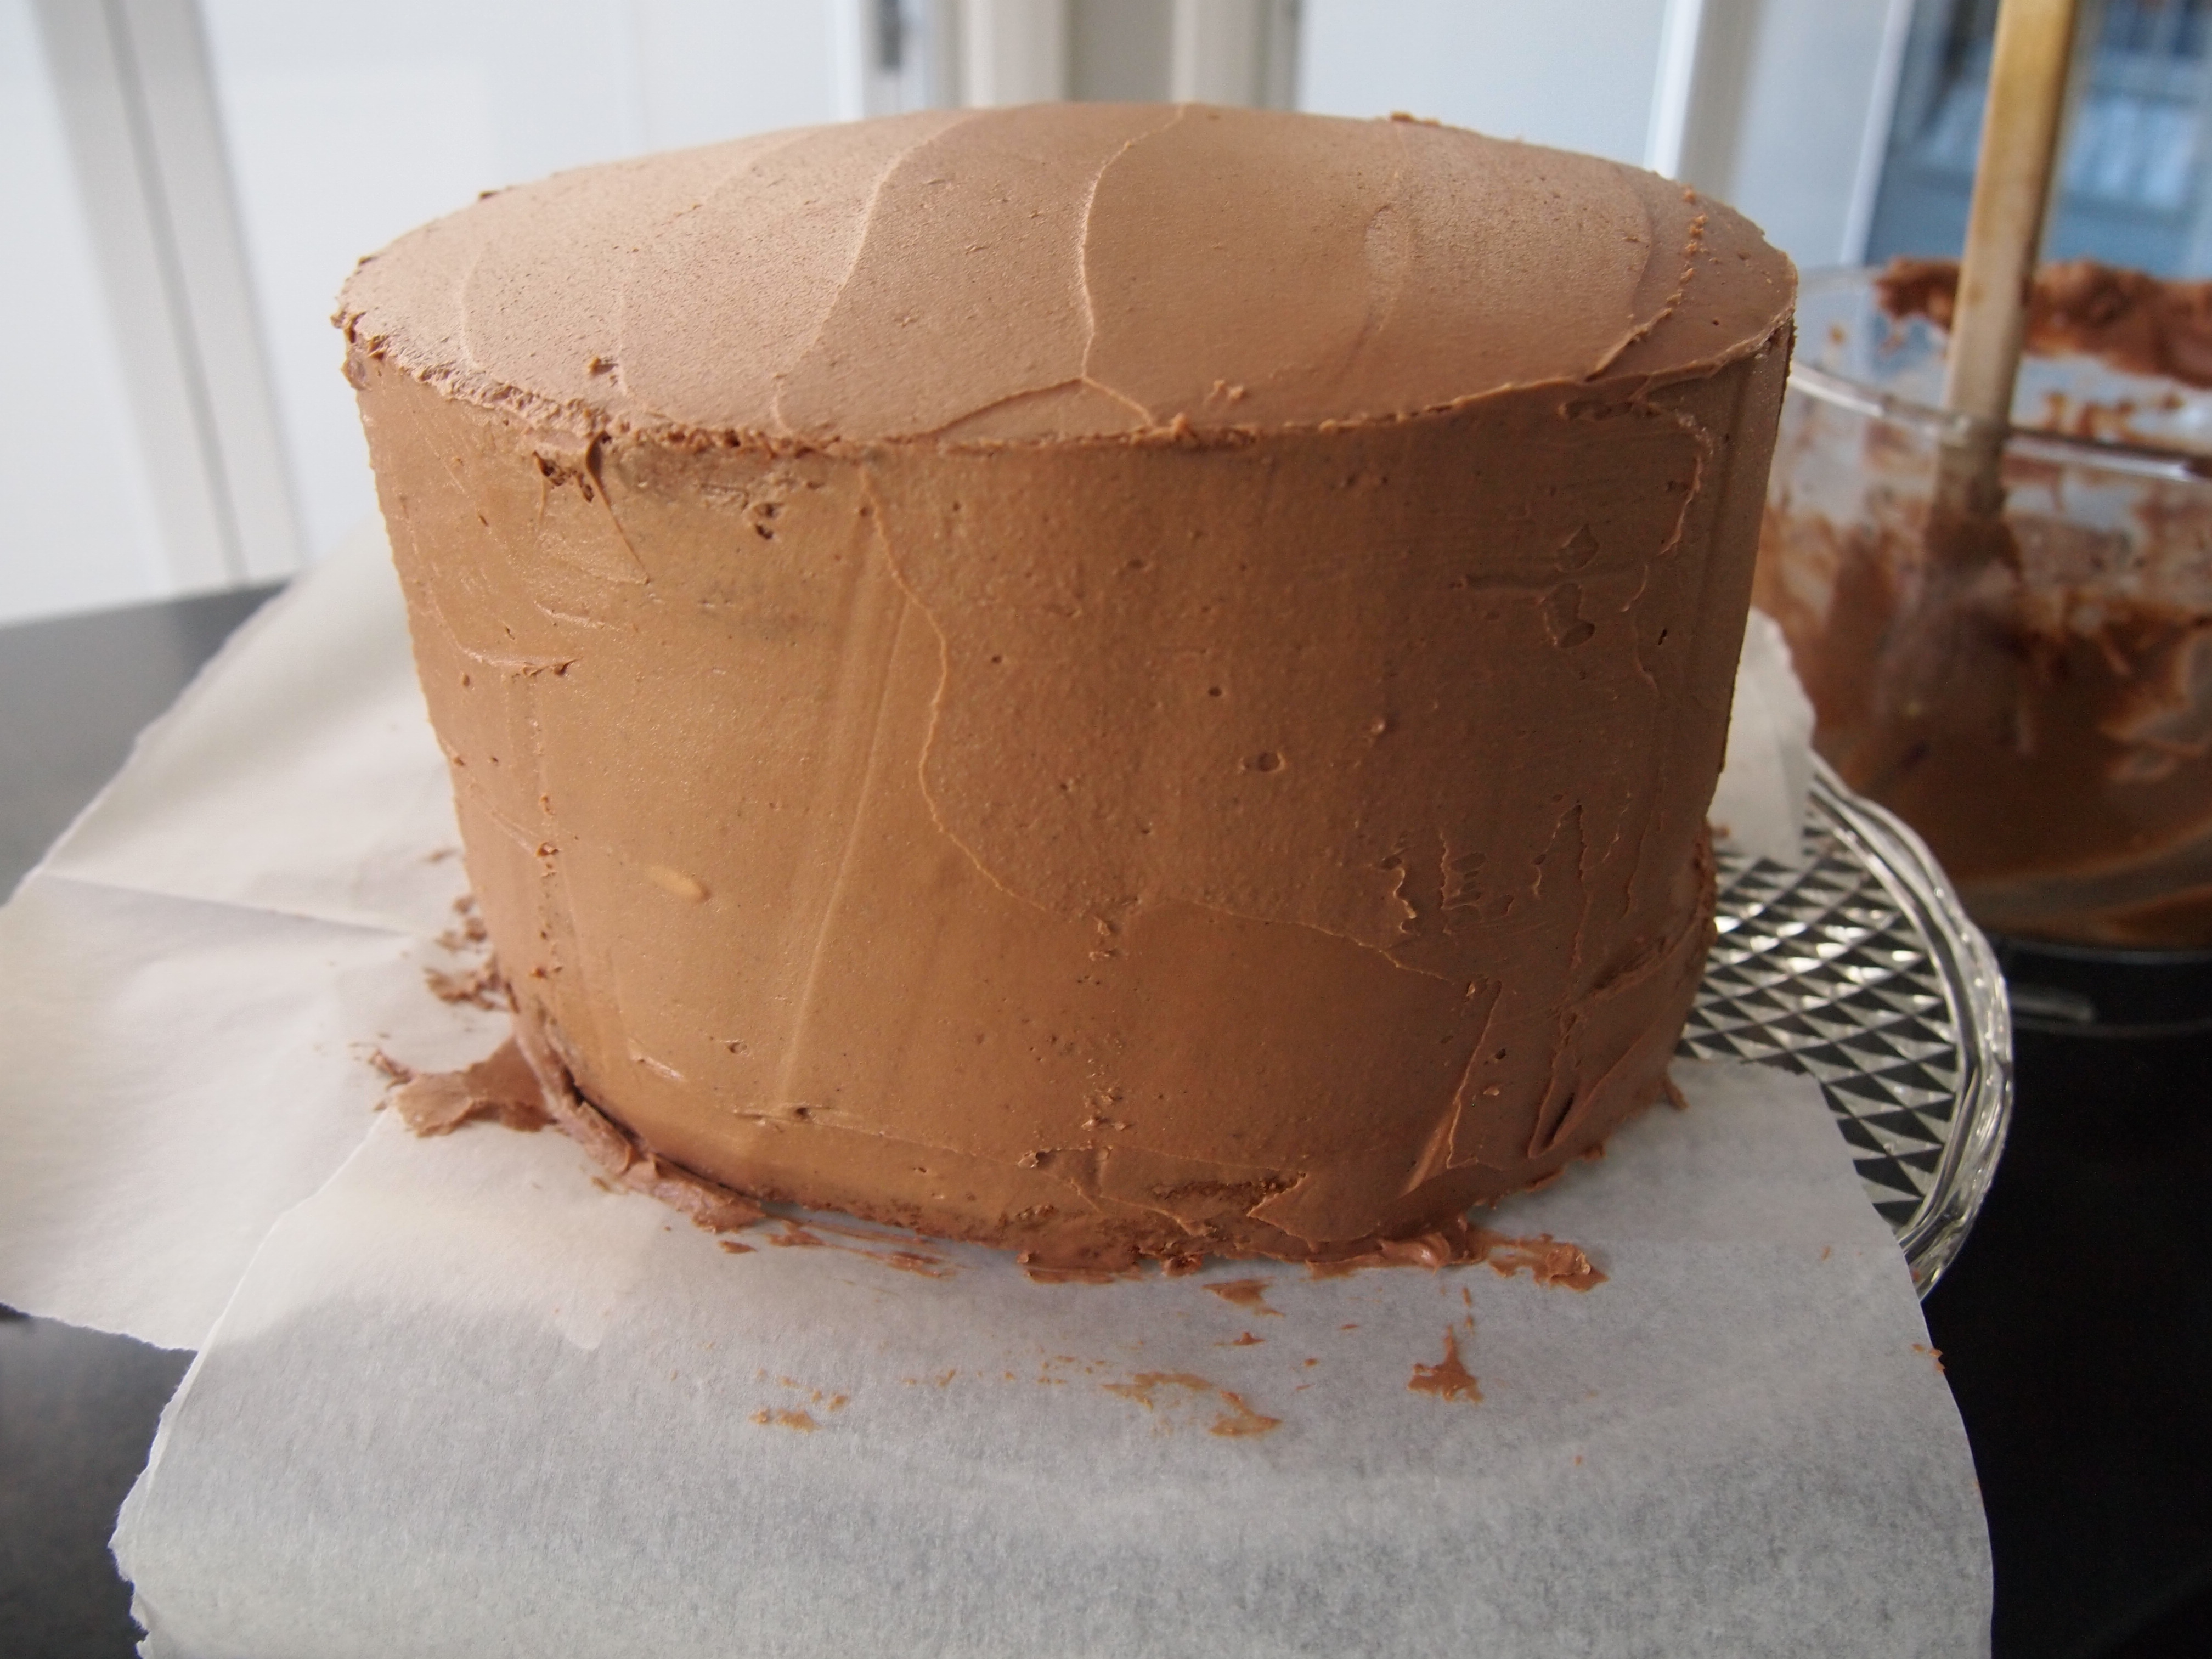
To frost the sides, add frosting in even blobs around the cake and the turning the cake stand around and using your pallet knife smear the frosting to evenly cover. I find the easiest way to achieve a smooth finish is to use a bench scraper and slowly move it over the side of the cake as you turn the stand. Don’t be too concerned about achieving a perfectly smooth cake, keep it as rustic as you like, after all it is home-made and it will taste delicious regardless.

Oct 2, 2015 at 8:10 am
Yum yum yum! This was an absolutely delicious cake, can’t wait for you to make it again in the future 🙂