Oct 19, 2012
mustardwithmutton

no comments

Roast Beetroot Salad with Goats Cheese & Balsamic Dressing

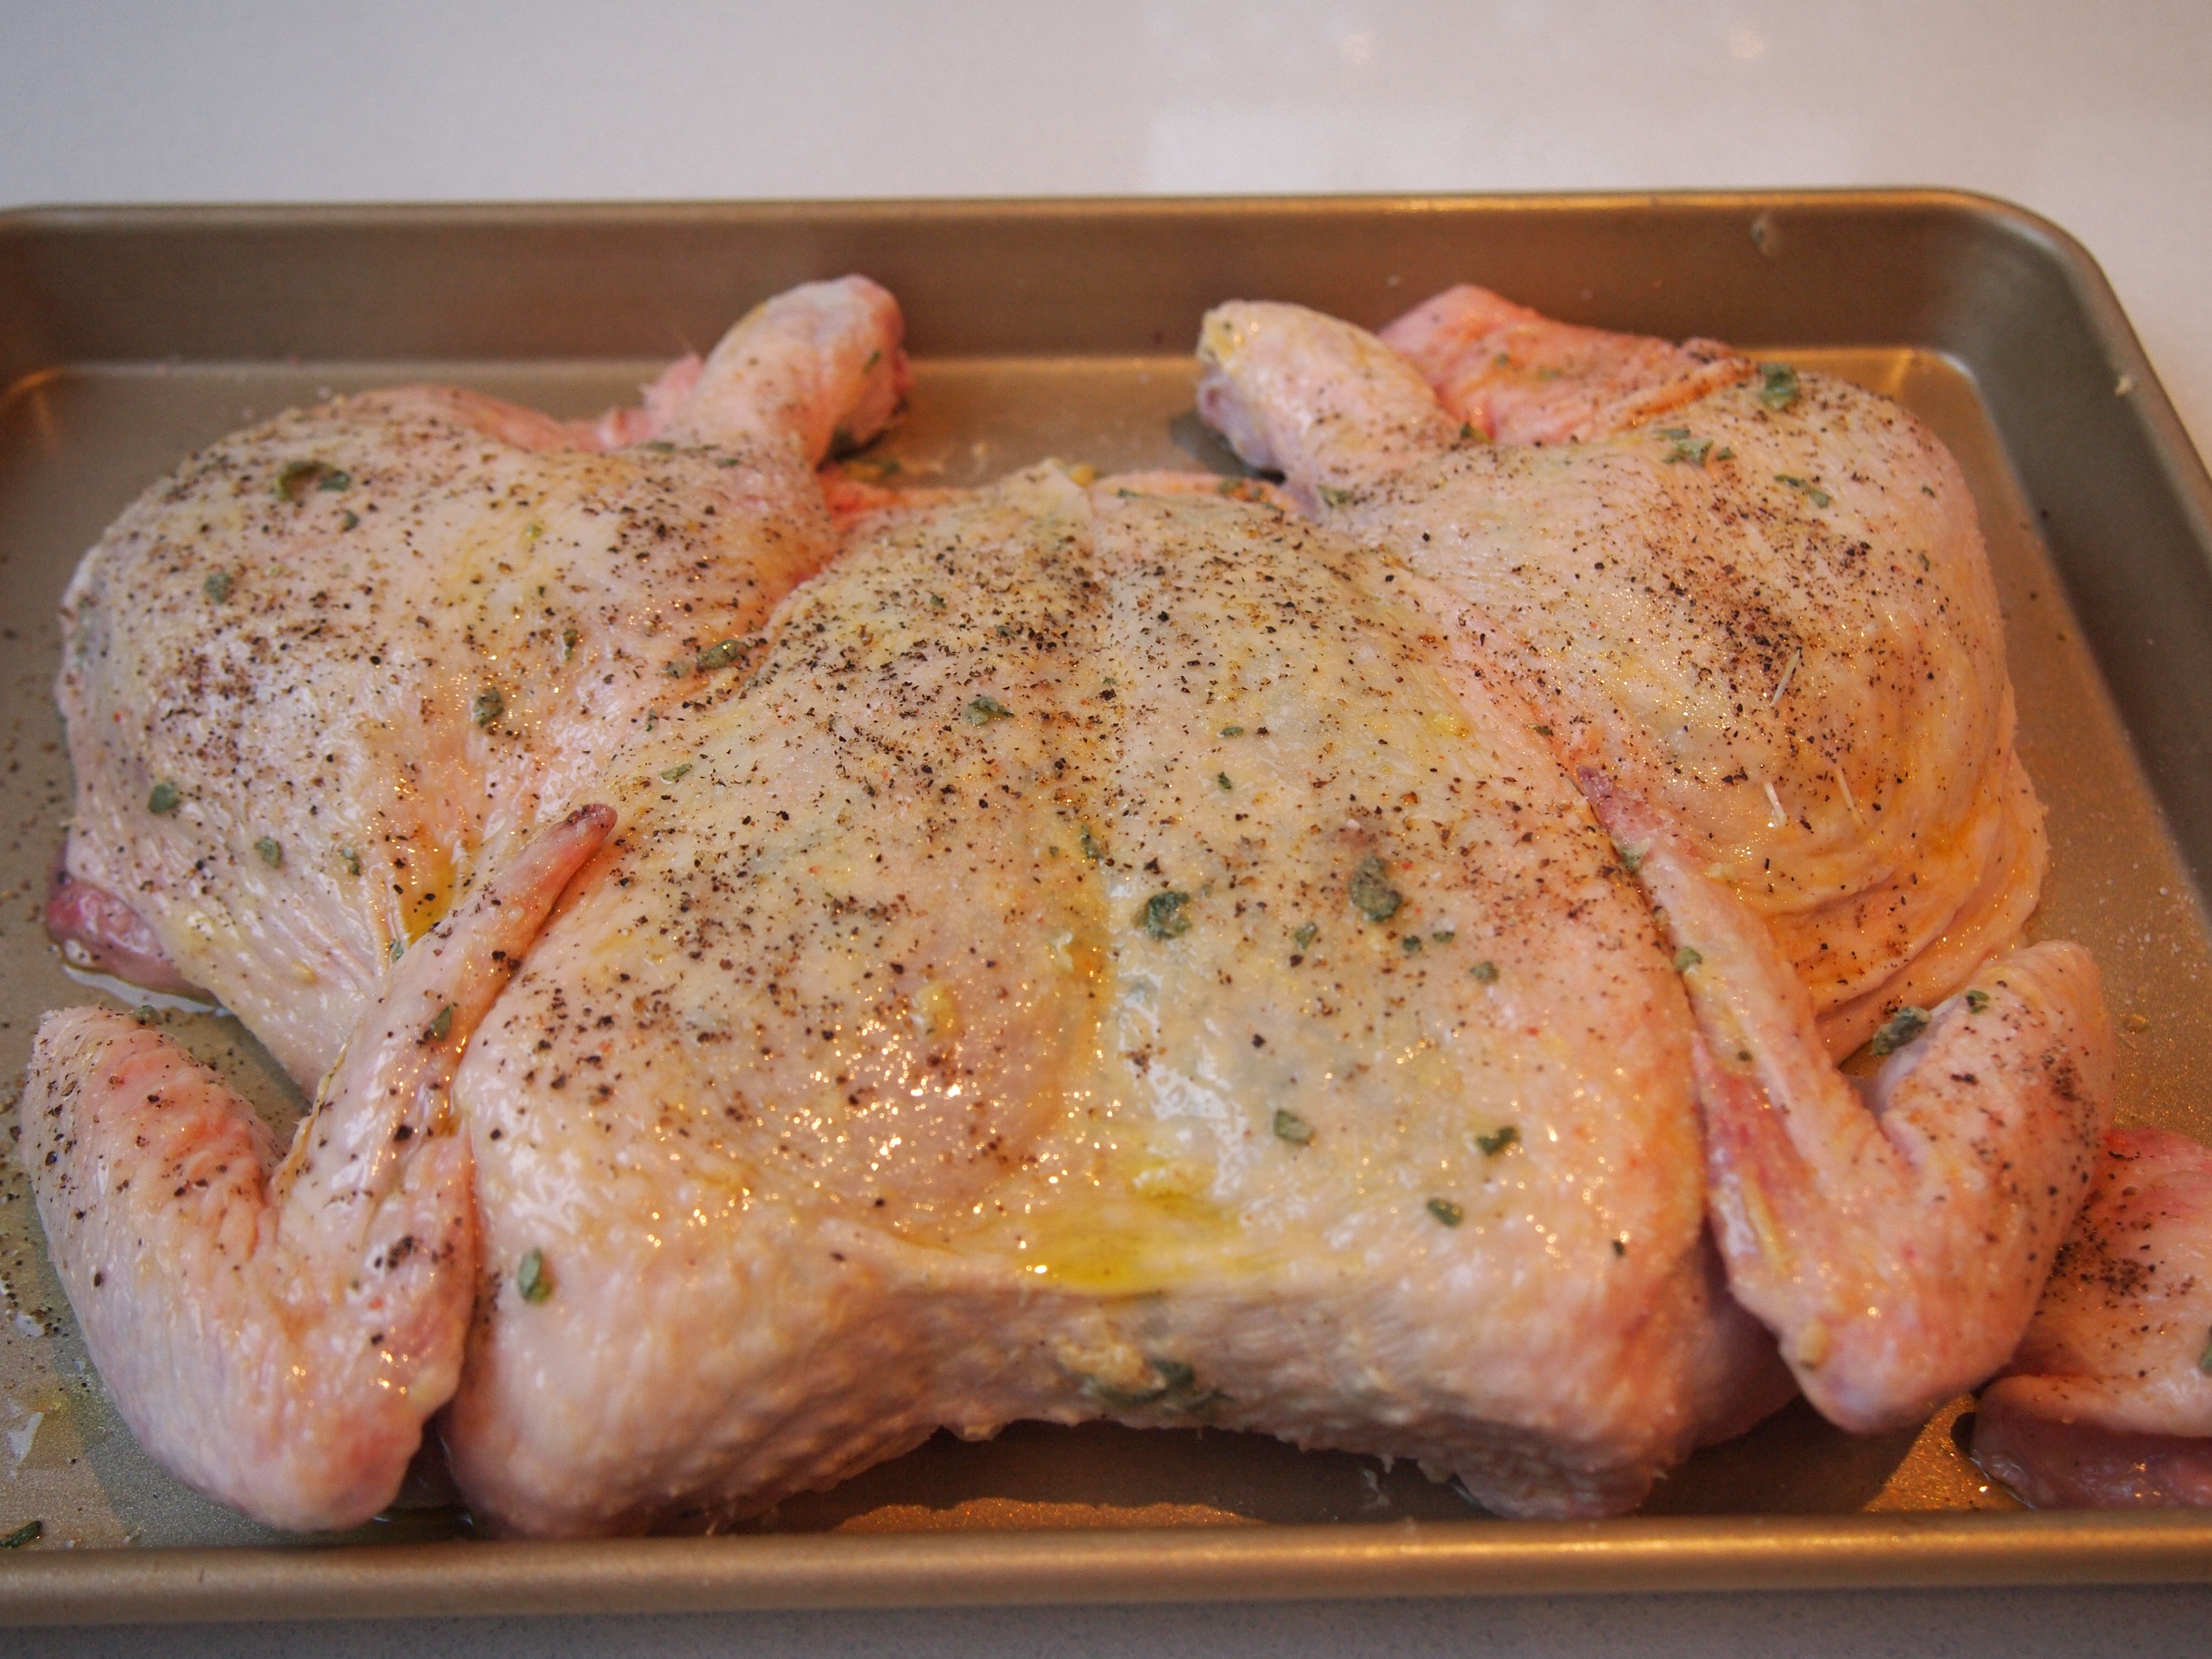
It’s taken me a while to become fond of beetroot, maybe it was all the canned pickled beetroot that adorned Australian hamburgers growing up.  But now I love them and the added bonus is that they’re incredibly good for you.  I find the easiest way of cooking beetroot is to wrap them individually in foil and cook them in the oven for about an hour until tender and then slip the skins off.  They retain all their flavour and there’s very little mess in peeling them. This is a bit of a composed salad in that all the ingredients are cooked separately and then assembled neatly at the end.  Apart from the roast beetroot and goats cheese there’s also rocket, walnuts and caramelised garlic.  I was unsure about the addition of the garlic and my family members were too; some loving them and others not keen on them with the beetroot.  I thought they worked quite well and made for a more interesting flavour profile.

Ingredients – Serves 6

6-8 medium size beetroot, washed and trimmed but left unpeeled
Salt & freshly ground black pepper
Olive oil
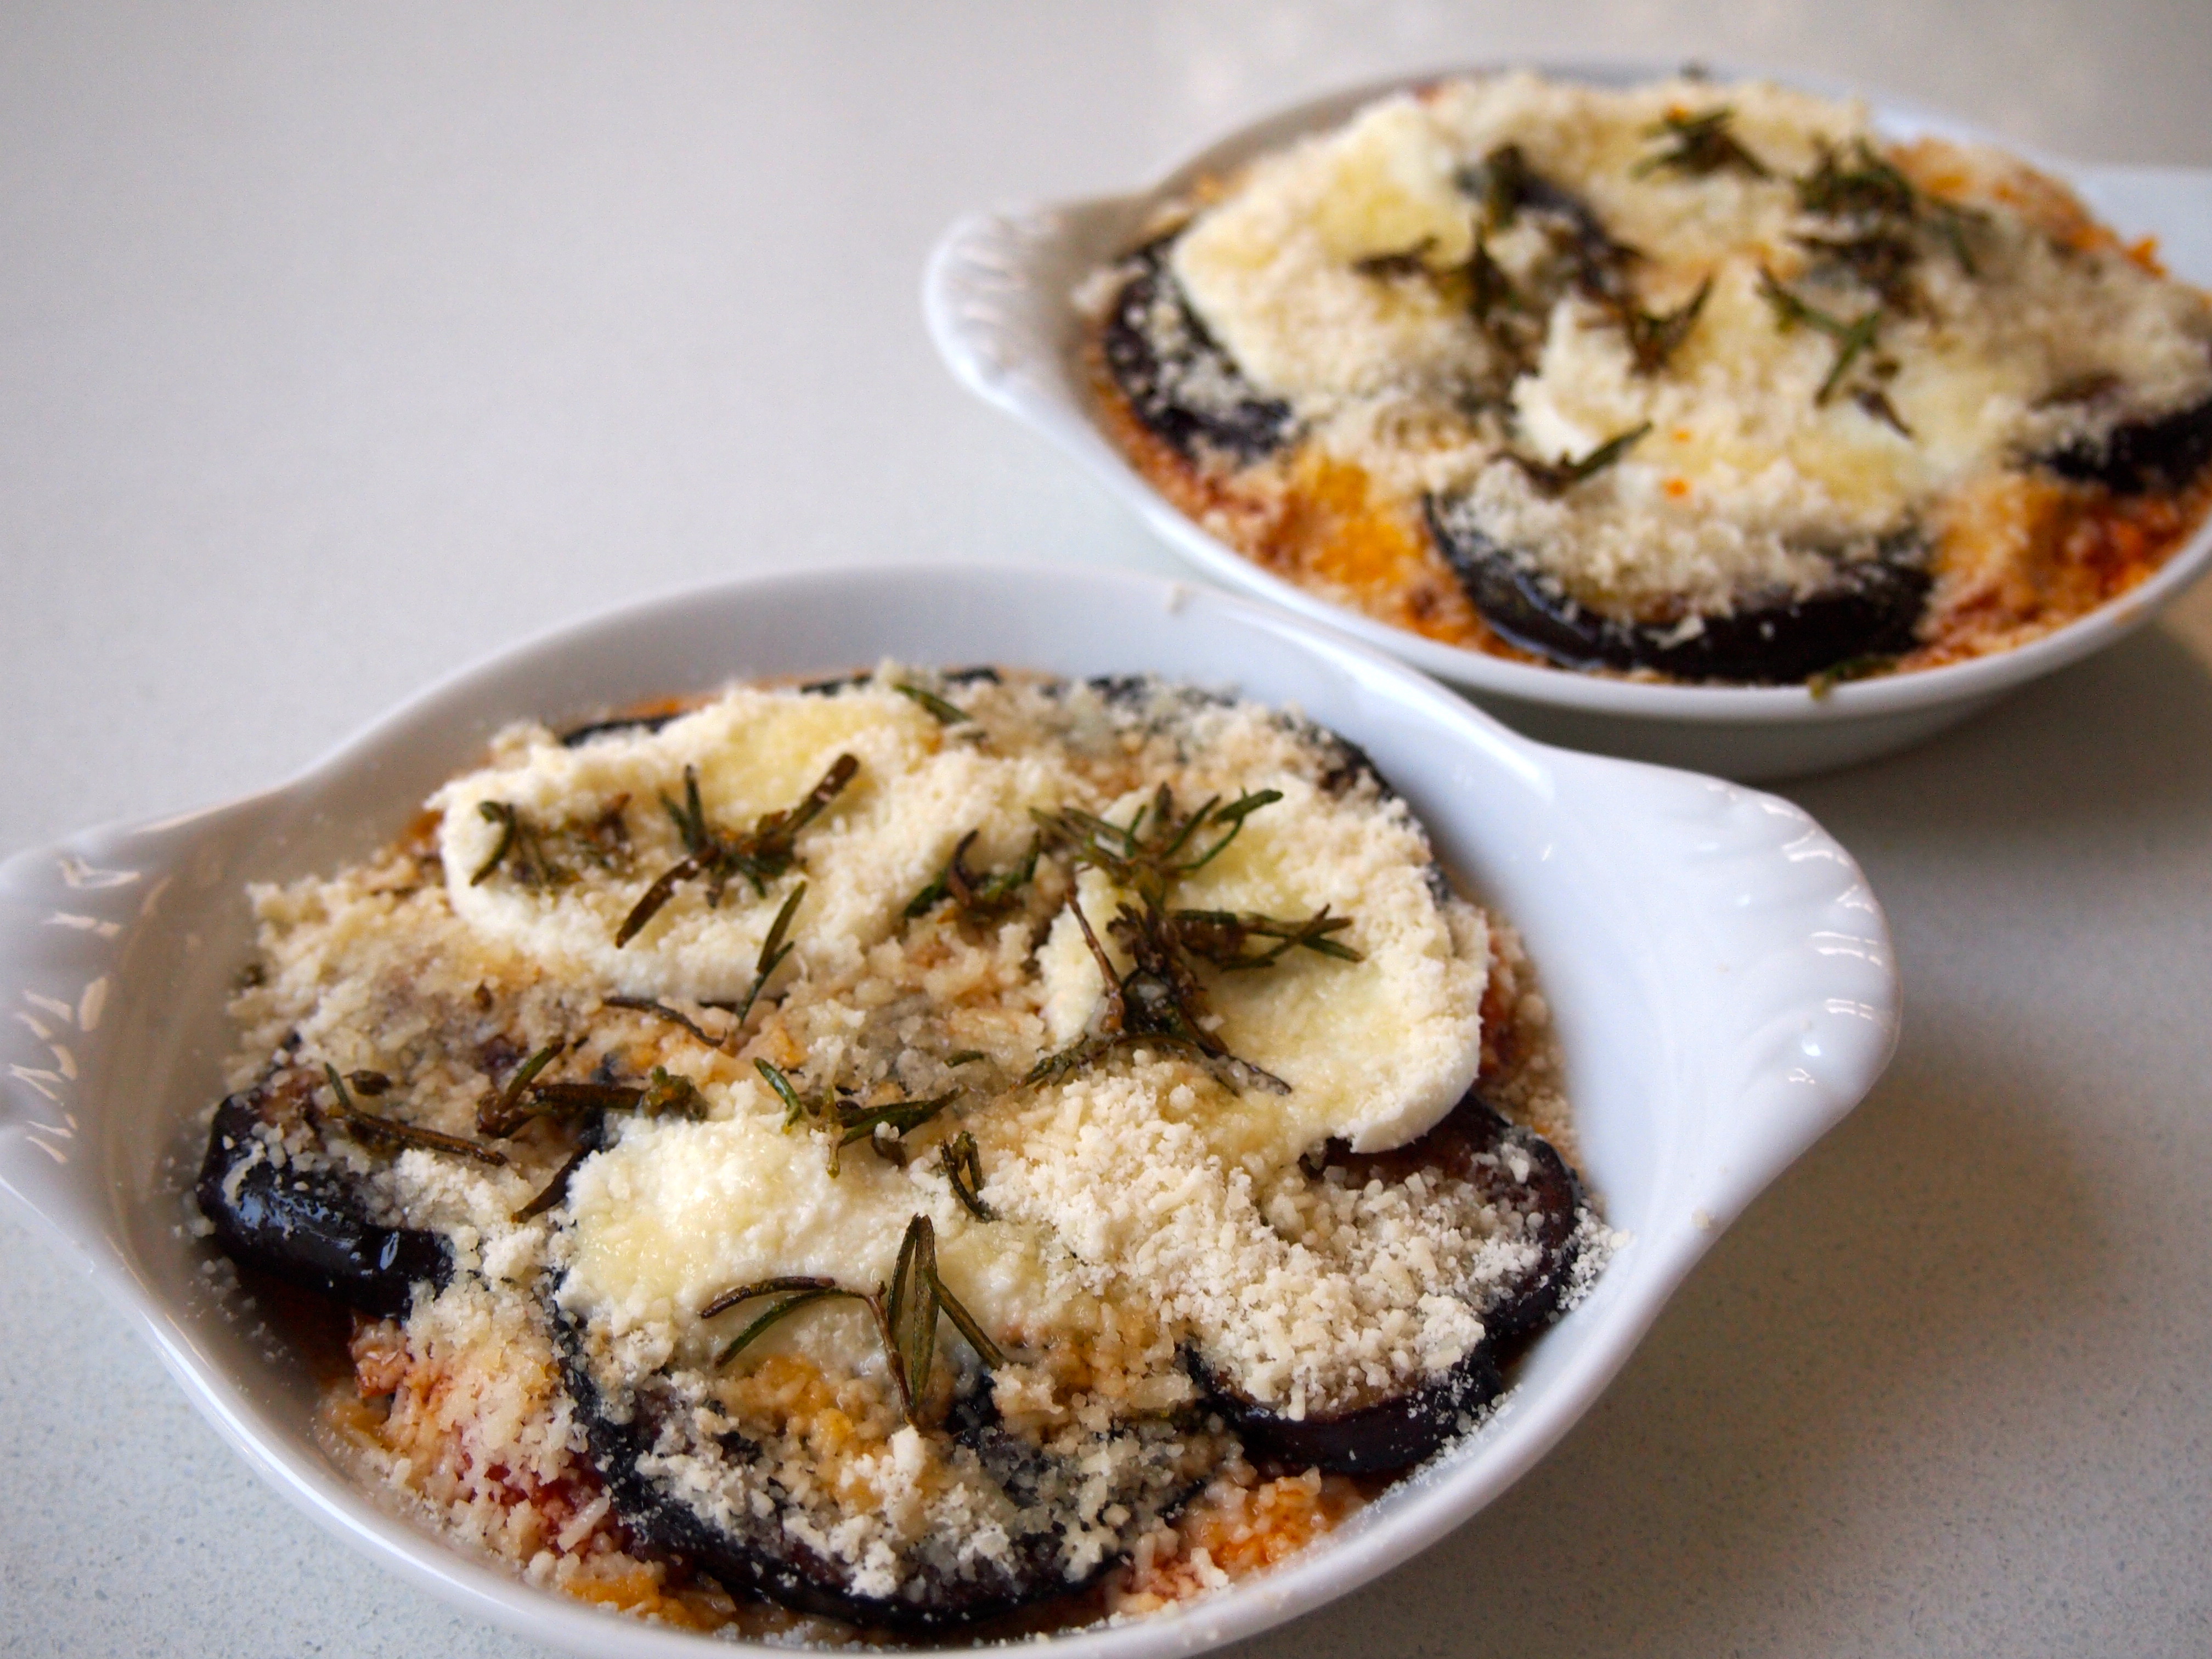
120g soft goats cheese
300g rocket leaves
½ cup walnuts

For the Caramelised Garlic
12 cloves of garlic peeled
1 tablespoon olive oil
1 tablespoons balsamic vinegar
1 cup water
1 teaspoons finely chopped fresh rosemary
½ teaspoon salt
1 tablespoon sugar

For the Balsamic Dressing
¼ cup balsamic vinegar
¼ cup olive oil
½ teaspoon salt
Freshly ground black pepper

Method
Preheat oven to 180C.  Take a small sheet of foil and place a beetroot in the centre, sprinkle with salt, pepper and a small drizzle of olive oil.  Wrap up tightly making sure that there are no exposed areas.  Place on a baking tray and repeat with the remaining beetroot. Bake for 1 hour then test with a skewer to see if the beetroot are tender, if not place back in the oven and check again every 15 minutes. Let the beetroot cool then unwrap the foil parcels and slip the skins off, you may want to wear disposable gloves when you do this.  Cut the beetroot into halves or quarters if they are large and place aside.

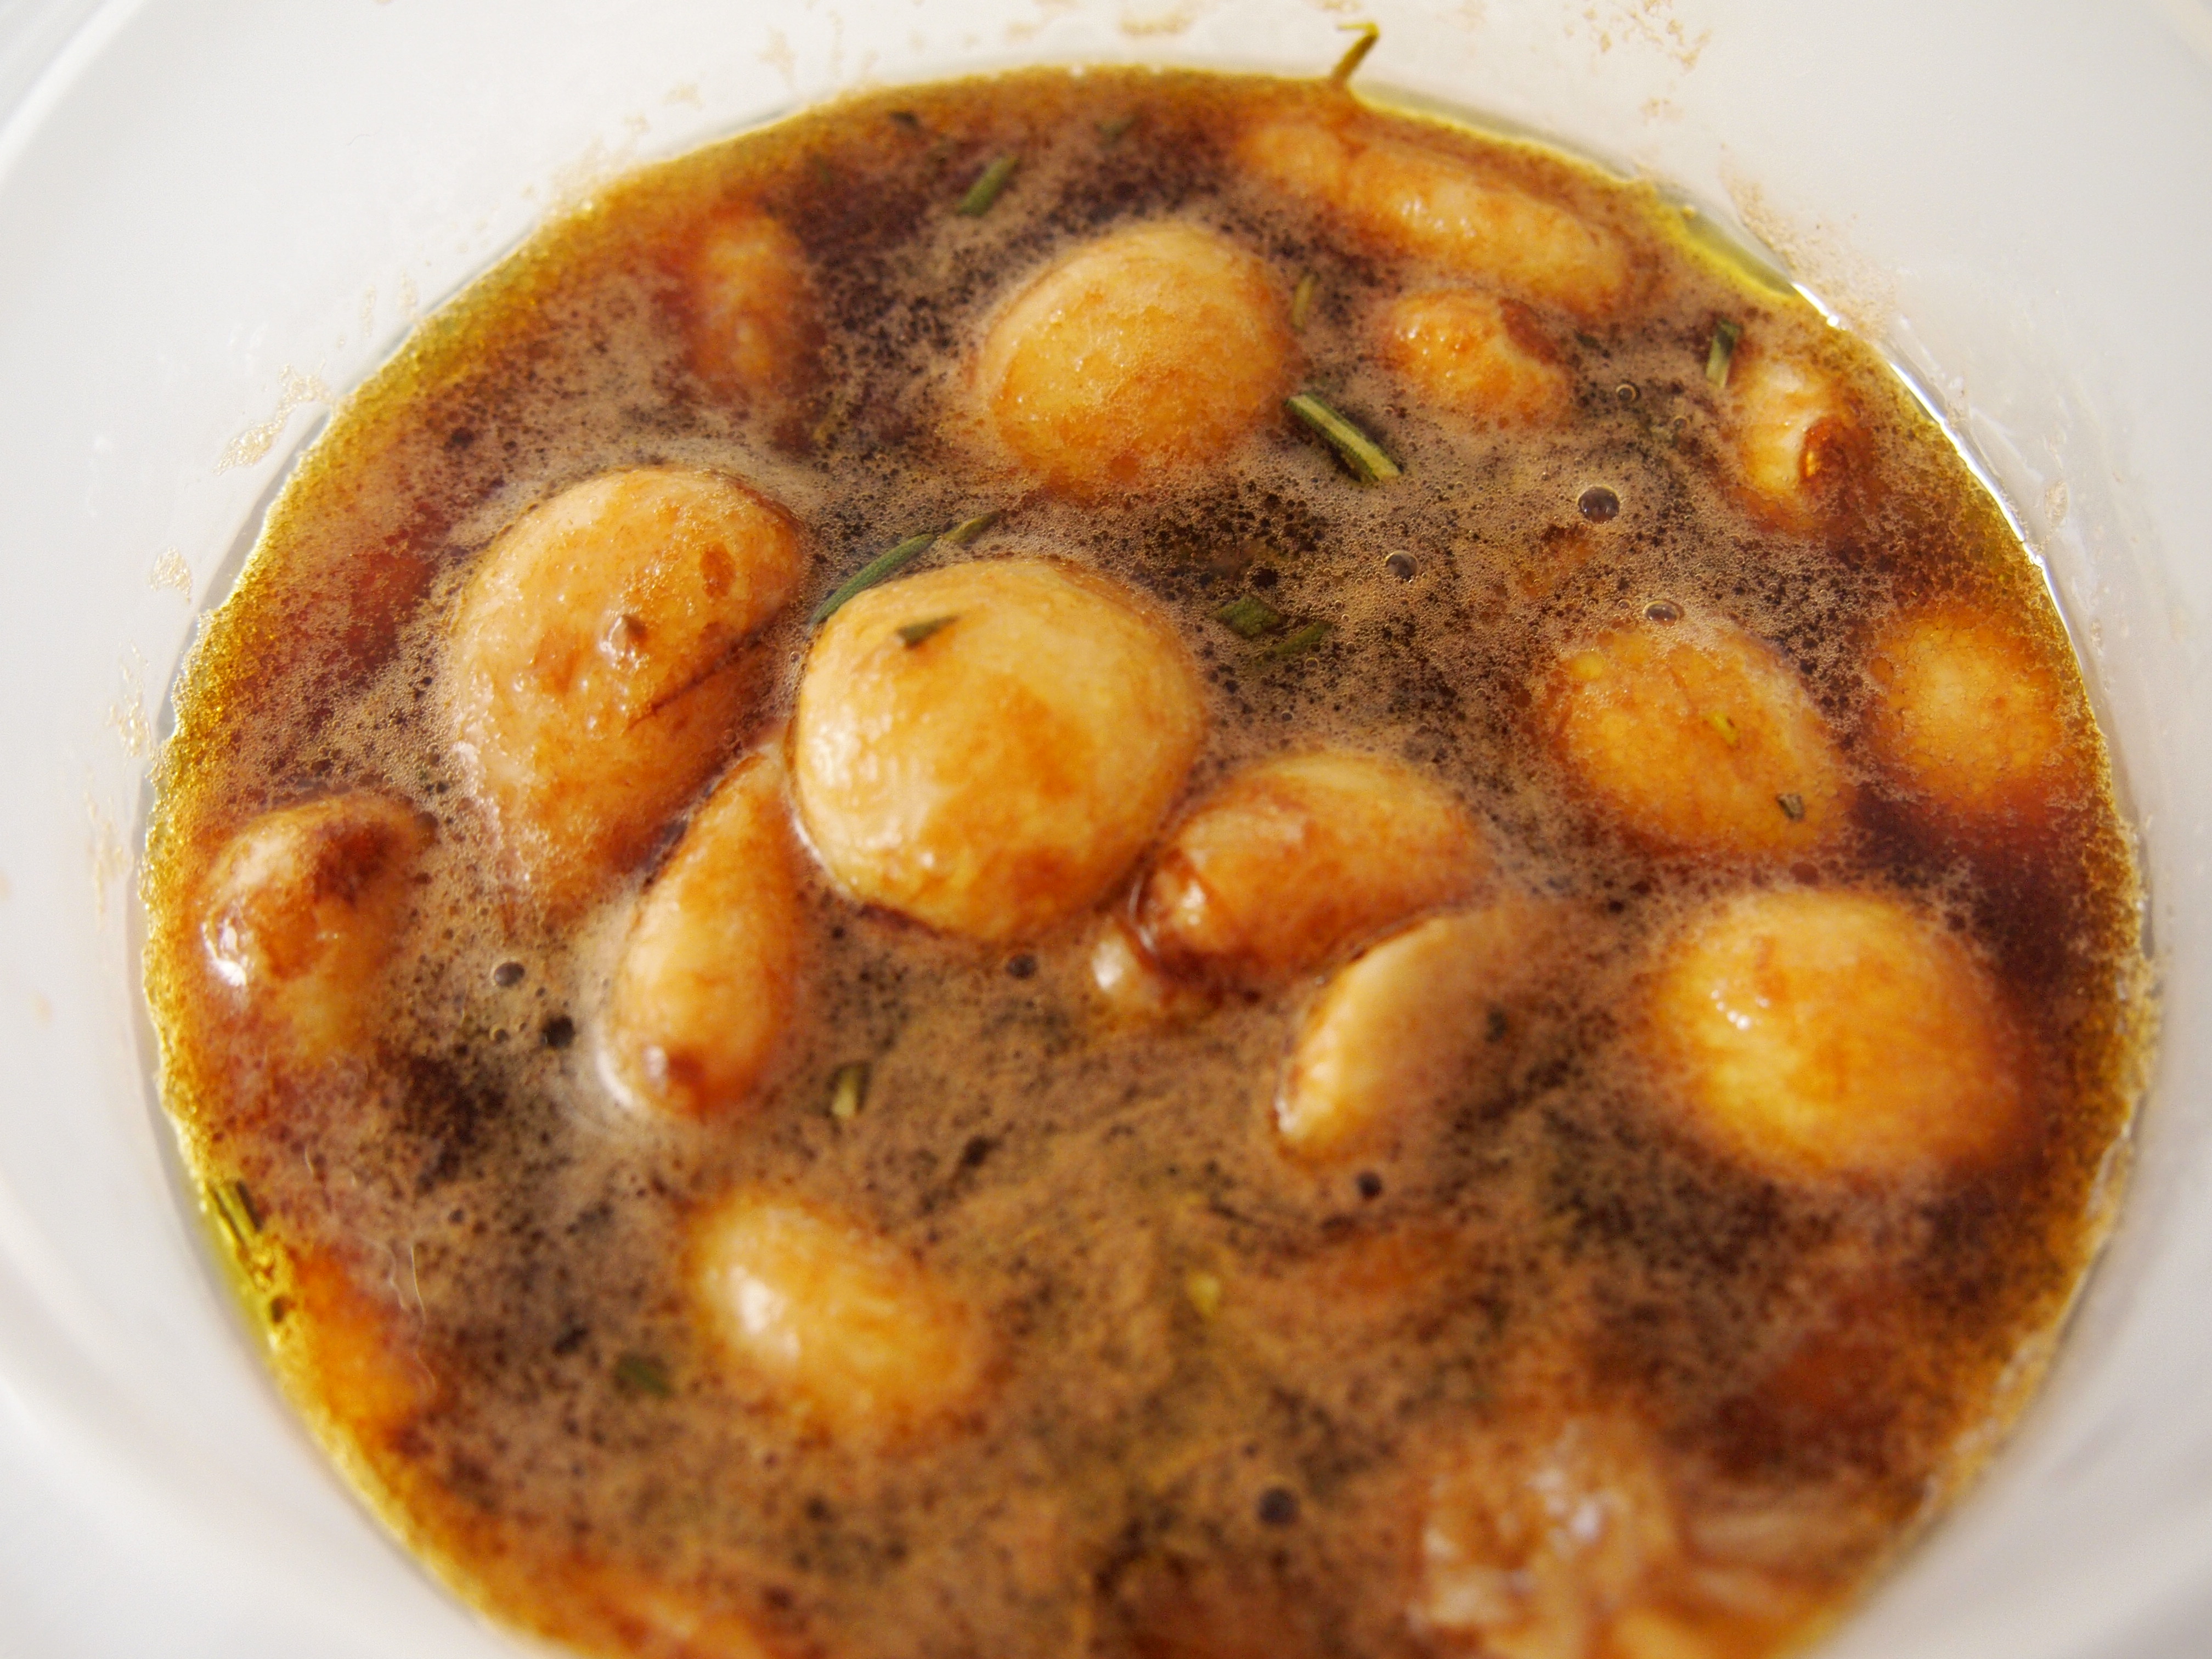
To make the garlic put the cloves into a small saucepan and cover with plenty of cold water. Bring the water to the boil and boil for 10 minutes uncovered. Drain the garlic and dry the saucepan. Add the garlic back into the pan with the olive oil and fry for a few minutes over medium heat until garlic is starting to brown. Add the water and balsamic and bring to the boil then simmer uncovered for 10 minutes. Add the salt, rosemary and sugar and simmer for a further 10 minutes.  Put aside.


To make the dressing combine all the ingredients in a small jar and shake vigorously.  To assemble the salad place the rocket into a bowl and drizzle with a small amount of the dressing and mix lightly.  Place the dressed rocket on a large platter. Add some of the dressing to the beetroot and mix gently.  Place the beetroot in a single layer over the rocket. Place the walnuts and then chunks of the goats cheese on top of and around the beetroot.  Place the garlic cloves around the platter and then drizzle the liquid from the garlic over the salad along with a few tablespoons of the balsamic dressing.  Serve at room temperature.

Oct 17, 2012
mustardwithmutton

1 comment

Slow Braised Green Beans & Tomatoes with Roast Lamb

The star of this dish is really the stewed green beans; the patient and slow cooking of onions, garlic and tomatoes giving them wonderful flavour.  Green beans are a great vegetable for long slow braising for whilst they break down a little and loose their “squeakiness”, they don’t completely wilt.  I could happily consume just the beans on their own and in fact we had the leftovers one night heated up and topped with a fried egg.  The lamb cut I used was a small rolled loin which is great for quick roasting. They layer of fat on the outside keeps the meat moist and after a quick 20 minute blast in a hot oven the meat comes out a perfect medium pink.  I topped the lamb with a little goats cheese as the sharpness really complements the sweetness of the lamb and the beans.

Ingredients – Serves 2, with leftover beans

2 onions, finely diced
3 cloves of garlic, finely diced
Olive oil
2 tablespoons tomato paste
500g green beans, trimmed and cut into 1 inch pieces
1 x 400gm can diced tomatoes
½ cup rich beef stock
1 teaspoon sugar
Salt & freshly ground black pepper
1 rolled lamb loin weighing about 500g
50g goats cheese or goats curd (optional)

Method

Heat a generous amount of olive oil in a saucepan over medium heat.  Add the onions and a pinch of salt and cook, stirring often, until the onions are golden brown.  Add the garlic and cook for a few more minutes.  Add the tomato paste and fry to caramelise it. Add the beans and coat them in the tomato paste and onions and cook for another few minutes before adding the canned tomatoes, sugar and stock.  Season with salt and pepper and bring to the boil.  Lower the heat, cover the pan and simmer for at least 40 minutes but if you can leave them longer they will taste even better, 1 hour is ideal.  Toward the end of the cooking time take the lid off and if the mixture is too wet  turn up the heat and cook uncovered until the liquid is reduced.


To make the lamb, preheat the oven to 220C.  Bring the lamb to room temperature and season with salt and pepper.  I don’t use any oil to cook the lamb as the layer of fat on the loin is sufficient.  When the oven has heated up place the lamb of a baking tray and roast for 20-25 minutes.  Remove from the oven and cover loosely with foil and let it rest for 10 minutes.  To serve place some green beans on each plate and top with thick cut slices of the lamb loin and a dollop of goats cheese on top of the lamb slices.

Oct 15, 2012
mustardwithmutton

1 comment

Chicken Liver, Veal & Porcini Ragu

I know a lot of people are squeamish about offal but I love them.  The strange thing is that most people who confess a dislike of offal have never tried them which is such a shame as if they’re cooked properly they can be so delicious. Fans of chicken livers will love this dish but if you’re a novice to the world of offal then chicken livers are a great place to start. Most of us have eaten them in the form of pâté so there’s already a sense of familiarity with the taste and I don’t think their flavour is as intense as say kidneys or beef liver. This ragu is rich and earthy with the porcini adding a delicious woody element.  The addition of a small amount of cream mellows out the intense flavours and gives a lovely silkiness to the sauce .  I like to keep the chicken livers chunky but you can certainly dice them smaller if you wish.

Ingredients – Serves 4

2 large eschalots, peeled and finely diced
2 cloves of garlic, finely chopped
2-3 sprigs of thyme
Olive oil
500g chicken livers, cut into chunky dice – they can be diced smaller if you prefer
300g minced veal
20g dry porcini mushrooms
1 cup boiling water
Salt & freshly ground black pepper
½ cup cream
¼ cup finely diced chives
2 tablespoons butter
500g pappardelle pasta – fettucini would also be good
Freshly grated parmesan for serving

Method

Put the porcini mushrooms in a small bowl and add the boiling water, leave to soak. Heat a skillet or sauté pan over medium heat and add a good glug of olive oil.  Add the eschalots, garlic, thyme and a pinch of salt and cook, stirring now and then, for about 5 minutes until soft and translucent. Add the minced veal, breaking it up with a spoon, and cook until no longer pink. Add the diced chicken livers; increase the heat a little and cook until the livers are just seared, don’t over cook them at this stage. Drain the porcini mushrooms and roughly dice; reserve the soaking liquid. Add the mushrooms to the livers along with another pinch of salt and a generous amount of black pepper and cook for another couple of minutes.  Using a fine sieve to catch any sediment add the soaking liquid from the mushrooms to the sauce and bring to a simmer.  Cover the pan and lower the heat and cook for 15 minutes.  Add the cream and half the chives and bring back to a simmer.  Cook uncovered for a few more minutes.  If your sauce is too dry add a little bit of boiling water and if it’s too runny cook uncovered for a little longer. Check the seasoning and adjust if necessary.


To serve bring a large pan of salted water to the boil.  Cook the pasta and drain. Pour the pasta back into the pan and add the butter along with a few large spoonfuls of ragu.  Mix the butter and sauce through the pasta until the butter has melted and place into bowls; top with more ragu, some parmesan and a sprinkling of chives.

Oct 12, 2012
mustardwithmutton

no comments

Crème Caramel – Custard & Caramel Heaven

Crème Caramel is one of those old French bistro classics that never loses it’s appeal.  It’s easy to make and similar to crème brûlée in that it’s a custard with a caramel topping but instead of a brittle toffee coating, as in a brûlée, it has a liquid caramel sauce.  The custard is lusciously thick and smooth and yet it’s a surprisingly light dessert that’s easy to eat even after a large meal. The only stipulation with this dessert is that it needs to be made a day ahead so the caramel in the bottom of the pan has time to liquefy before it’s inverted. You can make individual crème caramels using ramekins but I was making this for a family dinner for nine so one large crème caramel cut into slices was easier.

Ingredients   Adapted from Australian Womens Weekly

3/4 cup (165g) caster sugar
1/2 cup (125ml) water
6 eggs
1 vanilla bean, split in two and seeds removed – you can substitute 2 teaspoons vanilla extract
1/3 cup (75g) caster sugar, extra
300ml cream
1 3/4 cups (430ml) milk

Method

Preheat the oven to 160C (140C fan-forced).  Spread the sugar evenly over the base of a medium saucepan.  Turn the heat to medium and add the water.  Don’t stir the sugar and water but just swirl the pan until the sugar has dissolved. Bring to the boil and boil uncovered, without stirring, until mixture is a deep caramel colour – be patient as it can take up to 5-7 minutes for this to happen as there’s a high ratio of water to sugar but don’t walk away from the pan as it can turn from deep caramel to burnt very quickly. Remove from heat and pour toffee into an oven proof 20-23cm dish.  You can use a soufflé dish, a cake tin (not springform), a pyrex pie dish or small ramekins if serving individual portions – basically any dish that is round and at least 10cm deep; I use my Le Crueset tart tatin dish. Whisk eggs, vanilla seeds and extra sugar in large bowl.  Combine cream and milk in a medium saucepan and bring to the boil. Whisking constantly, pour hot milk mixture into egg mixture. Strain mixture through a sieve into the pan with the caramel. Place the pan in a baking dish and add enough boiling water to come half way up the side of the pan. Bake for about 40 minutes or until set. Remove pan from the baking dish and cool.


Cover and refrigerate overnight. Using a small knife gently run it along the sides of the pan. Place a serving plate on top of créme caramel, then quickly invert. There will be quite a lot of liquid caramel sauce so use a serving plate that has a little bit of depth to catch it all. The créme caramel can be inverted and placed in the fridge until ready to serve.

Oct 10, 2012
mustardwithmutton

no comments

Sage & Garlic Spatchcocked Chicken with Braised White Beans

Spatchcocked chicken, also referred to as butterflied chicken, simply means a chicken which has had it’s back bone removed and then been flattened.  It’s very simple to do at home and only requires a sharp knife or some poultry shears and a little brute force.  If you’re purchasing your chicken from a butcher they can do this for you, but truly it’s so easy that I never bother.  For me the two main benefits in spatchcocking is the reduced cooking time and the ease in which you can carve the chicken.  In this version a mixture of butter, garlic and sage is spread between the meat and the skin of the chicken which ensures every bite is moist and flavourful.  If you’re not a fan of sage then tarragon would also be delicious.  The side dish of white beans goes so well with poultry and it’s something I make often to go with all kinds of roasts.  It takes as long as the chicken to cook so the whole meal can be on the table in just over an hour.

Ingredients – Serves 3-4

1 large organic or free range chicken (1.8 – 2 kg)
50g butter, at room temperature
1 small bunch of sage, finely chopped
2-3 cloves of garlic, finely minced
Salt & freshly ground black pepper
Olive oil

Braised White Beans
1 tablespoon olive oil
120g speck, diced – you can substitute pancetta or thick cut bacon
2 -3 cloves of garlic, chopped
2 cans of cannellini beans, drained and rinsed
¾ cup chicken stock
½ cup chopped parsley
Salt & freshly ground black pepper
2-3 tablespoons cream

Method

To spatchcock the chicken, wash and dry the chicken well.  Put it on a cutting board, breast side down and with the rear of the chicken facing you.  Using a share knife or poultry shears cut all the way from the butt of the bird to the top on each side of the back bone – the bones are not that hard to cut through and you’ll be left with a long strip of the spine which you can discard or keep for the stock pot. Turn the chicken around so it’s breast side up and using both hand push down on the centre of the chicken to flatten it. To make the herb butter combine the butter, sage, garlic and some salt and pepper in a small bowl.  Using your fingers carefully separate the skin form the breasts of the chicken, and do the same with the leg and thigh area making sure not to pierce the skin. Take knobs of the butter and put it under all the areas where the  skin has been separated and flatten out to spread.  Rub the chicken with a little olive oil and season well with salt and pepper. Place it skin side up on a roasting tray and bake for 40 minutes (if you’re using a smaller chicken it will cook in less time so check after 30 minutes). Test with a skewer to make sure the juices run clear when pierced between the leg and thigh.

Remove and let it rest for 10 minutes before carving. Carving the chicken into pieces will be extremely easy.  I normally portion it into 4 – 2 breasts with the wing and 2 leg and thigh pieces.

To make the beans heat the olive oil in a frypan over medium heat and add the speck.  Cook stirring until the fat has started to render.  Add the garlic and cook for a few minutes more, making sure not to burn or brown the garlic.  Add the beans along with a generous pinch of salt and pepper and stir them around gently until they’re coated with the oil in the pan.  Add the stock and bring to a simmer. Lower the heat and cover the pan and let it cook very gently for about 25 minutes.  Add the cream and parsley and cook again, uncovered for another 5 minutes. Taste for seasoning and serve hot alongside the chicken. I sometimes drizzle some of the cooking juices from the chicken over the beans which makes them even more delicious.

Oct 8, 2012
mustardwithmutton

no comments

Crumbed Veal Cutlet & Easy Eggplant Parmigiana

Who doesn’t like schnitzel? Veal, chicken and even fish all taste great when crumbed.  For me nothing beats a good homemade schnitzel and this veal cutlet is just an oversized schnitzel really. I actually prefer the higher ratio of meat to crumb that you get with a thicker cut of meat such as a veal cutlet, this would also work great with pork cutlets.  What better accompaniment to a nice piece of veal than eggplant parmigiana. Eggplant would have to be one of my favourite vegetables.  This parmigiana is a pretty quick and easy version – I think with dishes such as this they become more time consuming if you’re feeding a large number of people but for just 2-4 people the amount of eggplant frying is fairly minimal.  I also don’t crumb the eggplants and just use a very basic homemade tomato sauce and a good quality buffalo mozzarella, I do like to top it though with some crispy fried rosemary sprigs.

Ingredients – Serves 3

3 veal cutlets – pork cutlets would also work
Salt & freshly ground black pepper
½ cup flour
1 teaspoon fine garlic powder
1 egg
2 tablespoons milk
¾ cup panko (Japanese) bread crumbs – normal bread crumbs can be substituted
1 tablespoon dried parsley
Knob of butter
Olive oil

Eggplant Parmigiana
1 large eggplant cut into 1cm slices
Olive oil
1 small onion, finely diced
3 cloves of garlic, finely chopped
1 x 400g tin of diced tomatoes
Pinch of chilli flakes
½ teaspoon salt
½ teaspoon dry oregano
½ teaspoon sugar
1 tennis size ball of fresh buffalo mozzarella, sliced – normal fresh mozzarella can be substituted
⅓ cup freshly grated parmesan cheese
2-3 rosemary sprigs, leaves removed

Method

Season the cutlets with salt and pepper on both sides.  In a shallow bowl beat the egg with the milk.  Mix the flour and garlic powder on plate and on another plate mix the bread crumbs with the parsley and season well with salt and pepper.  Dip each cutlet into the flour, making sure all the surface areas are coated including the bone. Then dip into the egg, once gain making sure the egg has covered all the flour.  Then finally put the cutlet onto the plate with the bread crumbs and press down and turn the cutlet over to get a good even coating of bread crumbs. Repeat with the remaining cutlets, cover and refrigerate until ready to fry.  Preheat the oven to 180C. Take the cutlets out of the fridge and let them come to room temperature.  Heat a large non stick frypan over medium heat and melt a generous knob of butter with a enough olive oil to give a thin coating to the bottom of the pan.  When the butter is bubbling add the veal cutlets, you may need to do this in stages adding more oil if necessary, and cook them for about 3 minutes on each side until golden.  Remove and place on a baking tray and transfer to the oven for about 8 minutes.  This will ensure that the cutlets are completely cooked through.


For the eggplant parmigiana, heat a non stick fry pan over medium high heat and add a generous amount of oil to the pan, at least a quarter of a cup.  Eggplants soak up a lot of oil and you’ll need to add even more oil as you fry.  When the oil is very hot add the eggplant slices in one layer and cook until golden brown on each side, remove and set aside on a plate lined with kitchen paper and season lightly with some salt.  Repeat until all the slices are done. With the oil remaining in the frypan (add a little more if there isn’t any) fry the rosemary leaves for a couple of seconds until covered in oil and slightly crisp. Remove and set aside.


To make the tomato sauce heat a little olive oil in a medium saucepan and add the onions.  Fry, stirring often until the onions are soft.  Add the garlic and chilli flakes and cook for another couple of minutes.  Add the tin of tomatoes, salt, pepper, sugar and oregano and bring to a simmer.  Put the lid on slightly askew and cook on a low heat for about 20 minutes.  Preheat the oven to 180C and place a little tomato sauce on to the bottom of a gratin dish.  I  used individual dishes but you can use one dish, just make sure it’s not too big.  Add a layer of eggplant followed by a little more sauce and then a slice of mozzarella.  Repeat the process then top with the parmesan and scatter with the rosemary leaves.  Place in the oven and bake for 20-25 minutes.  Remove and let it rest for about 5 minutes before serving with the veal.

Oct 5, 2012
mustardwithmutton

no comments

Beef Cheek Sliders

 
Sliders are basically just mini hamburgers.  There’s something fun about eating food that has been miniaturised – mini hotdogs, mini muffins, mini pizzas, you get the drift.  Normally sliders are filled with a smaller version of the usual minced hamburger patty but these sliders are filled with slow cooked beef cheeks in a rich jus which makes them a little more grown up and even more delectable. And if that wasn’t enough, they’re topped with a smoky tomato sauce, aged cheddar and dill pickles. The beef cheeks take a while to braise but the good thing is that they can be made a day or two in advance so when it comes to making the sliders it’s just an assembly job which is handy if you’re making these for a party and have a lot of other cooking to take care of.

Ingredients – Makes 16 sliders    Adapted from Matt Preston

2 tablespoons olive oil
1kg beef cheeks, trimmed and seasoned with salt and pepper
2 onions chopped
2 carrots chopped
2 celery chopped
3 anchovy fillets in oil, drained
2 garlic cloves
2 bay leaves
1 heaped tablespoon tomato paste
1 teaspoon salt
2 cups red wine
3 cups beef stock
2 tablespoons worcestershire sauce
16 small burger buns, split
16 slices aged strong cheddar
4 dill pickles, sliced

Smoky Tomato Sauce
¼ cup barbecue sauce
½ tablespoon worcestershire sauce
½ cup tomato sauce (ketchup)
¼ cup American style mustard

Method

Preheat oven to 160C.  Heat oil in a large flameproof casserole over medium high heat.  Cook the beef in batches, turning until browned. Remove from the pan and set aside.  Add onion, carrot and celery and cook, stirring for 8 minutes, until softened and starting to brown. Add anchovies, tomato paste, salt and garlic and cook for another couple of minutes. Add bay leaves and wine and bring to a simmer. Return beef to pan with stock and worcestershire sauce.  Bring back to a simmer, then cover and transfer to the oven. Bake for 3 hours or until beef is tender..  Allow beef to cool in stock. Once cooled remove beef from stock, and shred with a fork, then combine with 1 cup of the strained cooking liquid, taste and adjust seasoning, if required.  Set aside and keep warm.  The beef at this point can be refrigerated for a day or two and reheated in a saucepan on the day required.


To make the smoky tomato sauce combine all ingredients in a bowl and set aside. Preheat grill to medium high and grill the burger buns until lightly golden..  Spread sauce on the bases and top with the beef and cheese.  I cut out the cheese into rounds with a cookie cutter so as they would fit neatly on the burger buns.  Grill for a minute until the cheese melts. Add some pickle slices to each slider and serve hot.


Oct 4, 2012
mustardwithmutton

1 comment

Prawn Cocktail

Mention shrimp/prawn cocktail to an American and they’ll instantly think of large boiled shrimp accompanied by a horseradish spiked tomato sauce.  Mention the same thing to an Australian and the image that comes to mind is completely different.  A prawn cocktail for us are prawns (not too large) that have been liberally doused in a creamy mayonnaise and ketchup sauce, called Rose-marie sauce. The prawns are then placed  on a bed of finely shredded iceberg lettuce and diced avocado.  It’s a seventies retro classic that should never have gone out of fashion.  It’s a crowd pleaser because the flavour combinations are simple but perfect.  In this version the sauce is taken up a notch with the addition of tabasco and fresh lemon juice and the final dish is topped off with salmon roe which makes it a little more special.  It’s a perfect starter for a party as it can be assembled ahead and chilled until ready to serve.  For special occasions like Christmas and New Year we add lobster and crab meat to the prawns and tarragon to the sauce – heavenly!

Ingredients – Serves 2

2 large handfuls of cooked and peeled prawns – you can use more or less depending on how large you want the portions to be.  I prefer small to medium size prawns
4 tablespoons best quality whole egg mayonnaise – I use Hellmans
1½ tablespoons ketchup
Half a lemon for juicing
6 drops tabasco
2 tablespoons of fine chopped chives
1 cup of very finely shredded iceberg lettuce
1 avocado, peeled and diced
2 tablespoons salmon roe

Method

Divide the lettuce into two serving glasses or small bowls of your choice (martini glasses work well).  Add half an avocado onto each lettuce mound and  drizzle a little lemon juice over each.  Place in the fridge to chill.  For the sauce combine the mayonnaise, ketchup, a squeeze of lemon juice, tabasco and chives.  Stir well and taste, adjusting the mayonnaise, tabasco, lemon juice and ketchup to get the sauce consistency and flavour you prefer.  Add the prawns to the sauce and mix well.  Remove the glasses from the fridge and top with the prawn mixture, making sure all the sauce gets poured in with the prawns.  Add a tablespoon of salmon roe on top of the prawns and either serve straight away or cover and refrigerate until required.


Oct 3, 2012
mustardwithmutton

no comments

Chocolate & Peanut Butter Slice

If you’re a lover of peanut butter and not averse to a bit of chocolate in life then you’re going to love this slice. Be warned though, they’re very moreish and the inclusion of coconut with the peanut butter just makes them even harder to stop eating. I found these squares of  nutty chocolatey goodness to taste best when they’ve been out of the fridge for about 5 minutes, still chilled but not stone cold. If you have more will power than my family these will keep for up to a week in the refrigerator but I don’t think that’s going to be an issue!

Ingredients   Adapted from Delicious Magazine

125g unsalted butter
1 cup (280g) smooth peanut butter
1½ cups (225g) plain flour
¾ cup firmly packed brown sugar (165g)
1 cup (90g) desiccated coconut
1 egg beaten
250g good quality dark chocolate, chopped
50g white chocolate, chopped
50g milk chocolate, chopped

Method

Preheat oven to 180C.  Line a 20 x 30cm lamington pan or baking tray with baking paper, leaving some overhang on all side for easy removal later. Combine the butter and peanut butter in a saucepan over low heat, stirring until melted. Place the flour in a large bowl with the sugar, coconut, egg and butter mixture and stir to combine.  Press the mixture into the base of the prepared pan and smooth the surface. Bake for 10 minutes until golden.  Set aside to cool for 10 minutes. Meanwhile, place the dark chocolate in a heatproof bowl over simmering water (don’t let the bowl touch the water) until the chocolate has melted. Stir until smooth, then pour over the base and chill for 30 minutes.


Melt the milk and white chocolates in separate bowls as above, Drizzle the slice with the melted milk chocolate, followed by the white chocolate. Chill briefly until set. Using the paper, lift the slice out of the pan and cut into squares.

Oct 2, 2012
mustardwithmutton

no comments

Fillet Steak with Blue Cheese Sauce

Fillet steak is not a cut I normally cook on the barbecue as I don’t think it’s delicate flavour holds up well to the grill.  So the other night when it was raining heavily and we felt like steaks for dinner I decided to make fillet steaks.  Ina Garten has a fail proof method of cooking thick cut fillet steaks to perfection.  She starts them on the stove top and cooks the steaks until they’re well browned on both sides than tops each fillet with a knob of butter and places them in a hot oven for around 8 minutes and they come out juicy and perfectly medium-rare.  The topping of blue cheese sauce is amazing and in some ways I wish I hadn’t tried it as it’s something I know I’m going to crave more often than is good for me.

Ingredients – Serves 2   Adapted from Ina Garten

2 x 250g thick cut Fillet steaks (filet mignon) – it’s important for the steaks to be thick cut, if they’re not you’ll need to adjust the timings below.
2 tablespoons vegetable oil
½ tablespoon good quality salt
1 tablespoon coarsely cracked black peppercorns
2 tablespoons unsalted butter, at room temperature

For the Blue Cheese & Chive Sauce
1 cup cream
80g of blue cheese – Roquefort would be good as would gorgonzola picante
½ teaspoon salt
¼ teaspoon freshly ground black pepper
1 tablespoon chopped fresh chives

Method

Preheat the oven to 200C. Heat a well-seasoned cast iron skillet or heavy bottomed non stick frypan that is oven proof, over high heat until very hot. Pat the steaks dry with a paper towel and brush them lightly with vegetable oil. Combine the salt and cracked pepper on a plate and roll the steaks in the mixture, pressing lightly to evenly coat all sides. When the skillet is ready, add the steaks and sear them evenly on all sides for about 2 minutes per side. Top each steak with a tablespoon of butter and place the skillet in the oven. Cook the steaks for about 8 minutes for medium rare.  An instant read thermometer should read 55C (125F). Remove the steaks to a serving platter, cover tightly with aluminum foil and allow to rest at room temperature for 10 minutes.


To make the blue cheese sauce, bring the cream to a boil in a small heavy-bottomed saucepan over medium-high heat. Cook at a low boil, stirring occasionally, until the mixture has become thick, about 10 minutes. Remove the pan from the heat, add the cheese, salt, pepper and chives and whisk rapidly until the cheese melts. Serve the steaks topped with the hot blue cheese sauce.