Oct 1, 2012
mustardwithmutton

no comments

Tandoori Salmon with Red Lentil Dhal & Raita

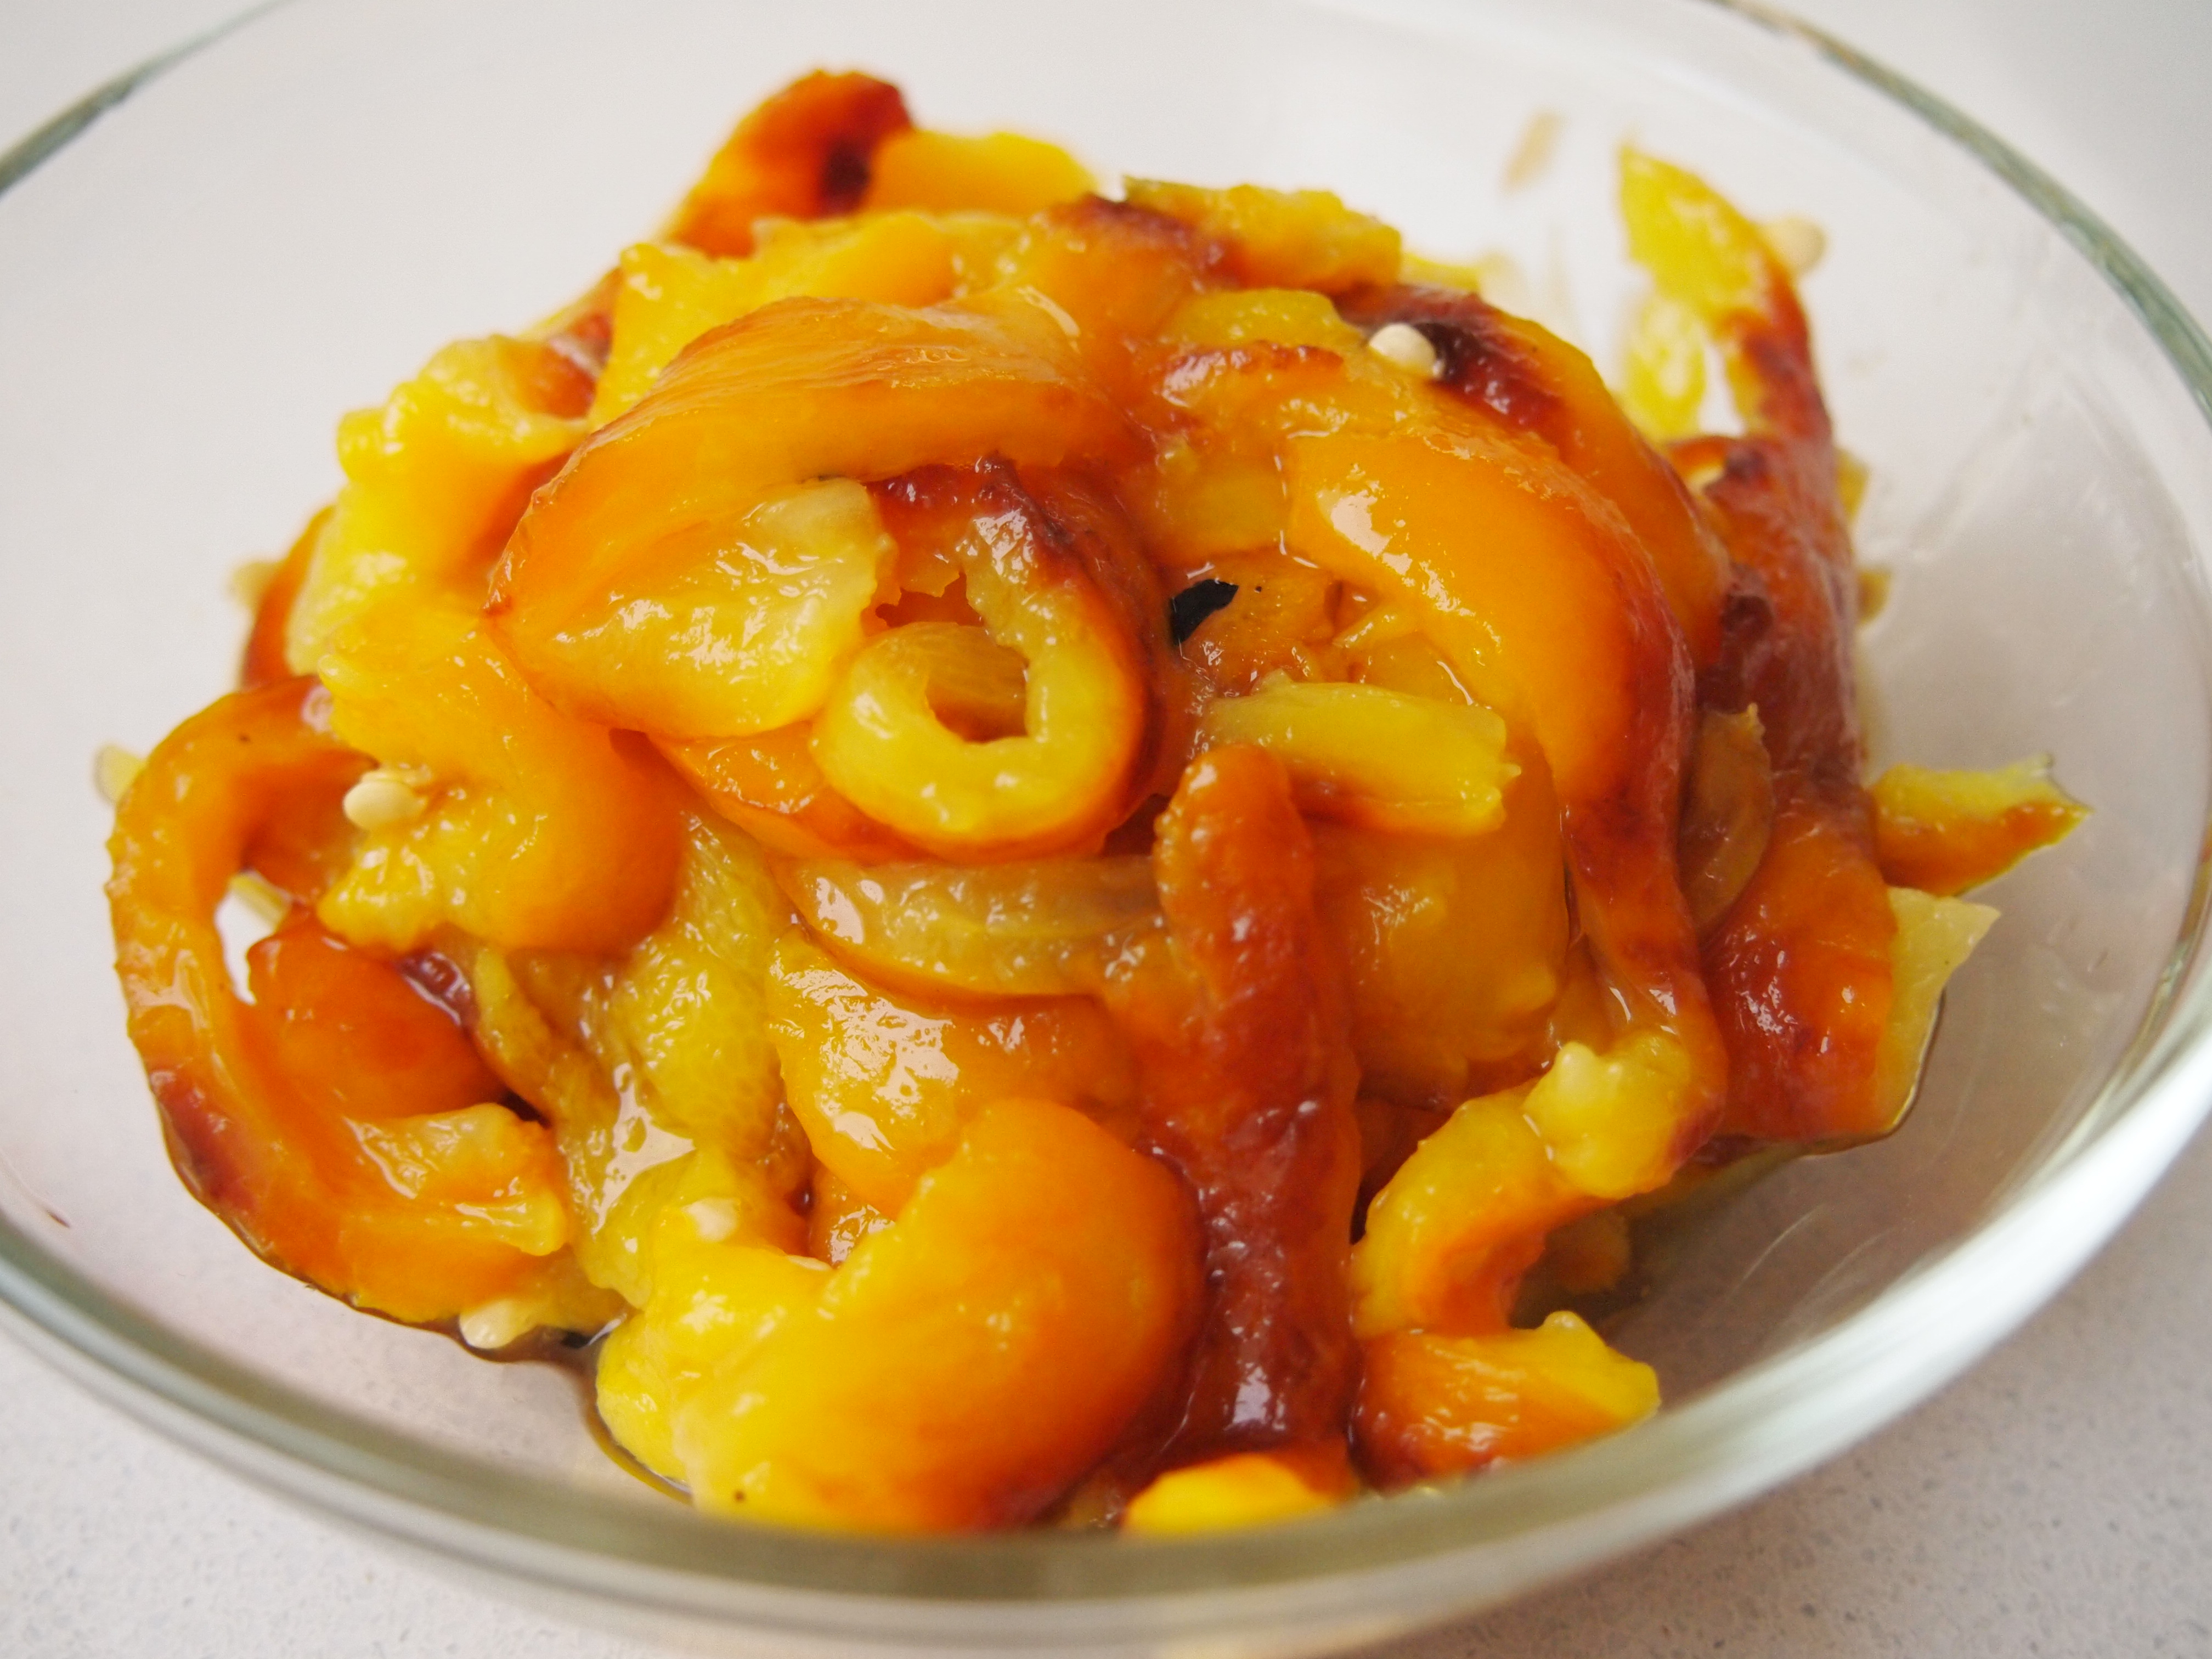
Tandoori chicken is one of my favourite dishes to order at Indian restaurants and whilst looking for inspiration to jazz up some salmon fillets for dinner I thought I’d try doing them tandoori style.  The salmon fillets were very easy to throw together thanks to Patak’s pre-made Tandoori Paste.  The dhal, whilst taking a bit longer to cook was still easy enough for a mid week meal and the topping of cucumber raita was a nice cooling contrast to the warm spices in the salmon and dhal.

Ingredients – Serves 4

4 centre cut salmon fillets, skinned and pin boned
2 heaped tablespoons of best quality tandoori paste – I used Patak’s
2 tablespoons natural Greek yogurt
A squeeze of fresh lemon juice
Salt & freshly ground black pepper
Olive or Vegetable oil

For the Dhal
2 tablespoons vegetable or olive oil
1 large white onion finely chopped
3 cloves garlic, grated
1 tablespoon grated fresh ginger
1 green chilli, deseeded and chopped
2-3 sprigs of fresh curry leaves, leaves removed
1 teaspoon cumin
1 teaspoon coriander
1 teaspoon tumeric
¼ teaspoon cayenne pepper
1 tsp salt, or to taste
1 large tomato, chopped
4 cups water
1 1/2 cups dried red lentils, well rinsed
200g baby spinach leaves, washed
2 tablespoons tomato paste

For the Raita
1 large lebanese cucumber, grated
1 cup natural Greek Yogurt
1 clove of garlic, grated
Pinch of salt

Method

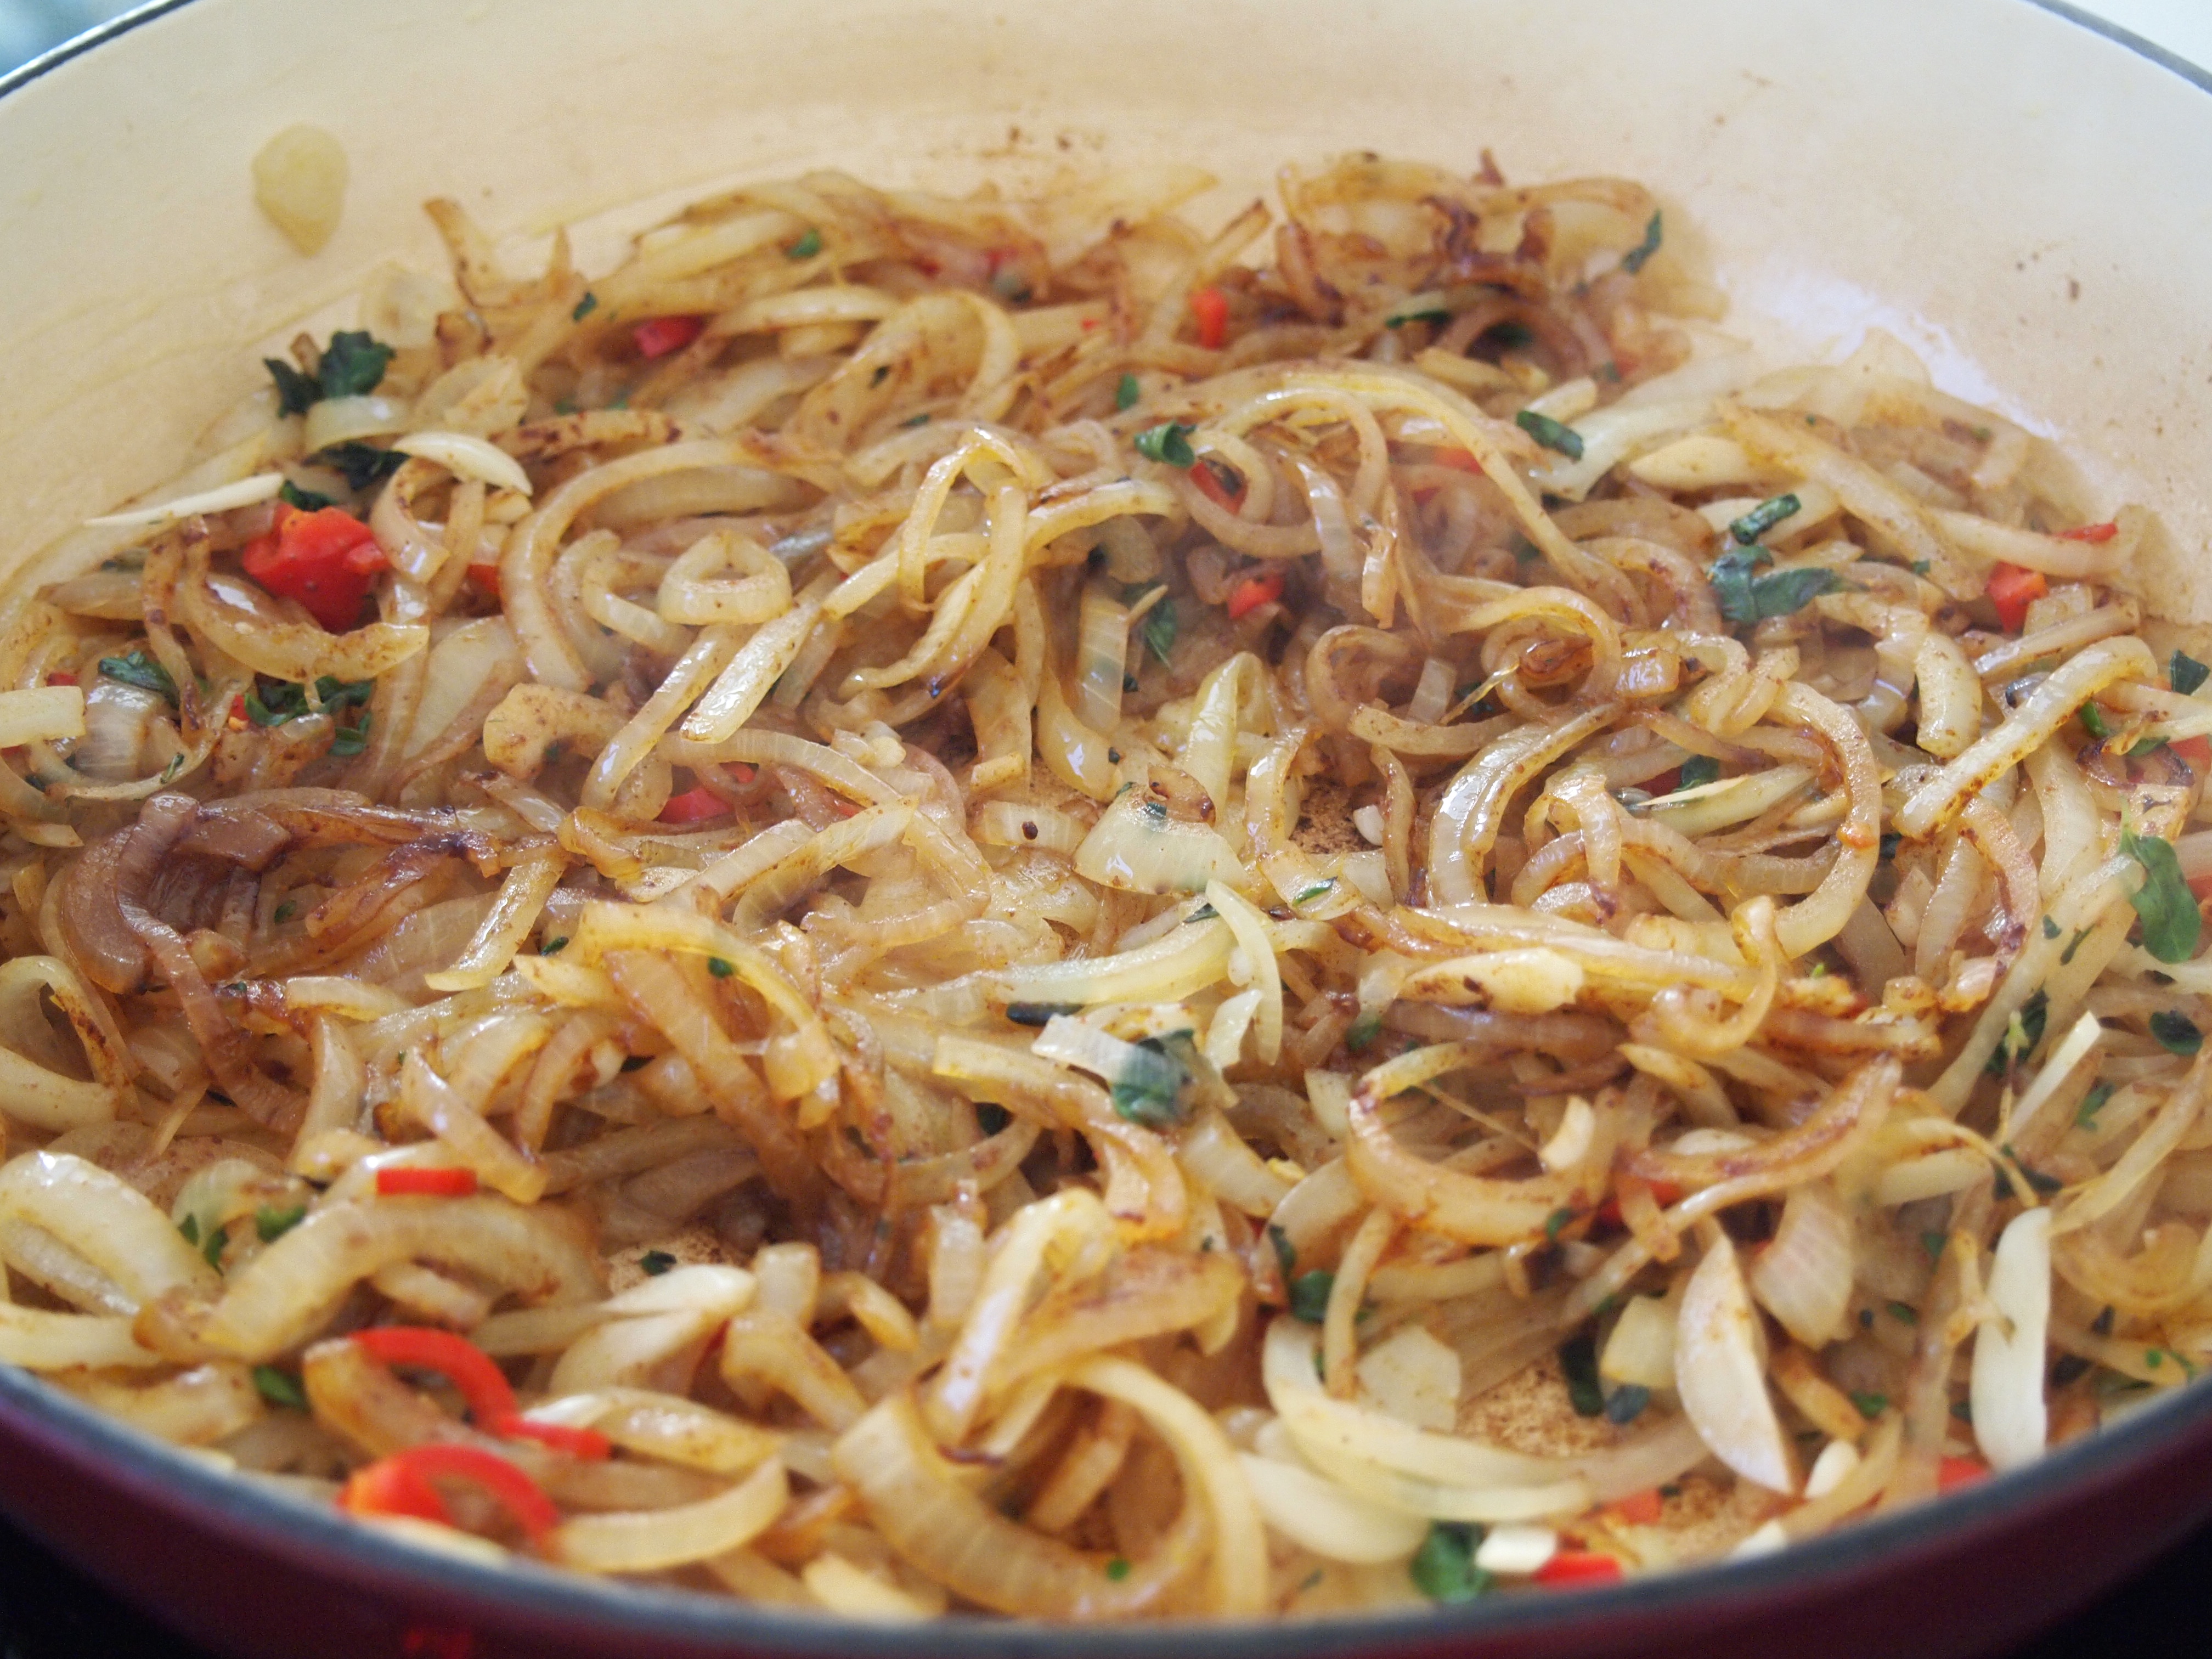
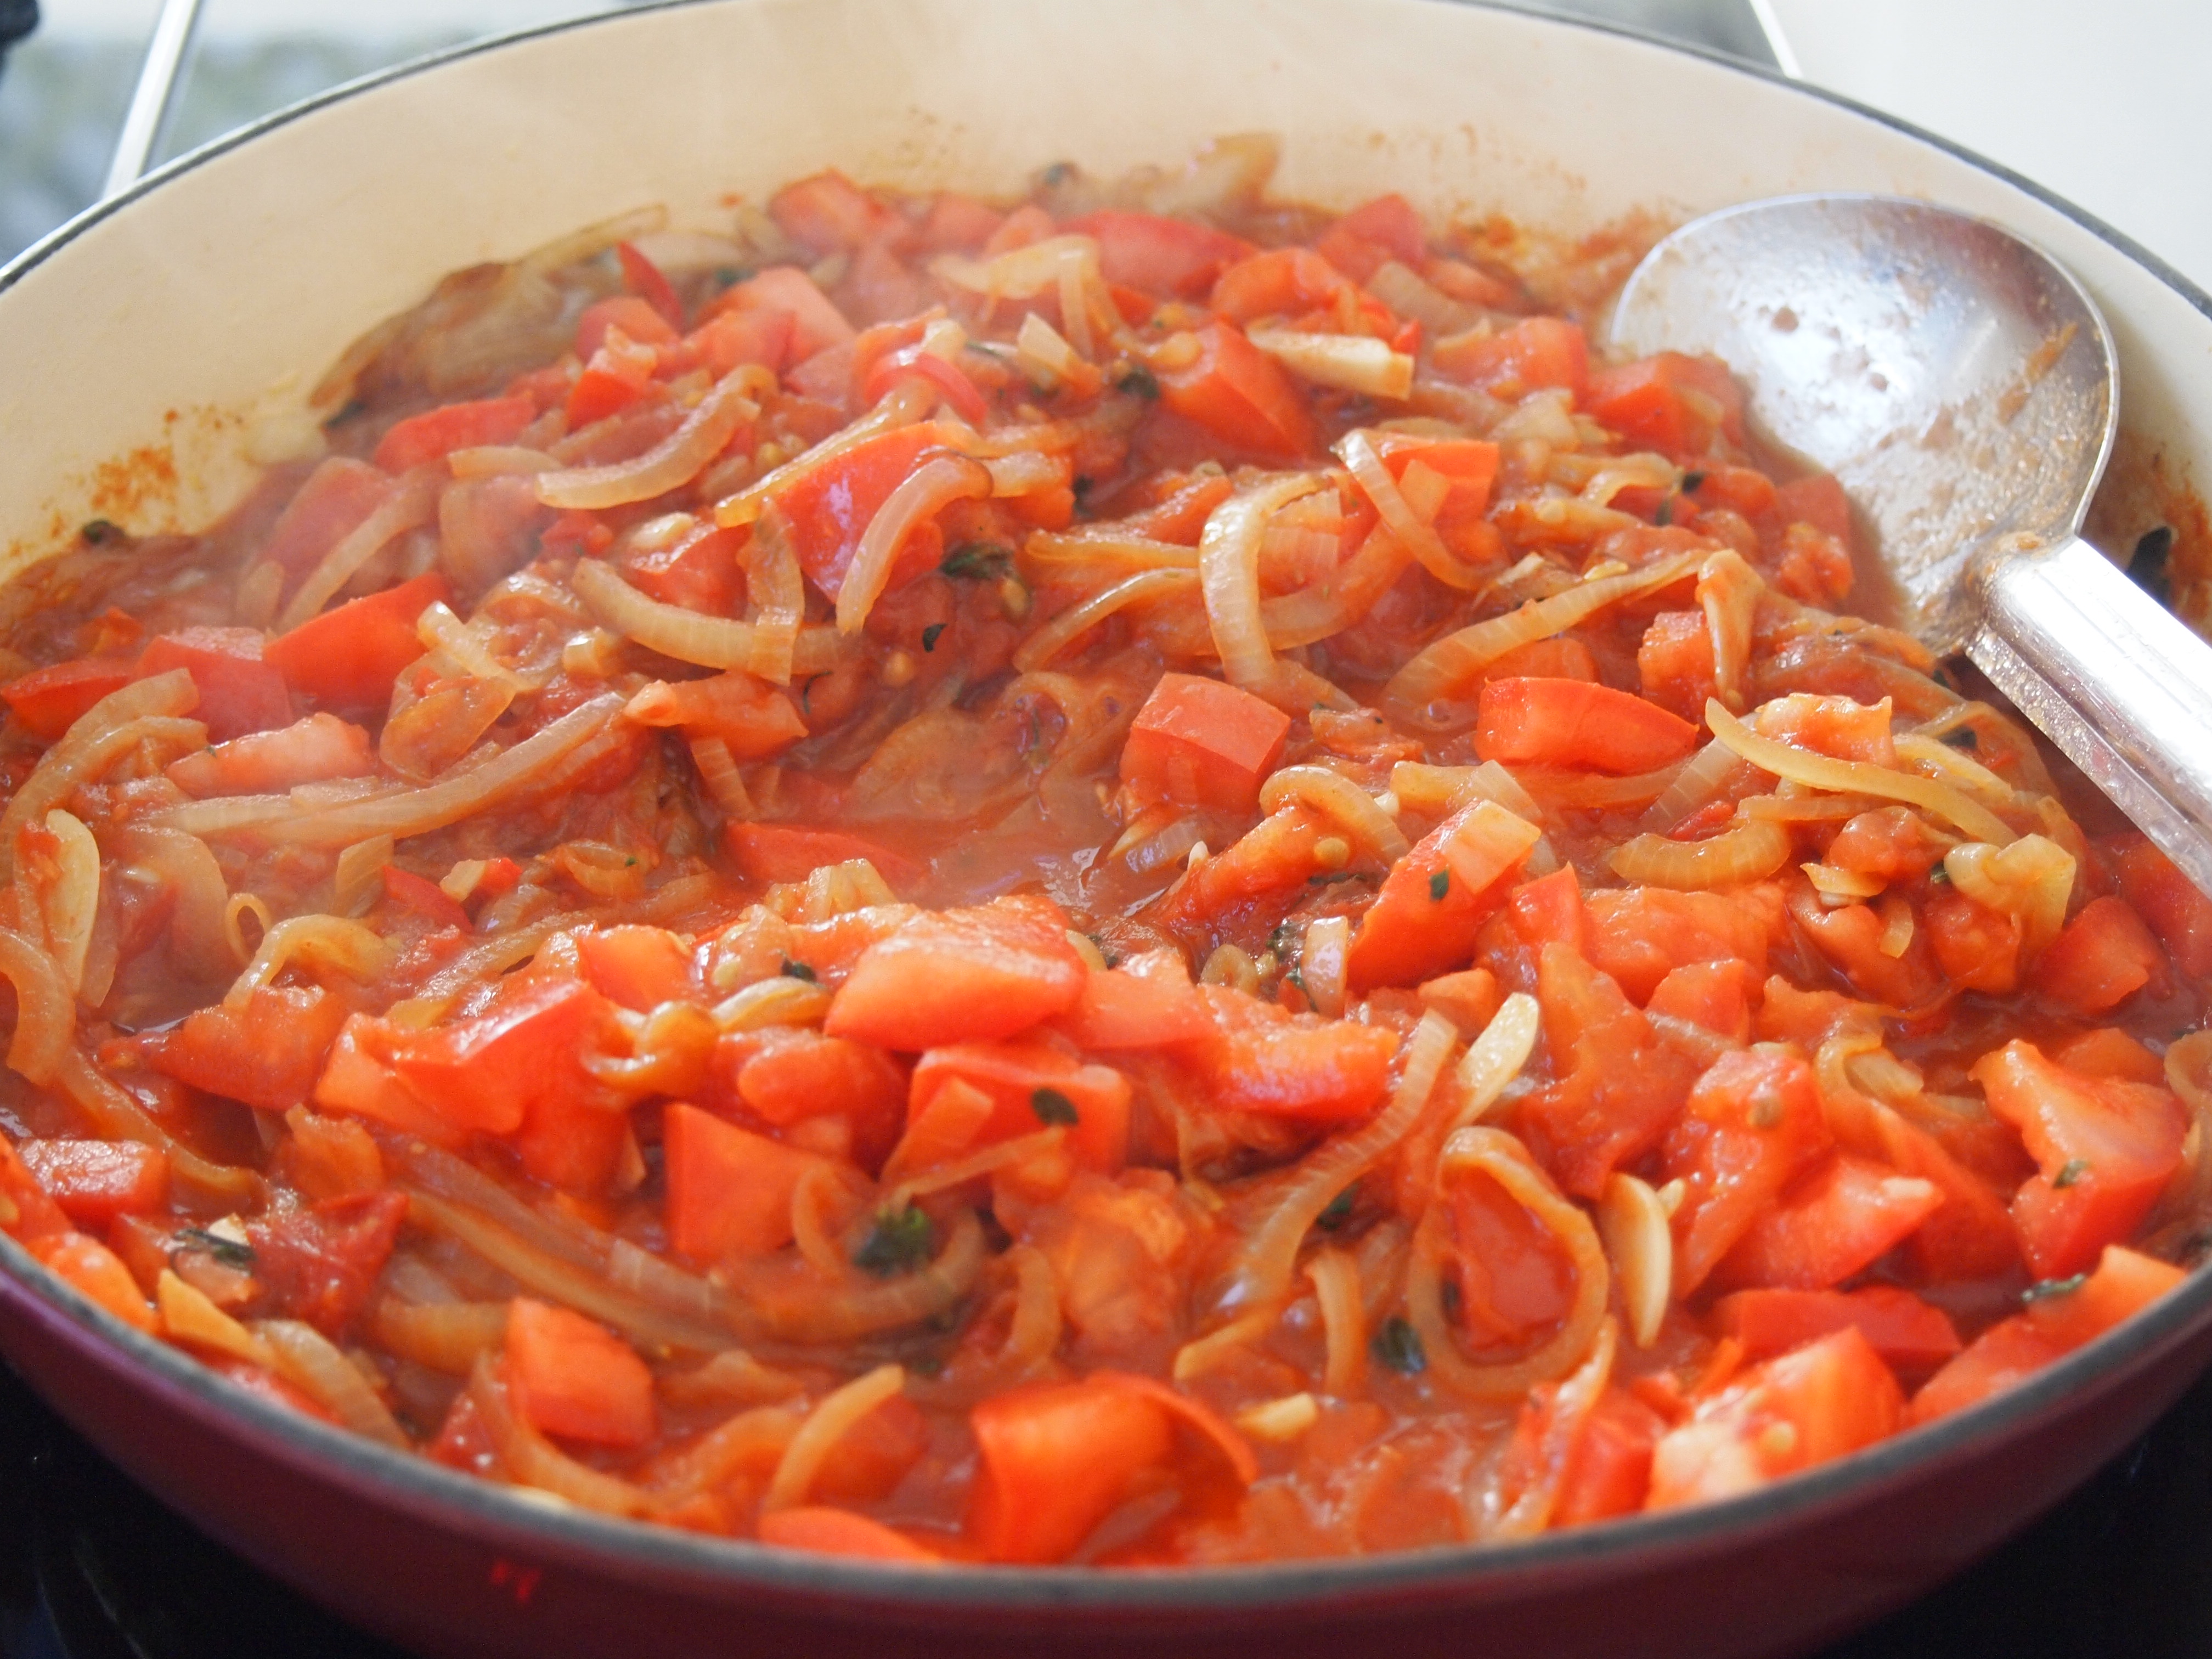
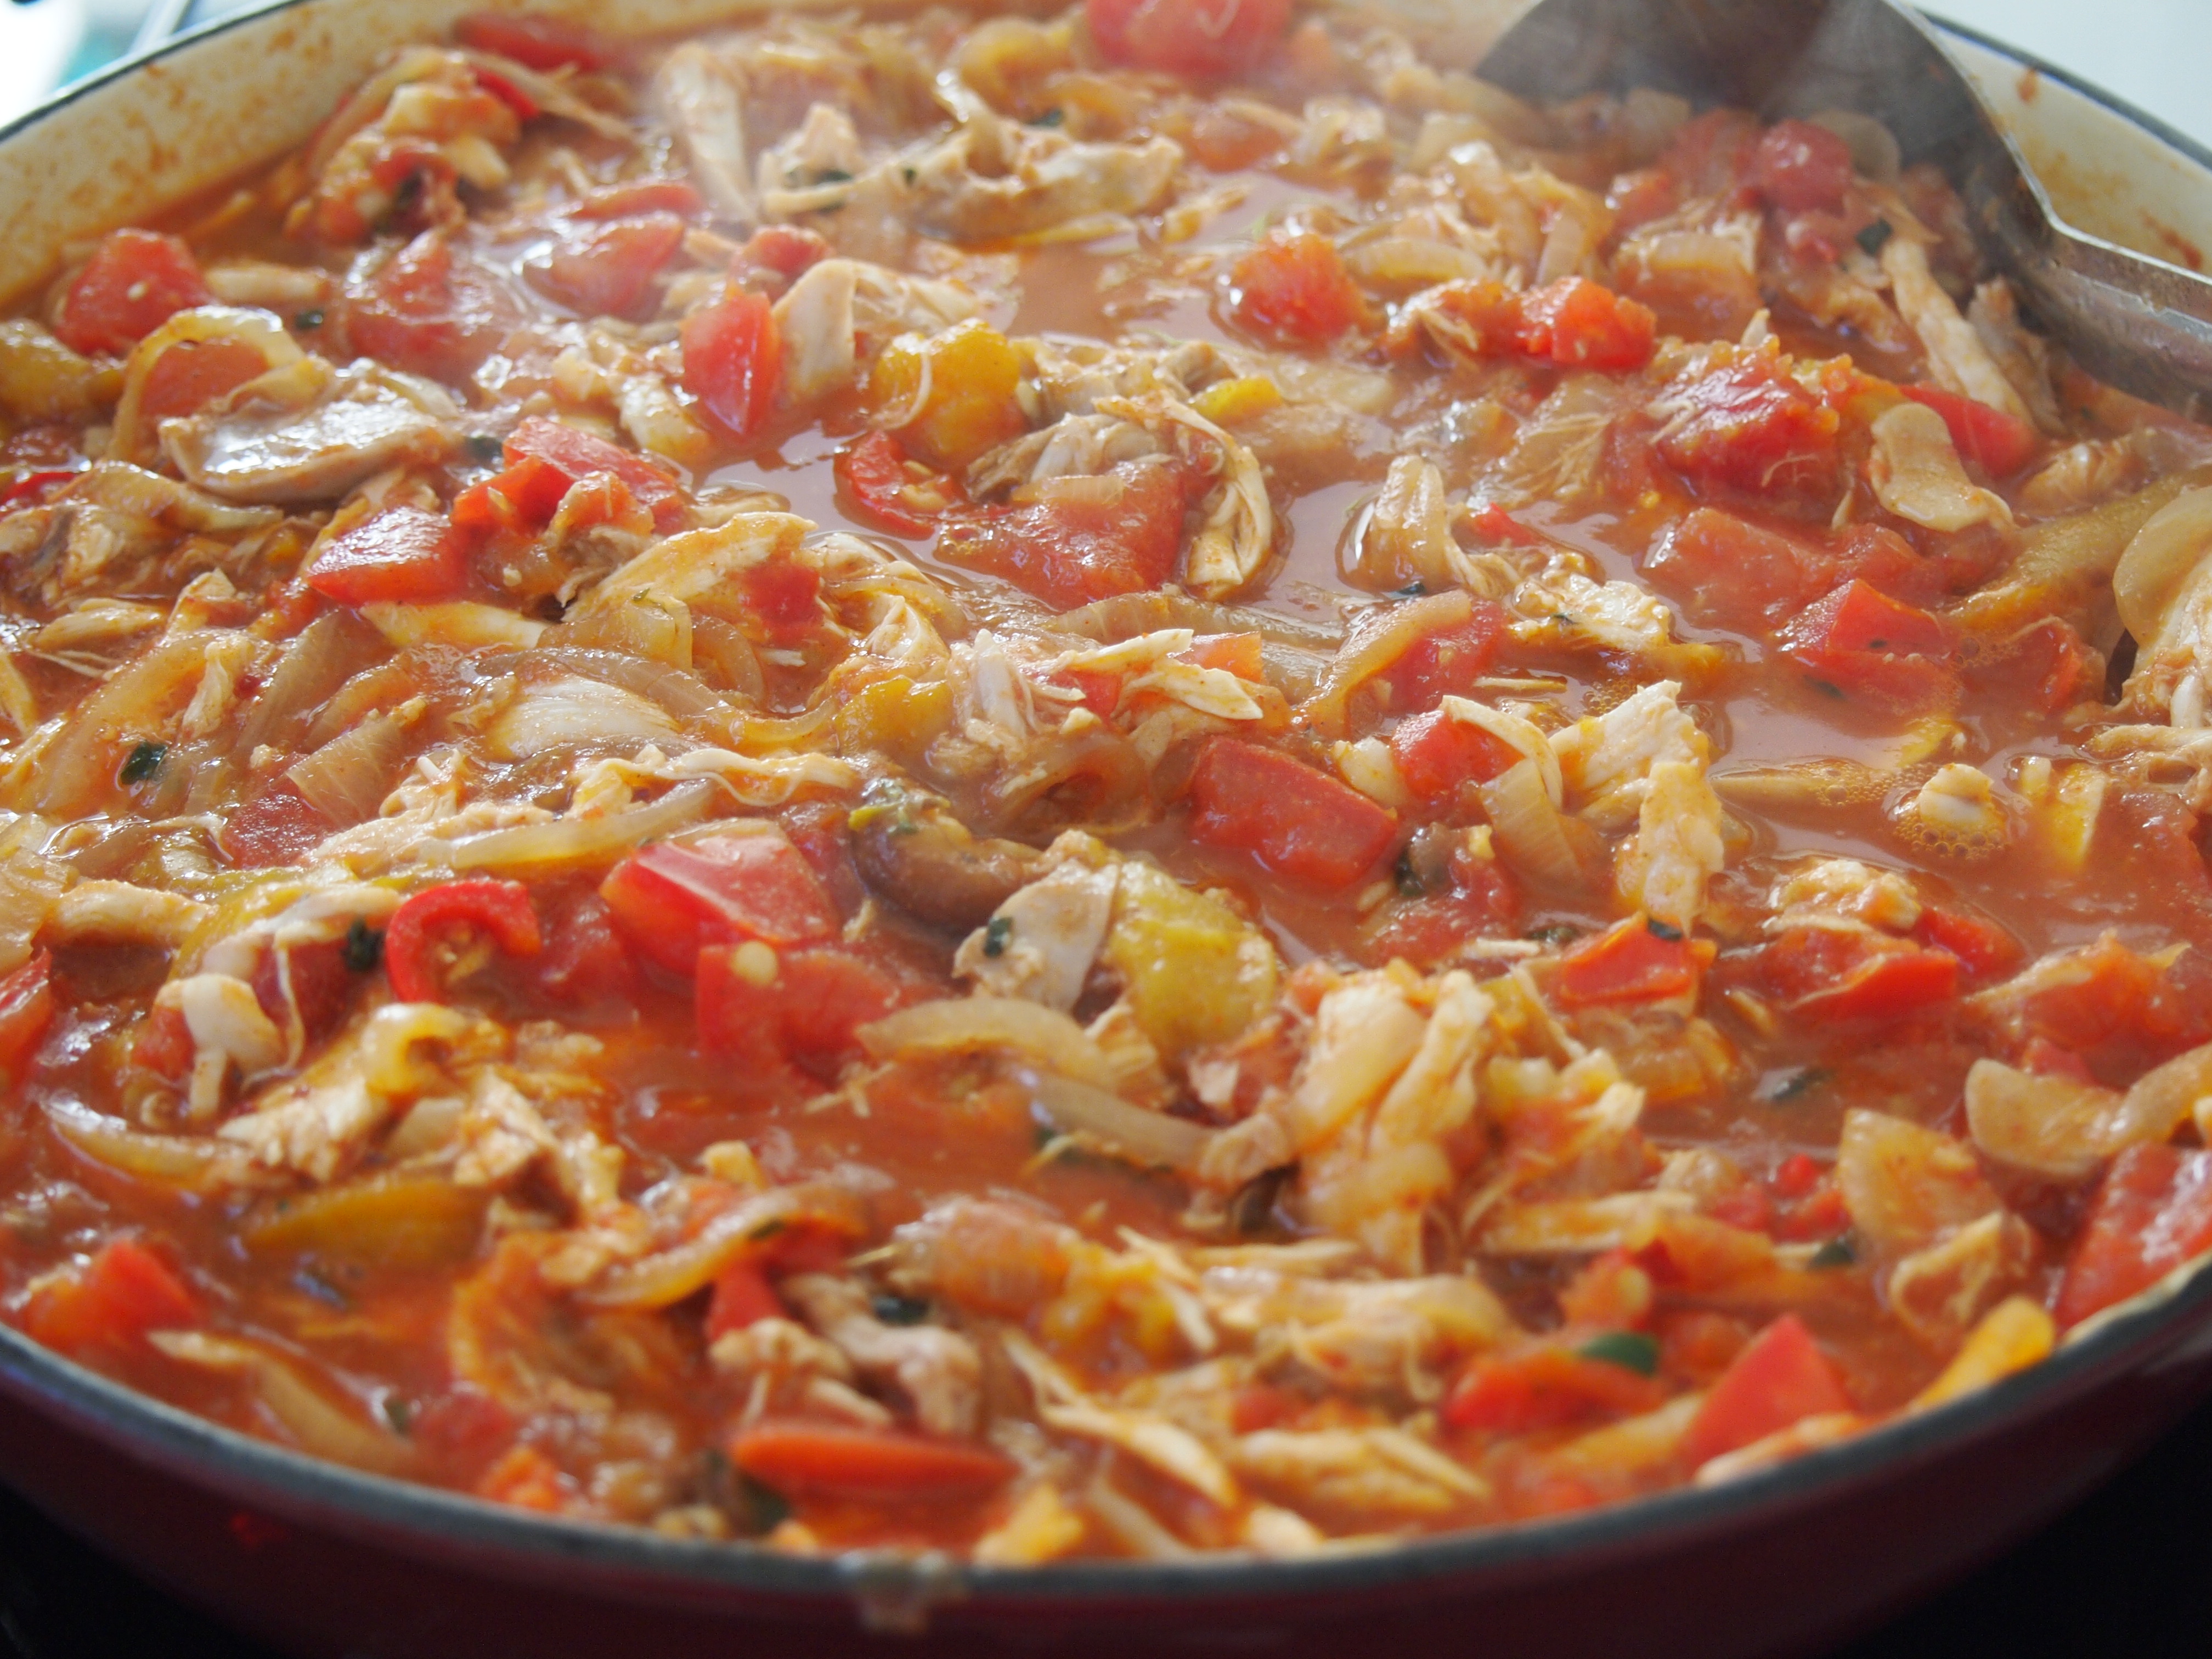
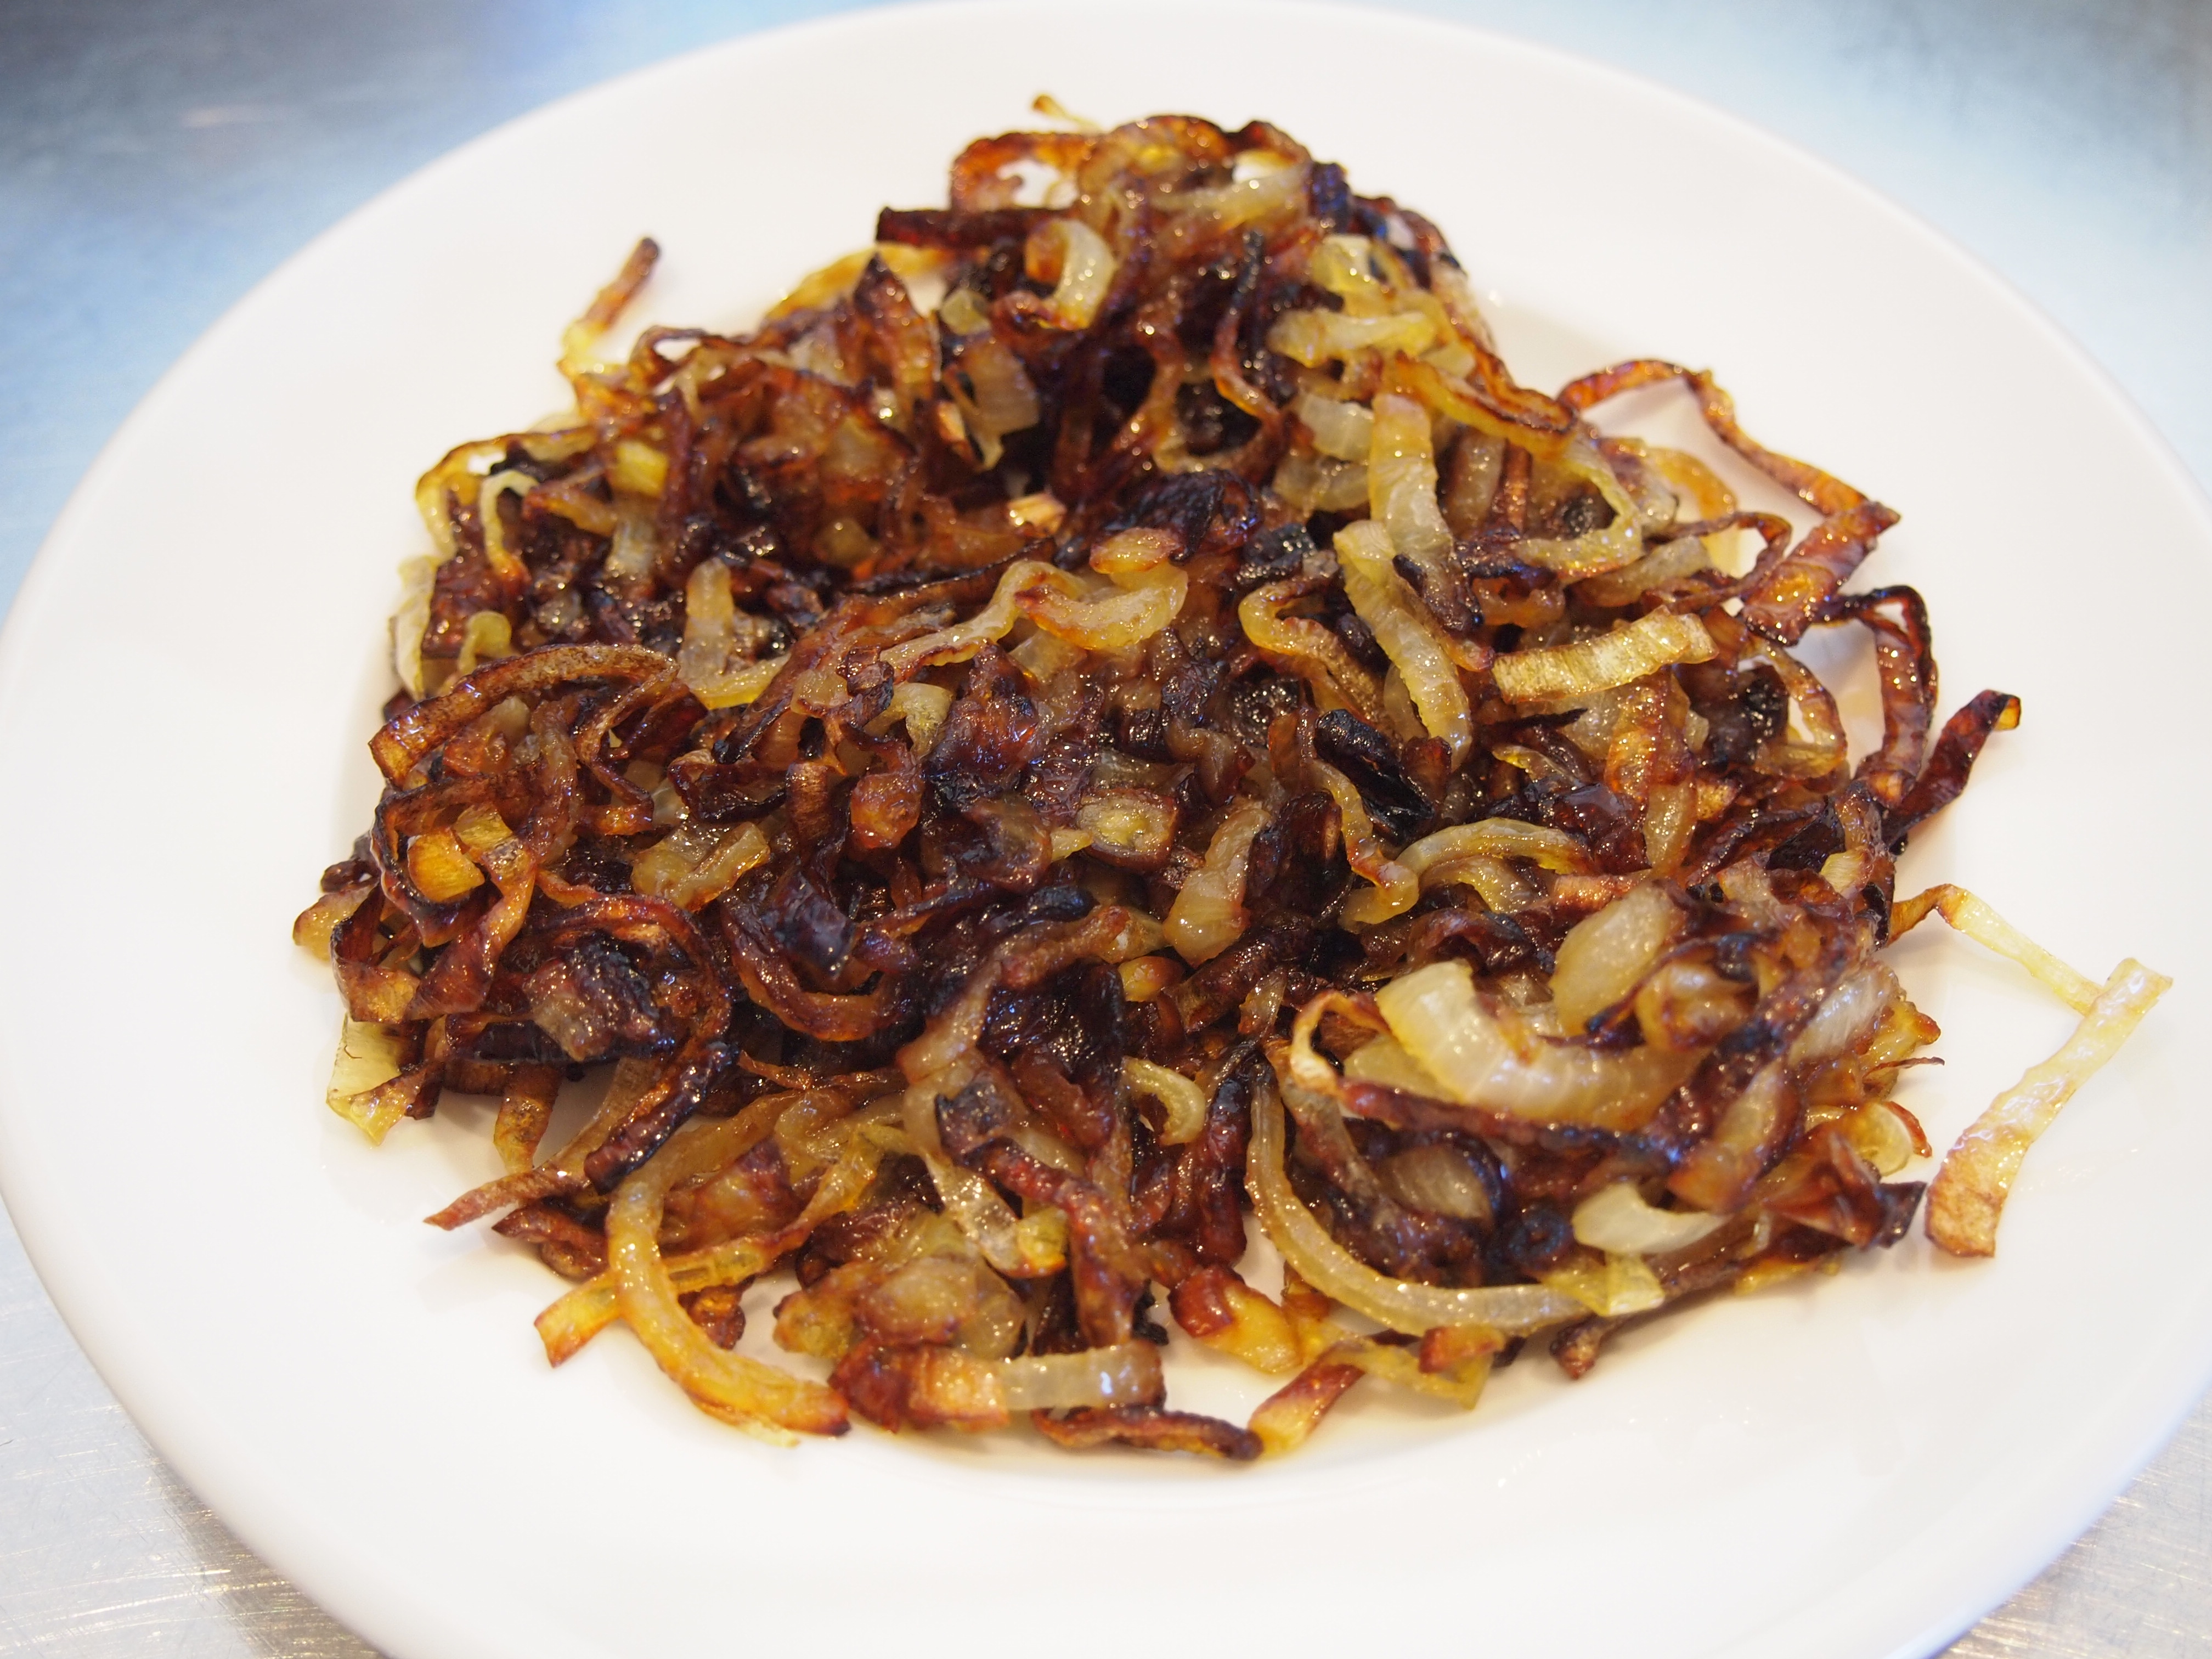
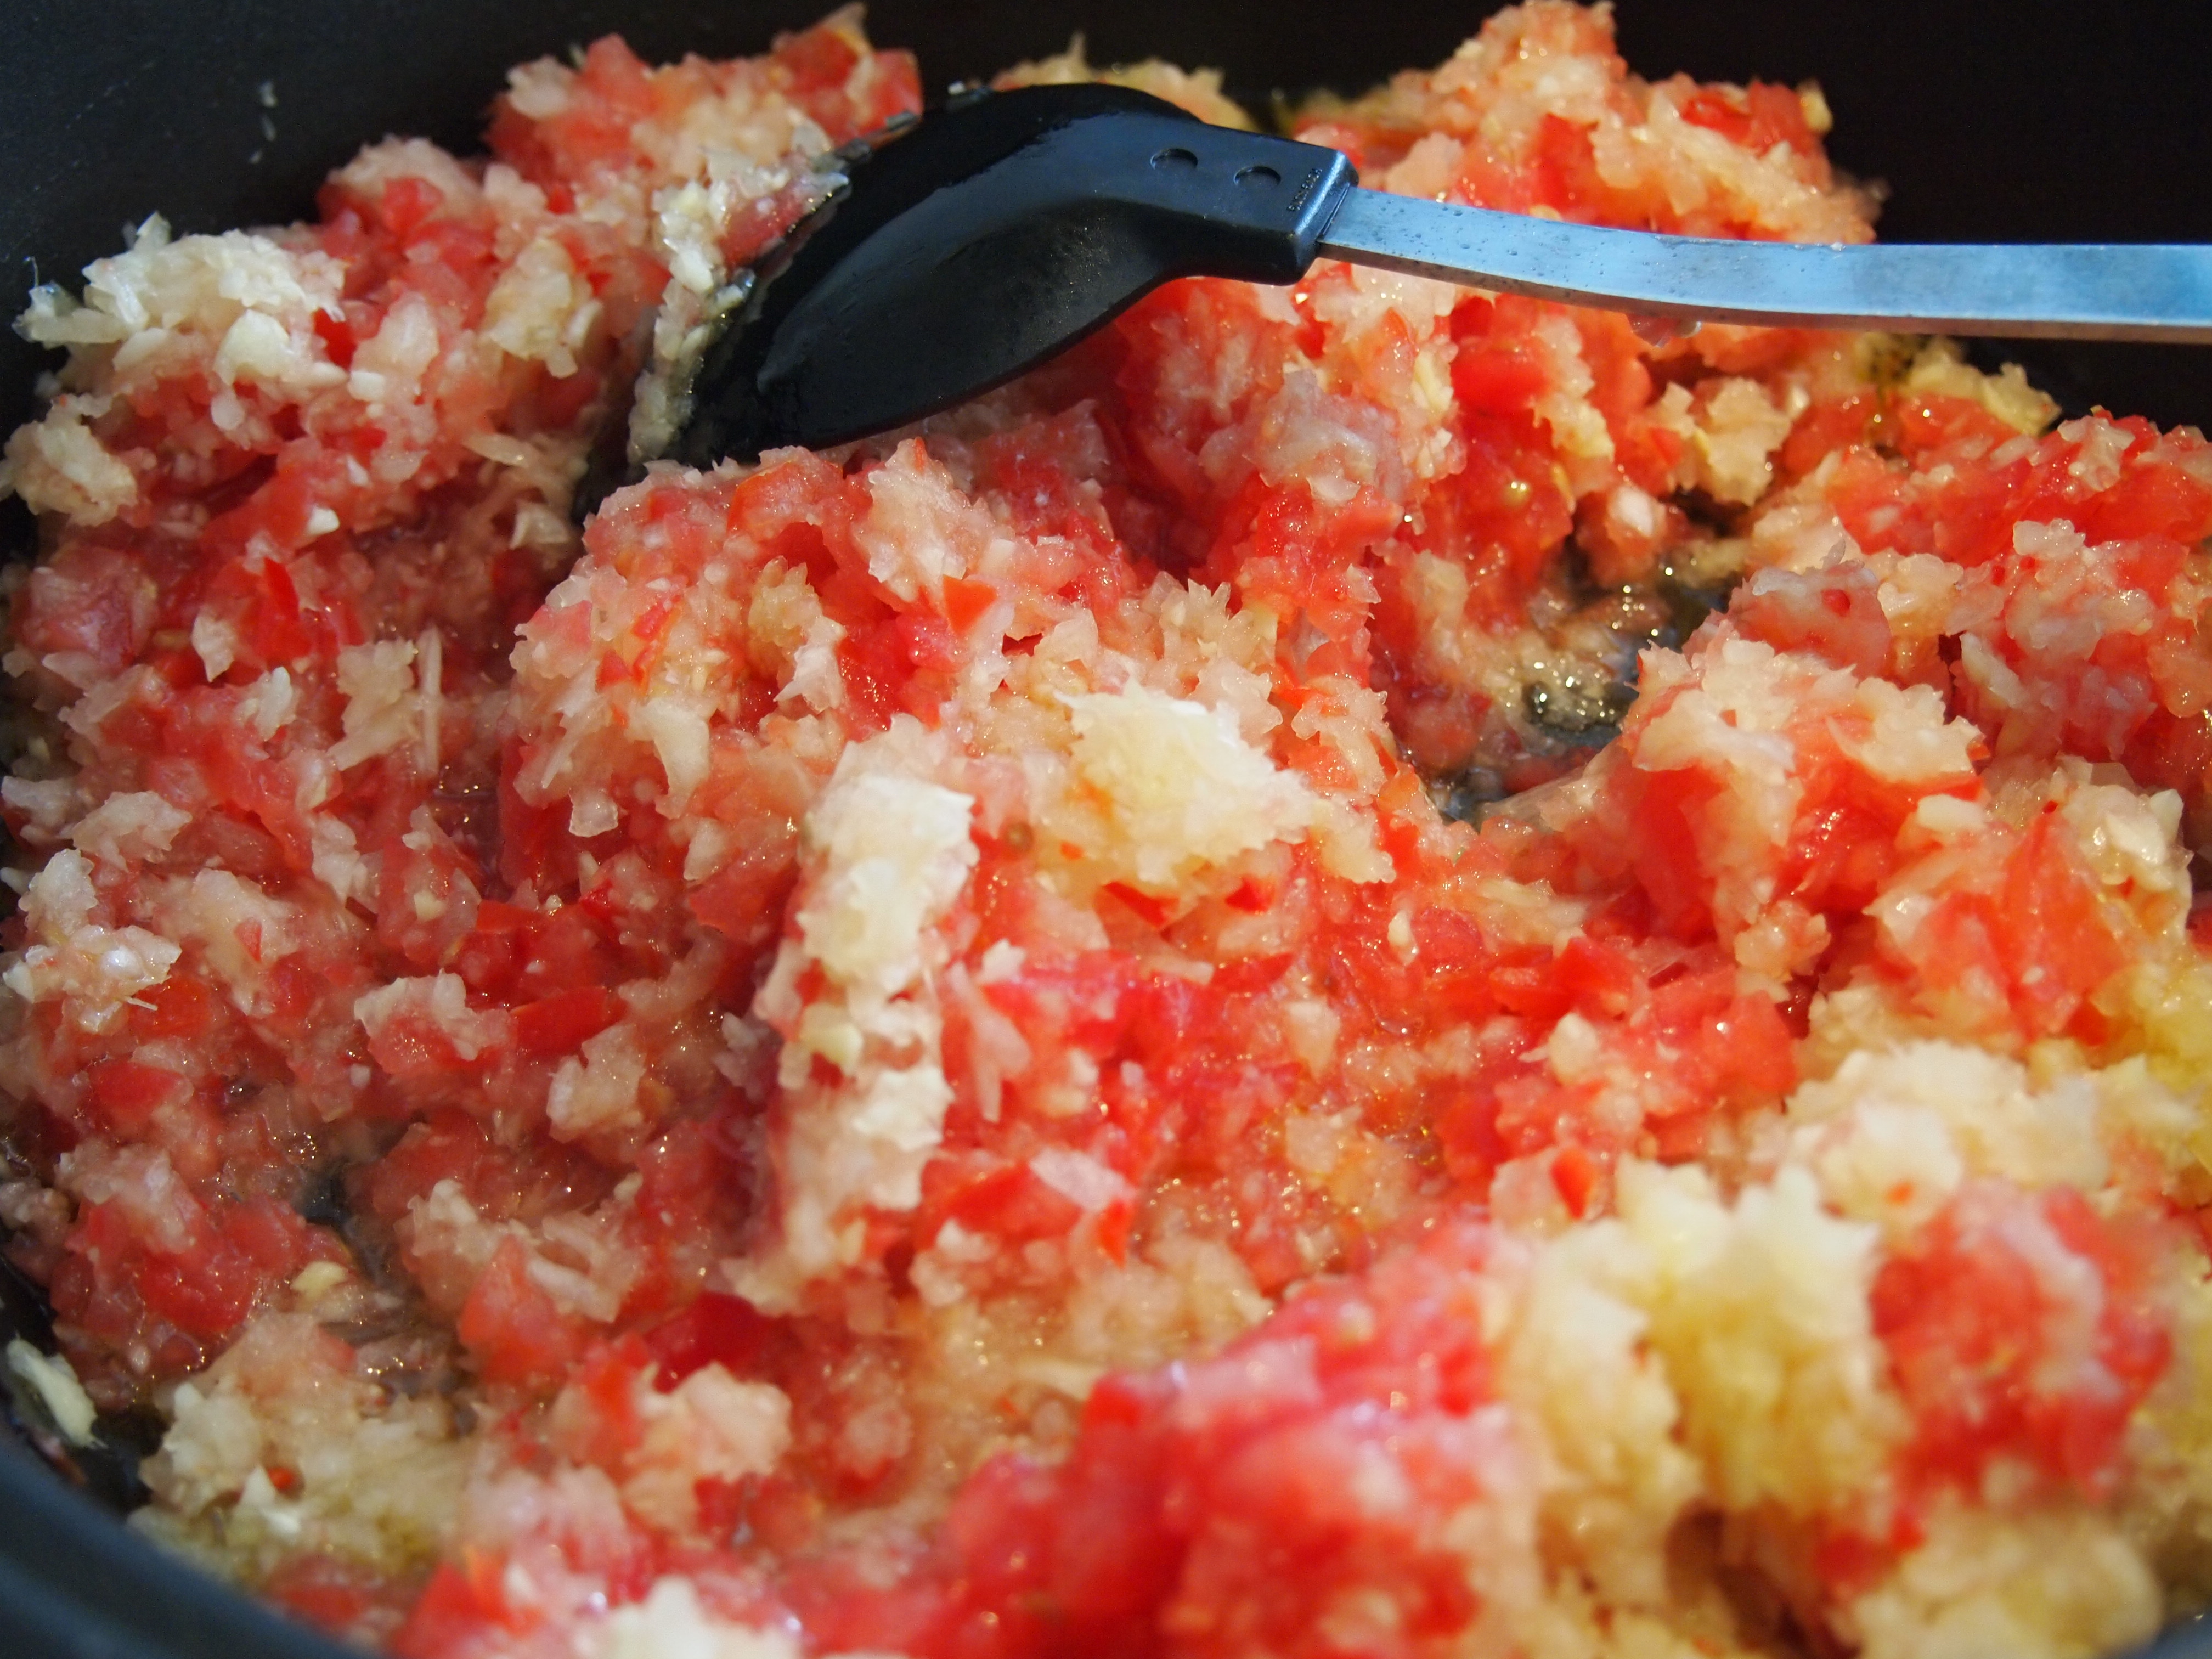
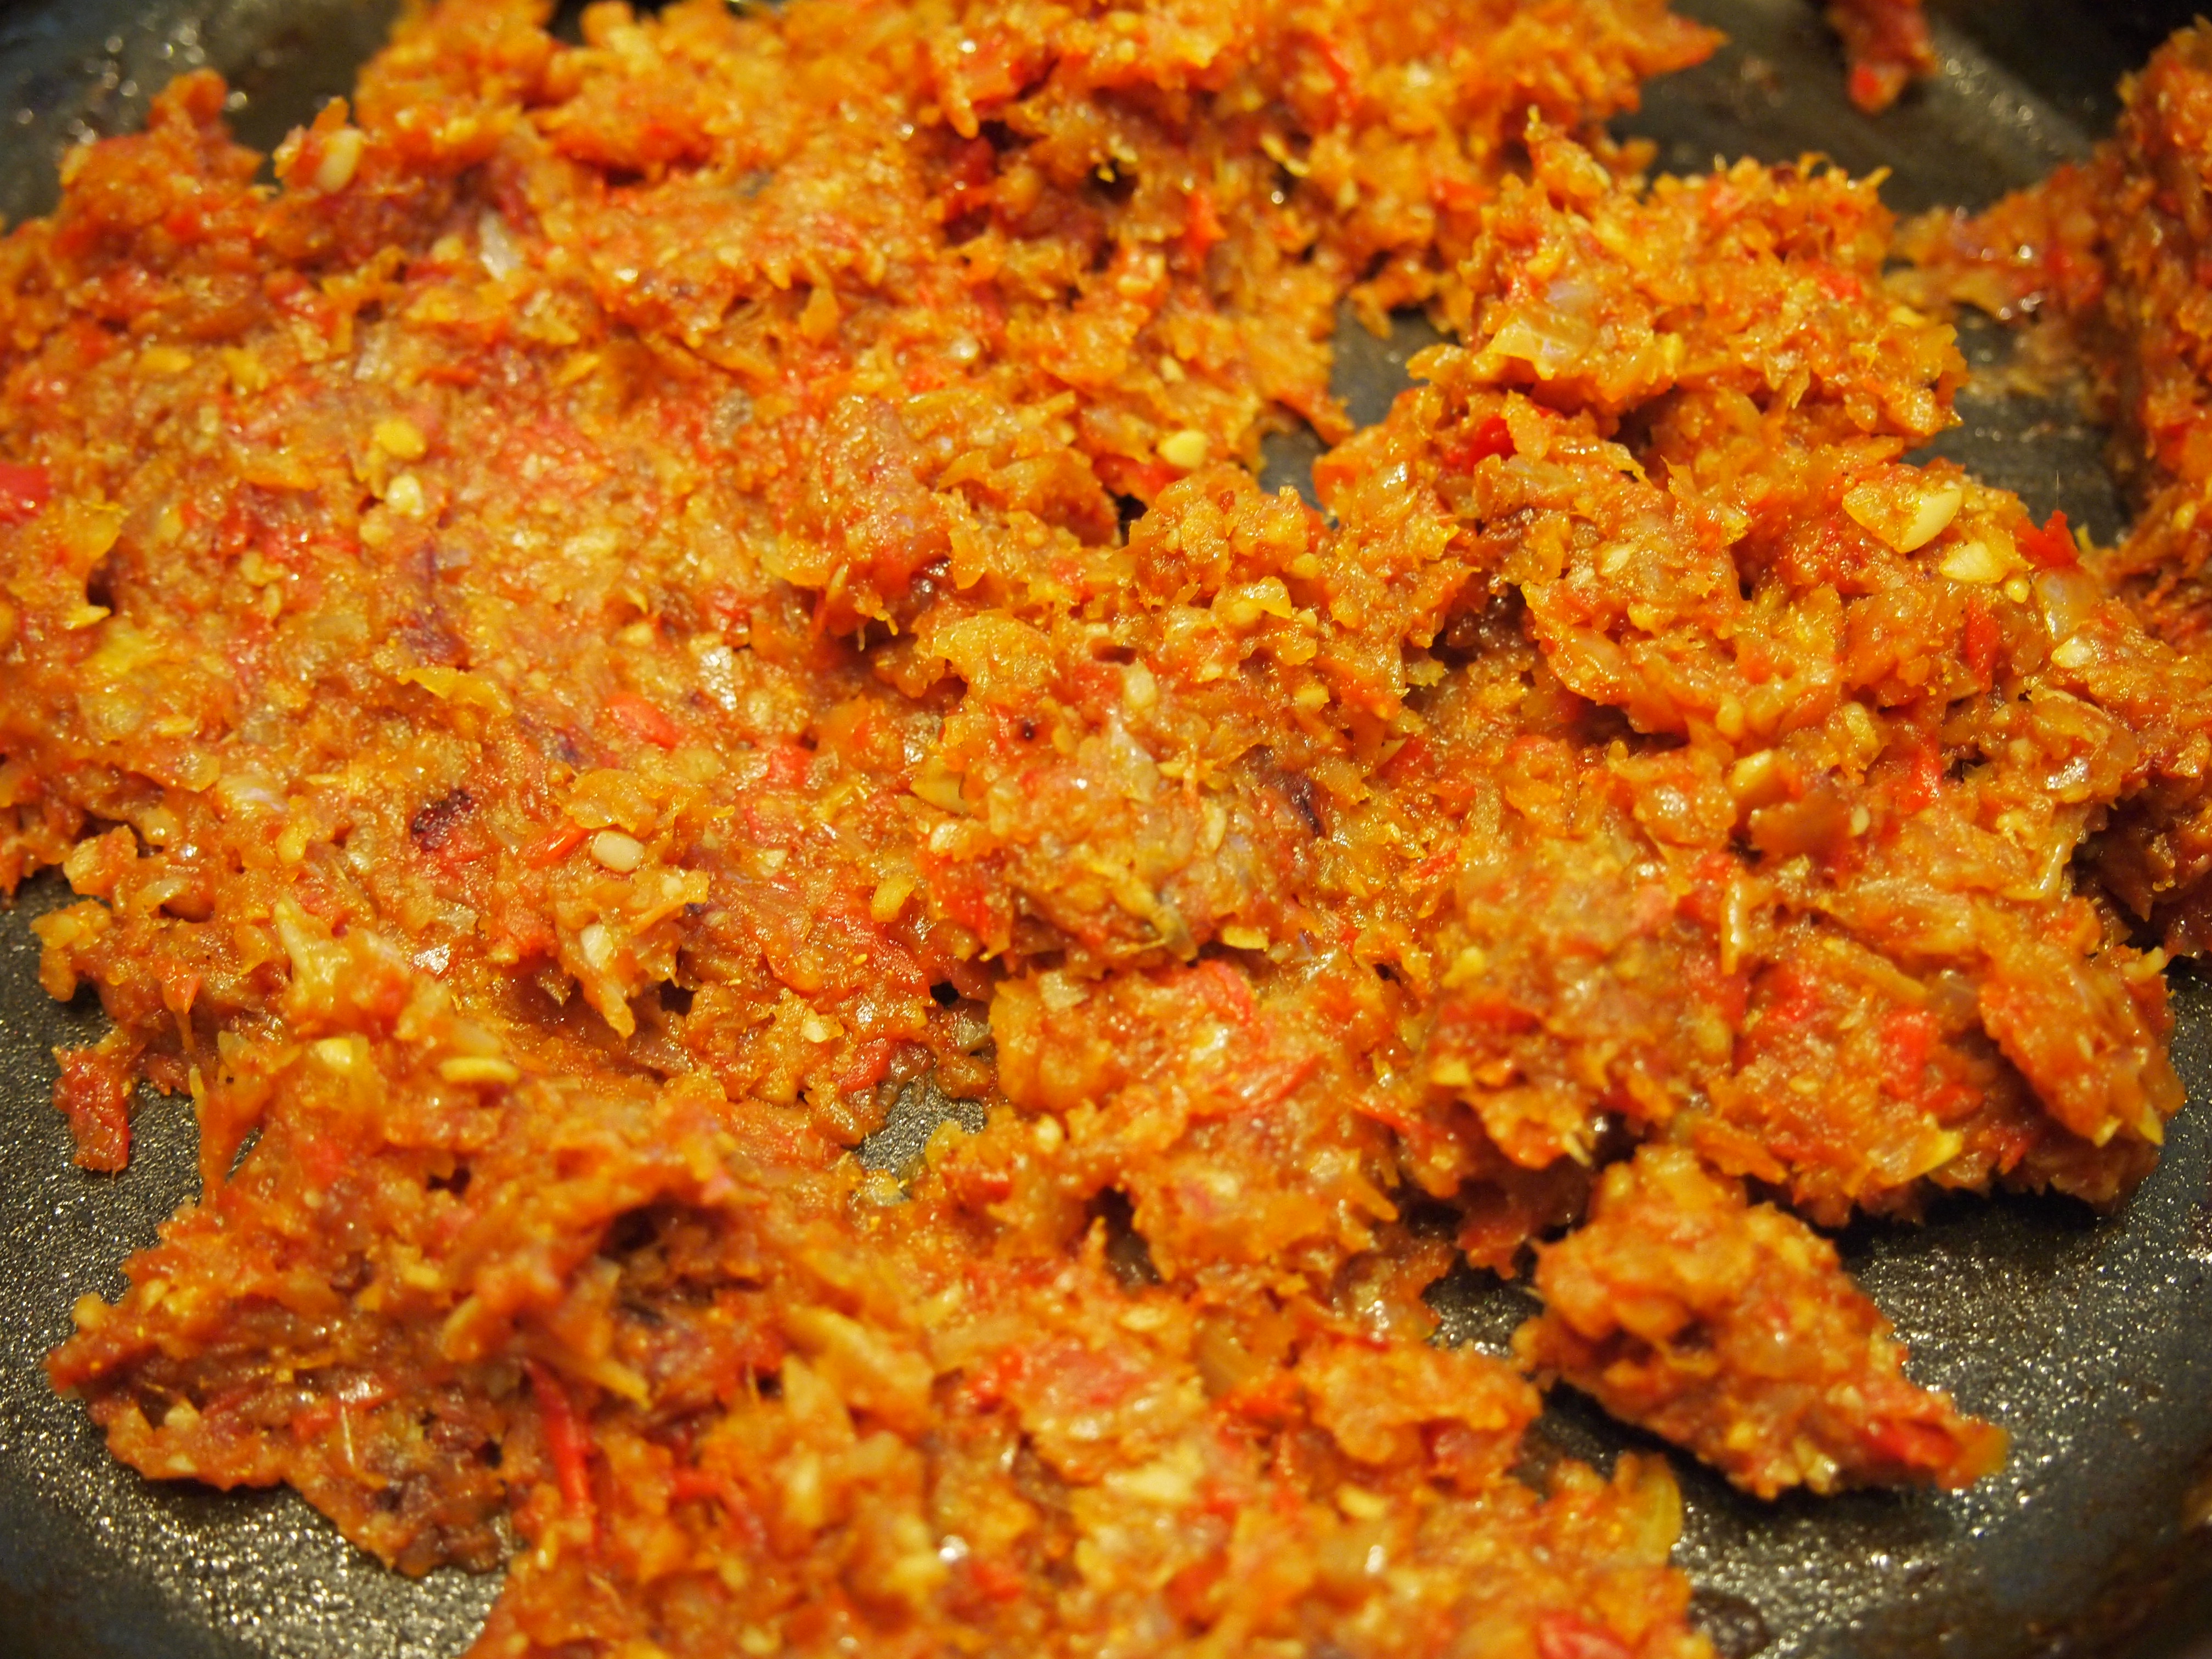
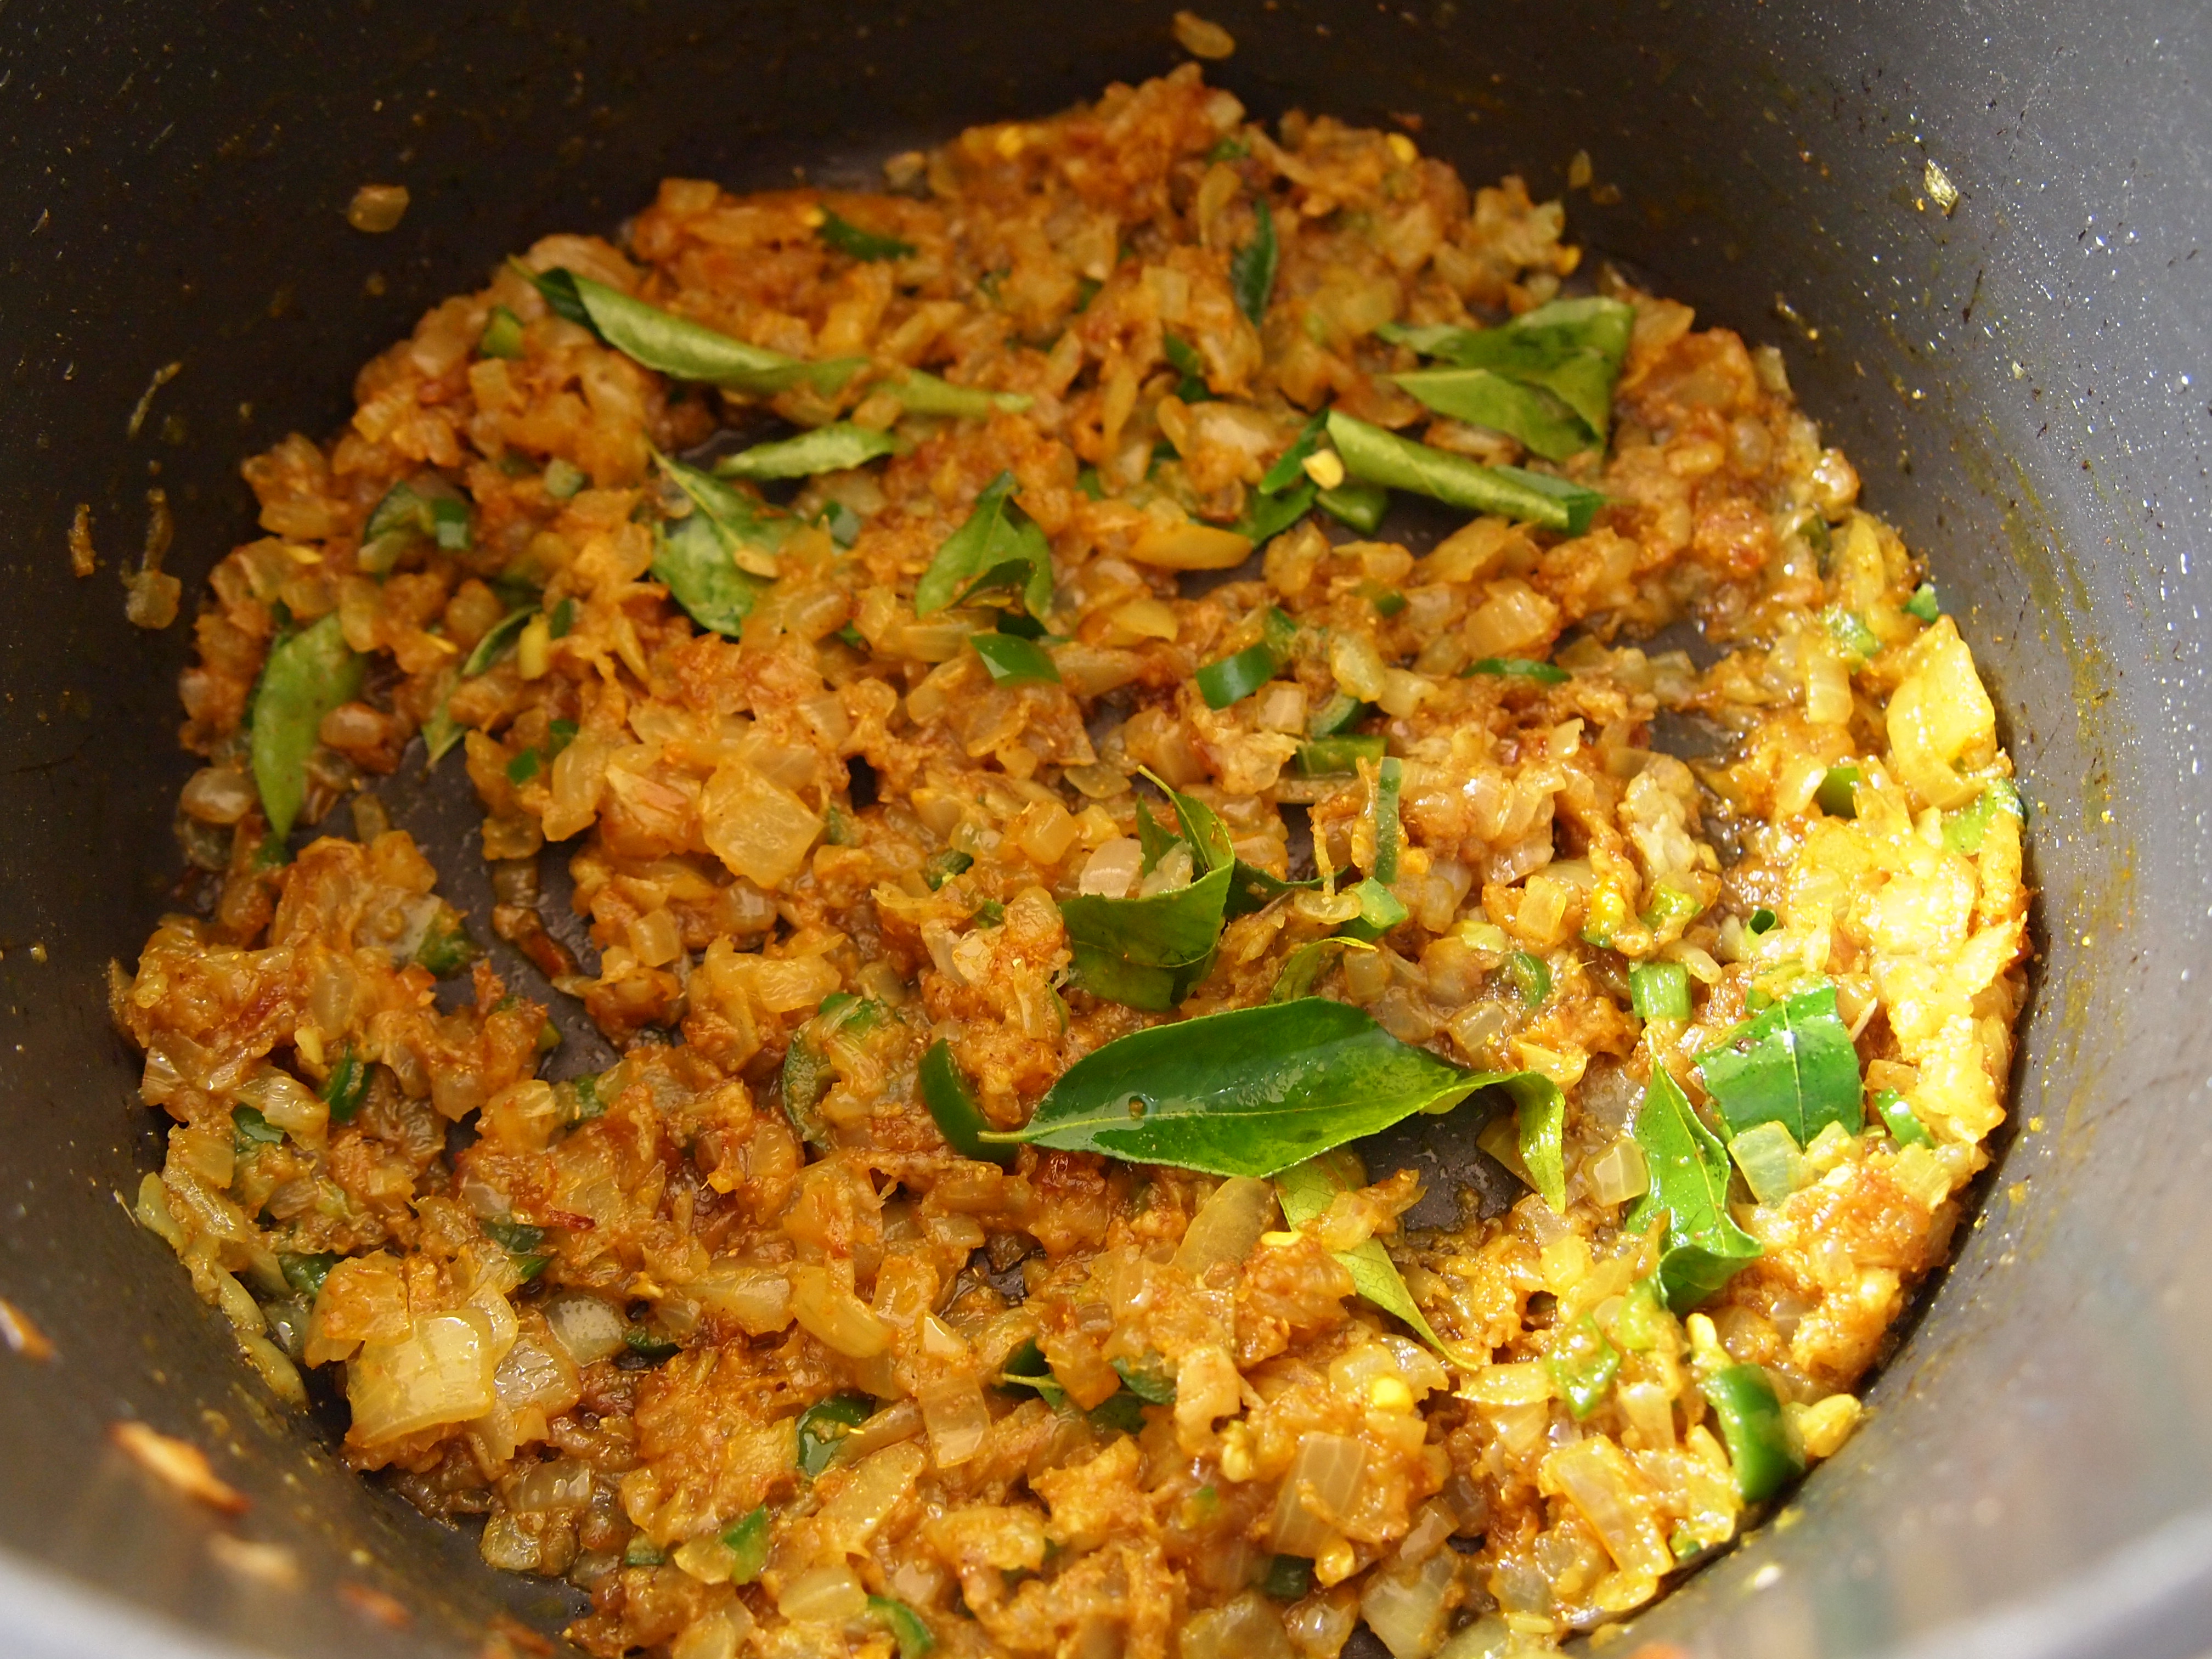
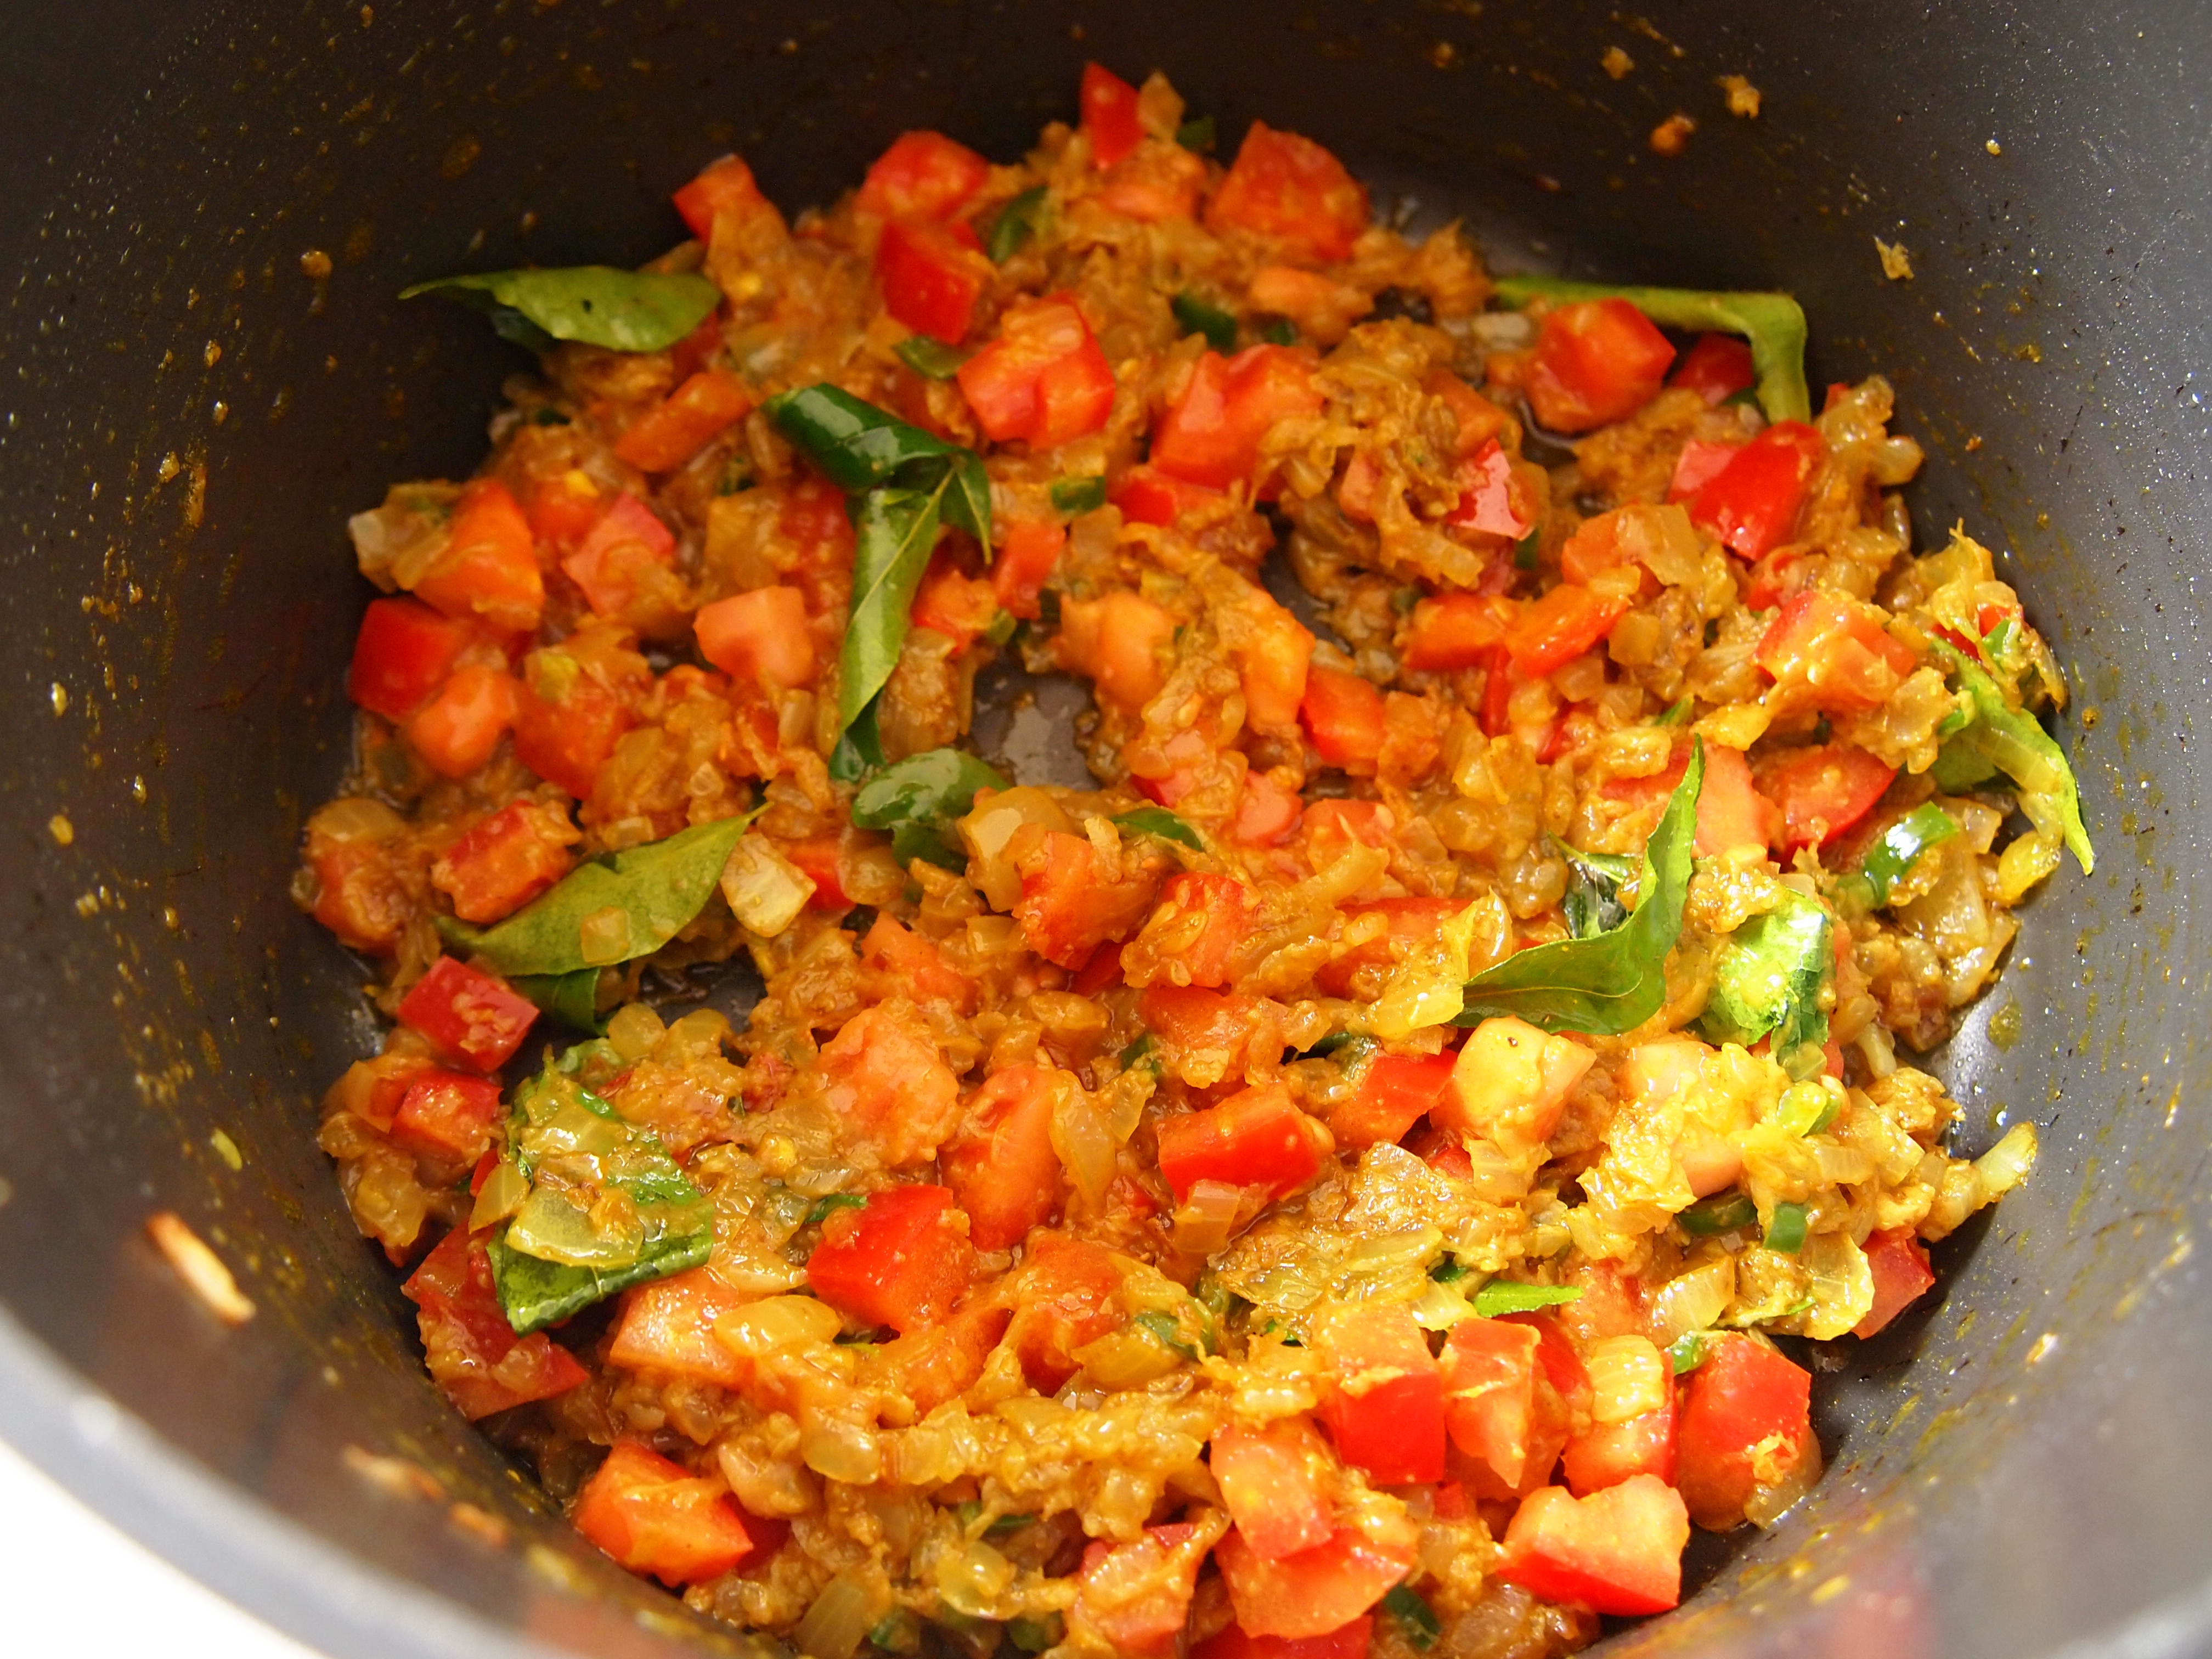
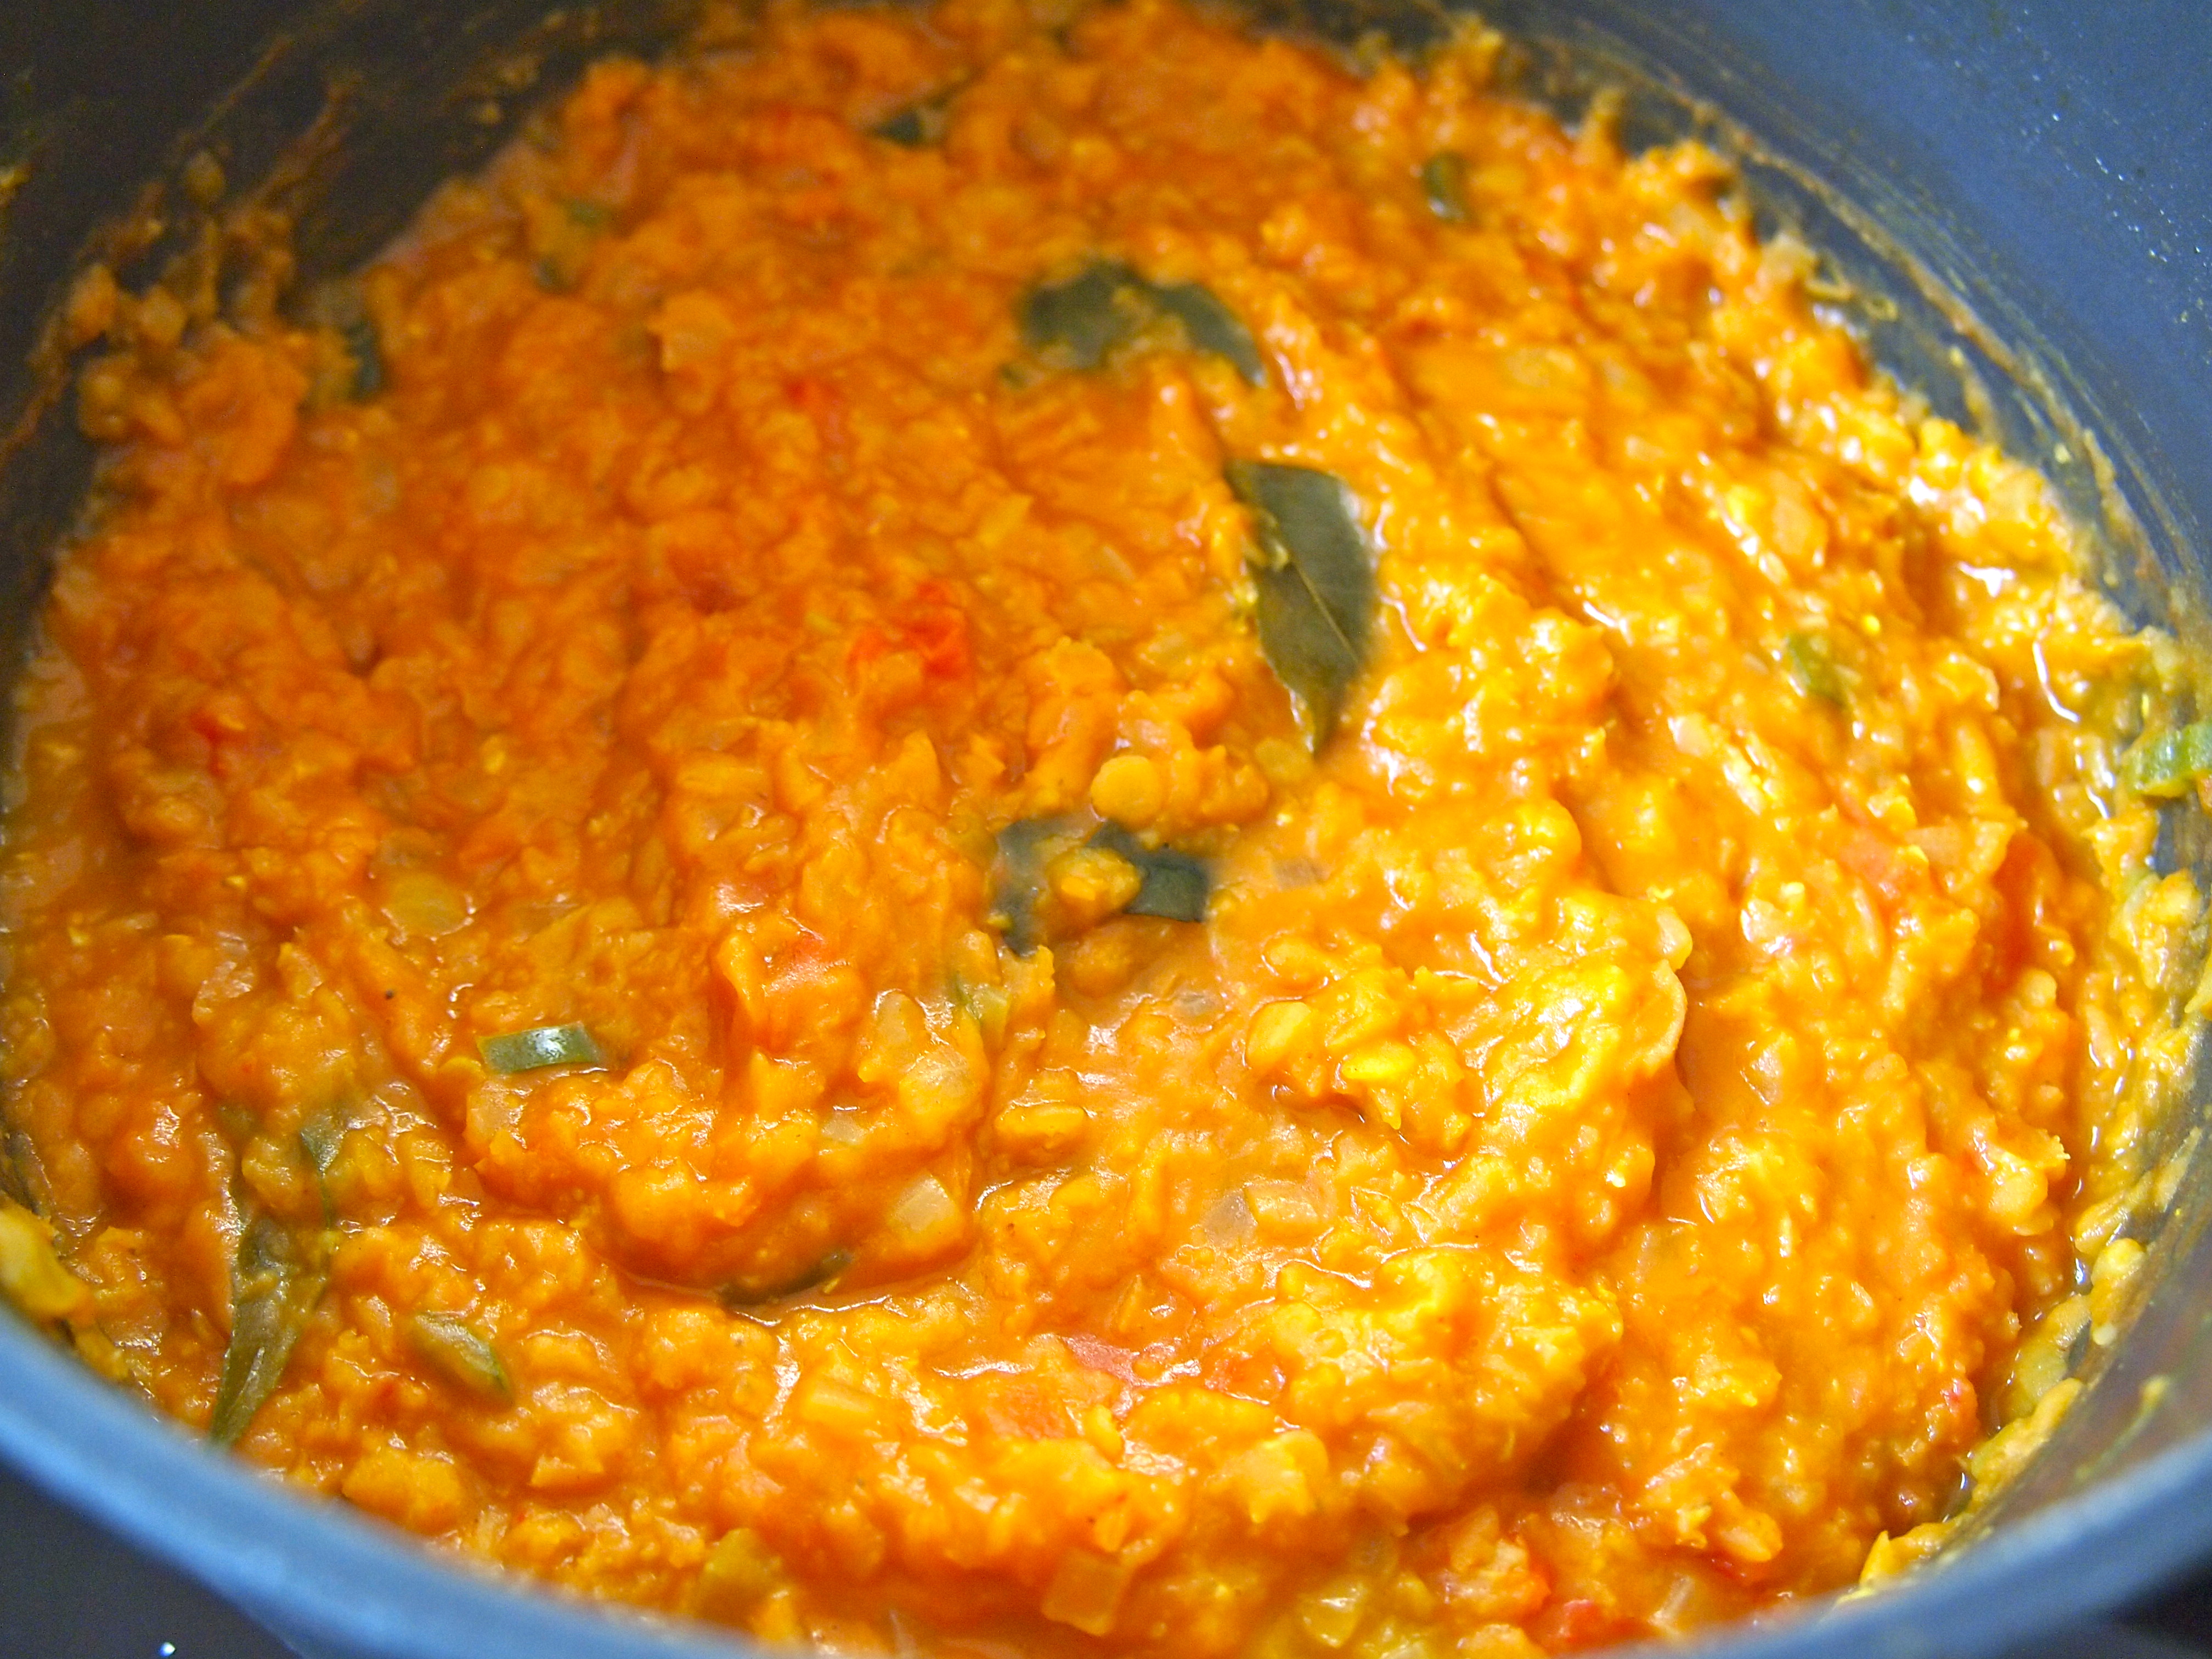
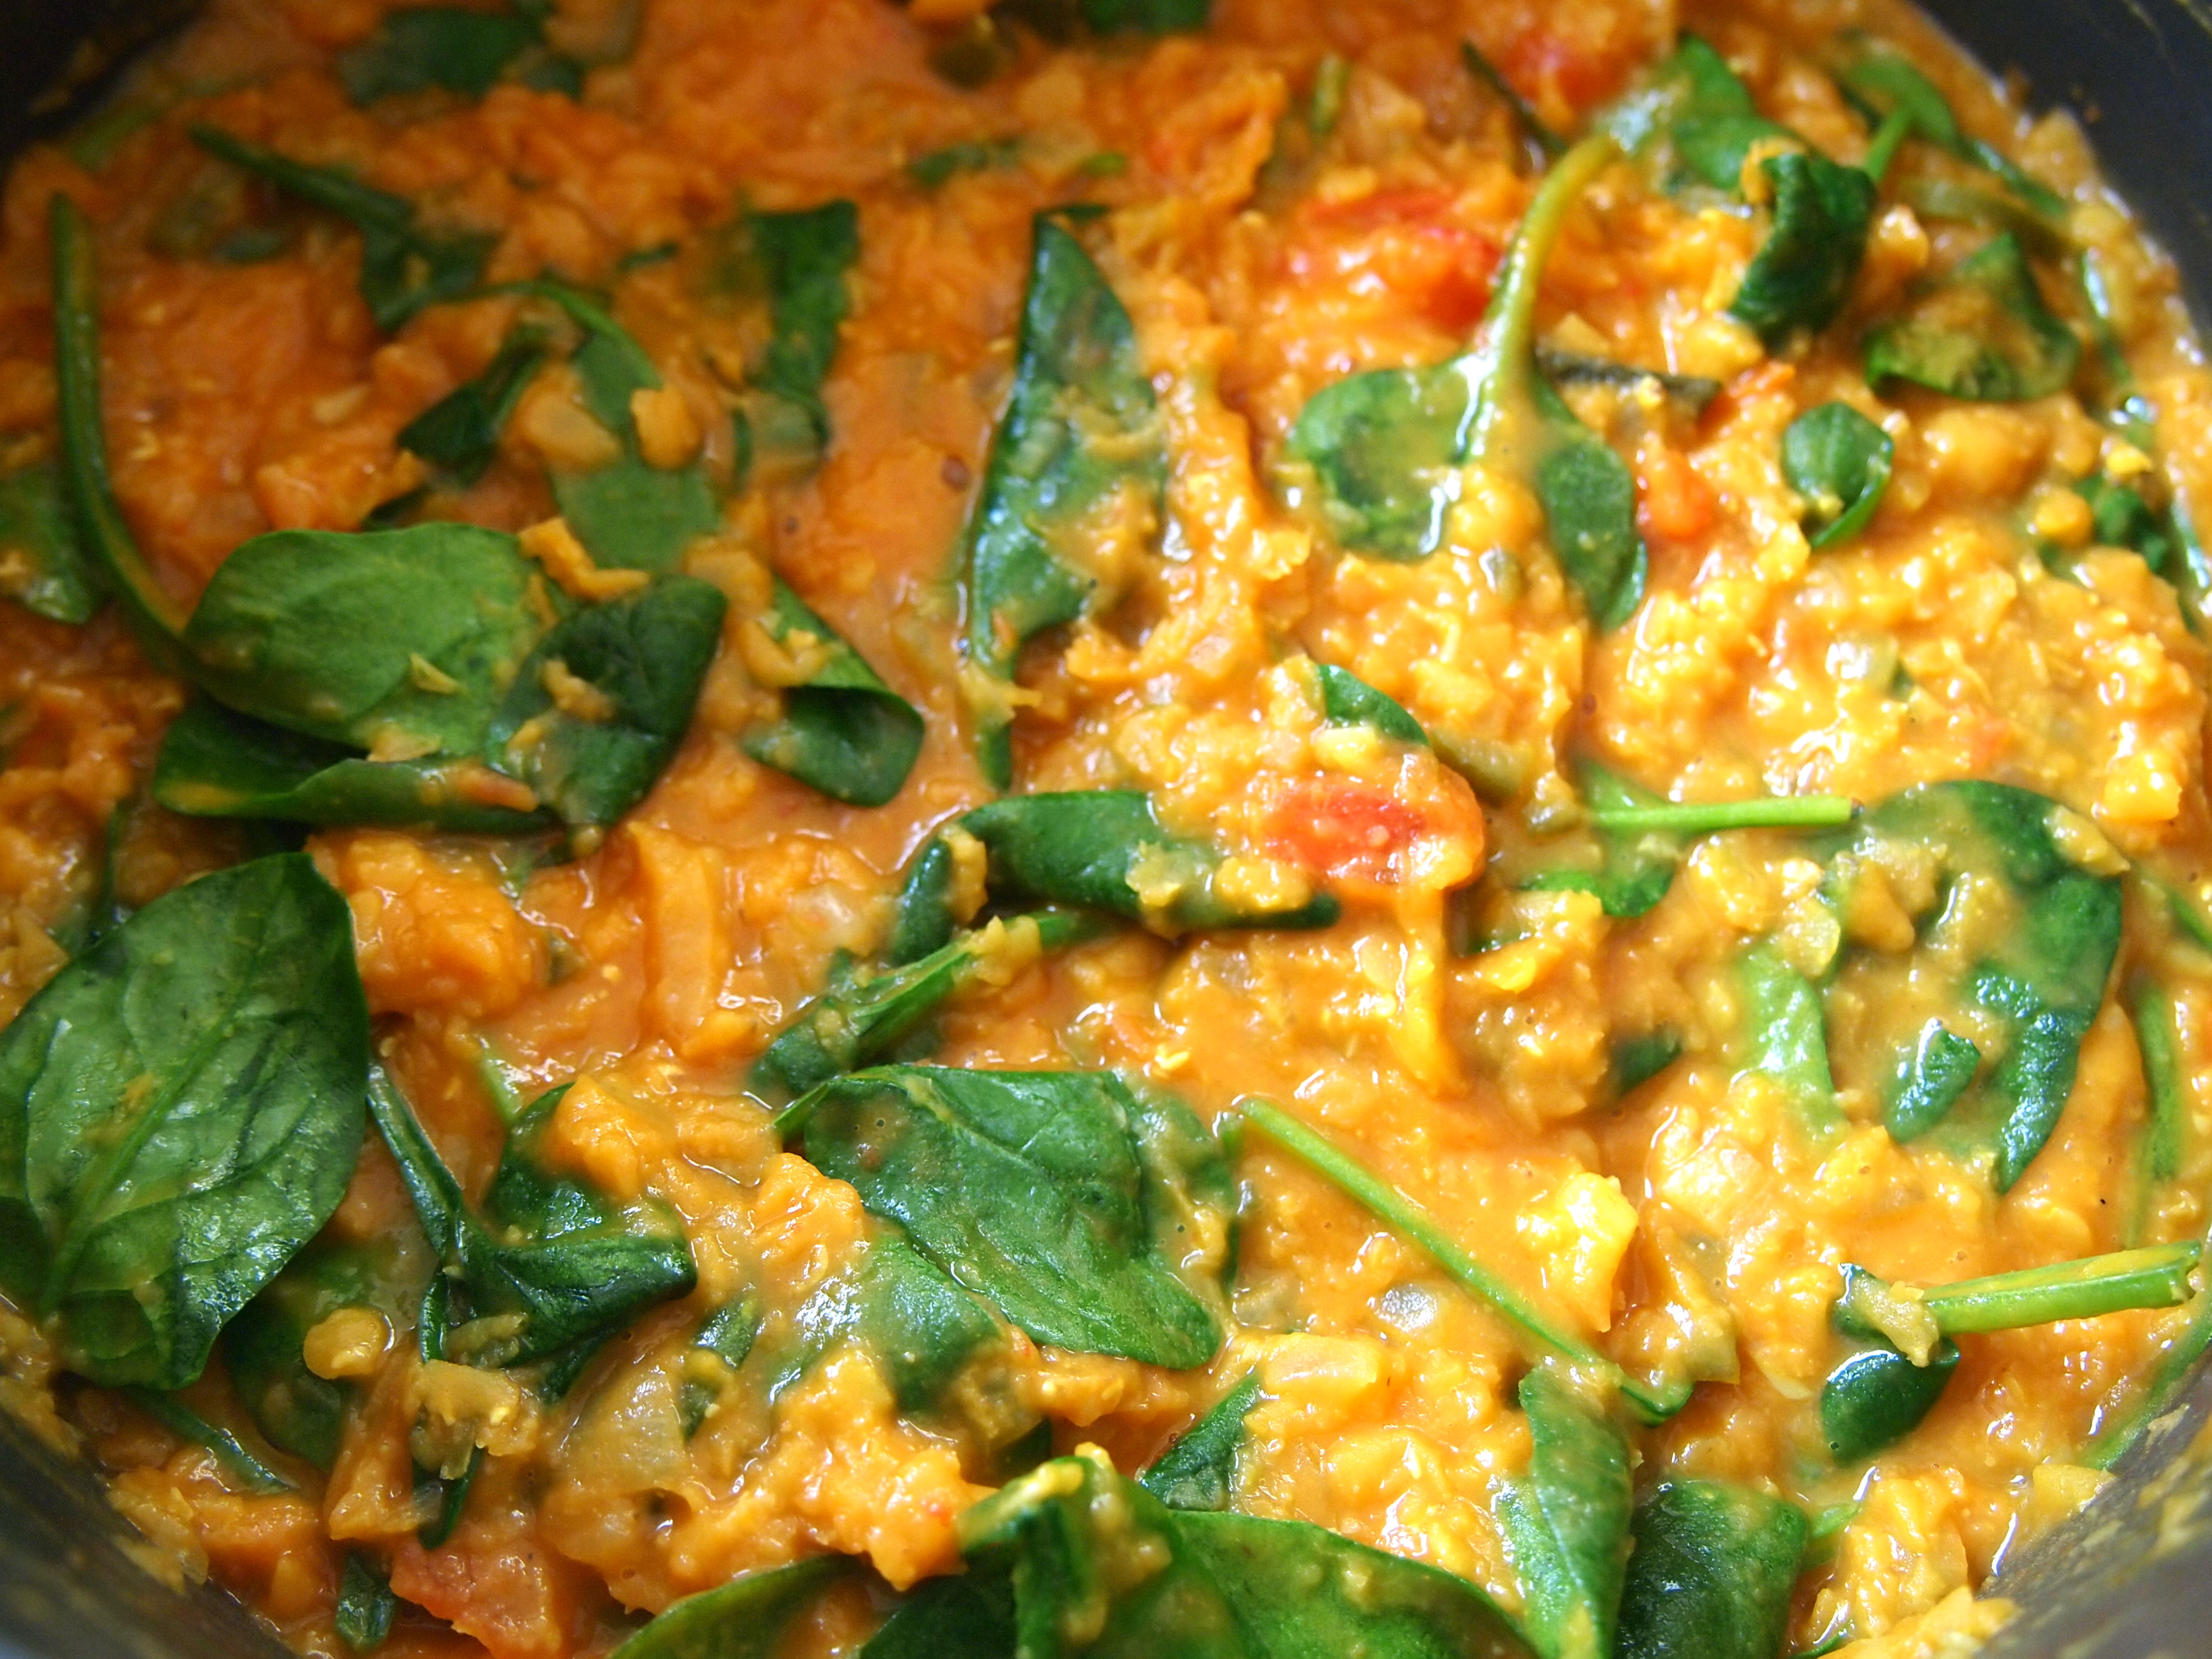
For the dhal,  Heat the oil in a saucepan over medium heat.  Once the oil is hot, add the onion, garlic and ginger. Stir often, until the onions are translucent. Add the curry leaves, green chilli and spices and stir for a few more minutes.  Add the chopped chopped tomato and cook for a further minute. Add the water and lentils and bring to the boil, then turn down the heat to low, cover and simmer for about 20 minutes, or until lentils are very tender and the water has nearly all evaporated. Once the lentils are tender stir in the tomato paste, spinach and salt until well combined. Cook for a couple more minutes for the spinach to wilt, check the seasoning and adjust if necessary.  The lentils can be cooked ahead and reheated when required.


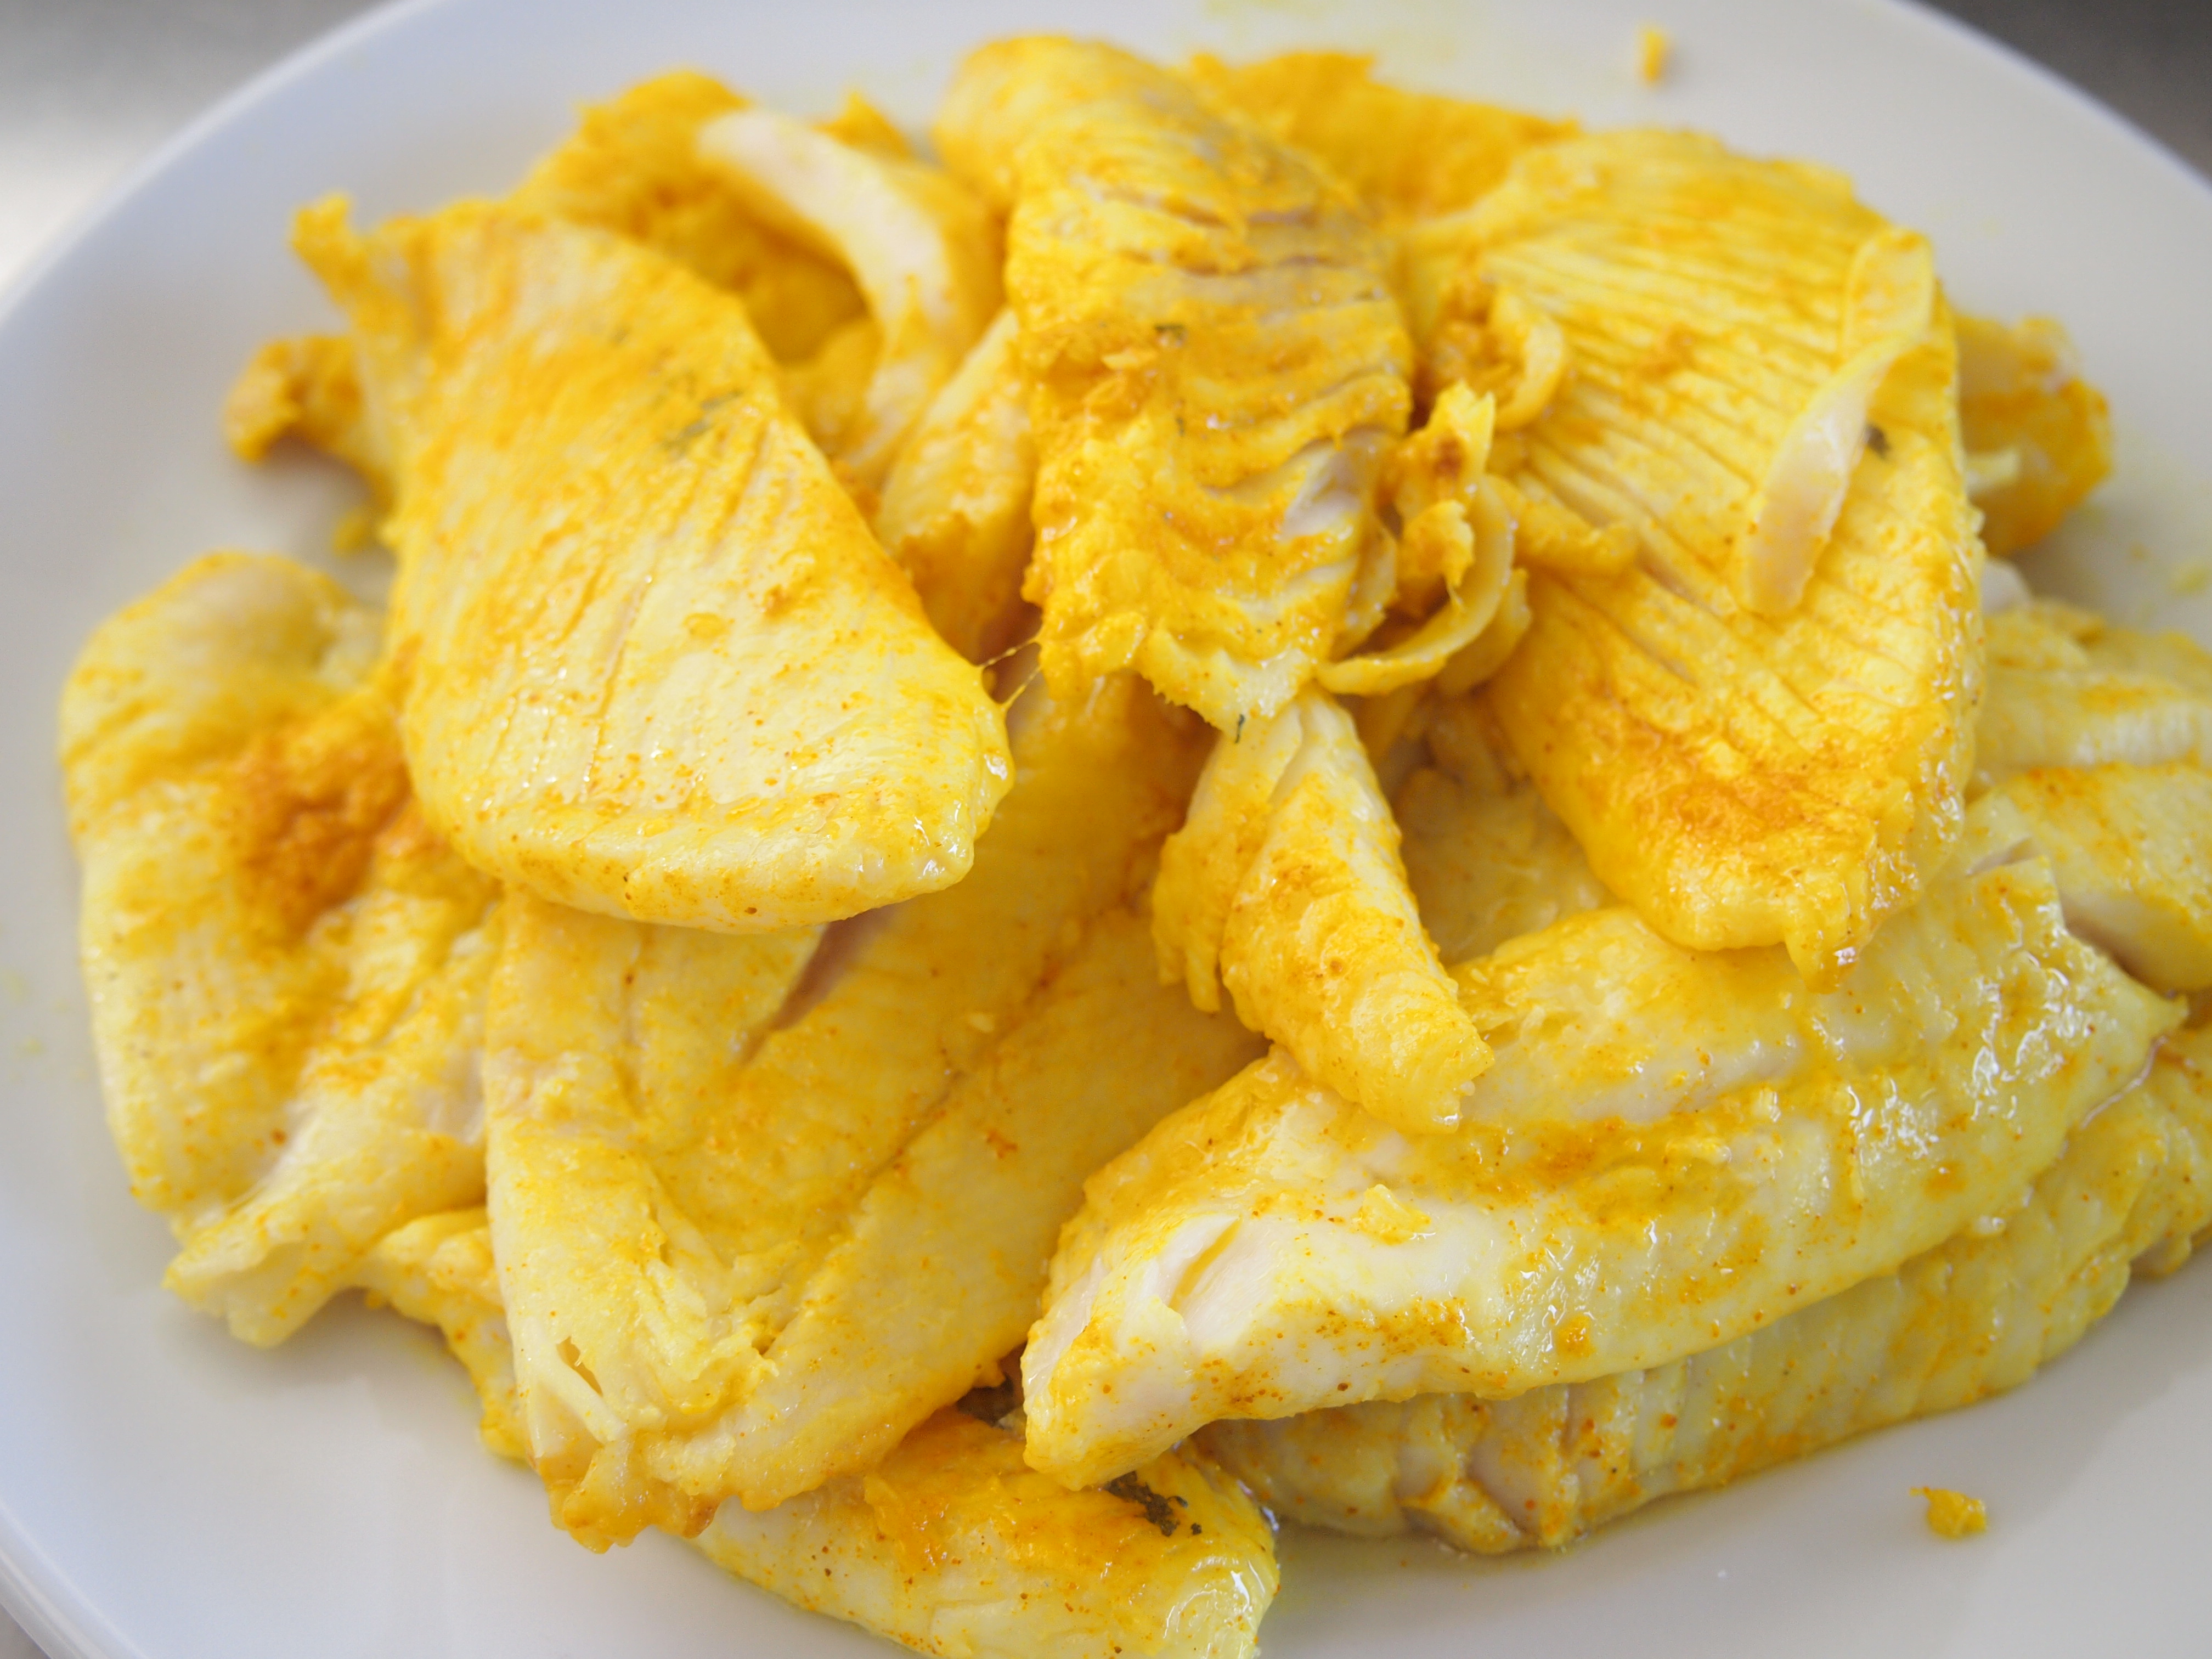
For the Salmon, mix the tandoori paste, yogurt and lemon juice in a small bowl until well combined.  Season the salmon fillets with salt and pepper on both sides and spoon the paste mixture over the salmon making sure all sides of the fillets are well coated. Leave to marinade for 15 minutes to an hour, depending on how much time you have.  Preheat the oven to 200C and put a small amount of oil on a baking tray and place in the oven for a few minutes for the oil to heat up.  Place the salmon fillets onto the warmed baking tray and place in the oven for 7 minutes.  Remove and turn the salmon pieces over and cook for a further 7 minutes.  Check the salmon and if the top hasn’t sufficiently crisped up place under the grill for a few more minutes.


For the Raita, place all the ingredients in a bowl and mix until well combined.  To serve, place some dhal on each plate and top with a salmon fillet then spoon some of the raita over the salmon.

Sep 28, 2012
mustardwithmutton

no comments

Shredded Chicken & Chorizo Tacos

We regularly get cravings for Tex-Mex food, particularly nachos and tacos and I’m always trying to think of variations to keep things interesting like these pulled lamb tacos.  I had a whole chicken in the fridge and decided to make a shredded chicken version.  They were really good and the filling would also be perfect for fajitas or enchiladas. The topping of crispy chorizo pieces not only adds extra flavour but a great textural crunch against the soft chicken. If you don’t have the time to poach a whole chicken then just poach some breast fillets which will be faster.

Ingredients – Serves 6   Adapted from Jamie Magazine

1 whole organic or free range chicken
2 yellow peppers
Salt
Olive oil
2 onions, finely sliced
4 garlic cloves, finely sliced
3 large tomatoes, roughly chopped
2 teaspoons paprika
1 red chilli, deseeded and finely chopped
1 tablespoon fresh oregano or marjoram, chopped
1 packet of mild taco seasoning mix
200ml chicken stock
500g fresh Chorizo sausages – not the cured or semi cured salami type chorizo
2 tablespoons balsamic vinegar

Method

Wash the chicken well and place into a large pot.  Add enough cold water to cover the chicken along with a couple of teaspoons of salt and bring to the boil.  Lower the heat to a gentle simmer, cover the pot and cook the chicken for 1 hour.  Turn the heat off and let the chicken sit in the poaching liquid until it’s cool enough to handle.  Once the chicken has cooled, remove the flesh and tear into strips, discarding the bones and skin, and set aside. Preheat the grill in your oven to high and place the peppers on a baking tray and grill, turning the peppers occasionally until they are blackened all over.  Place into a bowl and cover with clingwrap to steam. After about 10 minutes they will peel easily.  Discard the stems and seeds, tear the peppers into strips and set aside.


Heat the oil in a large frying pan over medium heat.  Add the onion and a pinch of salt and fry until the onions have softened.  Then add the garlic, tomatoes, paprika, chilli and oregano or marjoram and cook for another few minutes. Add the chicken, peppers, stock and taco seasoning mix to the pan and stir well. Leave to bubble way for about 30 minutes, uncovered, or until the sauce has reduced and thickened.


Put a second frypan over high heat.  Remove the skins from the chorizo and break the meat into rough chunks.  Cook for about 5 minutes or until dark golden and crisp. Once the chicken has reduced sufficiently taste for seasoning and add more salt if required, then add the balsamic vinegar stirring until well combined.  Scatter the chorizo on top of the chicken and serve with all your favourite taco accompaniments.

Sep 27, 2012
mustardwithmutton

no comments

Sauce Gribiche

I think there must be as many French sauces as there are French chefs and just as many variations on those sauces.  Gribiche is another of those classic French sauces that’s been around forever.  It’s a mayonnaise style cold egg sauce but instead of using raw egg yolk as in a mayonnaise, it’s emulsified using hard-boiled egg and mustard. Shallots, capers and herbs are added as well.  You can play around with the herbs you use but I particularly like tarragon and lots of it. It can be used to top just about anything but it goes particularly well with warm asparagus.  Talking about variations, the recipe below which is adapted from the Zuni Cafe cookbook is a bit of a rif on the classic Gribiche in that the egg is only coddled and not hard boiled.  Not being a fan of hard boiled egg whites this is much more appealing to me.  Make this sauce once and you’ll be soon be spooning it onto everything from cold chicken, to fish, as a dressing for a potato salad and even with a grilled steak.

Ingredients   Adapted from the Zuni Cafe Cook Book

1 large free range or organic egg
1 shallot (eschalot), very finely chopped
2 tablespoons red wine vinegar
1 tablespoon Dijon mustard
Salt to taste
1 cup mild oil – you can use a very mild olive oil or a mix of mild olive oil and a neutral oil such as grapeseed
3 -4 tablespoons of mixed herbs such as chives, dill, parsley, tarragon etc, finely chopped – I used a whole small bunch of tarragon only
2 tablespoons capers, coarsely chopped

Method

Place the mustard, vinegar, shallots, and a good pinch of salt into a bowl and let sit for a while to infuse while you cook the egg. Bring a small pot of water to a simmer and carefully lower in the egg. Bring to a boil, then turn down to simmer for 4 minutes. Remove and cool completely under a cold faucet, or in a bowl of ice water. Carefully remove the shell and add the egg to the mustard and vinegar mixture, mash lightly to combine, then drizzle in the oil very slowly, whisking vigorously, to create an emulsion. You can add the oil a little more quickly once a good emulsion has been formed, whisking all the while. Add the herbs and capers and season to taste with salt and more vinegar.


Sep 25, 2012
mustardwithmutton

2 comments

Chocolate Pots – Dessert in Five Minutes Flat

If you ever need dessert in a hurry then this recipe is for you.  The other day I invited some friends over for dinner on the spur of the moment but didn’t have time to muck about with anything too complicated for dessert.  It was already six in the evening so I need something that was easy and that I’d have all the ingredients for at home.  These chocolate pots literally take five minutes to make, it does then need to sit in the fridge for a while to set, two hours would be great but I think even one hour would suffice..  You could even whip this up before you leave for work, pop it in the fridge and dessert for that mid week dinner with friends is taken care of.

Ingredients – Makes enough filling for 6 small espresso cups

3/4 cup cream
1/4 cup whole milk
1 large egg
180g bittersweet chocolate finely chopped (or chocolate chips)

Method

In a small saucepan, combine the cream and milk and bring to a simmer over moderate heat. In a small bowl, beat the egg. Slowly whisk 1/2 of the simmering cream into the beaten egg, then whisk the mixture into the cream in the saucepan. Cook for 30 seconds, whisking constantly. Put the chocolate in a blender or if you’re using a hand blender a tall container. Pour in the hot cream mixture and let stand for 3 minutes. Blend until smooth, about 30 seconds. Set 6 espresso cups on a baking sheet and fill them with the chocolate cream. Cover and refrigerate until chilled and firm, about 2 hours. The chocolate pots can be refrigerated for up to 3 days.


Sep 24, 2012
mustardwithmutton

1 comment

Spicy Pork Goulash

This is a recipe from the Jamie Oliver At Home cookbook and it’s a real keeper.  It’s easy to throw together and whilst the cook time is pretty long it just does it’s own thing in the oven.  The original recipe calls for pork shoulder but for some reason this cut is particularly hard to find here so I used pork collar butt – pork neck or scotch fillet would also work. The nice thing about this dish is the meat is not cut up into pieces, it’s left whole, so the final dish when its served up on a platter has wow factor and looks much more exciting than you’re average goulash type stew. The sauce is full of peppers, both roasted and plain and the addition of chilli and caraway makes sure every mouthful is full of flavour. The final step is to add a big dollop of sour cream on top of the meat, this oozes and melts down into the sauce which just makes the whole thing even better. I teamed it with steamed rice and a green salad for a casual dinner party and everyone dived in for seconds, and thirds!

Ingredients – Serves 6    Adapted from Jamie Olive, At Home

2kg pice of pork shoulder off the bone, in one piece – pork neck, collar butt or scotch fillet would also work
Salt and freshly ground black pepper
Olive oil
2 red onions, peeled and finely sliced
2 fresh red chillies, deseeded and finely chopped
2 generously heaped tablespoons mild smoked paprika, plus a little extra for serving
2 teaspoons ground caraway seeds
Small bunch of fresh marjoram or oregano, leaves picked
5 peppers (use a mixture of colours)
1 x 280g jar of grilled peppers, drained, peeled and chopped
1 x 400g tin of good-quality plum tomatoes
4 tablespoons red wine vinegar
1/2 cup sour cream
Zest of 1 lemon
3 tablespoons flat-leaf parsley, chopped

Method

Preheat the oven to 180C. If the piece of pork you’re using has a layer of fat on it, score it in a criss cross pattern and season generously with salt and pepper. Pour a good glug of olive oil into a large oven proof dish that will hold the meat and vegetables snugly. Put the pot over medium heat and when hot add the pork, fat side down. Sear the meat on all sides until brown then remove the pork from the pot and put it to one side. Add the onions, chilli, paprika, caraway seeds, marjoram or oregano and a good pinch of salt and pepper to the pot. Turn the heat down and gently cook the onions for 10 minutes, then add the sliced peppers and continue to cook for another 10 minutes. Add the grilled peppers and the tomatoes. Put the pork back into the pot, give everything a little shake, then pour in enough water to just cover the meat. Add the vinegar and bring to the boil.  Put the lid on then place in the preheated oven for 3 hours.


You’ll know when the meat is cooked as it will be tender and it will break up easily when pulled apart with two forks. If it’s not quite there yet, put the pot back into the oven for a little longer. Stir the sour cream, lemon zest and most of the parsley together in a little bowl. When the meat is done, take the pot out of the oven and taste for seasoning. Carefully place the meat on a large deep platter sprinkle with the rest of the chopped parsley and spoon over the sour cream mixture on top of the meat.

Sep 21, 2012
mustardwithmutton

5 comments

Meatloaf Extraordinaire

Oh my, this meatloaf is GOOD!  So juicy and so flavourful, each mouthful is a taste sensation, so much so that no gravy or side of ketchup is required, none!  The recipe comes from Marc Matsumoto’s fabulous blog, No Recipes.  Marc is wary of calling anything “The Best” but in this instance he feels it’s justified and believe me, calling this the best meatloaf ever is indeed, justified. Try this and you’ll throw away all your other meatloaf recipes.

Ingredients – Serves 4 (or 2 with leftovers for sandwiches)    Adapted from Marc Matsumoto, No Recipes

500g minced beef
300g minced pork
2 tablespoons olive oil
1 large onion finely chopped
2 cloves garlic finely minced
1/2 cup panko (Japanese bread crumbs)
60g Gruyere or cheddar cheese grated
1 large egg
1/4 cup whole milk
2 tablespoons tomato paste
1 tablespoon Worcestershire sauce
1 tablespoon honey
2 teaspoons soy sauce
1 teaspoon smoked paprika
1/2 teaspoon salt
1/2 teaspoon black pepper
5 sprigs fresh thyme stems removed and minced
6-8 slices of thick-cut bacon
4 tablespoons ketchup
1 tablespoon honey
2 teaspoons Worcestershire sauce
2 teaspoons Dijon mustard

Method

Preheat the oven to 180C. In a small skillet heat the olive oil over medium heat and fry the onions until golden brown. Set aside and allow to cool for 10 minutes. In a large bowl add the minced beef, minced pork, garlic, panko, cheese, egg, milk, tomato paste, Worcestershire sauce, honey, soy sauce, smoked paprika, salt, pepper , thyme and cooled onions. Using your hands (wear disposable gloves if you wish) knead the mixture until uniform. Line a baking tray with some parchment paper. This makes cleanup much easier and it prevents the meatloaf from sticking to your pan. Shape the meat mixture into a loaf on the parchment paper. Top with the bacon, slightly overlapping each slice.


Bake the meatloaf for 30 minutes. While the meatloaf is in the oven, make the glaze by mixing the ketchup, honey, Worcestershire sauce, and mustard in a small bowl to combine. Remove the meatloaf from the oven and cover with the glaze. Return the meatloaf to the oven and bake for another 30 minutes. Remove the meatloaf from the oven and allow it to rest for about 10 minutes before cutting into it.

Sep 20, 2012
mustardwithmutton

no comments

Buckwheat Blini with Caviar

 A few Friday nights ago we had some friends over for dinner.  In the afternoon I received an email from them telling me they had a tin of Russian caviar they’d like to bring over to share with us – I know, what great friends! A batch of blini to accompany them would be needed pronto.  I’d never made traditional blini before so I wanted a foolproof recipe and who else to turn to in times of need other than the Barefoot Contessa, Ina Garten.  These small Russian style pikelets are traditionally made using a small amount of buckwheat flour which is very fine and gluten free. Ina came up trumps – the blini were wonderful and topped with creme fraiche and caviar they were such an indulgent treat.  Of course if you don’t have friends who are willing to share their caviar then a topping of creme fraiche and salmon roe or smoked salmon would be wonderful too.

Ingredients – makes about 25 small blini   Adapted from Ina Garten

1/3 cup buckwheat flour
2/3 cup all-purpose flour
1/2 teaspoon baking powder
1/2 teaspoon salt
3/4 cup plus 2 tablespoons milk
1 extra-large egg
1 tablespoon clarified butter, plus extra for frying blini

Method

Combine both flours, baking powder, and salt in a bowl. In a separate bowl, whisk together the milk, egg, and the tablespoon of clarified butter, then whisk into the flour mixture. Heat about a tablespoon of the clarified butter in a medium fry pan, preferable non stick, and drop the batter into the hot skillet, 1 tablespoon at a time. Cook over medium-low heat until bubbles form on the top side of the blini, about 2 minutes.


Flip and cook for 1 more minute, or until brown. Repeat with the remaining batter. Once cooled top with creme fraiche and caviar or smoked salmon.

Sep 19, 2012
mustardwithmutton

6 comments

Fish Curry Dopiaza

Dopiaza literally means double onions and this style of curry is one of my favourites.  The onions in the dish are separated into two lots. One half is finely sliced and caramelised and added to the curry at the end of the cooking time, which thickens the sauce and adds a lovely hint of sweetness.  The other half is finely minced with ginger and garlic and cooked as the base for the curry.  You can make it with chicken or lamb but I make it regularly with fish for family dinners as a way of getting my nieces to eat more seafood. This is a mildly spiced curry but you can certainly make it hotter by adding more chillies or cayenne pepper. The thing that will really elevate the taste of this curry is the time that you take to cook out the onion and tomato mixture, it should take up to 30 minutes and you’ll get an incredibly intense flavour if you’re patient with this step – it’s the one single process that most home curries skip and the one that elevates a curry to restaurant quality. Serve it with plain basmati rice and a yogurt cucumber raita.

Ingredients – Serves 6

4-6 fillets (depending on size) of white fleshed fish, skinned – I used John Dory but you can also use snapper or flathead
Juice of half a lemon
1/2 teaspoon Tumeric
Salt
2 large onions, peeled and finely sliced
2 medium onions, peeled and roughly chopped
Vegetable oil (not olive)
6 large cloves of garlic, peeled and roughly chopped
3 inch piece of ginger, peeled and roughly chopped
2 large tomatoes, roughly chopped
1 long red chilli, deseeded and roughly chopped
1 teaspoon tumeric
2 teaspoons ground cumin
2 teaspoons ground coriander
1 teaspoon best quality mild curry powder
1 can diced tomatoes
300ml coconut cream
Some fresh coriander leaves for garnishing

Method

Wash and pat dry the fish fillets.  Sprinkle the fillets with the lemon juice, turmeric and salt on both sides.  Heat some oil in a fry pan and cook the fish briefly on both sides until just opaque.  You’re not cooking the fish through completely at this time, it will finish cooking in the curry.  Set aside.  Wash out the pan and heat about a quarter of a cup of oil over medium heat.  Add the onions and cook stirring regularly until the onions are a deep golden brown, being careful not to burn them. Drain on absorbent paper and set aside.


Put the onions, garlic, ginger, tomatoes and chilli in a food processor and blend until the onions and ginger are very finely minced.  In a large saucepan or deep sided fry pan, preferably non stick, heat enough oil to coat the bottom of the pan.  Add the onion tomato mixture and cook over medium low heat until the mixture has darkened and turned a rich golden colour.  You’ll need to stand by and stir regularly and it should take about 30 minutes to achieve this (see middle picture below).  Add the turmeric, cumin, coriander and curry powder and cook for another 5 minutes. Add the coconut milk, diced tomatoes and about half a can of water and bring to a boil.  Lower the heat, cover and simmer for 30 minutes.  Check every 10 minutes or so and if the mixture is looking too thick add a little more water.


At the end of the cooking time stir in the caramelised onions.  If the sauce is too thick add a little water from a recently boiled kettle to thin it out.  Bring back to a simmer and gently lower in the fish fillets.  At this stage the curry should not be stirred at all, this will ensure that your curry doesn’t have a “fishy” flavour.  Just spoon the sauce over the fish to ensure the fillets are covered and let it gently cook for about 10 minutes, until the fish is cooked and warmed through.  Serve garnished with fresh coriander.

Sep 18, 2012
mustardwithmutton

no comments

Crispy Brussel Sprouts with Lentils

One of our favourite restaurants in Sydney is Porteno, an Argentinian restaurant that’s a meat lovers paradise.  Pork, lamb, beef and chicken are cooked on huge spits at the front of the restaurant, you can imagine how amazing that dining room smells! Funnily enough whenever we go there it’s not the meat that I look forward to the most, it’s this side dish of crispy brussel sprouts with lentils.  They are just the most incredible tasting sprouts I’ve ever had and are consumed way before the meat has even had a look in, something that’s pretty unusual for us.  I did some research on the web to try and track down the recipe and came up with the version below from Gourmet Traveller.  I made some changes though; I didn’t deep fry the sprouts but oven roasted them, which I prefer.  I also added some goats curd at the end as I definitely remember the sprouts at the restaurant having a somewhat creamy finish to them.  They turned out very close to the original and even if you’re not a fan of brussel sprouts, give these a go and you’ll be converted!

Ingredients – Serves 4    Adapted from Gourmet Traveller & Porteno Restaurant

700g brussel sprouts, trimmed, loose outer leaves removed and halved
1 cup puy lentils
Olive oil
1/2 a bunch of mint, large leaves torn in half
2-3 tablespoons goats curd
Vincotto Dressing
50ml olive oil
100ml vincotto
2 teaspoons hot English mustard
Salt and freshly ground black pepper

Method

Preheat oven to 180C.  Place the sprouts on a baking sheet and drizzle with olive oil, salt and pepper.  Place in the oven and roast for 20 – 25 minutes until the sprouts are tender and golden brown with the outer edges crispy.


Put the lentils in a saucepan with enough cold water to cover generously, bring to the boil and cook until just tender (15-20 minutes), then drain and set aside. For vincotto dressing, whisk ingredients in a bowl to combine, season to taste, set aside. When the sprouts are cooked remove them from the oven and place on a warmed platter.  Add lentils, mint, vincotto dressing and crumble in the goats curd, toss to coat and serve hot.

Sep 17, 2012
mustardwithmutton

1 comment

Mario Batali’s Sausage & Pepper Ragu with Polenta

This recipe comes from one of Mario Batali’s first books, Molto Mario.  The braising sauce becomes ultra think and glossy from the red wine and tomato paste mixture – no tinned tomatoes are used so there’s real concentration of flavour, especially if you take the time to really let the tomato paste caramelise.  Maggie Beer, an Australian cook and author, also makes a Bolognese sauce using just tomato paste and red wine, it’s a great way to get a big flavour punch.  The only other thing I recommend is that you use the best quality sausages you can, beef or pork it doesn’t really matter.

Ingredients – Serves 4 

12 best quality beef or pork sausages – Italian style sausages would be best
Olive oil
2 large red onions, thinly sliced
3 red and 3 yellow bell peppers, seeded, cored and cut into thin strips
1 teaspoon red chili flakes – more if you like it very spicy
1 tablespoon dried oregano
180g tomato paste
11/2 cups dry red wine
1 cup beef stock
Salt & freshly ground black pepper

Polenta

1 cup polenta (not the instant variety)
3 cups milk – I used 2%
1 cup water
salt
1/2 cup mascarpone

Method

In a very large frying pan heat some olive oil over medium heat.  Add the sausages and cook turning them over occasionally until well browned on all sides. remove and set aside. To the same pan add the onions and a pinch of salt (add some more oil to the pan if necessary) and cook until the onions are very soft and just starting to brown. Add the peppers, chili flakes, oregano and another pinch of salt and cook for a further 15 to 20 minutes or until the peppers are soft and limp. Spoon in the tomato paste and stir into the peppers and onions. Cook until it darkens and caramelises, but be careful not to burn it. Add the red wine, lower the heat to a simmer, and cook for at additional 15 minutes. Return the sausages to the pan, add the stock and bring to a boil, then simmer for 45 minutes, adding water if necessary to keep the consistency of a ragu. Season with black pepper and salt to taste.


To make the polenta bring the milk and water up to the boil in a medium size saucepan.  Add salt and rain in the polenta in a steady stream, whisking as you pour.  Once all the polenta has been poured in switch to a spoon and stir the polenta until it has fully incorporated into the milk.  Lower the heat to a bare simmer, put the lid on askew and continue to cook, stirring every now and then for about 30 minutes or until the polenta is very smooth and not at all granular.  You may need to add more water from a recently boiled kettle during this time to keep a wet consistency.  When the polenta is cooked, stir in the mascarpone, taste and add more salt if necessary. Serve the Polenta topped with the ragu.